


有时候,我们会两个pc链接同一个数据库或者pc和手机站链接同一个数据库,所以但我们在一个站发布文章时,文章生成的缩略图会在该文章发布的网站文件夹 uploads 下 ,另外一个网站文件夹 uploads 下是没有同步生成的;
如图:
a.com站:
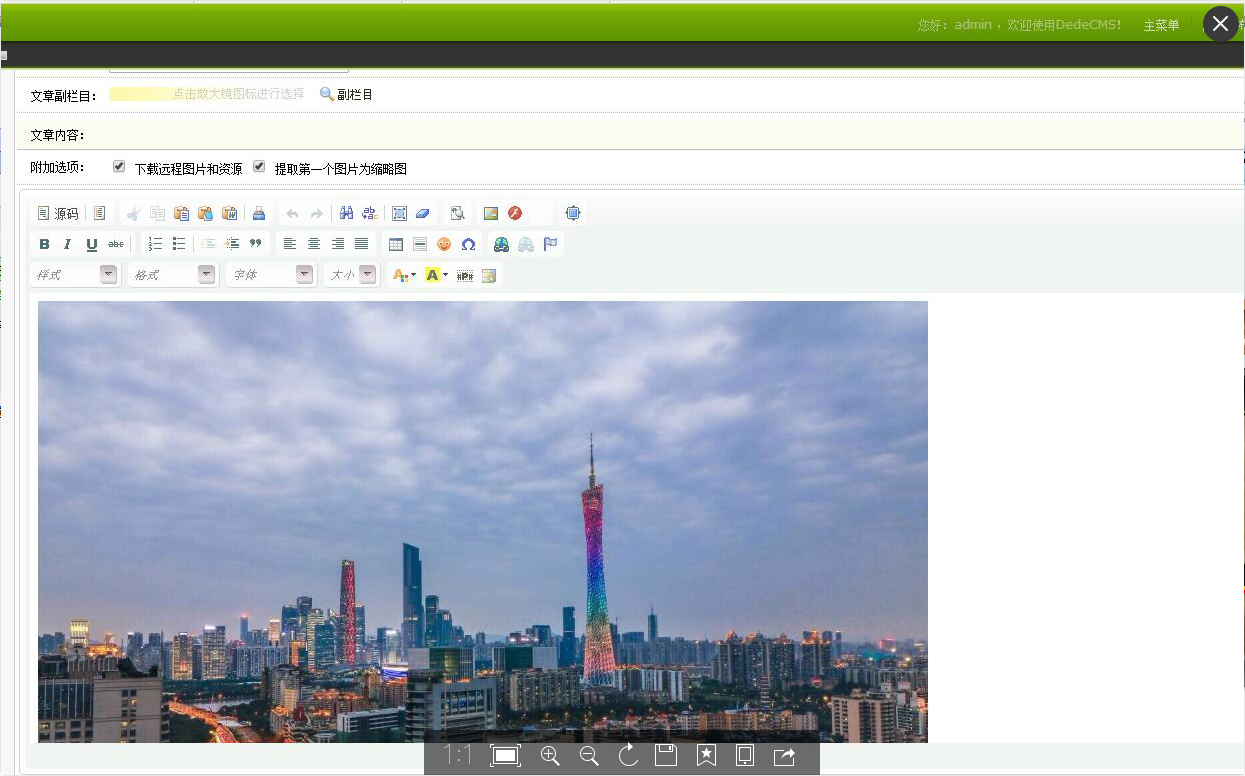
a.com站:

b.com站:
今天,我们设置一下,使前端页面同步显示a.com的缩略图,

(注:后台文章编辑框内的文章图片是没法显示的,但不会显示前端页面的显示)
下面代码主要在b.com下的文件添加修改
修改目录include下的文件extend.func.php,在最后面添加一个函数方法:
function replaceurl($newurl)
{
$newurl=str_replace('src="/uploads/allimg/','src="http://你的域名/uploads/allimg/',$newurl);
return $newurl;
}
另外调用文章正文内容的标签
{dede:field.body/}
需要改成
{dede:field.body function='replaceurl(@me)'/}
最后更新一下就可以看到效果了。 >_<


 1842
1842


 被折叠的 条评论
为什么被折叠?
被折叠的 条评论
为什么被折叠?
 到【灌水乐园】发言


