作为编码者,美工基础是偏弱的。我们可以参考一些成熟的网页PS教程,提高自身的设计能力。套用一句话,“熟读唐诗三百首,不会作诗也会吟”。
本系列的教程来源于网上的PS教程,都是国外的,全英文的。本人尝试翻译这些优秀的教程。因为翻译能力有限,翻译的细节上还有待推敲,希望广大网友不吝赐教。
约定:
1、本文的软件是Photoshop CS5版本
2、原教程的截图是英文的,本人在重新制作的基础上,重新截了中文版的图
3、原文中有些操作没有给出参数。本人在反复测试的情况下测定了一些参数,以红色的文字显示。有些错误的参数,直接以红色文字显示正确的参数
例如:(90,22,231,77),表示矩形的左上角的坐标是(90,22),宽231,高77
例如:(90,22),表示矩形的左上角的坐标是(90,22),矩形的其他两个参数教程里已经指定
4、在教程的最后会附上本人的心得。有些是对教程中的一些步骤的优化等。
Today I will create a layout for a hotel.
今天,我要创建一个酒店的网页布局
This layout will work also if you have site related to the hotel industry: bed and breakfast, motels, and it will work very good for restaurants, cafes, pizzerias , bars, wineries layouts, etc.
这个布局也能很好的工作于和酒店业相关的网站:包含早餐的恶旅馆、汽车旅馆,和能非常适合饭店、咖啡屋、披萨屋、酒吧、就装等
I will use a nice background image and you will see that a simple background image will create an elegant rustic layout
我会用一个漂亮的背景图片,你会看到创建一个优雅的乡村布局仅仅使用了一个简单的背景图像。
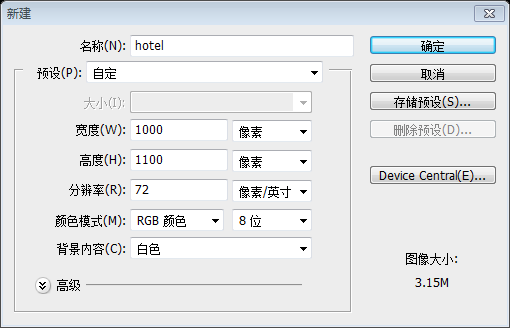
Create a new document with the following size: 1000 pixels width and 1100 pixels height.
按后面的尺寸新建文档,宽1000px,高1100px
Please click on the following image to see the full size image. Save the image to your computer, and then open this seamless pattern in Photoshop. We will use this image to create a background for this hotel layout.
请点击下面的图片以查看完整大小的图片。将图像保存到您的电脑,然后在Photoshop中打开这个无缝图案。我们将使用这个图像创建一个背景给这家酒店的布局。
Open the image from above in Photoshop and then go to Edit > Define Pattern. In this way you can create any type of patterns from your images.
在Photoshop中打开上面的图像,然后点击:编辑 > 定义图案。在这种方式中,你可以从你的图像中创建图案。
You can close the document with this background image and then you need to add this pattern over your layout document. To add the pattern you need to select Paint Bucket Tool.
你可以关闭背景图像的文档,然后你需要添加该图案到你的布局文档。为了添加图案,你需要选择油漆桶工具
Be sure you select the pattern you just created.
确保选择刚才创建的图案
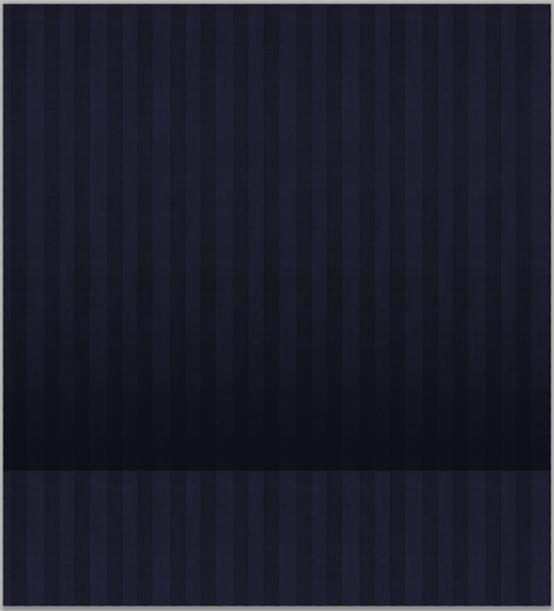
Click one time on your document. The background for this layout will look like in the following image.
在你的文档上点击一次。你的布局的背景看起来就像下图一样
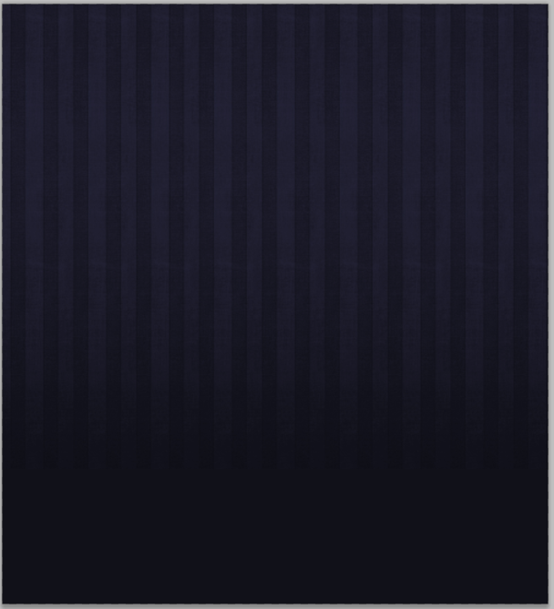
As you can see the pattern filled all the document but at the bottom of the layout it doesn’t look very good. I will fix the problem very fast. With brush tool ( and with a smooth brush ) I will make a drawing on the bottom of the layout. It is very important what color you choose to make the drawing. I will recommend you to use the eyedropper tool to grab the exact color or a similar color with mine.
正如你可以看到的图案充满了所有的文档,但在布局的底部它看起来很不协调的。我会很快的解决这个问题。使用画笔工具(用平滑刷),我将布局的底部绘图。非常重要的是,你选择什么颜色绘图。我会建议您使用滴管工具来获取精确的颜色或与我类似的颜色。
建议:用矩形工具新建一个矩形(0,852,1000,248),颜色: #111119比较简单
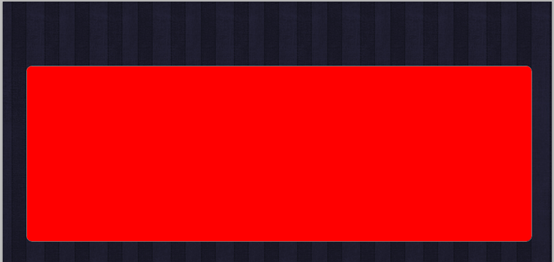
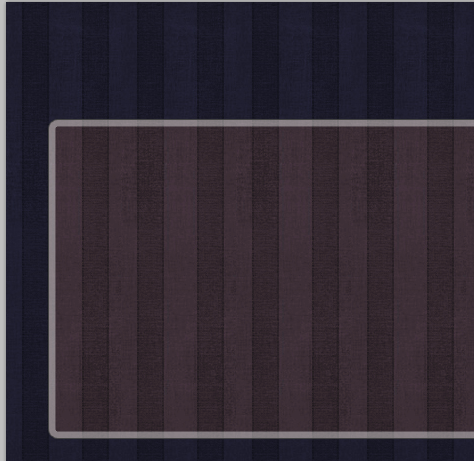
With Rounded rectangle tool I will create a shape in the middle of the layout
用圆角矩形工具在布局的中部创建一个圆角矩形(42,117,920,320)
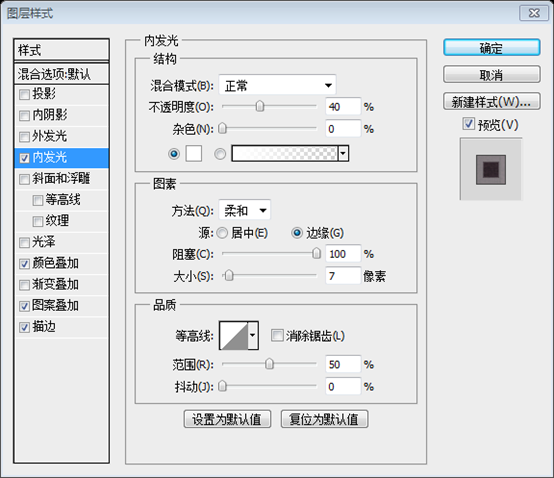
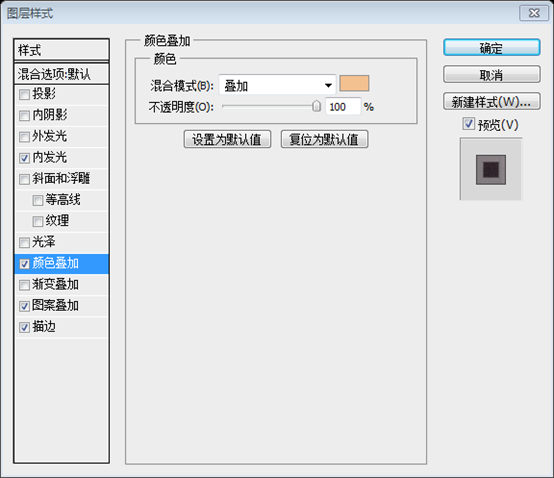
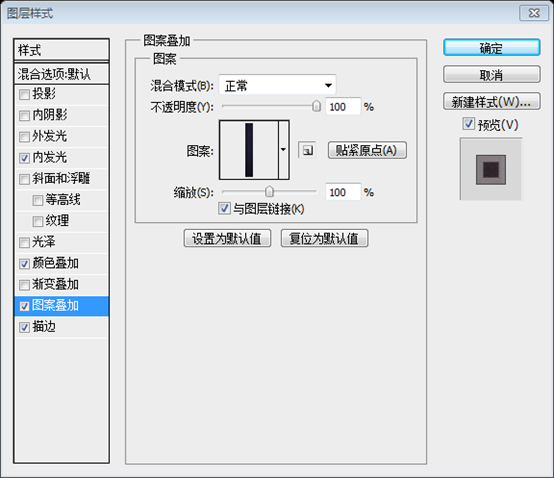
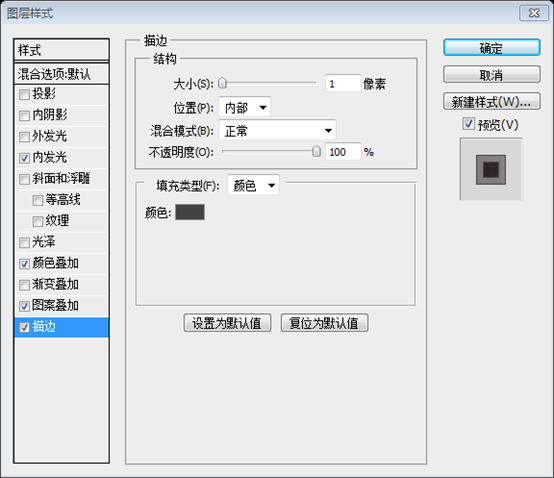
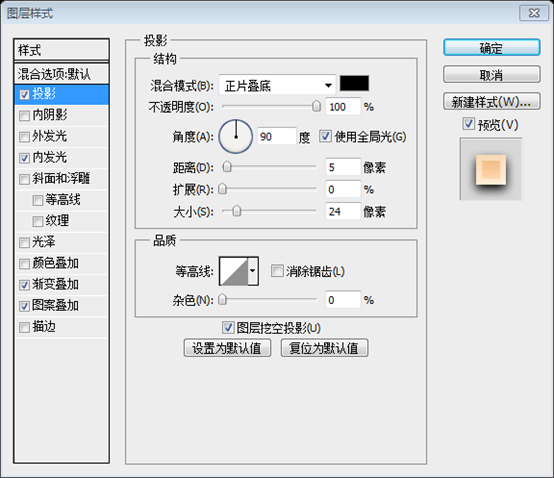
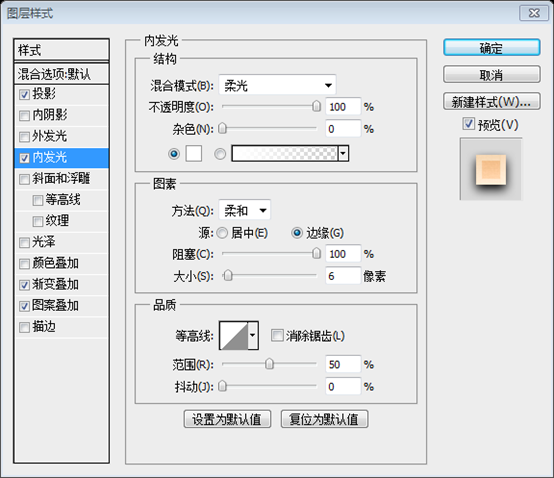
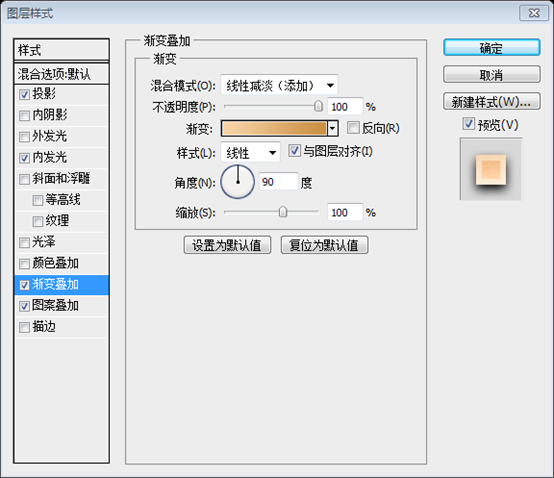
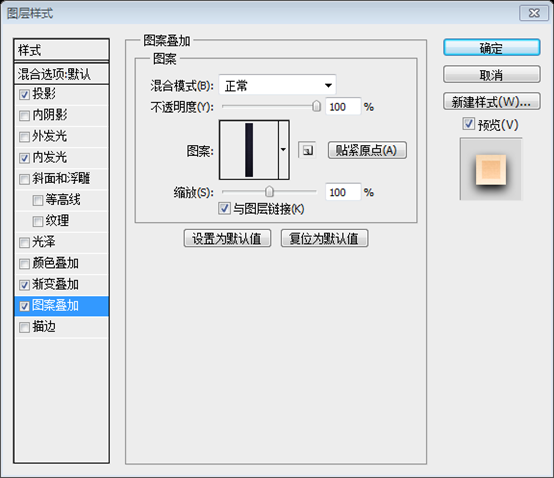
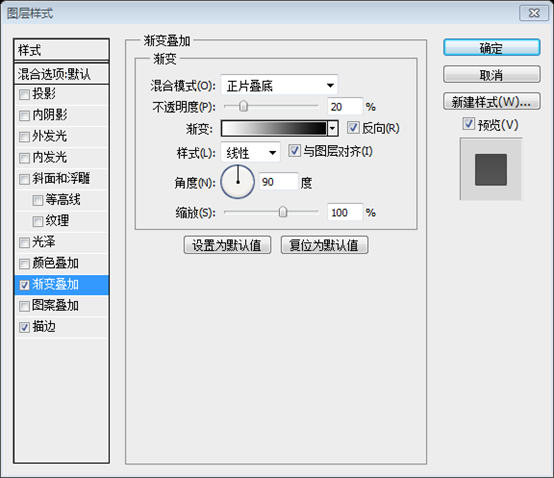
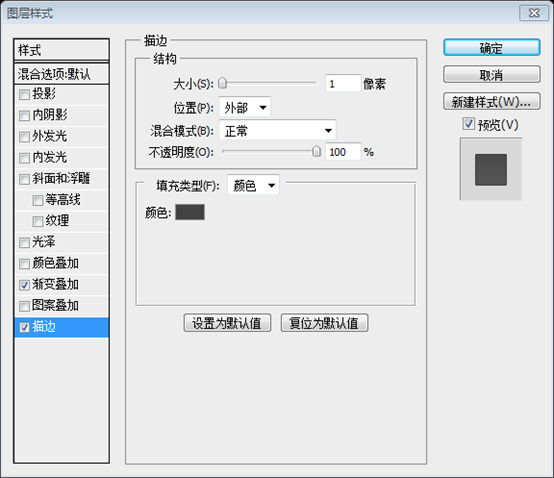
I will add the following layer styles
按照下图添加图层样式
颜色叠加的颜色: #f3c090
描边的颜色: #434343
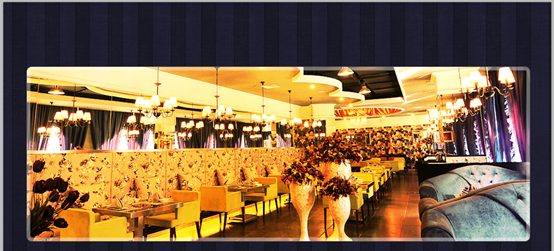
This is my result so far
下面是我的结果
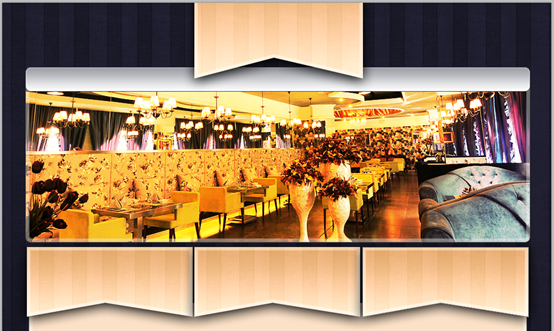
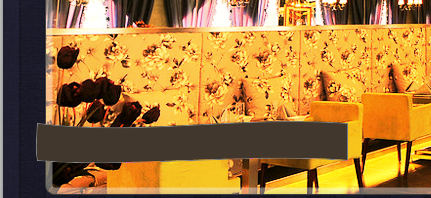
Now it is up to you what you will place here. I will use only a image with a restaurant, but you can create here a nice slide show, or maybe a reservation form.
接下来是准备一些内容在这儿。我只用了一个饭店的图片,但是你可以创建一个漂亮的图片滑动栏,或许有一个预约的表单
注:摆放图片后,在图片的图层上右键选择添加剪贴蒙版。此时必须把前面圆角矩形图层的图层样式中的图案叠加的样式去掉。另之前的颜色叠加选择的颜色使得图片看起来更亮丽,这是因为颜色叠加的颜色选择是偏黄色,和图片的主色调一致。如果图片的主色调是其它的颜色,那么,颜色叠加的颜色也要做相应的修改
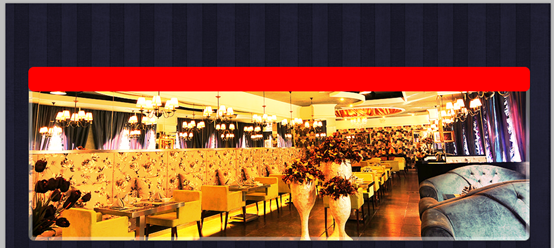
On the top I will create another round shape. this shape will be transformed into a simple menu
在顶部还要创建另一个圆角矩形(42,117,920,45)。该矩形将要变成一个普通的菜单
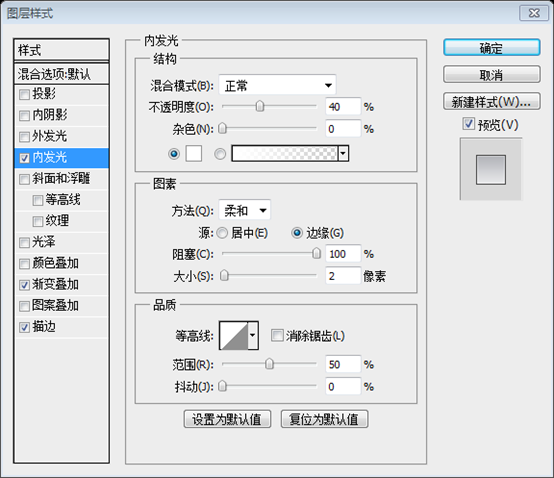
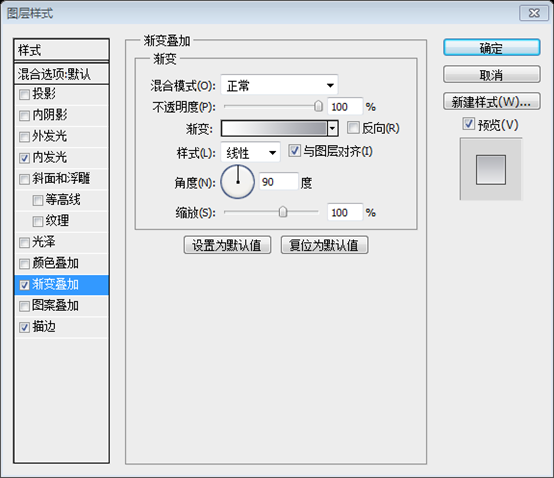
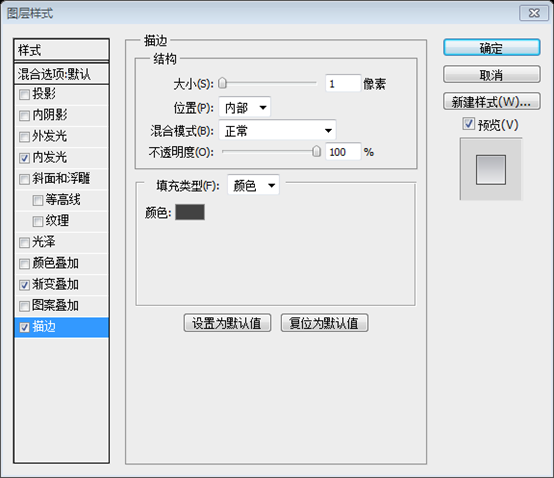
For this layer I will add the following layer styles
按照下图给该图层添加图层样式
渐变叠加的颜色: #9c9ea5
描边的颜色: #424242
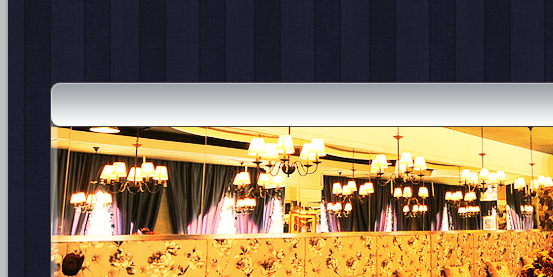
This is my result so far
这是我的结果
I will use one more time Rounded rectangle tool to create three shapes.
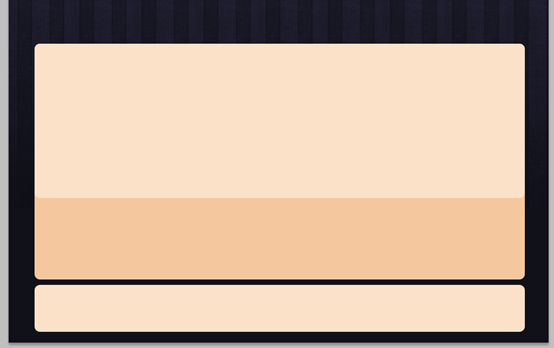
再次用圆角矩形工具创建3个圆角矩形
分别是:(48,546,908,437),颜色: #f4c79f;(48,546,908,286),颜色: #fbe1c7;(48,993,908,87),颜色: #fbe1c7
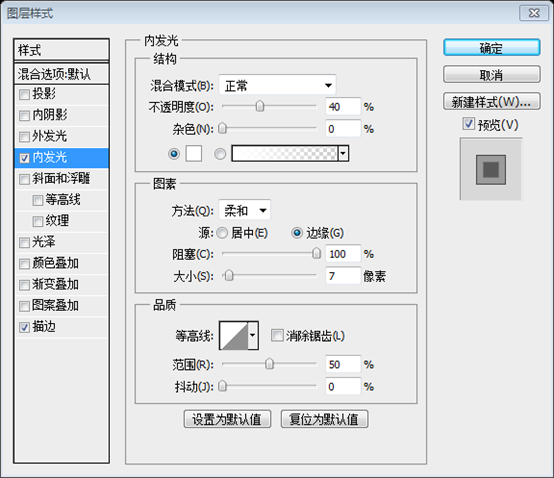
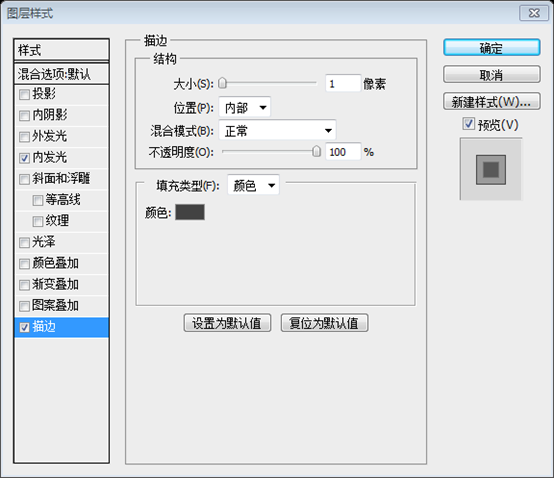
For all these shapes I will use the following layer styles
给这些图层按照下图添加样式
描边的颜色: #424242
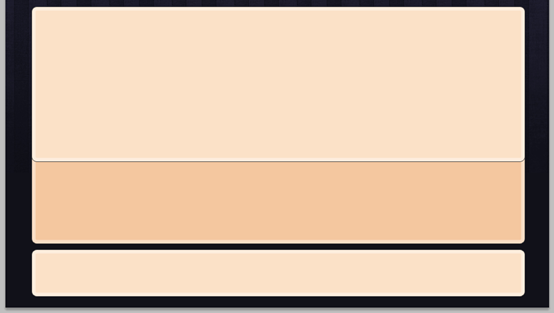
This is my result so far
这是我的结果
Now I will use Pen Tool to create a similar shape like you see in the following image. the easy way to create such a shape is to turn on the Grid (View > Show > Grid )
现在用钢笔工具创建和你看见相似的形状。为了更加简便的创建该形状,你可以打开网格(视图 > 显示 > 网格)
建议:可以使用矩形工具创建一个矩形(350,-52,307,190),然后用添加锚点工具在矩形底边的中部增加一个锚点,并用直接选择工具拖动锚点到合适的位置
I will add the following layer styles for this simple scarf.
按照下图给该形状添加图层样式
渐变叠加的颜色: #f8d3a5、#ca8f43
Here is my result
这是我的结果
I will duplicate this layer several times and I will place the new layers like in the following image. Click to zoom
我要复制该图层多次并按照下图摆放。(要按Ctrl+T自由变形,调整到合适的大小)
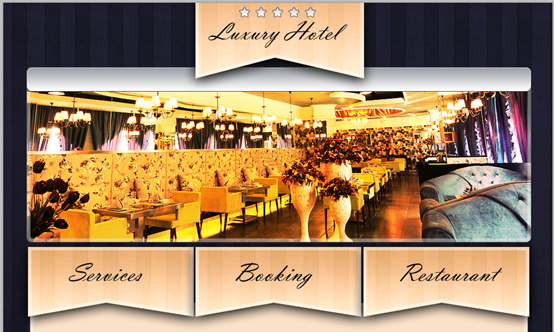
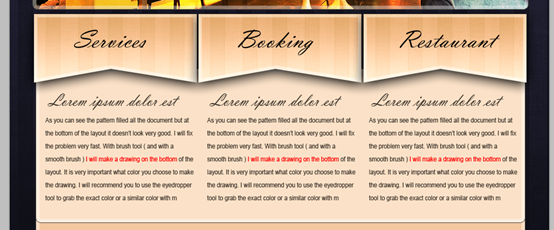
I will add some text and images over this layout.
我将添加一些文字和图片在我的布局上
One more time it will be better if you click on the following image to see better my restaurant / hotel layout
再多一次,如果你点击我的图片,你会发现更好的饭店(酒店)的网页布局
注:这一步原文也是一笔带过,因此,在这里补充完整
用自定义形状工具在布局的顶部创建5个五角星,并对每个五角星添加如下的样式:
描边的颜色: #424242
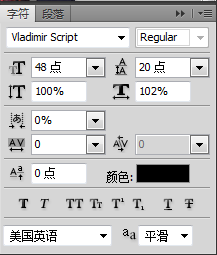
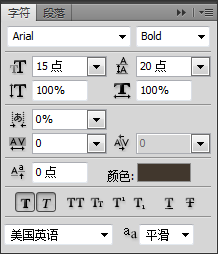
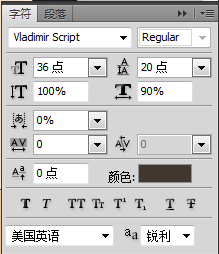
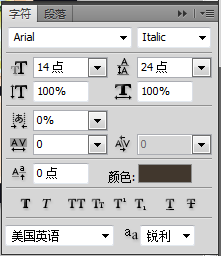
在旗帜上添加合适的文字,字体如下所示:
在菜单栏上添加菜单文字,字体如下,颜色: #41372d
在布局的中央左侧,添加一个标题,和一段文字,颜色: #40372e
标题的字体
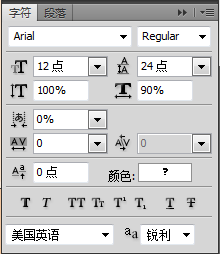
段落文字的字体:
并依次添加另外两个文字块
在布局的底部添加导航链接,字体:
用圆角矩形工具创建四个圆角矩形,分别是(64,837,213,136)、(284,837,213,136)、(504,837,213,136)、(724,837,213,136)
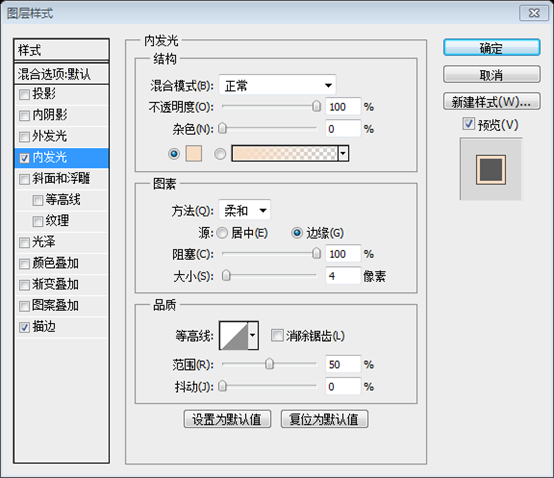
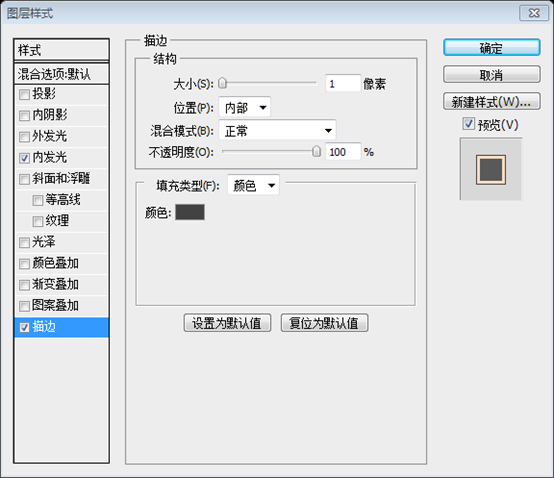
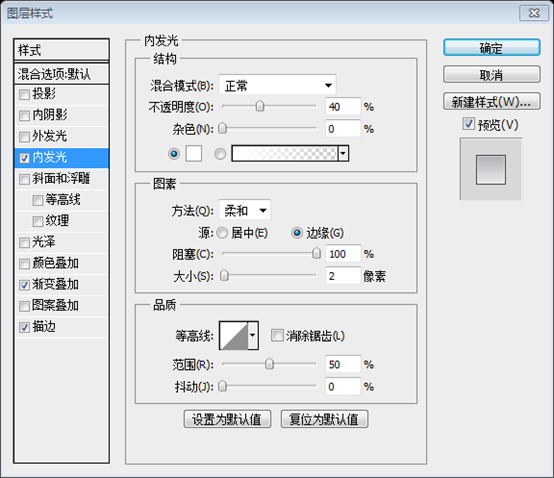
对每个圆角矩形添加如下的图层样式
内发光的颜色: #f8ddc5
描边的颜色: #424242
在每个圆角矩形上摆放一张图片,并在图片图层上右键选择创建剪贴蒙版
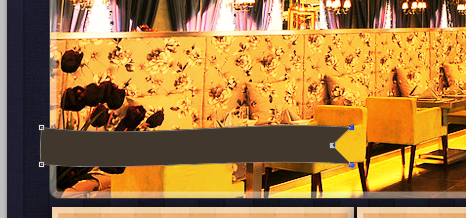
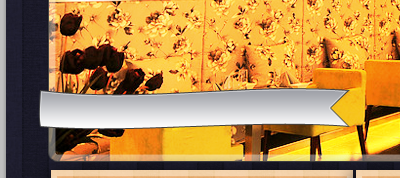
Now I will try to create a scarf on the top of the layout. I will use Pen tool to create something like this
现在,我将尝试创建一条围巾在布局的顶部。我将使用钢笔工具创建这条围巾
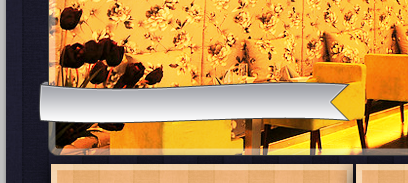
建议:用矩形工具创建一个矩形,按Ctrl+T自由变形,选择变形模式,调整到如下的形状
用添加锚点工具在右侧中部添加一个锚点,并用直接选择工具拖动锚点到合适的位置
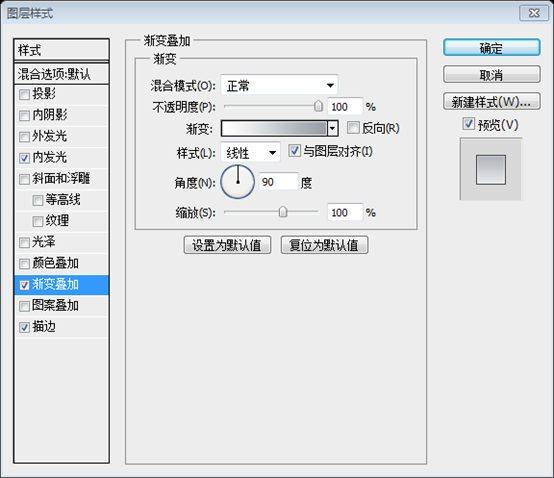
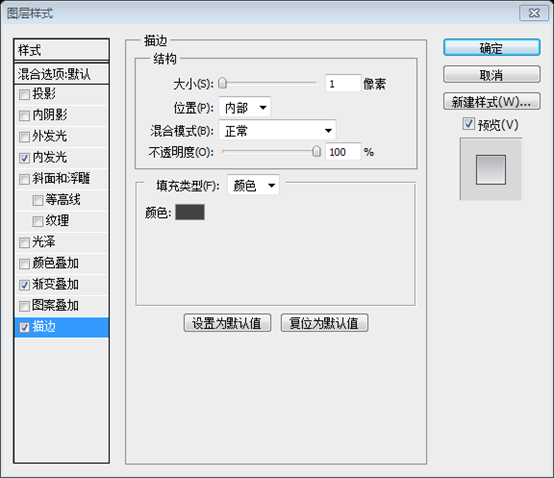
对该图层添加图层样式
渐变叠加的颜色: #9c9ea5
描边的颜色: #424242
As you can see I have used the same layer style I have used for the top menu.
就像你看到的一样,添加的图层样式就和顶部的菜单条的图层样式一样
用椭圆工具创建一个小的圆,在围巾的左上部,已形成围巾的阴影,添加和围巾一样的图层样式,并调整图层的顺序
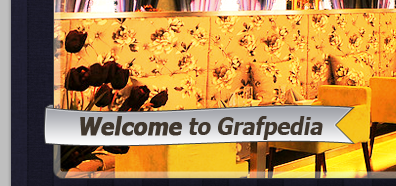
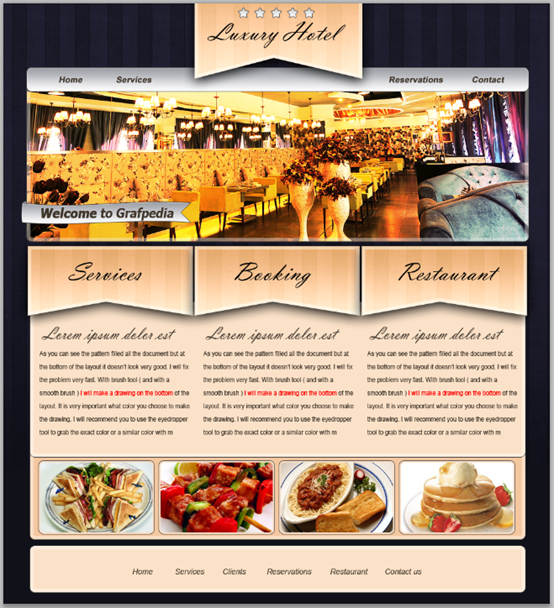
Now I will write down ” Welcome to Grafpedia “. This is my final result
接下来,书写文字Welcome to Grafpedia。这是我的结果
最终结果:
后记:
典雅的木纹特色的网页,充分利用图层样式实现了木纹特效











 5万+
5万+


 被折叠的 条评论
为什么被折叠?


