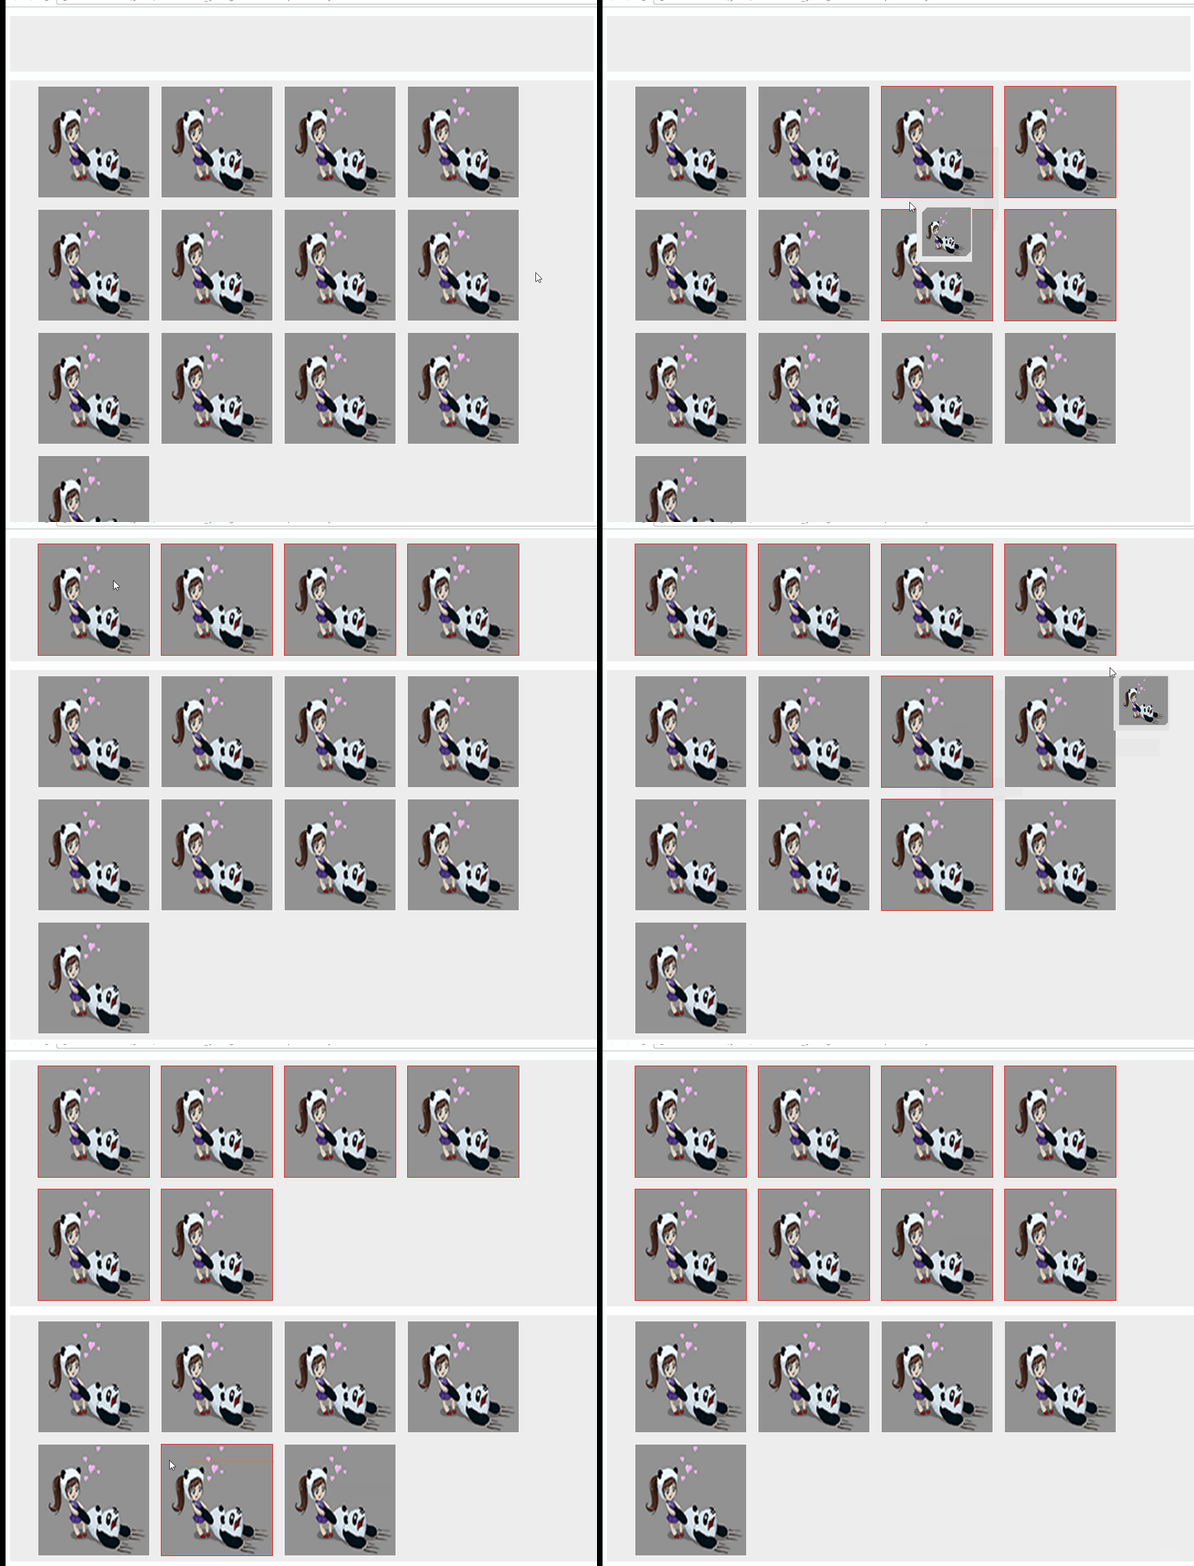
window对文件夹的操作主要包括移动/剪切/复制,本篇文章主要用jQuery来实现,下面一起来了解一下把。
1.先看下效果吧!

2.在添加一个index.html
Titleul{list-style: none;min-height: 100px;min-width: 100px;background: #eee;}
li{width:200px;margin:10px;float:left;height: 200px;background: #ccc;border: 1px solid #fff;overflow: hidden}
.selected{border: 1px solid red}
3.添加插件
上一篇文章里面有 areaSelect.js 框选插件,用于我们框选我们要移动的内容,没有看的同志可以去上一篇复制过来。
添加 OptionFile 操作对象
var OptionFile=(function (opt) {
var o={
width:100, //
height:100,
gapWidth:2
};
var o = $.extend(o,opt),
_body=$('body'),
boxBg='
movingBox='
return {
actionLock:false, //移动锁定
releaseTarget:false, //释放锁定
keyCode:null, //当前按键 键值
//鼠标按下操作
optionDown:function ( selectFile , type , evt ) {
this.releaseTarget=false;
this.getImgList(selectFile);
var currentX=evt.pageX;
var currentY=evt.pageY;
$('.moving-box').css({
top:currentY+10,
left:currentX+10
})
},
//鼠标移动操作
optionMoving:function (selectFile , type , evt ) {
if(this.actionLock){
this.optionDown(selectFile , type , evt );
}
},
getImgList:function (selectFile) {
var length = selectFile .length,
imgWidth = o.width-10-(length)*o.gapWidth,
imgHeight = o.height-10-(length)*o.gapWidth;
if(!this.actionLock){
_body.append(movingBox);
$('.moving-box').append(boxBg);
$.each(selectFile,function (k, v) {
var img = '';
$('.moving-box').append(img);
});
}
this.actionLock=true;
},
//放开鼠标操作(回调函数,返回按键键值和当前目标)
closeOption:function (func) {
var _this= this;
$(document).keydown(function (event) {
_this.keyCode=event.keyCode;
$(document).on('mouseup',function (e) {
if(!_this.releaseTarget){
$('.moving-box').remove();
_this.actionLock=false;
$(document).unbind('mousemove');
_this.releaseTarget=true;
func(e,_this.keyCode); //返回当前 释放的 目标元素 , 和按键code
$(document).unbind('keydown');
_this.keyCode=null;
}
})
});
$(document).trigger("keydown");
$(document).keyup(function (event){
$(document).unbind('keyup');
$(document).unbind('keydown');
_this.keyCode=null;
})
}
}
})
4.绑定函数和操作
$(function () {
$(function () {
$('.test').areaSelect() //框选操作
})
var optionImg= new OptionFile();
$('.test li').on("mousedown",function(e){
if($(this).hasClass('selected')) {
e.preventDefault();
e.stopPropagation();
}
var firstImg = $(this).find('img'),
currentList=$('.test li.selected img'); //框选的图片list,用于移动的时候显示
currentList.push({src:firstImg.attr('src')}); //移动时候的第一张图片
var loop = setTimeout(function () {
optionImg.optionDown(currentList,1,e );
$(document).mousemove(function (e) {
optionImg.optionMoving(currentList,1,e);
optionImg.closeOption(function (e,keycode) {
var target=$(e.target); //目标位置 可以判断目标不同位置执行不同操作
console.log(keycode); //拖拽放开时候是否有按键 keycode 按键的值 可以通过不同的 keycode 来执行不同操作
target.prepend($('.test li.selected'))
});
});
},200);
$(document).mouseup(function () {
clearTimeout(loop);
});
});
})
OK! 现在可以看效果了,插件可以自己扩张和修改。
上面 可以 keycode 不同按键值 完成不同的操作,如 移动、剪切、复制、粘贴等。。
以上就是本文的全部内容,希望对大家的学习有所帮助,也希望大家多多支持脚本之家。


 1万+
1万+


 被折叠的 条评论
为什么被折叠?


