


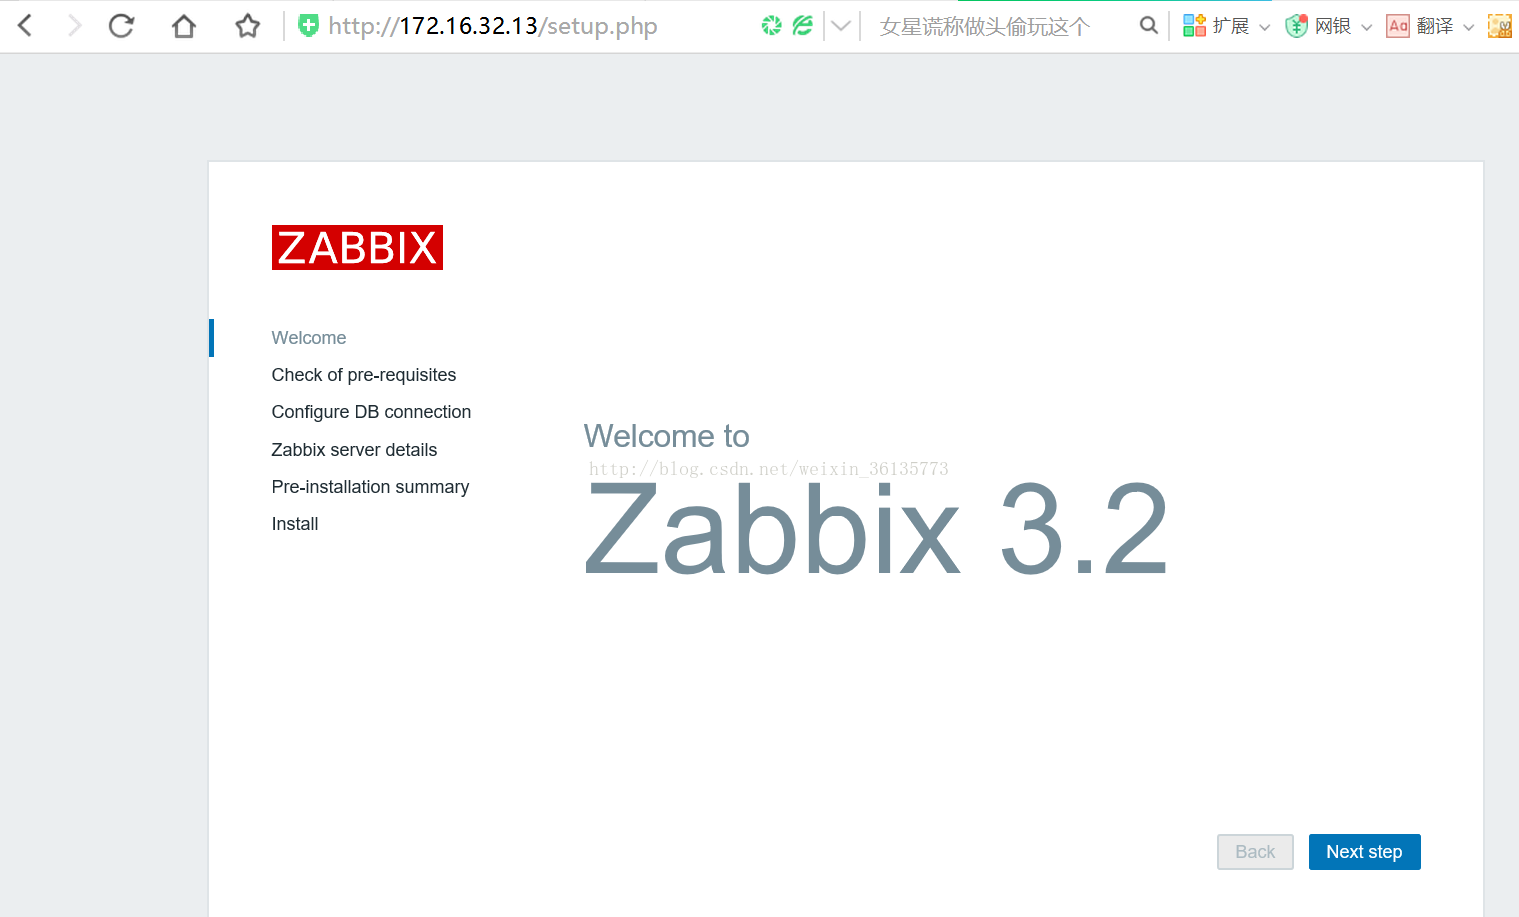
zabbix3.2安装
需要安装包下载:http://download.csdn.net/download/weixin_36135773/10213714
一、搭建LAMP环境
1、使用LAMP的包直接解压在/usr/local/目录下
2、需要使用PHP5.5.11初始化一些.SO的包(后面)
二、安装ZABBIX3.2的server端
1、tar -zxvfzabbix-3.2.4.tar.gz && cdzabbix-3.2.4
2、编译zabbix
[root@nfs1zabbix-3.2.4]# ./configure --prefix=/home/zabbix/ --enable-server--enable-agent--with-mysql=/usr/local/mysql-5.6.25-linux-glibc2.5-x86_64/bin/mysql_config--with-net-snmp --with-libcurl --with-libxml2
看到这个编译成功
***********************************************************
* Now run 'make install' *
* *
* Thank you for using Zabbix! *
* <http://www.zabbix.com> *
***********************************************************
[root@nfs1zabbix-3.2.4]# make && make install
注意:编译过程中的参数
--with-mysql:指定数据库的mysql_config路径
可能需要安装的依赖包:yuminstall net-snmp-devel -y
yum install mysql-devel -y
3、添加用户
useraddzabbix
4、按顺序导入zabbixserver需要的导入3个SQL文件,在安装路径下:
ll/home/soft/zabbix-3.2.4/database/mysql/
#create database zabbix //创建数据库
#grantall privileges on zabbix.* to dlan@'%' identified by 'root123456' //创建ZABBIX 连接数据库用户
#flush privileges;
第一个文件:schema.sql
第二个文件:images.sql
第三个文件:data.sql
12、配置zabbix管理网站(关键点)
1、创建主站家目录
mkdir -p /home/www/zabbix ##(可根据实际来设置)
2、在源安装文件下拷贝文件到家目录
cp -rp frontends/php/* /home/www/zabbix/
cp misc/init.d/tru64/zabbix_agentd /etc/init.d/
cp misc/init.d/tru64/zabbix_server /etc/init.d/
chmod+x /etc/init.d/zabbix*
3、编辑替换apache文件httpd.confhttpd-vhost.conf
# cd/usr/local/apache/conf/
替换httpd.conf并修改 vimhttpd.conf
52Listen 192.168.21.129:80
190ServerName 192.168.21.129:80
修改这2行即可
#进入cd/usr/local/apache/conf/extra/ 替换httpd-vhost.conf修改如下信息:
52 <VirtualHost *:80>
53 AddDefaultCharset UTF-8
54 DocumentRoot "/home/www/zabbix" ##刚刚创建的家目录
55 #ServerName mysqlmtop1.gamebar.com
56 <Directory "/home/www/zabbix">
57 Options FollowSymLinks
58 AllowOverride All
59 Order allow,deny
60 Allow from All
61 </Directory>
62 ErrorLog "|/usr/local/apache/bin/rotatelogs/home/logs/apache/php_%Y%m%d_error.log 86400 480"
63 CustomLog "|/usr/local/apache/bin/rotatelogs /home/logs/apache/php_%Y%m%d_access.log86400 480" common
64 </VirtualHost>
13、由于httpd.cnf 使用用户权限为daemon,所以给家目录的权限也为daemon
chown -R daemon.daemon /home/www/zabbix
14、配置zabbixserver端的文件#安装目录下 zabbix_server.conf
##重点配置
DBHost=192.168.21.129
DBName=zabbix
DBUser=load_data
DBPassword=root123
##根据需求配置可不配置
StartPollers=30 #开启多线程数,一般不要超过30个
StartTrappers=20 #trapper线程数
StartPingers=10 #fping线程数
StartDiscoverers=120
MaxHousekeeperDelete=5000
CacheSize=1024M #用来保存监控数据的缓存数,根据监控主机的数量适当调整
StartDBSyncers=8 #数据库同步时间
HistoryCacheSize=1024M
TrendCacheSize=128M #总趋势缓存大小
HistoryTextCacheSize=512M
LogSlowQueries=1000
15、启动服务
/usr/local/apache/bin/apachectl start
##根据每个环境不同,可能启动有报错,如
httpd: Syntax error on line 148 of/usr/local/apache/conf/httpd.conf: Cannot load modules/libphp5.so into server:libX11.so.6: cannot open shared object file: No such file or directory
解决办法: yum -y install libXpm
#echo "/usr/bin/lib" >>/etc/ld.so.conf
#ldconfig
/home/zabbix/sbin/zabbix_server -c /home/zabbix/etc/zabbix_server.conf
启动报错:/home/zabbix/sbin/zabbix_server: error while loading sharedlibraries: libmysqlclient.so.20: cannot open shared object file: No such fileor directory
#echo"/usr/local/mysql/lib" >> /etc/ld.so.conf
#ldconfig
发现有红色的错误
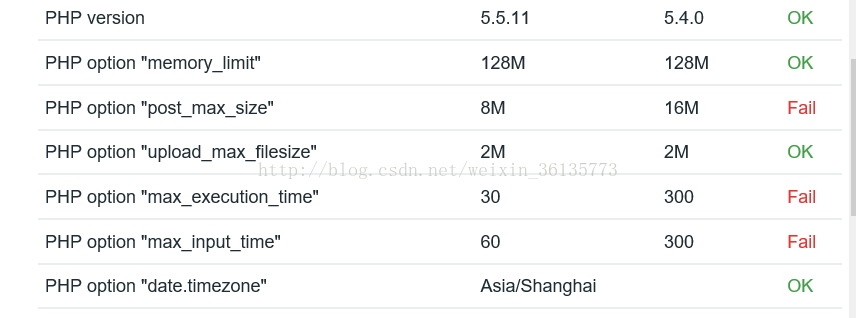
根据需求修改配置文件/usr/local/php/etc/php.ini 然后重启apache服务
[root@host-172-16-32-13 etc]#/usr/local/apache/bin/apachectl stop
[root@host-172-16-32-13 etc]#/usr/local/apache/bin/apachectl start
解决问题了,然后解决SOCKET问题
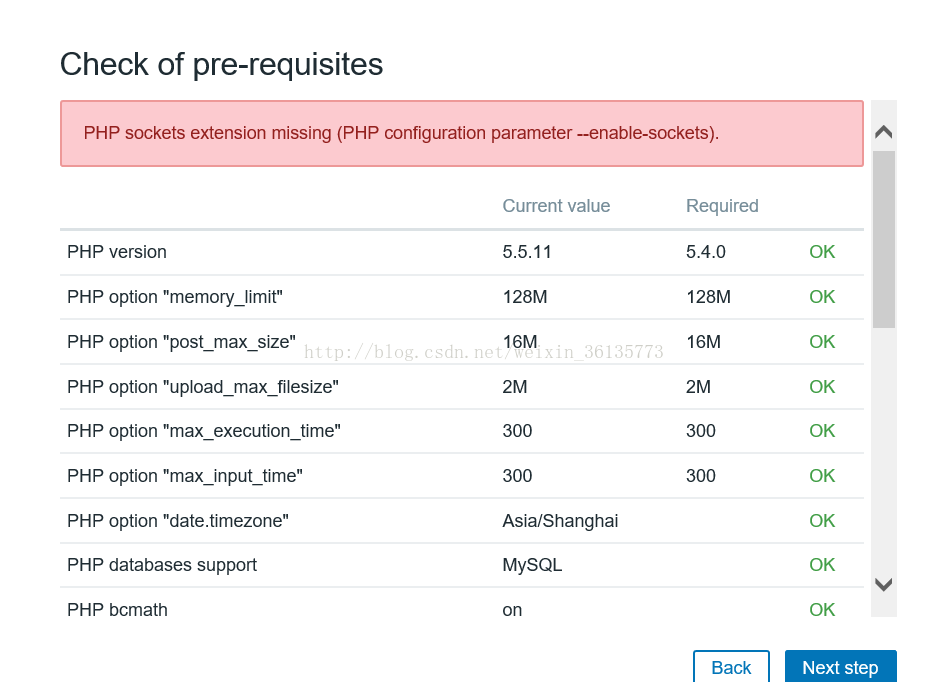
这个需要重新编译下已经提供的php.5.5.11的包
[root@host-172-16-32-13 ~]# tar -zxvfphp-5.5.11.tar.gz
[root@host-172-16-32-13 ~]# cd php-5.5.11
##编译支持SOCKET,进入PHP解压包目录下
#cd /root/php-5.5.11/ext/sockets
执行lamp解压包下php的命令
#/usr/local/php/bin/phpize
Configuring for:
PHP Api Version: 20121113
Zend Module Api No: 20121212
Zend Extension Api No: 220121212
有输出说明OK
执行:
[root@host-172-16-32-13 sockets]# ./configure--prefix=/usr/local/php/lib --with-php-config=/usr/local/php/bin/php-config--enable-sockets
看到信息
creating libtool
appending configuration tag "CXX"to libtool
configure: creating ./config.status
config.status: creating config.h
[root@host-172-16-32-13 sockets]# make&& make install
编译成功输出信息:
Libraries have been installed in:
/root/php-5.5.11/ext/sockets/modules
If you ever happen to want to link againstinstalled libraries
in a given directory, LIBDIR, you musteither use libtool, and
specify the full pathname of the library,or use the `-LLIBDIR'
flag during linking and do at least one ofthe following:
-add LIBDIR to the `LD_LIBRARY_PATH' environment variable
during execution
-add LIBDIR to the `LD_RUN_PATH' environment variable
during linking
-use the `-Wl,--rpath -Wl,LIBDIR' linker flag
-have your system administrator add LIBDIR to `/etc/ld.so.conf'
See any operating system documentationabout shared libraries for
more information, such as the ld(1) andld.so(8) manual pages.
----------------------------------------------------------------------
Build complete.
Don't forget to run 'make test'.
Installing shared extensions: /usr/local/php/lib/php/extensions/no-debug-zts-20121212/
Installing header files: /usr/local/php/include/php/
修改配置文件添加2行信息:
vim /usr/local/php/etc/php.ini
extension_dir="/usr/local/php/lib/php/extensions/no-debug-zts-20121212/"
733extension=sockets.so
重启apache服务
[root@host-172-16-32-13 sockets]#/usr/local/apache/bin/apachectl stop
[root@host-172-16-32-13 sockets]#/usr/local/apache/bin/apachectl start
解决问题,按要求输入信息,最后:

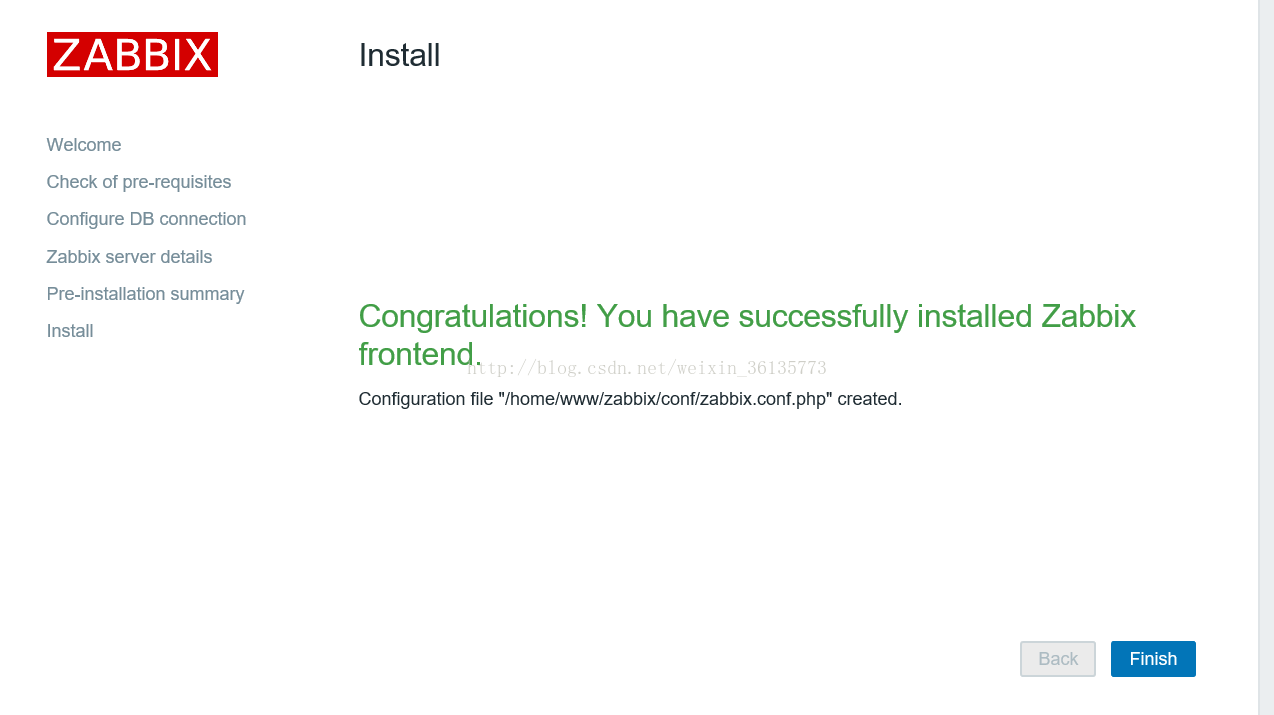
第一次默认登陆用户名和密码admin/zabbix


 3984
3984


 被折叠的 条评论
为什么被折叠?
被折叠的 条评论
为什么被折叠?
 到【灌水乐园】发言


