


一、实验环境
需要两台主机并且保证这两台主机是可以通信的
lyx_client:172.25.254.105
linux_server:172.25.254.205
关闭火墙!!
systemctl disable --now firewalld
关闭火墙后要重新加载下
二、scp & rsync 命令
1. scp命令
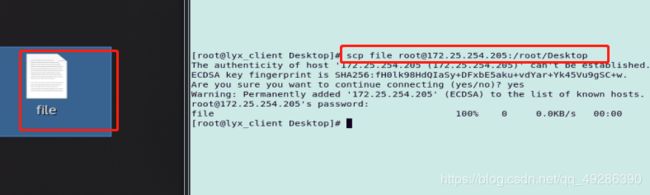
把本地文件复制到远程主机 (上传)
scp file root@172.25.254.205:/root/Desktop
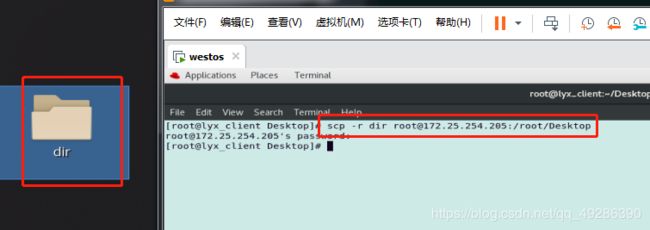
复制文件给远程文件
scp -r dir root@172.25.254.205:/root/Desktop
-r 表示复制目录给远程主机
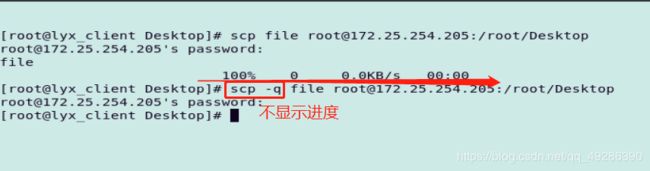
scp -q file root@172.25.254.205:/root/Desktop
-q 传输文件时不显示进度
先在一台主机上建立实验素材: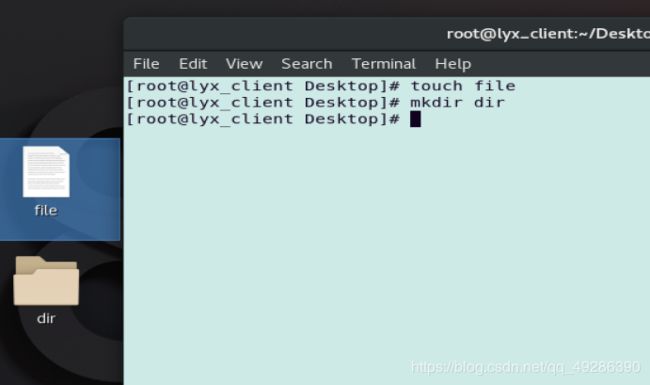
scp file root@172.25.254.205:/root/Desktop(复制文件给远程文件)
scp -r dir root@172.25.254.205:/root/Desktop ( -r 表示复制目录给远程主机)
scp -q file root@172.25.254.205:/root/Desktop ( -q 传输文件时不显示进度)
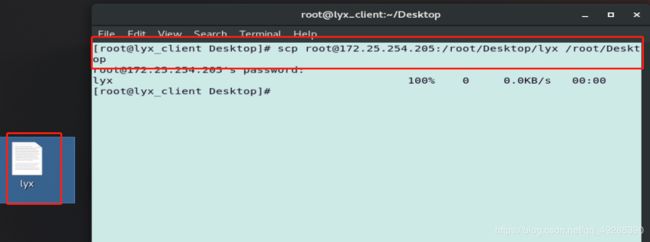
把远程文件复制到本地(下载)
scp root@172.25.254.205:/root/Desktop/file /root/Desktop (把远程主机里的文件复制到本地)
2.rsync命令
rsync -r
复制目录
rsync -l
复制链接
rsync -p
复制权限
rsync -t
复制时间戳
rsync -o
复制拥有者
rsync -g
复制拥有组
rsync -D
复制设备文件
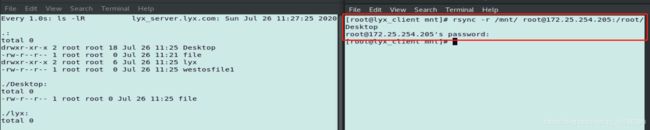
rsync -r /mnt root@172.25.254.205:/root/Desktop (同步目录本身其目录中的文件)
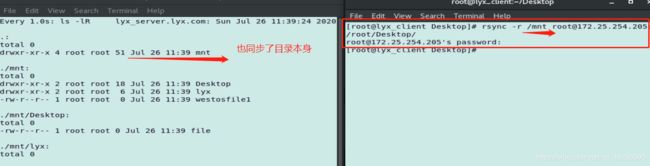
rsync -r /mnt/ root@172.25.254.205:/root/Desktop (同步目录本身其目录中的文件)
rsync -rl /mnt root@172.25.254.205:/root/Desktop/ (同步链接 )

rsync -rp root@172.25.254.205:/root/Desktop/ /mnt (同步权限)

rsync -ro /mnt root@172.25.254.205:/root/Desktop/ (同步用户 )

rsync -rg /mnt root@172.25.254.205:/root/Desktop/ (同步用户组 )

rsync -rt /mnt root@172.25.254.205:/root/Desktop/ (同步时间 )

rsync -rD /mnt root@172.25.254.205:/dev/pts (同步设备文件 )

3.scp与rsync命令的对比
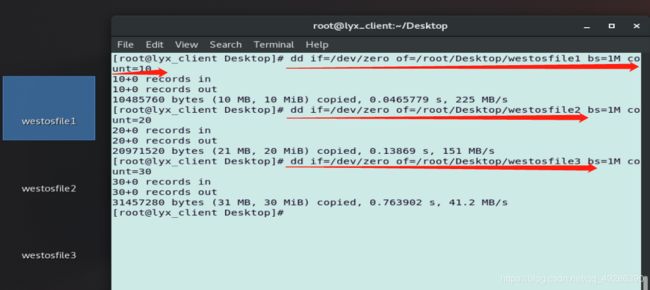
1)先建立实验素材:
dd if=/dev/zero of=/root/Desktop/westosfile1 bs=1M count=10
dd=截取;if=inputfile;of=outputfile;bs=blocksize;count=块的个数
2)在主机之间建立免密登陆使远程文件传输可以直接执行 :

ssh-copy-id -i /root/.ssh/id_rsa.pub. root@172.25.254.205 给远程主机上锁
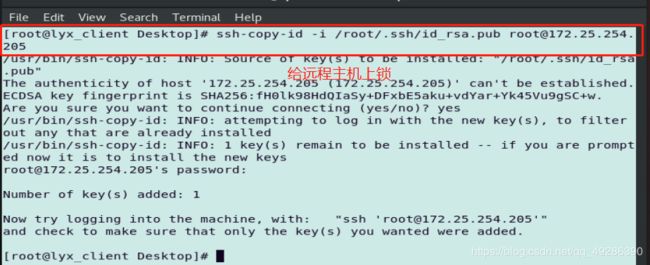
这时在向远程主机传输文件时就不用每次都登密码了
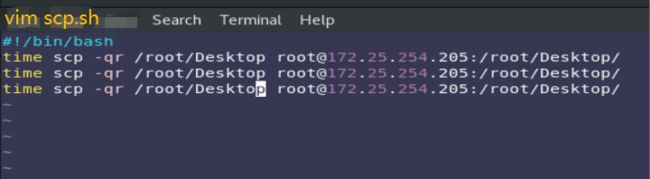
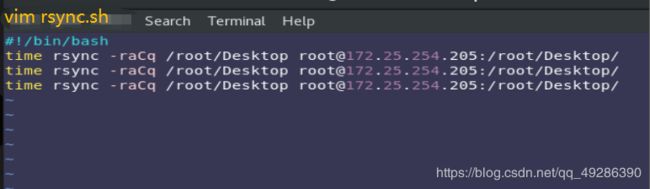
3)创建测试脚本
4)执行(检测传输时间)
scp:
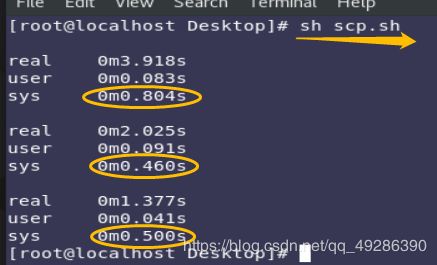 以上执行结果可以看出,scp三次执行时间差不多
rsync:
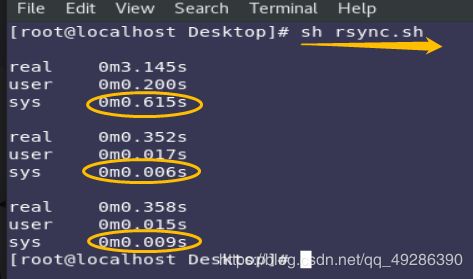
以上执行结果可以看出,rsync三次执行时间后两次远远小于前两次
三、文件的归档与压缩
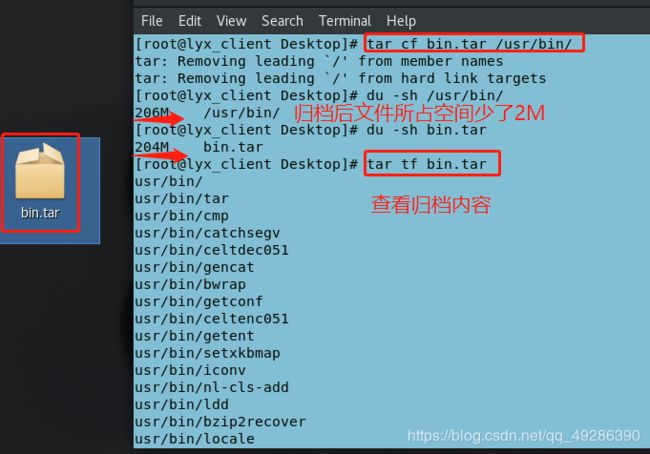
1.文件的归档
tar c
创建
tar f
指定文件名称
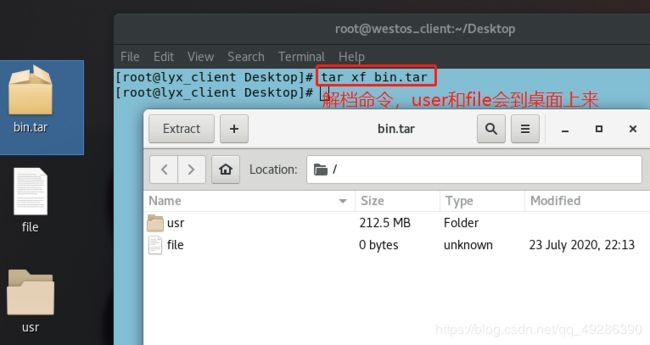
tar x
解档
tar v
显示过程
tar t
查看
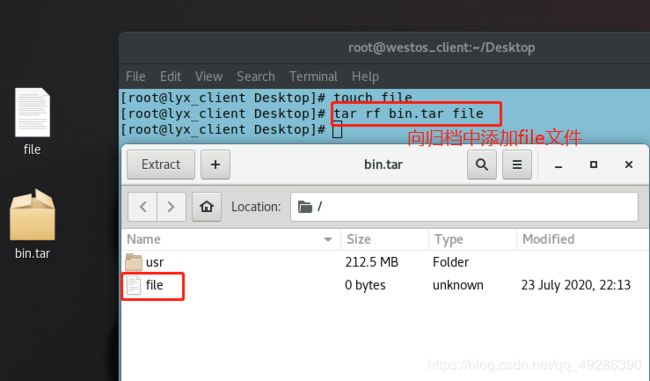
tar r
向归档文件中添加文件
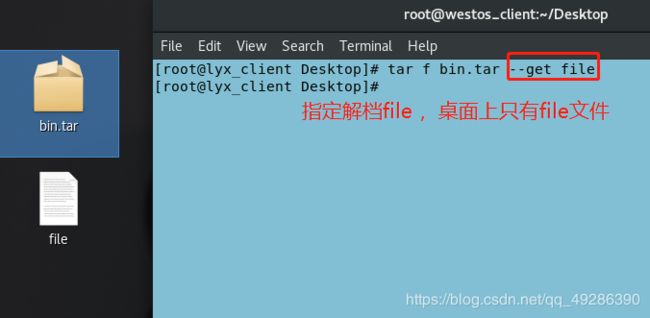
tar --get
解档指定文件
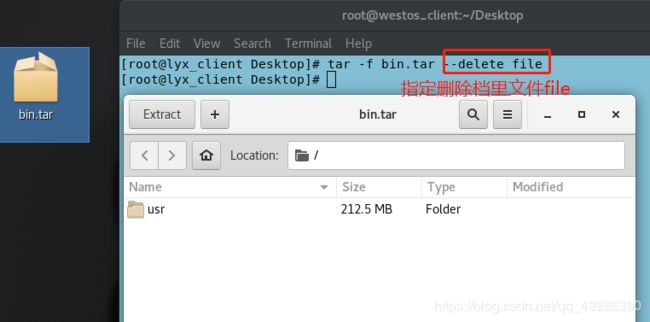
tar --delete
删除指定文件
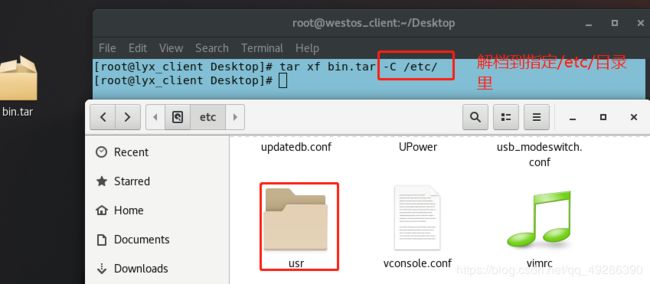
tar -C
指定解档路径
tar cf bin.tar
tar tf bin.tar
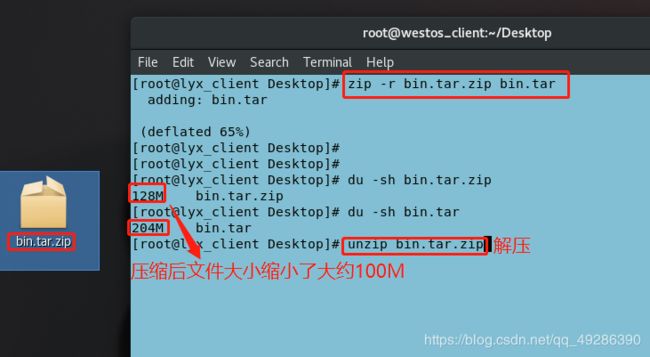
2. 文档的压缩
zip格式
gz格式
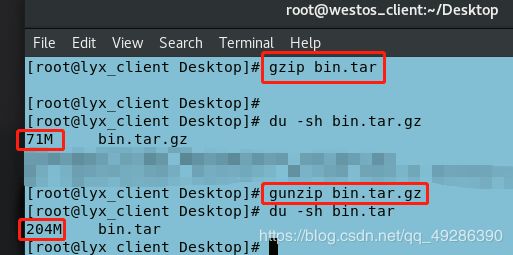
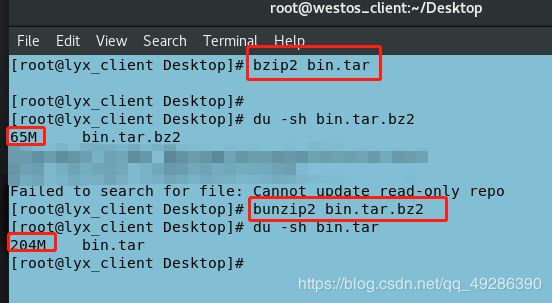
bz2格式
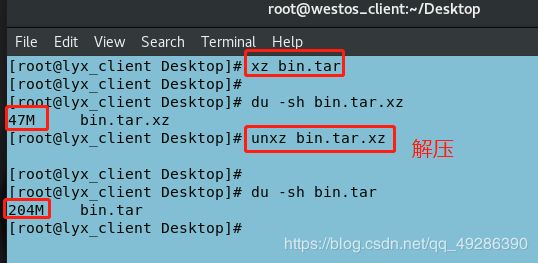
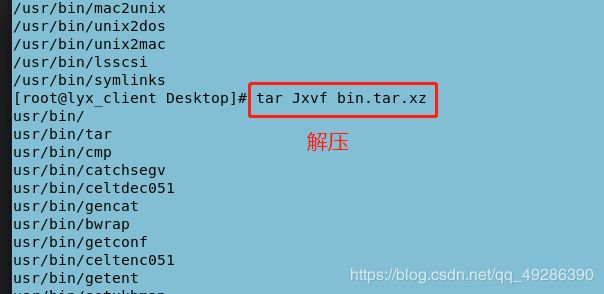
xz格式
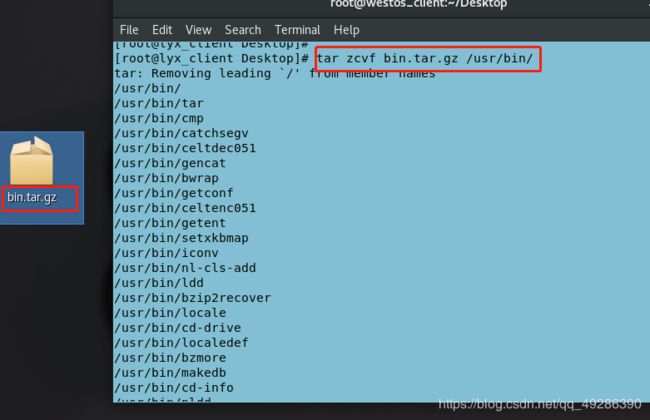
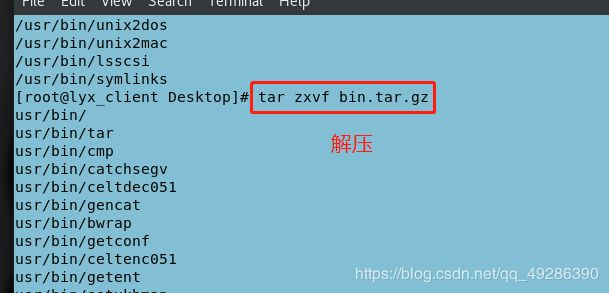
3.归档压缩一步完成
gz:
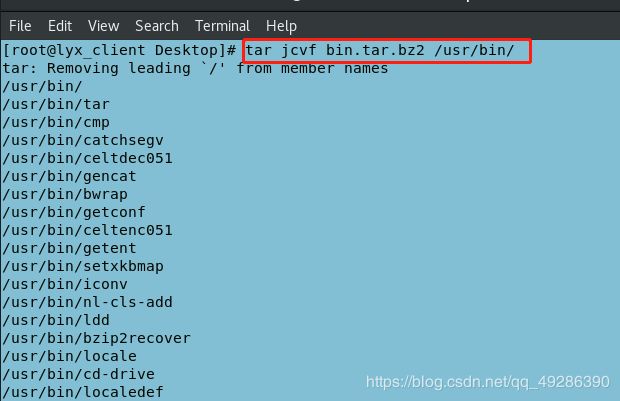
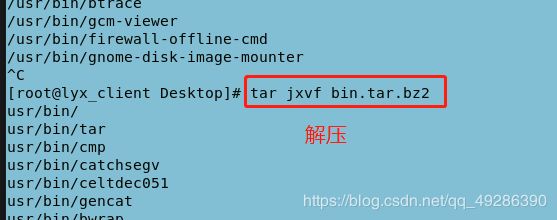
bz2:
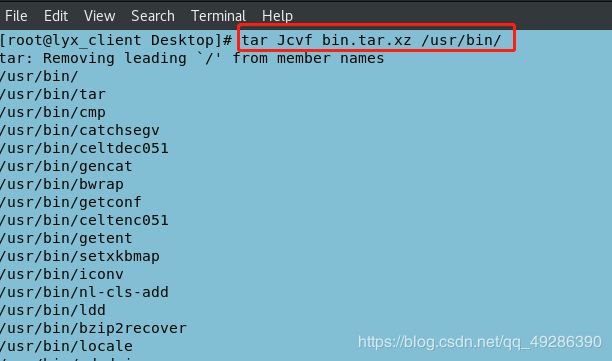
xz:


 4445
4445


 被折叠的 条评论
为什么被折叠?
被折叠的 条评论
为什么被折叠?
 到【灌水乐园】发言


