


上一篇《百度消息推送REST API探究》中了解了如何使用REST API推送消息,这一篇我们来看一下百度消息推送为我们提供的SDK.
我们先来看一下服务端SDK
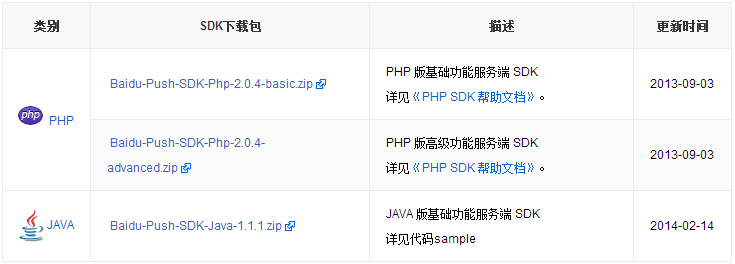
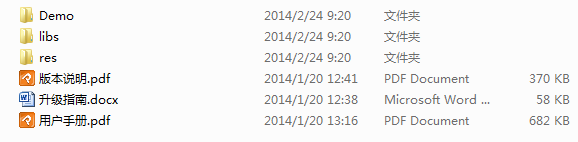
下载解压后的目录结构
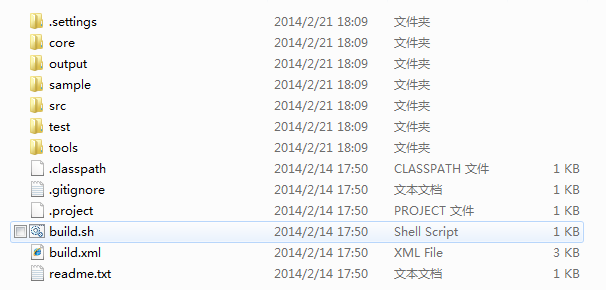
还是前面提到的那句话,先看sample
package test;
import com.baidu.yun.channel.auth.ChannelKeyPair;
import com.baidu.yun.channel.client.BaiduChannelClient;
import com.baidu.yun.channel.exception.ChannelClientException;
import com.baidu.yun.channel.exception.ChannelServerException;
import com.baidu.yun.channel.model.PushBroadcastMessageRequest;
import com.baidu.yun.channel.model.PushBroadcastMessageResponse;
import com.baidu.yun.channel.model.PushUnicastMessageRequest;
import com.baidu.yun.channel.model.PushUnicastMessageResponse;
import com.baidu.yun.core.log.YunLogEvent;
import com.baidu.yun.core.log.YunLogHandler;
public class AndroidPushNotificationSample {
public static void main(String[] args) {
/*
* @brief 推送单播通知(Android Push SDK拦截并解析) message_type = 1 (默认为0)
*/
// 1. 设置developer平台的ApiKey/SecretKey
String apiKey = "自己的apiKey";
String secretKey = "自己的secretKey";
ChannelKeyPair pair = new ChannelKeyPair(apiKey, secretKey);
// 2. 创建BaiduChannelClient对象实例
BaiduChannelClient channelClient = new BaiduChannelClient(pair);
// 3. 若要了解交互细节,请注册YunLogHandler类
channelClient.setChannelLogHandler(new YunLogHandler() {
@Override
public void onHandle(YunLogEvent event) {
System.out.println(event.getMessage());
}
});
try {
// 4. 创建请求类对象
// 手机端的ChannelId, 手机端的UserId, 先用1111111111111代替,用户需替换为自己的
PushBroadcastMessageRequest request = new PushBroadcastMessageRequest();
//PushUnicastMessageRequest request = new PushUnicastMessageRequest();
request.setDeviceType(3); // device_type => 1: web 2: pc 3:android
// 4:ios 5:wp
//request.setChannelId(3721876992860457831L);
//request.setUserId("1105477905904433716");
request.setMessageType(1);
request.setMessage("{"title":"大碗干拌","description":"欢迎访问大碗干拌的CSDN博客"}");
// 5. 调用pushMessage接口
/* PushUnicastMessageResponse response = channelClient
.pushUnicastMessage(request);
*/
PushBroadcastMessageResponse response = channelClient.pushBroadcastMessage(request);
// 6. 认证推送成功
System.out.println("push amount : " + response.getSuccessAmount());
} catch (ChannelClientException e) {
// 处理客户端错误异常
e.printStackTrace();
} catch (ChannelServerException e) {
// 处理服务端错误异常
System.out.println(String.format(
"request_id: %d, error_code: %d, error_message: %s",
e.getRequestId(), e.getErrorCode(), e.getErrorMsg()));
}
}
}例子很简单,从名字上就能看出作用,这里就不啰嗦了。
下面我们来看看客户端的SDK
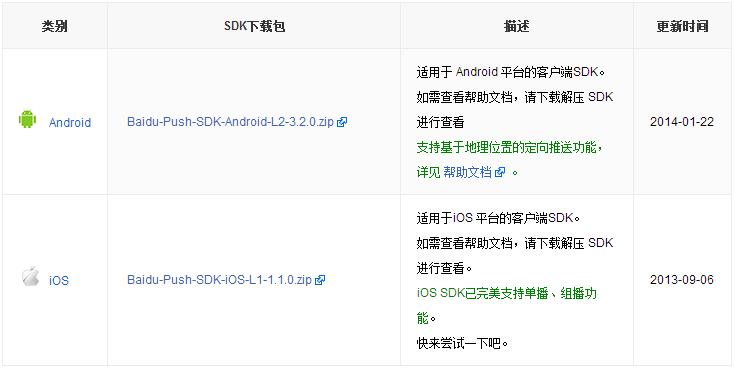
下载Android端SDK后解压如下
从用户手册中我们可以看到,Android Push服务以后台service方式运行,如果某个手机中集成了多个百度推送服务,为了减少内存和和功耗,只有一个后台service来共享Push通道。
接下来来看一下用户手册:
根据用户手册上的描述,我做了一个最简Demo,这个demo完全可以满足一般需求。
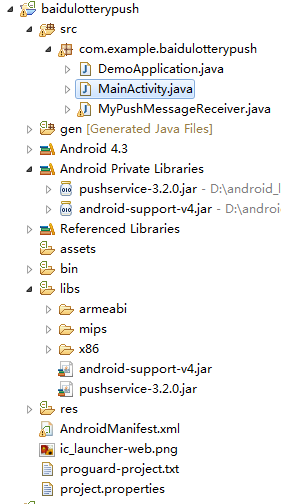
MainActivity.java
public class MainActivity extends Activity {
@Override
protected void onCreate(Bundle savedInstanceState) {
super.onCreate(savedInstanceState);
setContentView(R.layout.activity_main);
// 以apikey的方式登录,一般放在主Activity的onCreate中
PushManager.startWork(getApplicationContext(),
PushConstants.LOGIN_TYPE_API_KEY, "自己的apikey");
}
}PushReciver.java
package com.example.baidulotterypush;
import android.content.BroadcastReceiver;
import android.content.Context;
import android.content.Intent;
import android.util.Log;
import android.widget.Toast;
import com.baidu.android.pushservice.PushConstants;
public class MyPushMessageReceiver extends BroadcastReceiver{
private static final String TAG = "大碗干拌";
@Override
public void onReceive(Context context, Intent intent) {
if (intent.getAction().equals(PushConstants.ACTION_MESSAGE)) {
} else if (intent.getAction().equals(PushConstants.ACTION_RECEIVE)) {
} else if (intent.getAction().equals(
PushConstants.ACTION_RECEIVER_NOTIFICATION_CLICK)) {
Log.i(TAG, "title = " + intent.getStringExtra(PushConstants.EXTRA_NOTIFICATION_TITLE));
Log.i(TAG, "content = " + intent.getStringExtra(PushConstants.EXTRA_NOTIFICATION_CONTENT));
}
}
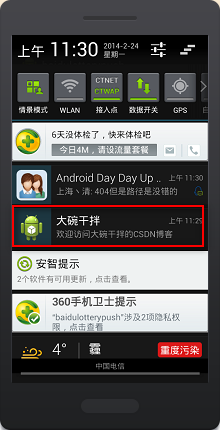
}运行结果:


 3721
3721


 被折叠的 条评论
为什么被折叠?
被折叠的 条评论
为什么被折叠?
 到【灌水乐园】发言


