


1、在pom.xml文件中添加swagger的jar包:
<!--swagger 文档注释 -->
<dependency>
<groupId>io.springfox</groupId>
<artifactId>springfox-swagger2</artifactId>
<version>2.7.0</version>
</dependency>
<dependency>
<groupId>io.springfox</groupId>
<artifactId>springfox-swagger-ui</artifactId>
<version>2.7.0</version>
</dependency>
<!--swagger -->
2、添加读取swagger的读取的配置类
import java.lang.annotation.Annotation;
import java.util.ArrayList;
import java.util.List;
import org.springframework.context.annotation.Bean;
import org.springframework.context.annotation.Configuration;
import org.springframework.web.bind.annotation.RestController;
import springfox.documentation.service.Parameter;
import springfox.documentation.builders.ApiInfoBuilder;
import springfox.documentation.builders.PathSelectors;
import springfox.documentation.builders.RequestHandlerSelectors;
import springfox.documentation.service.ApiInfo;
import springfox.documentation.spi.DocumentationType;
import springfox.documentation.spring.web.plugins.Docket;
import springfox.documentation.swagger2.annotations.EnableSwagger2;
@Configuration
@EnableSwagger2
public class Swagger2Config {
@Bean
public Docket createRestApi() {
List<Parameter> pars = new ArrayList<Parameter>();
return new Docket(DocumentationType.SWAGGER_2)
.apiInfo(apiInfo())
.select()
.apis(RequestHandlerSelectors.withClassAnnotation((Class<? extends Annotation>) RestController.class))
.paths(PathSelectors.any())
.build()
.globalOperationParameters(pars)
.apiInfo(apiInfo());
}
private ApiInfo apiInfo() {
return new ApiInfoBuilder()
.title(" RESTful API")
.description("展示先做基础功能,后面再添加业务")
.termsOfServiceUrl("")
.version("1.0")
.build();
}
}
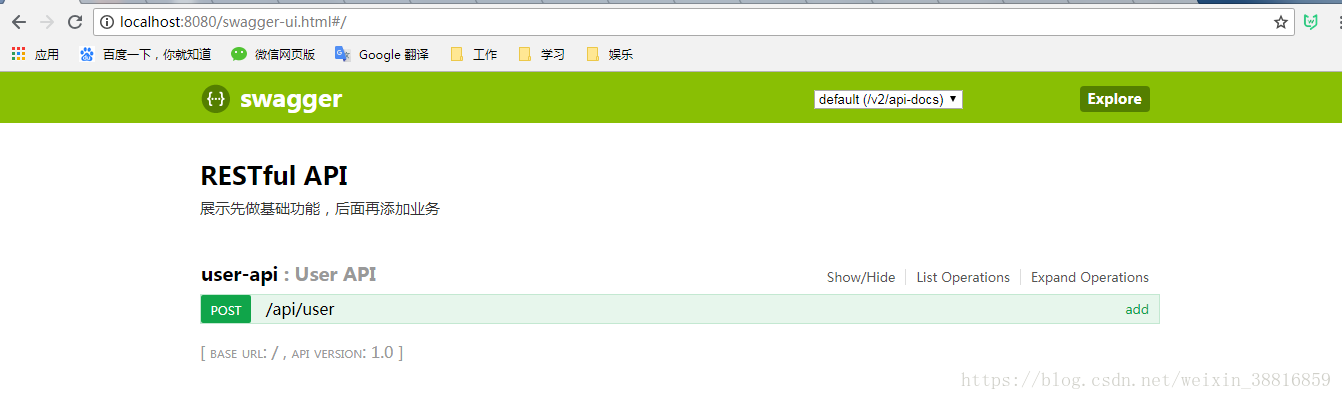
3、在浏览器中访问swagger的url:http://localhost:8080/swagger-ui.html#/。
4、dugger启动就可以调测自己的对应借口。


 2028
2028


 被折叠的 条评论
为什么被折叠?
被折叠的 条评论
为什么被折叠?
 到【灌水乐园】发言


