


本文主要介绍了CentOS系统的阿里云ECS服务器中数据盘的格式化和挂载多分区ext4格式的文件系统。
版本 操作系统:CentOS 7.2 64位
适合人群:linux运维人员
步骤
查看文件系统的使用情况:
通过"df -h "命令查看当前文件系统的使用情况,可以观察到文件系统的名称、总容量、已用、可用、使用比例、挂载点等信息。
命令:
[user1@iz8vb62snc6e5cage5yvz9z /]$ df -h
文件系统的名称 总容量 已用 可用 使用比例 挂载点
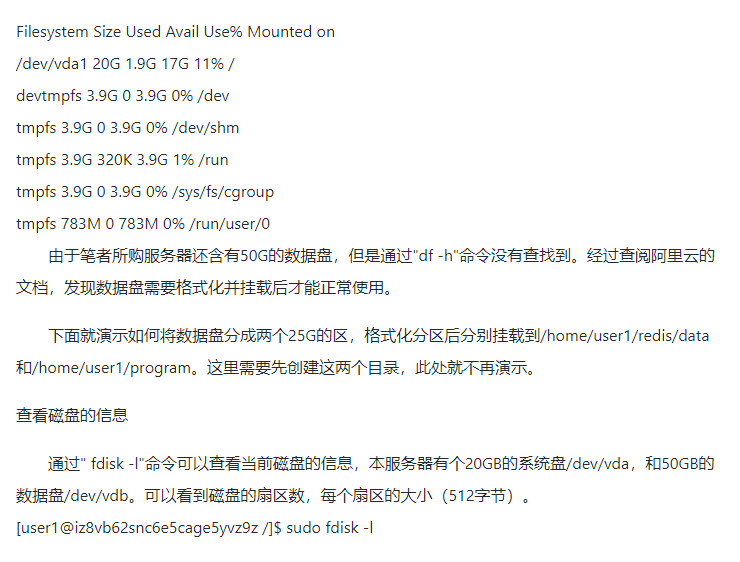
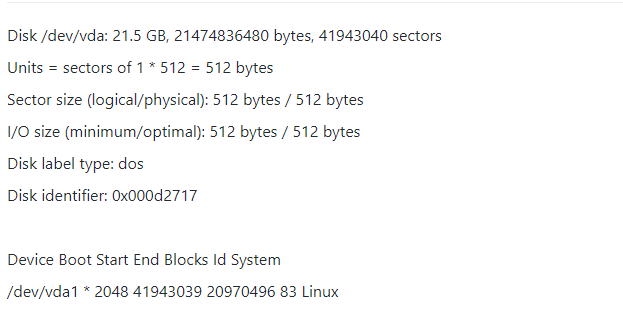
20G系统盘/dev/vda
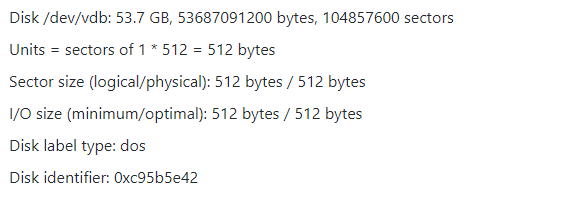
50GB的数据盘/dev/vdb
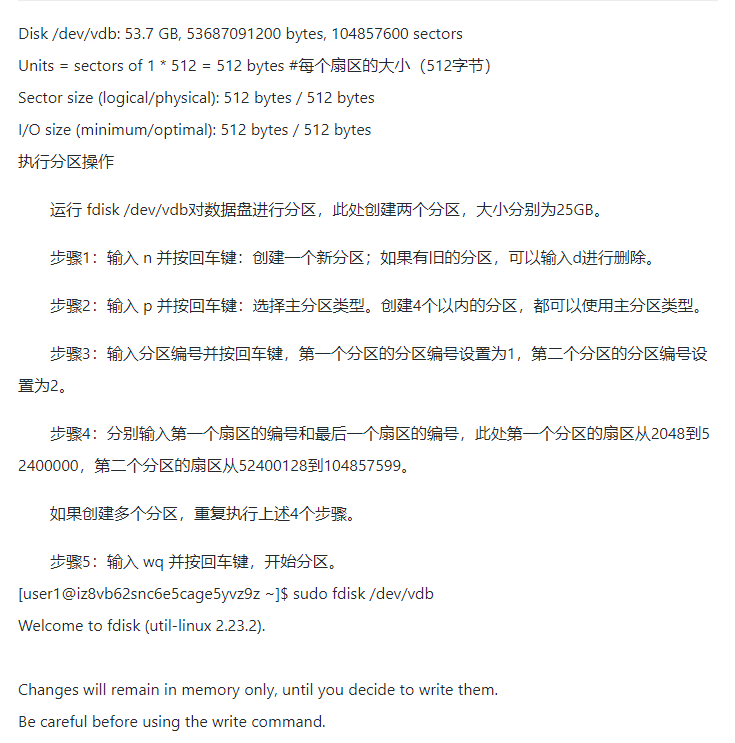
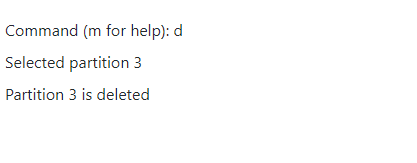
如果有旧的分区,可以输入d进行删除。
首先输入 n 并按回车键:创建一个新分区。
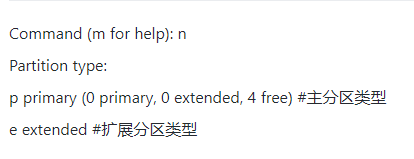
输入 p 并按回车键:选择主分区类型

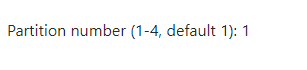
输入分区编号并按回车键
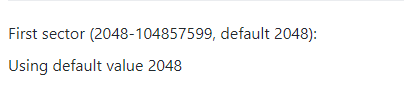
输入第一个扇区的编号
输入最后一个扇区的编号
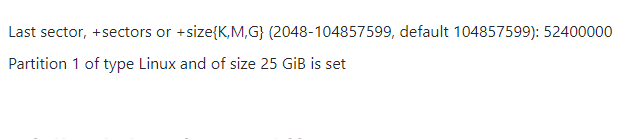
重复执行上述4个步骤,创建第二个分区
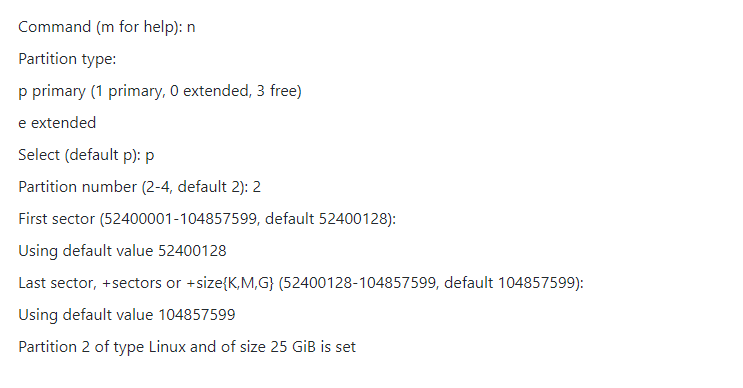
最后输入 wq 并按回车键,开始分区

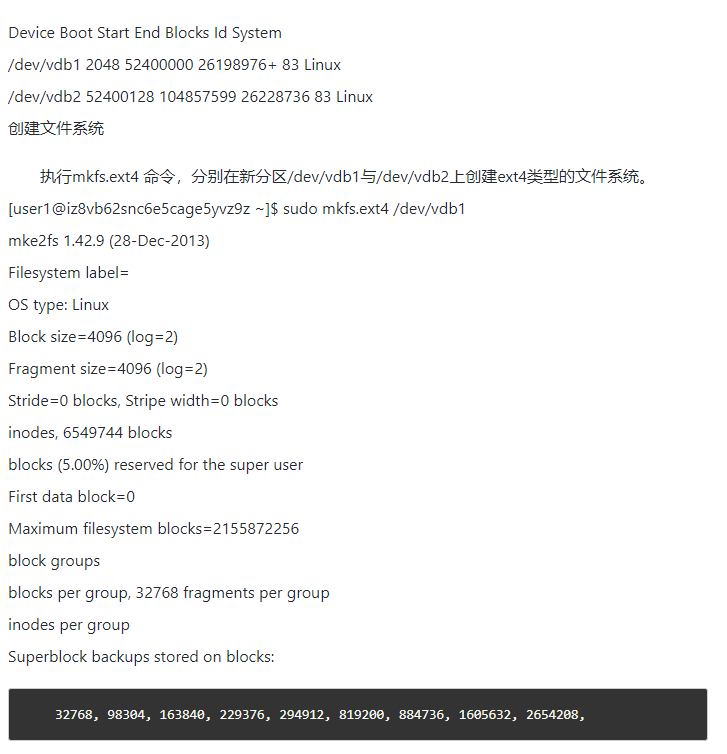
上述操作创建的分区/dev/vdb1与/dev/vdb2
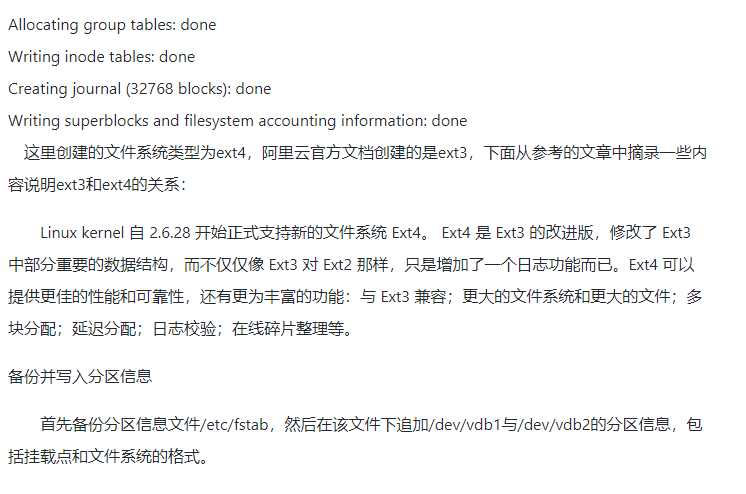
备份分区信息文件

user1用户使用sudo执行命令提示权限不足,切换到root账户下执行命令

追加/dev/vdb1的分区信息,该分区挂载的路径为/home/user1/redis/data,格式为ext4

追加/dev/vdb2的分区信息,该分区挂载的路径为/home/user1/program,格式为ext4

查看分区信息
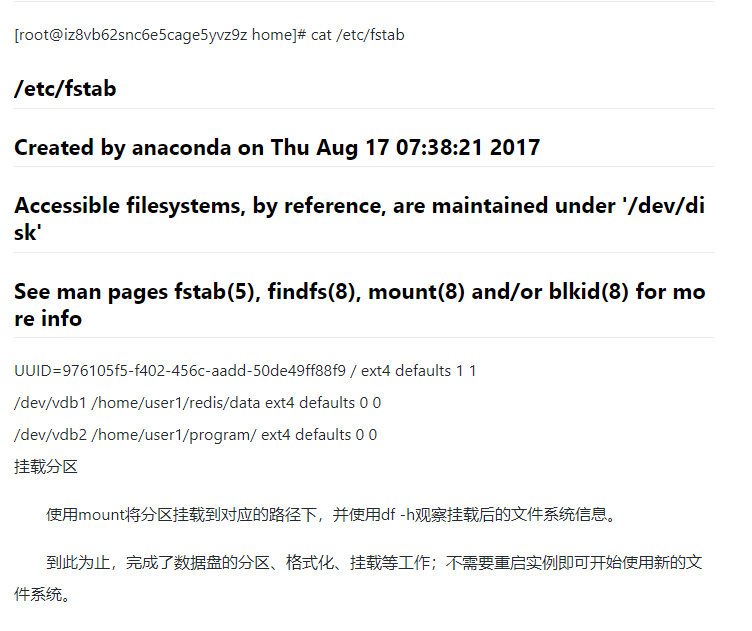
使用mount将分区挂载到对应的路径下

使用df -h观察挂载后的文件系统


扫码加入阿里云云栖社群


 175
175


 被折叠的 条评论
为什么被折叠?
被折叠的 条评论
为什么被折叠?
 到【灌水乐园】发言


