


如果您只是来看画标注框的话 也只需要看这一篇文章即可,会有一个很详细的介绍和使用,但是你如果想学习整体的预处理请您看我的上一篇博文
SEU-AI蜗牛车:【TensorFlow学习笔记】对图片数据的预处理一、编码解码调整大小色彩亮度zhuanlan.zhihu.com
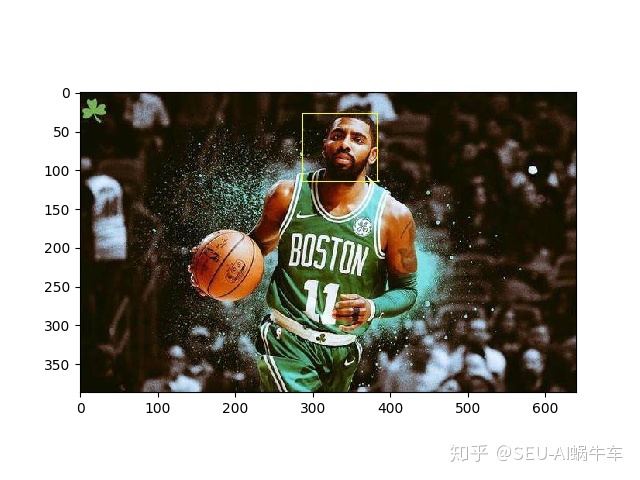
画标注框
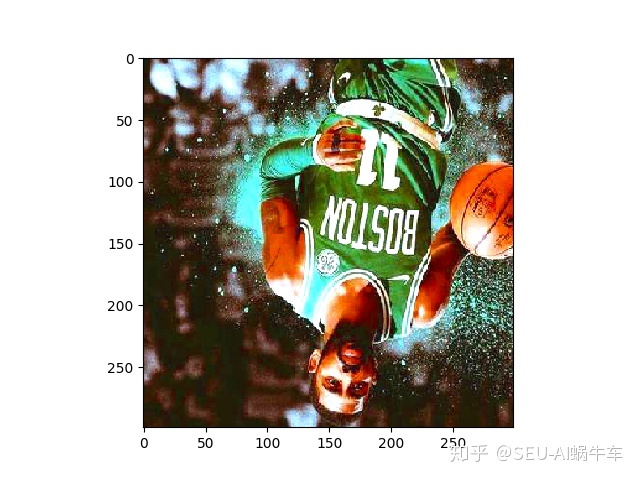
这里还是沿用上一个博文的图片 Kyrie_Irving.jpg

直接贴出所有代码进行分析和很多问题解决方案
import matplotlib.pyplot as plt
import tensorflow as tf

#读取图像的原始图像  这里可能会出现decode‘utf-8’的error   读用rb就搞定
image_raw_data = tf.gfile.FastGFile('./Kyrie_Irving.jpg', 'rb',).read()

with tf.Session() as sess:
    #对图片进行解码 二进制文件解码为uint8
    img_data = tf.image.decode_jpeg(image_raw_data)
    #利用matplotlib显示原始图片
    plt.imshow(img_data.eval())
    plt.show()

    #将图片转换为 float32类型  相当于归一化
    #这里的之后的画标注框的函数输入图片数据需要时实数型,所以这里需要转换成float32
    img_data = tf.image.convert_image_dtype(img_data, dtype=tf.float32)
    #因为draw_bounding_boxes输入为一个batch的很多图片所以为四维矩阵,这里需要加一维
    batched = tf.expand_dims(img_data, 0)
    # [y_min, x_min, y_max, x_max]  并且 box为三维所以[[[]]],这里的ymin等为百分比
    box = tf.constant([[[0.07, 0.45, 0.3, 0.6]]])#三维
    # batch  为 四维矩阵
    img_data = tf.image.draw_bounding_boxes(images=batched, boxes=box)
    #因为得到的img_data 是四维的需要转换为原本的维度,所以需要知道目前照片的维度数据  执行下句执行结果为 (1, 387, 640, 3)  说明为第一张图片这个图片的维度数据为[387, 640, 3]
    print(sess.run(img_data).shape)
    #reshape里需要时truple  []    转换回去之后 显示
    plt.imshow(img_data.eval().reshape([350, 600, 3]))
    plt.show()

    #对图片进行编码保存的操作
    # img_data = tf.image.convert_image_dtype(resizd, dtype=tf.uint8)
    # #图片按jpeg格式编码
    # encode_image = tf.image.encode_jpeg(img_data)
    # #创建文件并写入
    # with tf.gfile.GFile('./ouwen', 'wb') as f:
    #     f.write(encode_image.eval())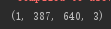
注意
1.需要进行图片数据的float转换
2.如果不是一个batch,是一个图片的话需要手动加一个维度
3.box = [[[]]]
4.最后显示需要转换回去 需要知道原本图片的维度数据利用 print(sess.run(img_data).shape)得出
随机画给定的标注框中的一个
利用 以下这个函数
begin, size, bbox_for_draw = tf.image.sample_distorted_bounding_box(
        tf.shape(img_data), bounding_boxes=boxes, min_object_covered=0.1
    )
需要加上min_object_covered=0.1要不会出现报错 ValueError: Tried to convert 'min_object_covered' to a tensor and failed. Error: None values not supported.
完整程序和结果
import matplotlib.pyplot as plt
import tensorflow as tf

#读取图像的原始图像  这里可能会出现decode‘utf-8’的error   读用rb就搞定
image_raw_data = tf.gfile.FastGFile('./Kyrie_Irving.jpg', 'rb',).read()

with tf.Session() as sess:
    #对图片进行解码 二进制文件解码为uint8
    img_data = tf.image.decode_jpeg(image_raw_data)

    #利用matplotlib显示原始图片
    plt.imshow(img_data.eval())
    plt.show()
    #注释框
    boxes = tf.constant([[[0.07, 0.45, 0.3, 0.6], [0.5, 0.2, 0.7, 0.4]]])
    #增加维度
    batched = tf.expand_dims(tf.image.convert_image_dtype(img_data, tf.float32), 0)
    # 标注上框的图片
    img_withbox = tf.image.draw_bounding_boxes(images=batched, boxes=boxes)
    #随机选择图框
    begin, size, bbox_for_draw = tf.image.sample_distorted_bounding_box(
        tf.shape(img_data), bounding_boxes=boxes, min_object_covered=0.1
    )
    #随机选择图框作为新的图片大小范围,进行剪切
    distorted_image = tf.slice(img_data, begin=begin, size=size)

    plt.imshow(distorted_image.eval())
    plt.show()

    # img_data = tf.image.convert_image_dtype(resizd, dtype=tf.uint8)
    # #图片按jpeg格式编码
    # encode_image = tf.image.encode_jpeg(img_data)
    # #创建文件并写入
    # with tf.gfile.GFile('./ouwen', 'wb') as f:
    #     f.write(encode_image.eval())
这里有一点需要注意就是 运用tf.slice这种方法,最后得到的直接就是一个 三个维度的图片不需要重新reshape就可以直接用plt进行显示了写代码片
预处理的完整框架样例
功能
- 随机调整亮度
- 随即调整色相
- 随机调整对比度
- 随即调整饱和度
- 随机上下翻转
- 随机左右翻转
- 随机选择标注框进行裁剪
- 使图片全都resize到自己指定的统一的尺寸
- 前四种调整颜色的方式的顺序也是随机的
程序(标注齐全)
import tensorflow as tf
import numpy as np
import matplotlib.pyplot as plt
"""
函数说明: 随机调整图片的色彩(包括对比度,亮度,色相,饱和度)
Parameters:
    image-图片张量
    color_ordering-调整顺序(程序中只给出三种,实际可以自己多添加一些)
Returns:
    tf.clip_by_value(image, 0.0, 1.0) -调整好的图片,像素也都归一化到0.0-1.0
CSDN:
    http://blog.csdn.net/qq_33431368
Modify:
    2018-2-23
"""
def distort(image, color_ordering=0):
    if color_ordering == 0:
        image = tf.image.random_brightness(image, max_delta=32./255.)
        image = tf.image.random_saturation(image, lower=0.5, upper=1.5)
        image = tf.image.random_hue(image, max_delta=0.2)
        image = tf.image.random_contrast(image, lower=0.5, upper=1.5)
    elif color_ordering == 1:
        image = tf.image.random_hue(image, max_delta=0.2)
        image = tf.image.random_saturation(image, lower=0.5, upper=1.5)
        image = tf.image.random_contrast(image, lower=0.5, upper=1.5)
        image = tf.image.random_brightness(image, max_delta=32. / 255.)
    elif color_ordering == 2:
        image = tf.image.random_saturation(image, lower=0.5, upper=1.5)
        image = tf.image.random_contrast(image, lower=0.5, upper=1.5)
        image = tf.image.random_brightness(image, max_delta=32. / 255.)
        image = tf.image.random_hue(image, max_delta=0.2)
        #把image中的值压缩到0.0-1.0之间
    return tf.clip_by_value(image, 0.0, 1.0)
"""
函数说明: 图片预处理
Parameters:
    image-图片张量
    height-指定高度常量
    width-指定宽度常量
    bbox-标注框常量
Returns:
    distort_image - 最终预处理得到的图片
CSDN:
    http://blog.csdn.net/qq_33431368
Modify:
    2018-2-23
"""
def preprocess_for_train(image, height, width, bbox):
    #如果为空则  标注框为原图大小
    if bbox is None:
        bbox = tf.constant([0.0, 0.0, 1.0, 1.0], dtype=tf.float32, shape=[1, 1, 4])
    #将图片转换为实数类型
    if image.dtype != tf.float32:
        image = tf.image.convert_image_dtype(image, tf.float32)
    #随机标注框并进行剪裁
    bbox_begin, bbox_size, _ =
      tf.image.sample_distorted_bounding_box(tf.shape(image), bounding_boxes=bbox, min_object_covered=0.1)
    distort_image = tf.slice(image, bbox_begin, bbox_size)
    #重新定义大小 缩放图片大小的算法为随机的
    distort_image = tf.image.resize_images(distort_image, [height, width], method=np.random.randint(2))
    #随机上下左右翻转
    distort_image = tf.image.random_flip_up_down(distort_image)
    distort_image = tf.image.random_flip_left_right(distort_image)
    #调整色彩, 顺序为随机的
    distort_image = distort(distort_image, np.random.randint(2))
    return distort_image

#读取图像的原始图像  这里可能会出现decode‘utf-8’的error   读用rb就搞定
image_raw_data = tf.gfile.FastGFile('./Kyrie_Irving.jpg', 'rb',).read()
with tf.Session() as sess:
    img_data = tf.image.decode_jpeg(image_raw_data)
    boxes = tf.constant([[[0.07, 0.45, 0.3, 0.6], [0.5, 0.2, 0.7, 0.4]]])
    for i in range(6):
        result = preprocess_for_train(img_data, 299, 299, boxes)
        plt.imshow(result.eval())
        plt.show()
结果为
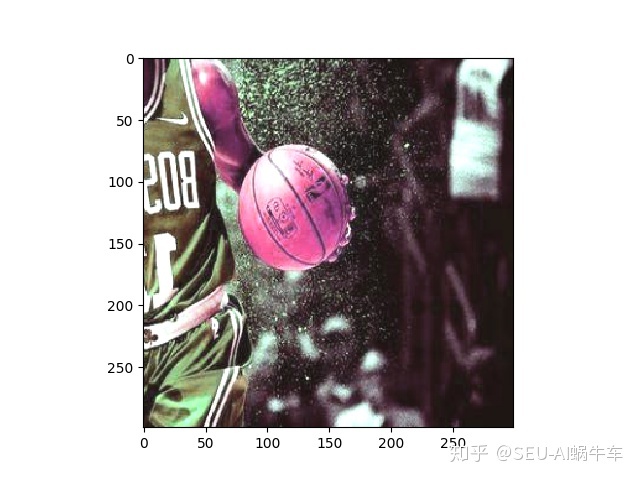
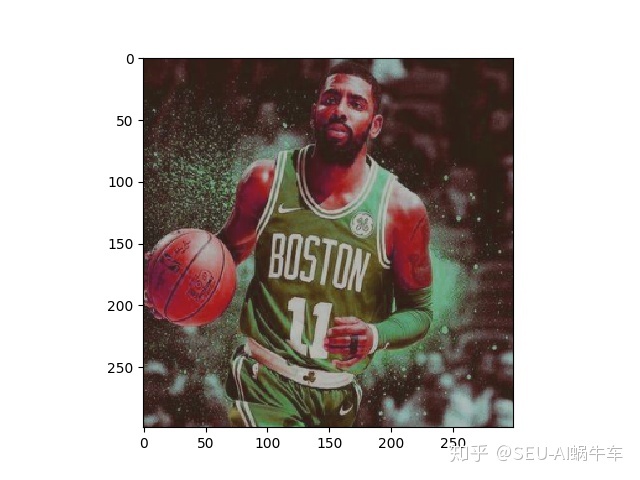
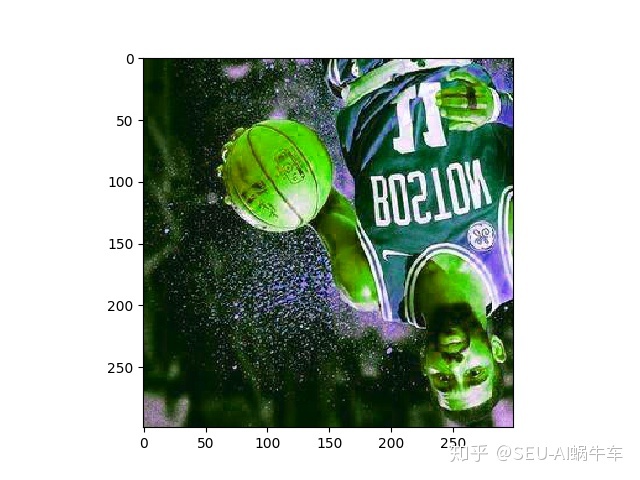
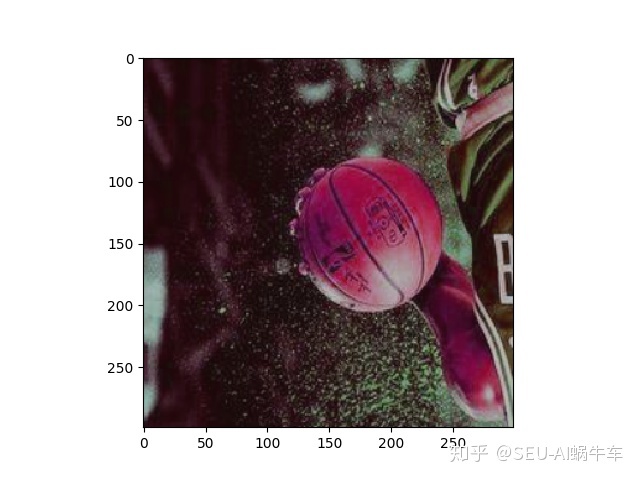
总结
尽量的随机化,可以让训练出的model更加的健壮,也可以更好地识别出在不同的无关条件下相同的目标


 被折叠的 条评论
为什么被折叠?
被折叠的 条评论
为什么被折叠?
 到【灌水乐园】发言


