


可以按照这上面的流程去申请key值。在获取SHA1值的时候,推荐使用给的第一种方法(在cmd命令中获取,我之前使用的是从Eclipse> Window > Preferences > Android > Build复制的,但是在使用的时候出现地图加载错误)。
2. 下载百度地图提供的jar包。
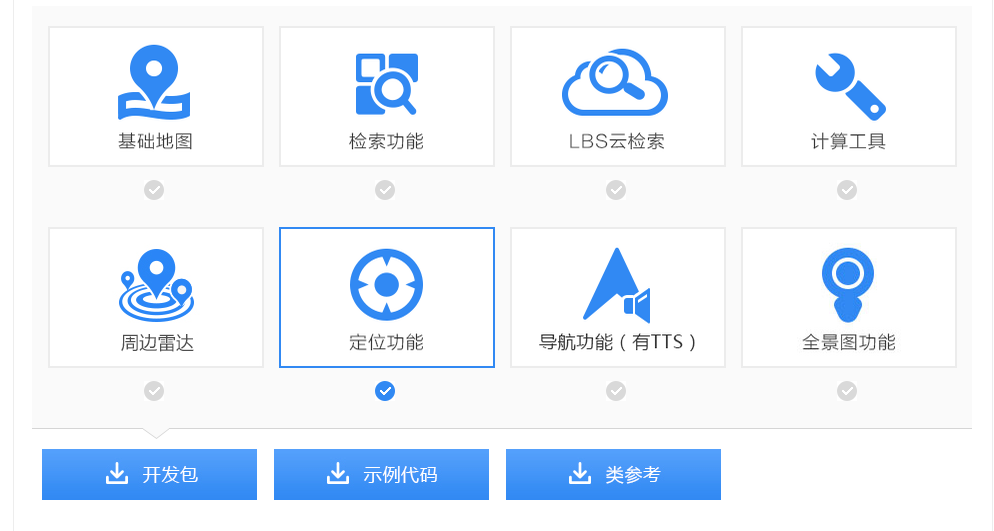
勾选要使用的功能,然后下载开发包即可。我这里,使用了基础地图和定位功能,下载开发包之后,解压开,把 libs 文件夹下的内容,全部复制到你的Android项目的libs下就可以使用了。
3. 接下来需要在AndroidManifest.xml文件中,进行属性。
(1) 定位需要的权限配置
(2) 在 application 标签下配置
android:name="com.baidu.lbsapi.API_KEY"
android:value="这里是你申请的 key" />
(3) 配置定位 service
android:name="com.baidu.location.f"
android:enabled="true"
android:process=":remote" >
到这里AnroidManifest.xml文件里的配置工作就了。
4. 第三步写一下定位页面的布局文件
android:layout_width="match_parent"
android:layout_height="match_parent"
android:orientation="vertical" >
android:layout_width="match_parent"
android:layout_height="50dp"
android:gravity="center"
android:textSize="20sp"
android:text="定位页面"/>
android:id="@+id/mapview"
android:layout_width="match_parent"
android:layout_height="0dp"
android:layout_weight="1"
android:clickable="true"
>
android:id="@+id/goback"
android:layout_width="match_parent"
android:layout_height="wrap_content"
android:text="回到当前位置"/>
5. 最后就要写实现代码了
public class LocationActivity extends Activity {
private MapView mMapView = null;
private BaiduMap mBaiduMap;
private LocationClient mLocationClient = null;
private BDLocationListener listener = new MyLocationListener();
private Button goBack;
private BDLocation location;
@Override
protected void onCreate(Bundle savedInstanceState) {
// TODO Auto-generated method stub
super.onCreate(savedInstanceState);
// 在使用SDK各组件之前初始化context信息,传入ApplicationContext
// 注意该方法要再setContentView方法之前实现
SDKInitializer.initialize(getApplicationContext());
setContentView(R.layout.activity_location);
mLocationClient = new LocationClient(this);
mLocationClient.registerLocationListener(listener);
mMapView = (MapView) findViewById(R.id.mapview);
mBaiduMap = mMapView.getMap();
mBaiduMap.setMapType(BaiduMap.MAP_TYPE_NORMAL);
// 开启定位图层
mBaiduMap.setMyLocationEnabled(true);
//定位的方法
findLocation();
goBack = (Button) findViewById(R.id.goback);
location = new BDLocation();
goBack.setOnClickListener(new OnClickListener() {
@Override
public void onClick(View v) {
findLocation();
}
});
}
@Override
protected void onDestroy() {
// TODO Auto-generated method stub
super.onDestroy();
// 关闭定位图层
mBaiduMap.setMyLocationEnabled(false);
mMapView.onDestroy();
mLocationClient.stop();
}
@Override
protected void onResume() {
// TODO Auto-generated method stub
super.onResume();
mMapView.onResume();
}
@Override
protected void onPause() {
// TODO Auto-generated method stub
super.onPause();
mMapView.onPause();
}
//定位方法封装
public void findLocation() {
if (mLocationClient.isStarted()) {
mLocationClient.stop();
}
LocationClientOption option = new LocationClientOption();
option.setOpenGps(true);// 打开gps
option.setCoorType("bd09ll"); // 设置坐标类型
option.setScanSpan(0);
mLocationClient.setLocOption(option);
// 开始定位
mLocationClient.start();
}
class MyLocationListener implements BDLocationListener {
@Override
public void onReceiveLocation(BDLocation location) {
// TODO Auto-generated method stub
// map view 销毁后不在处理新接收的位置
if (location == null || mMapView == null) {
return;
}
MyLocationData locData = new MyLocationData.Builder()
.accuracy(location.getRadius())
.direction(100).latitude(location.getLatitude())
.longitude(location.getLongitude())
.build();
mBaiduMap.setMyLocationData(locData);
LatLng ll = new LatLng(location.getLatitude(), location.getLongitude());
MapStatusUpdate u = MapStatusUpdateFactory.newLatLng(ll);
mBaiduMap.animateMapStatus(u);
}
}
}
这样的一个Android定位的Demo就写好了。


 551
551


 被折叠的 条评论
为什么被折叠?
被折叠的 条评论
为什么被折叠?
 到【灌水乐园】发言


