


由于实习是SDE , 忍不住学习了一下公司给买的Java在线学习资源。
花了2分钟翻安装教程,最后找到了一个写的超级清楚的英文教程,在这里给大家搬运一下。
本教程主要优点:不默认你懂任何系统环境方面的知识,直接手把手一步一步来。对于英文系统简直秒安好。
本篇主要针对Windows 10系统,如果macOS, Ubuntu Linux有呼声,后续补充。
首先需要安装Java JDK, 安装好它以后后续爱用什么IDE再说了。下面说win10系统安装Java JDK:
1. How To Install JDK on Windows
Step 0: Un-Install Older Version(s) of JDK/JRE
I recommend that you install only the latest JDK. Although you can install multiple versions of JDK/JRE concurrently, it is messy. (推荐安装最新版本的JDK,这样不需要同时安装JDK+JRE。你在其他教程可能看见过这两个一起装的,如果你已经装了,卸了他俩)
If you have previously installed older version(s) of JDK/JRE, un-install ALL of them:
Go to "Control Panel" ⇒ (optional) "Programs" ⇒ "Programs and Features" ⇒ Un-install ALL programs begin with "Java", such as "Java SE Development Kit ...", "Java SE Runtime ...", "Java X Update ...", and etc.
Step 1: Download JDK (第一步,下载。一定要根据自己的系统下对版本,比如win10-64 bit)
- Goto Java SE download site @ http://www.oracle.com/technetwork/java/javase/downloads/index.html.
- Under "Java Platform, Standard Edition" ⇒ "Java SE 13.0.{x}", where {x} denotes a fast running security-update number ⇒ Click the "Oracle JDK Download" button.
- Under "Java SE Development Kit 13.0.{x}" ⇒ Check "Accept License Agreement".
- Choose the JDK for your operating system, i.e., "Windows". Download the "exe" installer (e.g., "
jdk-13.0.{x}_windows-x64_bin.exe" - about 159MB).
Step 2: Install JDK (下载好以后乖乖地安装就行,没啥参数设置)
Run the downloaded installer (e.g., "jdk-13.0.{x}_windows-x64_bin.exe"), which installs both the JDK and JRE.
By default, JDK is installed in directory "C:Program FilesJavajdk-13.0.{x}", where {x} denotes the update number. Accept the defaults and follow the screen instructions to install JDK.
Use your "File Explorer", navigate to "C:Program FilesJava" to inspect the sub-directories. Take note of your JDK installed directory jdk-13.0.{x}, in particular, the update number {x}, which you will need in the next step.
I shall refer to the JDK installed directory as <JAVA_HOME>, hereafter, in this article.
Step 3: Include JDK's "bin" Directory in the PATH (这一步就是传说中的环境配置,手动添加JKD到环境路径path中,这样java IDE才能调用到它)
Windows' Command Prompt (CMD) searches the current directory and the directories listed in the PATH environment variable (or system variable) for executable programs. JDK's programs (such as Java compiler "javac.exe" and Java runtime "java.exe") reside in the sub-directory "bin" of the JDK installed directory. You need to include JDK's "bin" in the PATH to run the JDK programs.
To edit the PATH environment variable in Windows 10 (照着一步一步来就行):
- Launch "Control Panel" ⇒ (Optional) "System and Security" ⇒ "System" ⇒ Click "Advanced system settings" on the left pane.
- Switch to "Advanced" tab ⇒ Click "Environment Variables" button.
- Under "System Variables" (the bottom pane), scroll down to select variable "Path" ⇒ Click "Edit...".
- For Newer Windows 10 :
You shall see a TABLE listing all the existing PATH entries (if not, goto next step). Click "New" ⇒ Click "Browse" and navigate to your JDK's "bin" directory, i.e., "c:Program FilesJavajdk-13.0.{x}bin", where{x}is your installation update number ⇒ Select "Move Up" to move this entry all the way to the TOP. - For Older Windows 10 (Time to change your computer!):(CAUTION: Read this paragraph 3 times before doing this step! Don't push "Apply" or "OK" until you are 101% sure. There is no UNDO!!!)
(To be SAFE, copy the content of the "Variable value" to Notepad before changing it!!!)
In "Variable value" field, APPEND "c:Program FilesJavajdk-13.0.{x}bin" (where{x}is your installation update number) IN FRONT of all the existing directories, followed by a semi-colon (;) to separate the JDK's bin directory from the rest of the existing directories. DO NOT DELETE any existing entries; otherwise, some existing applications may not run.Variable name : PATH Variable value : c:Program FilesJavajdk-13.0.{x}bin;[do not delete exiting entries...]
Note: If you have started CMD, you need to re-start for the new environment settings to take effect.
Step 4: Verify the JDK Installation
Launch a CMD via one of the following means:
- Click "Search" button ⇒ Type "cmd" ⇒ Choose "Command Prompt", or
- Right-click "Start" button ⇒ run... ⇒ enter "cmd", or
- Click "Start" button ⇒ Windows System ⇒ Command Prompt
Issue the following commands to verify your JDK installation:
- Issue "
path" command to list the contents of thePATHenvironment variable. Check to make sure that your JDK's "bin" is listed in thePATH.
(输入)path
(输出)PATH=c:Program FilesJavajdk-13.0.{x}bin;other entries... - Issue the following commands to verify that JDK/JRE are properly installed and display their version:
// Display the JDK version
(输入)javac -version
(输出)javac 13.0.1
// Display the JRE version
(输入)java -version
(输出)java version "13.0.1" 2019-10-15 Java(TM) SE Runtime Environment (build 13.0.1+9) Java HotSpot(TM) 64-Bit Server VM (build 13.0.1+9, mixed mode, sharing)
Step 5: Write a Hello-World Java Program (到这里你就能看见自己的第一个Java "Hello world"啦!)
- (找个地方建立个文件夹,下面放测试文件用)Create a directory to keep your works, e.g., "
d:myProject" or "c:myProject". Do NOT save your works in "Desktop" or "Documents" as they are hard to locate. The directory name shall not contain blank or special characters. Use meaningful but short name as it is easier to type. - (找个文本编辑器,存个.java文件用于测试)Launch a programming text editor (such as TextPad, NotePad++, Sublime Text, Atom. Begin with a new file and enter the following source code. Save the file as "
Hello.java", under your work directory (e.g.,d:myProject).(把以下内容写入文本编译器,存为"Hello.java")
/*
* First Java program to say Hello */
public class Hello { // Save as "Hello.java" under "d:myProject"
public static void main(String[] args) {
System.out.println("Hello, world!");
}
}
昨天刚开始使用Atom这个小文本编辑器,感觉不错耶。以前在国内用Notepad++也不错.
Step 6: Compile and Run the Hello-World Java Program

To compile the source code "Hello.java":
- Start a CMD Shell (Search ⇒ enter "cmd" ⇒ select "Command Prompt").
- Set the Current Drive to the drive where you saved your source file "
Hello.java".
If you use drive "c", skip this step.
Else if you use drive "d", enter "d:" as follow:d: D:xxx> - Set the Current Working Directory to the directory that you saved your source file via the
cd(Change Directory) command. For example, suppose that your source file is saved in directory "myProject".cd myProject
D:myProject> - Issue a
dir(List Directory) command to confirm that your source file is present in the current directory.
(输入)dir
(输出) ...... xx-xxx-xx xx:xx PM 277 Hello.java ...... - Invoke the JDK compiler "
javac" to compile the source code "Hello.java".
(输入)javac Hello.java
// If error message appears, correct your source code and re-compile
The compilation is successful if the command prompt returns. Otherwise, error messages would be shown. Correct the errors in your source file and re-compile. Check "Common JDK Installation Errors", if you encounter problem compiling your program. - The output of the compilation is a Java class called "
Hello.class". Issue adir(List Directory) command again to check for the output.
(输入)dir
(输出) ...... xx-xxx-xx xx:xx PM 416 Hello.class xx-xxx-xx xx:xx PM 277 Hello.java ......
To run the program, invoke the Java Runtime "java":
(输入)java Hello
(输出)Hello, world!
看到输出的Hello, world! 你就成功安装了JDK啦!
Everything that can possibly go wrong will go wrong: Read "JDK Installation Common Errors".
Step 7: (For Advanced Users Only仅仅对于高手) JDK's Source Code
Source code for JDK is provided and kept in "<JAVA_HOME>libsrc.zip" (or "<JAVA_HOME>src.zip" prior to JDK 9). I strongly recommend that you to go through some of the source files such as "String.java", "Math.java", and "Integer.java", under "javalang", to learn how experts program.
测试好JDK,就可以安装IDE啦。
我们的网课用的Eclipse, 所以下面用Eclipse作为IDE的例子。大佬可以在评论区说说不同IDE的适用性,我会更新上来。
1. How to Install Eclipse IDE 2019-12 for Java Developers
1.1 How to Install Eclipse on Windows
Step 0: Install JDK (这一步你已经做过啦!)
To use Eclipse for Java programming, you need to first install Java Development Kit (JDK). Read "How to Install JDK for Windows".
Step 1: Download(一定要去下面推荐的这个网站!!不然还是会搞出问题,我就是重新去这儿找的!)
Download Eclipse from https://www.eclipse.org/downloads. Under "Get Eclipse IDE 2019-12" ⇒ Click "Download Packages". For beginners, choose the "Eclipse IDE for Java Developers" and "Windows 64-bit" (e.g., "eclipse-java-2019-12-R-win32-x86_64.zip" - about 201MB) ⇒ Download.

Step 2: Unzip (下载好就一个.exe文件如下图)
To install Eclipse, simply unzip the downloaded file into a directory of your choice (e.g., "c:myProject").

I prefer the zip version, because there is no need to run any installer. Moreover, you can simply delete the entire Eclipse directory when it is no longer needed (without running any un-installer). You are free to move or rename the directory. You can install (unzip) multiple copies of Eclipse in the same machine.
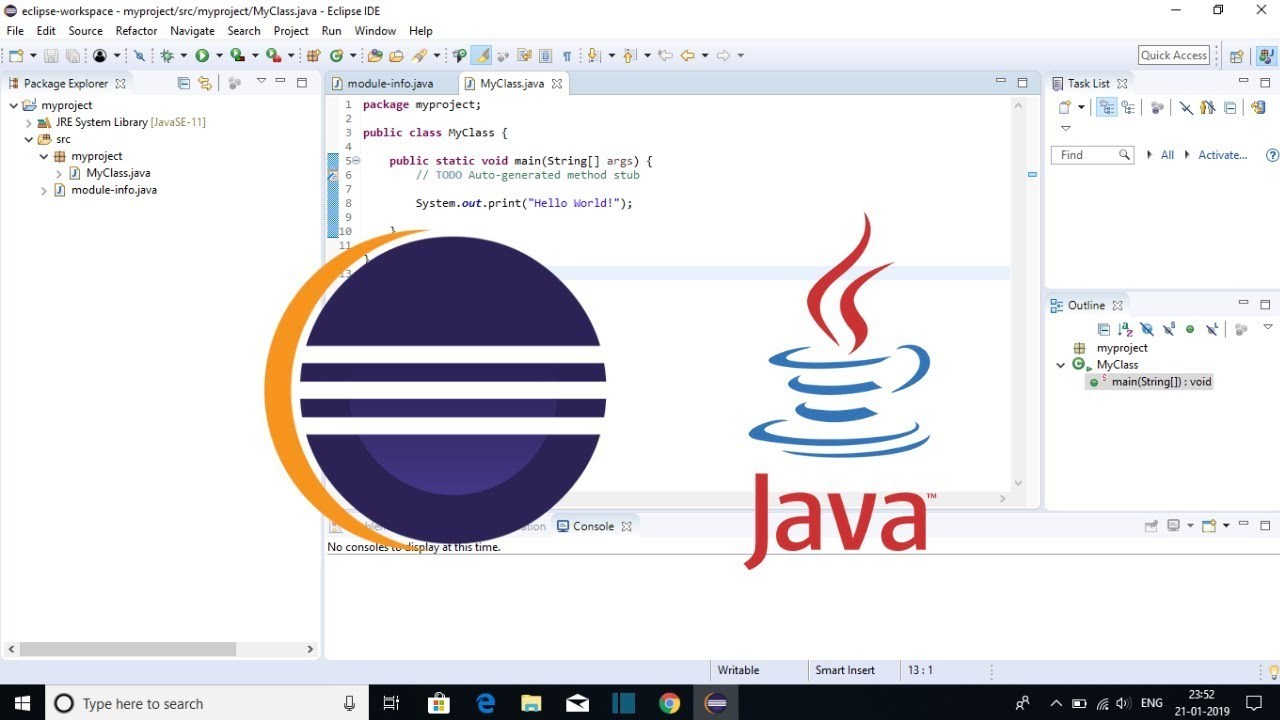
点开跟着安装就行了,他会自动识别到你的JDK文件,然后就可以愉快地使用,编写你的第一个App啦!


 256
256

 被折叠的 条评论
为什么被折叠?
被折叠的 条评论
为什么被折叠?
 到【灌水乐园】发言


