


这里我们不讲JVM的内存划分,垃圾判定算法,垃圾回收算法,垃圾收集器等知识。主要讲的是实际调优的操作,对JVM调优感兴趣的可以看下去。至于垃圾回收算法,可以看看我这篇文章:
“
https://mp.weixin.qq.com/s?__biz=Mzg4NDMyNTIwMw==&mid=2247487158&idx=1&sn=4a36bf8eec50b584a1ac08069e32afeb&chksm=cfb8a08af8cf299c089ff889c6a42ba18bbaccd054135d0c78eeb69bfda6f28796c3ba9d6625&token=150423897&lang=zh_CN&scene=21#wechat_redirect
”
公司系统出现内存溢出的故障,下面是内存溢出排除过程,我采用伪代码模拟了生产环境。
public class MemoryLeakService { public List distinct() throws InterruptedException { List list = new ArrayList<>(); CountDownLatch downLatch = new CountDownLatch(1); new Thread(() -> { try { for (int j = 0; j 这里主要是模拟一个缓存加载的过程,将用户数据加载进List集合中。为了体现效果,我们将堆内存调小,并将内存溢出的堆栈信息打印出来,具体指令如下:
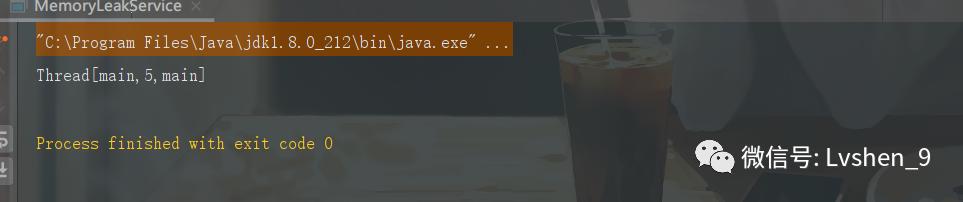
-Xmx8m -XX:+HeapDumpOnOutOfMemoryError -XX:HeapDumpPath=/temp/20200824.hprof当运行系统时,出现如下报错
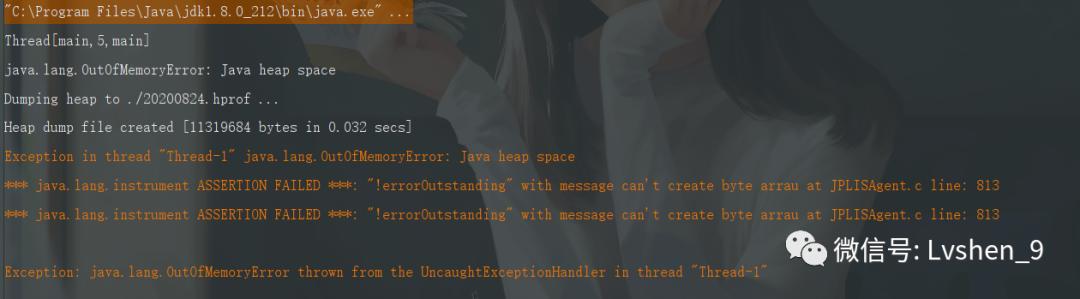
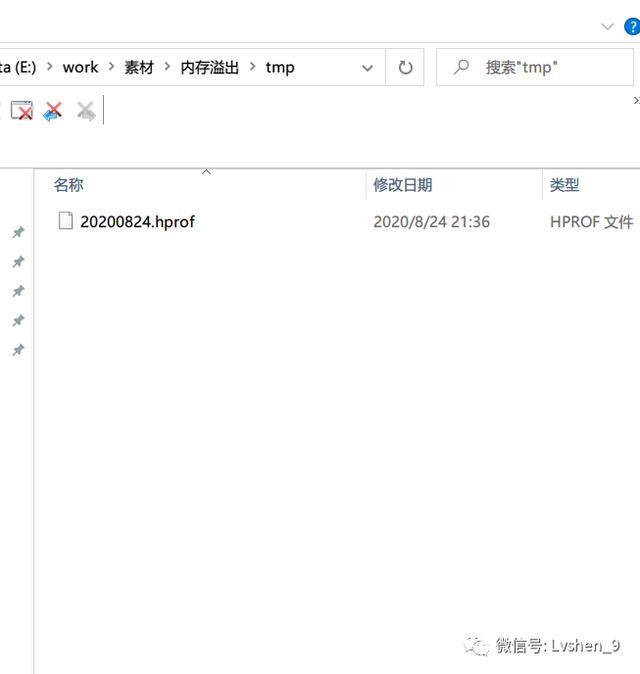
我们发现Thread-1的堆空间内存溢出了,并且生成如下文件20200824.hprof。
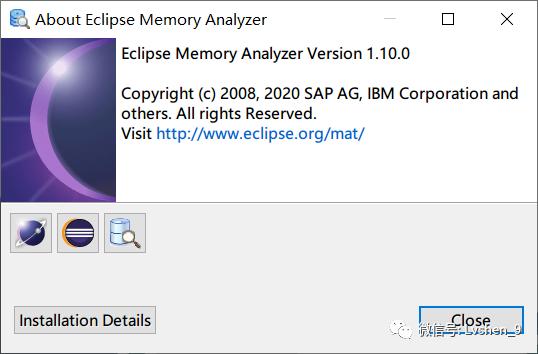
打开内存分析工具 Eclipse Memory Analyzer
加载20200824.hprof文件,找到有问题的堆栈信息
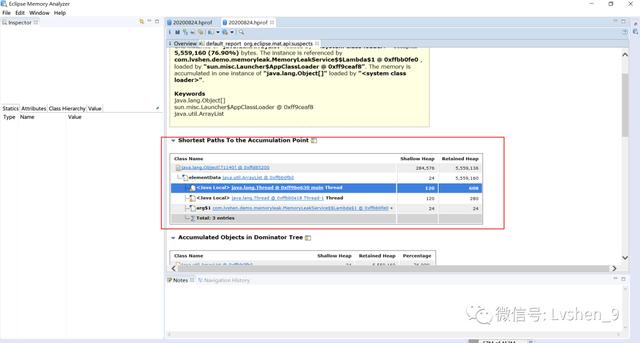
控制台打印显示Thread-1由内存溢出,我们进Thread-1看
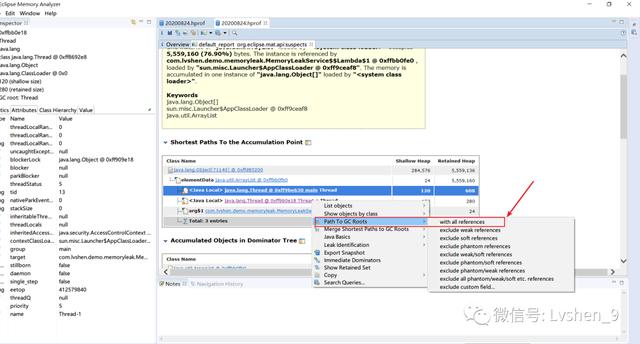
点击箭头处按钮
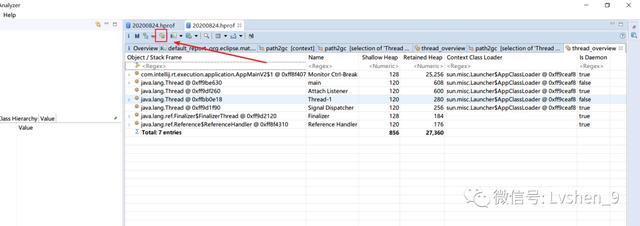
选择线程明细


我们发现MemoryLeakService第24行代码有问题,看看第24行代码
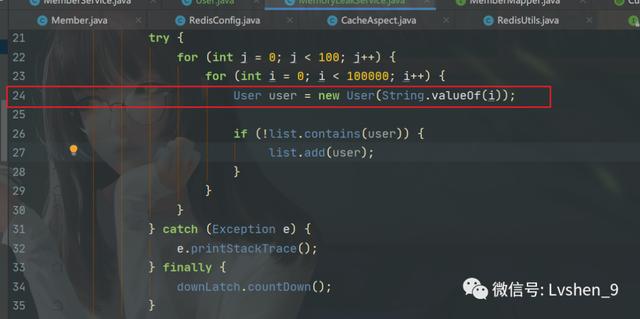
是这个对象导致的。
仔细看代码,发现User对象存入了List集合中
if (!list.contains(user)) { list.add(user);}看看contains()源码
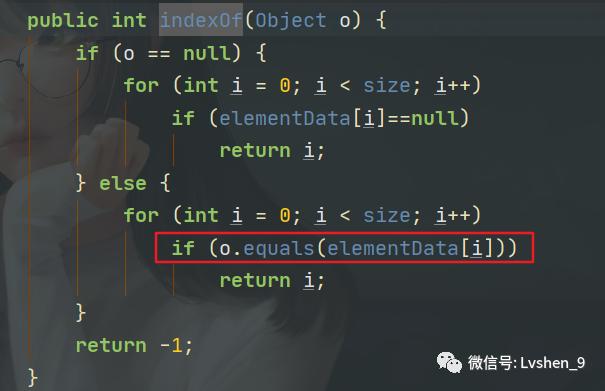
发现这里是比较的地址值,那!list.contains(user)永远为true。这里就相当于List存了个User。
我们需要重写User的equals方法
@Overridepublic boolean equals(Object o) { if (this == o) { return true; } if (o == null || getClass() != o.getClass()) { return false; } User user = (User) o; return Objects.equals(id, user.id);}@Overridepublic int hashCode() { return Objects.hash(id, name, age);}再次运行,没有出现内存溢出了。
好了,上面就是一次简单的内存溢出查找的过程了,关于工具Eclipse Memory Analyzer的使用,自己可以去网上下载下来,练习使用下。说不定哪天你们的系统真的出现内存溢出,自己就有用武之地了。


 486
486


 被折叠的 条评论
为什么被折叠?
被折叠的 条评论
为什么被折叠?
 到【灌水乐园】发言


