


辛鸿宇,信息安全工程师,从事渗透测试工作,实施过国内多家银行的信息系统渗透测试。
随着手中的测试设备越来越新,默认Android系统版本也越来越高,高版本的Android也为测试人员带来不小的麻烦。Google在Android 7(Nouget)之后的系统中将默认不信任用户添加的CA证书:
“In Android Nougat, we’ve changed how Android handles trusted certificate authorities (CAs) to provide safer defaults for secure app traffic. Most apps and users should not be affected by these changes or need to take any action. The changes include:
Safe and easy APIs to trust custom CAs.
Apps that target API Level 24 and above no longer trust user or admin-added CAs for secure connections, by default.
All devices running Android Nougat offer the same standardized set of system CAs—no device-specific customizations.”
也就是说当应用支持的API Level >= 24(Android7.0)时,测试人员无法通过直接安装用户证书的方式进行抓包:

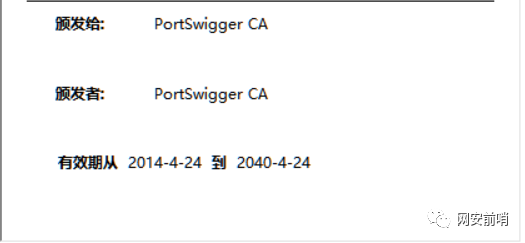
自2018年2月28日起,证书签发机构也不再签发有效期超过三年的证书:
“As of February 28, 2018, all Certificate Authorities and providers, including SSL.com, will no longer issue publicly trusted SSL Certificates with a three year lifespan. Starting March 1, 2018, SSL certificate maximum duration will now be set to 825 days.”
当证书有效期超过三年,Chrome将会提示NET::ERR_CERT_VALIDITY_TOO_LONG:
为了解决以上问题,我们可以用openssl生成一张有效期小于三年的证书,将其安装到Android系统证书目录来解决BurpSuite抓包问题。
本次演示使用的测试机系统为Android 10,使用Magisk获取root权限。
STEP1:使用openssl生成证书
生成一个有效期为两年的证书:
openssl req -x509 -days 730 -nodes -newkey rsa:2048 -outform der -keyout server.key -out ca.der -extensions v3_ca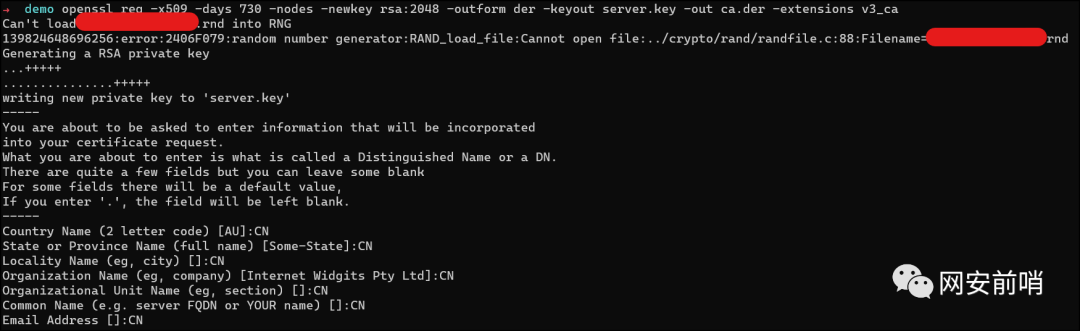
转换私钥:
openssl rsa -in server.key -inform pem -out server.key.der -outform deropenssl pkcs8 -topk8 -in server.key.der -inform der -out server.key.pkcs8.der -outform der -nocrypt转换公钥:
openssl x509 -inform der -in ca.der -out ca.pemname=$(openssl x509 -inform PEM -subject_hash_old -in ca.pem | head -1)cp ca.pem "$name.0"openssl x509 -inform PEM -text -in ca.pem -out /dev/null>>xxxxxxxx.0STEP2:将生成的证书导入到系统证书目录
把刚刚的公钥文件复制到手机存储中:
adb push xxxxxxxx.0 /data/local/tmp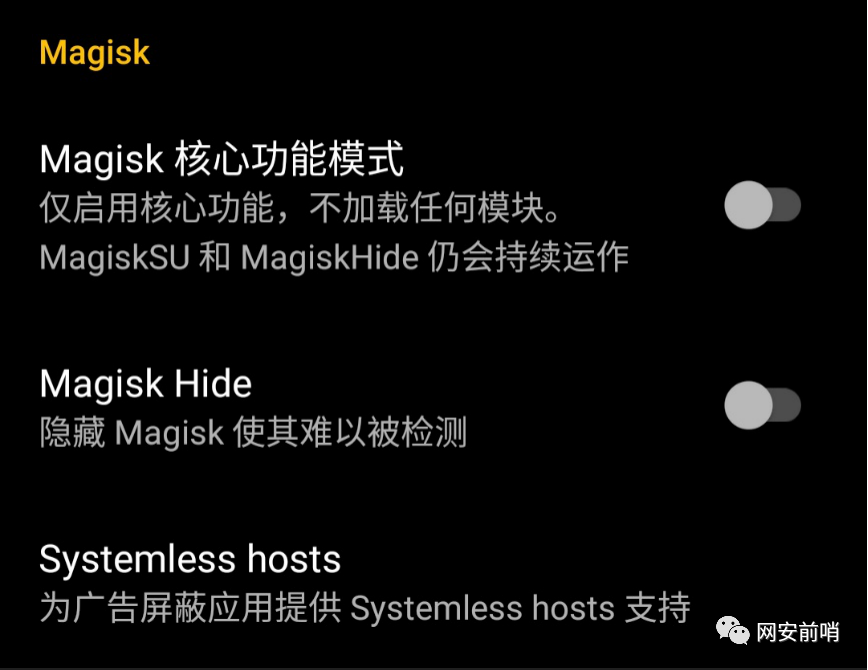
再运行下面的命令:
adb rootadb remountadb disable-verity接下来进入adb shell,把证书移动到系统证书目录下,重启设备:
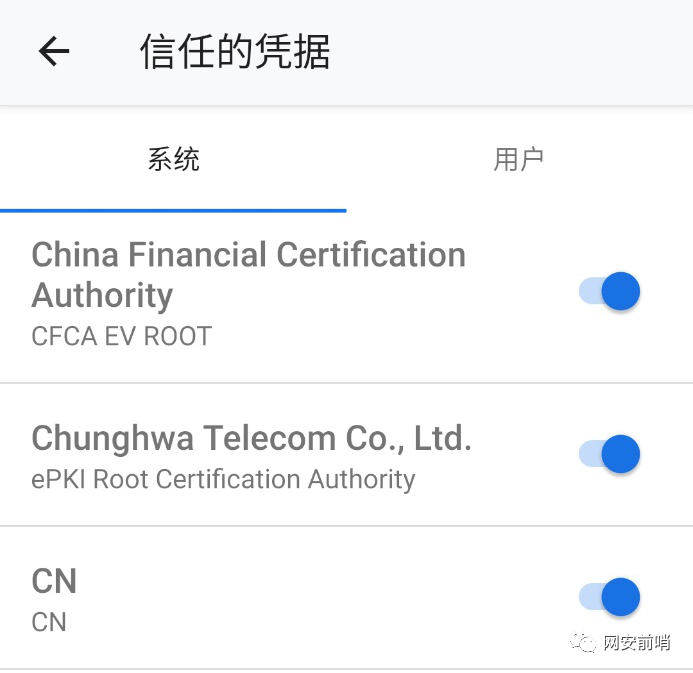
mv /data/local/tmp/xxxxxxxx.0 /system/etc/security/cacerts/chown root:root /system/etc/security/cacerts/xxxxxxxx.0chmod 644 /system/etc/security/cacerts/xxxxxxxx.0reboot重启设备后可以看到证书安装成功:
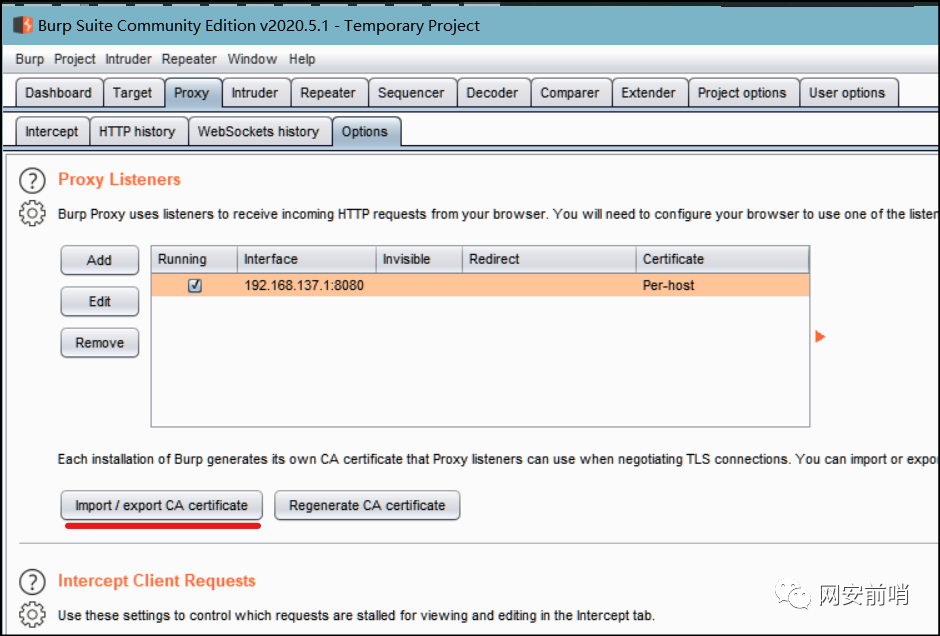
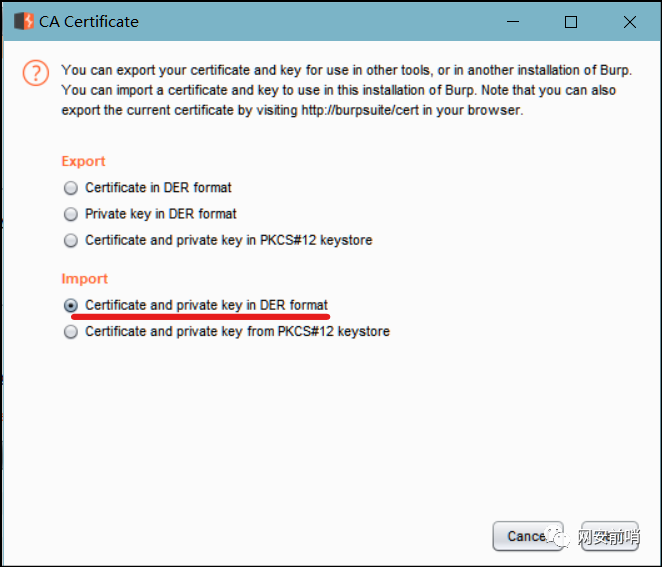
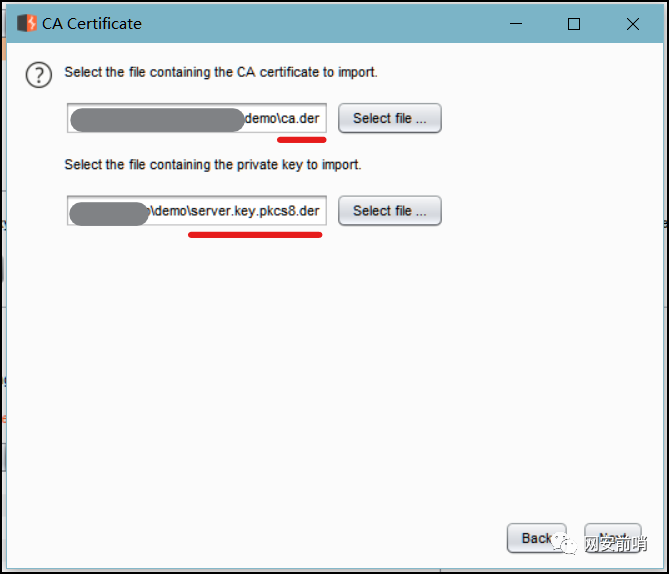
STEP3:在BurpSuite中导入证书以及私钥
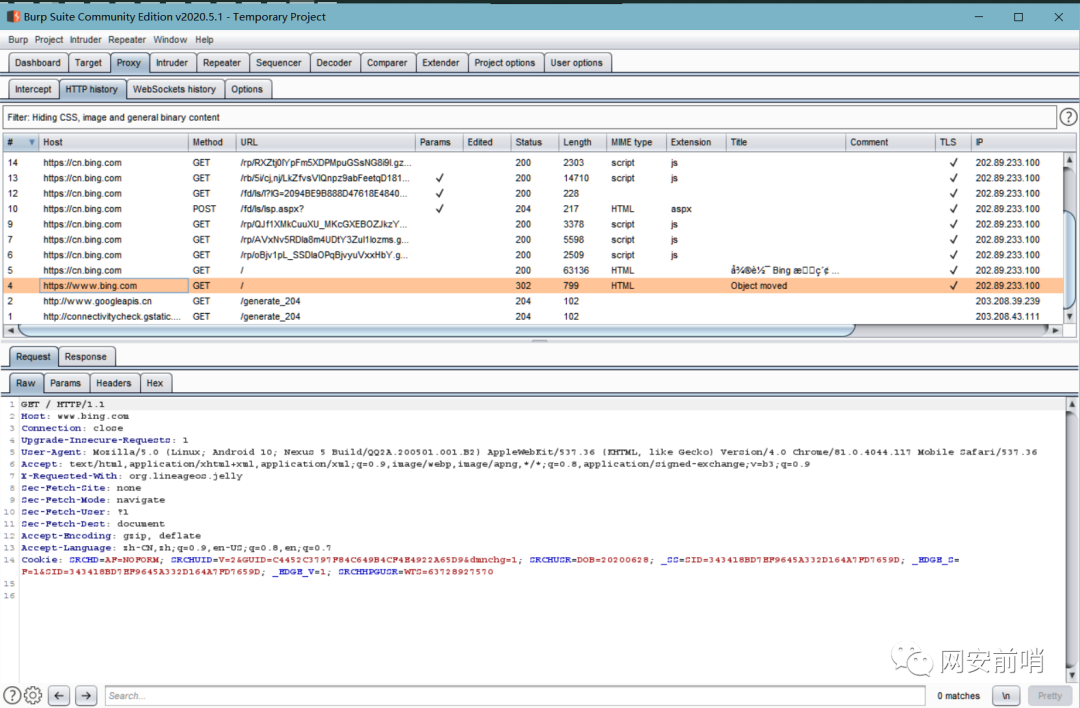
成功抓包:
作者邮箱:xinhongyu@cfca.com.cn
欢迎大家提出宝贵的建议!
校对:牛 菁
排版:牛 菁
审核:张大健
↓↓↓长按下方二维码关注「网安前哨」,查看更多历史文章


 6120
6120


 被折叠的 条评论
为什么被折叠?
被折叠的 条评论
为什么被折叠?
 到【灌水乐园】发言


