


今天在做一个项目,使用到了MyBatis Plus的代码生成器,代码生成器主要就是 自动生成 实体类,业务层,数据访问层等。以下就使用代码生成器来生成。
MyBatis-plus 官网:https://mp.baomidou.com/ 为简化而生
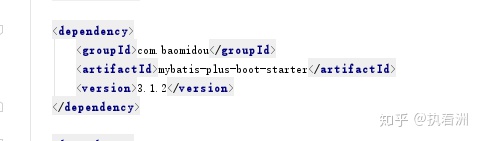
https://mp.baomidou.com/guide/generator.html#%E4%BD%BF%E7%94%A8%E6%95%99%E7%A8%8Bmp.baomidou.com1.添加MyBatis-Plus 依赖 这里只针对代码生成器,其他依赖不写了
我使用的是Maven来构建项目
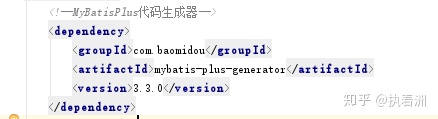
2.添加代码生成器依赖
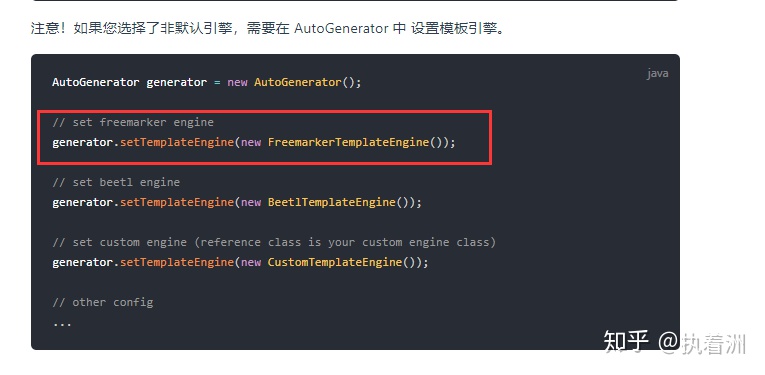
3.添加模板引擎 依赖 (此处有坑)
官网介绍说 默认支持Velocity引擎。 可在使用的时候却出错了。 后来添加了Freemarker:引擎就好了, 当然个人是如此,你们会不会有这个问题就不知道了。

添加了 自定义模板引擎 就得添加这段话 官网有。
4.创建一个类, 添加 main方法用来 执行代码生成器
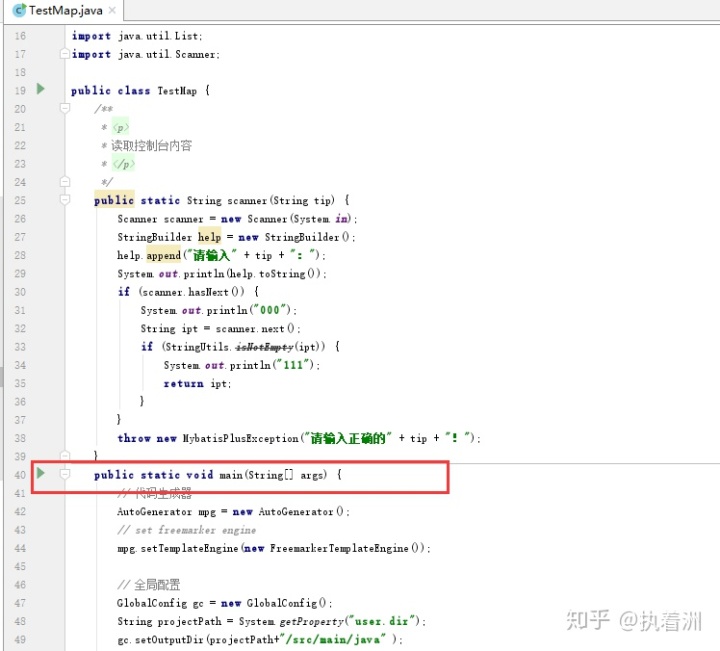
下面代码 都是从MyBatis- Plus 上copy的
/** * <p> * 读取控制台内容。 内容有 :模块名, 表名 从控制台接收 * </p> */public static String scanner(String tip) {
Scanner scanner = new Scanner(System.in);
StringBuilder help = new StringBuilder();
help.append("请输入" + tip + ":");
System.out.println(help.toString());if (scanner.hasNext()) {
System.out.println("000");
String ipt = scanner.next();if (StringUtils.isNotEmpty(ipt)) {
System.out.println("111");return ipt;
}
}throw new MybatisPlusException("请输入正确的" + tip + "!");
}public static void main(String[] args) {// 代码生成器
AutoGenerator mpg = new AutoGenerator();// set freemarker engine 自定义模块引擎
mpg.setTemplateEngine(new FreemarkerTemplateEngine());// 全局配置
GlobalConfig gc = new GlobalConfig();//获取当前项目根目录 无需更改
String projectPath = System.getProperty("user.dir");//所有的生成的包和类到此路径下
gc.setOutputDir(projectPath+"/src/main/java" );//开发人员名字 可忽略
gc.setAuthor("auth");// 是否打开输出目录,就是代码生成后是否打开文件夹的意思
gc.setOpen(true);// gc.setSwagger2(true); 实体属性 Swagger2 注解
mpg.setGlobalConfig(gc);// 数据源配置
DataSourceConfig dsc = new DataSourceConfig();//连接数据库 URL
dsc.setUrl("jdbc:mysql://localhost:3306/1123erp?useUnicode=true&useSSL=false&characterEncoding=utf8");// dsc.setSchemaName("public"); //数据库驱动
dsc.setDriverName("com.mysql.jdbc.Driver");//数据库用户名
dsc.setUsername("root");//数据库密码
dsc.setPassword("123456");
mpg.setDataSource(dsc);// 包配置
PackageConfig pc = new PackageConfig();//这里 就是调用了main方法外面的 scanner方法。 来从控制台获取 模块名
pc.setModuleName(scanner("模块名"));//这里可以看做 自己的包名
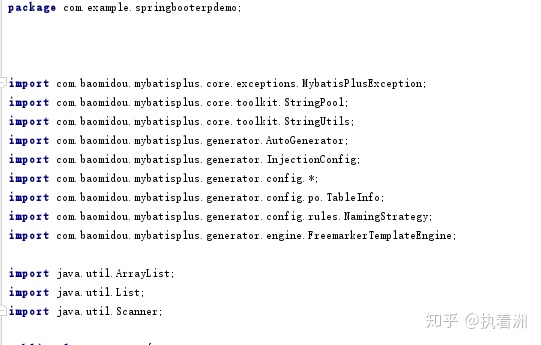
pc.setParent("com.example.springbooterpdemo");//创建实体类包名
pc.setEntity("entity");//创建业务层接口
pc.setService("service");//创建实现类
pc.setServiceImpl("serviceImpl");//Mapper Dao层的意思
pc.setMapper("mapper");//Controller 控制层
pc.setController("controller");
mpg.setPackageInfo(pc);// 自定义配置
InjectionConfig cfg = new InjectionConfig() {
@Overridepublic void initMap() {// to do nothing
}
};// 如果模板引擎是 freemarker
String templatePath = "/templates/mapper.xml.ftl";// 如果模板引擎是 velocity // String templatePath = "/templates/mapper.xml.vm"; // 自定义输出配置
List<FileOutConfig> focList = new ArrayList<>();// 自定义配置会被优先输出
focList.add(new FileOutConfig(templatePath) {
@Overridepublic String outputFile(TableInfo tableInfo) {// 自定义输出文件名 , 如果你 Entity 设置了前后缀、此处注意 xml 的名称会跟着发生变化!!return projectPath + "/src/main/resources/mapper/" + pc.getModuleName()
+ "/" + tableInfo.getEntityName() + "Mapper" + StringPool.DOT_XML;
}
});/* //项目不需要的都注释掉 cfg.setFileCreate(new IFileCreate() { @Override public boolean isCreate(ConfigBuilder configBuilder, FileType fileType, String filePath) { // 判断自定义文件夹是否需要创建 checkDir("调用默认方法创建的目录"); return false; } }); *//* cfg.setFileOutConfigList(focList); mpg.setCfg(cfg); // 配置模板 TemplateConfig templateConfig = new TemplateConfig(); // 配置自定义输出模板 //指定自定义模板路径,注意不要带上.ftl/.vm, 会根据使用的模板引擎自动识别 // templateConfig.setEntity("templates/entity2.java"); // templateConfig.setService(); // templateConfig.setController(); templateConfig.setXml(null); mpg.setTemplate(templateConfig);*/ // 策略配置
StrategyConfig strategy = new StrategyConfig();
strategy.setNaming(NamingStrategy.underline_to_camel);
strategy.setColumnNaming(NamingStrategy.underline_to_camel);//strategy.setSuperEntityClass("你自己的父类实体,没有就不用设置!"); //因为 实体不需要继承所以注释掉
strategy.setEntityLombokModel(true);
strategy.setRestControllerStyle(true);// 公共父类 // strategy.setSuperControllerClass("你自己的父类控制器,没有就不用设置!"); //因为 控制层不需要继承所以注释掉 //写于父类中的公共字段
strategy.setSuperEntityColumns("id");
strategy.setInclude(scanner("表名,多个英文逗号分割").split(","));
strategy.setControllerMappingHyphenStyle(true);
strategy.setTablePrefix(pc.getModuleName() + "_");
mpg.setStrategy(strategy);
mpg.setTemplateEngine(new FreemarkerTemplateEngine());
mpg.execute();
}
5.运行之后就这样 跟官网一样。

要是有问题 可以问我。


 1420
1420


 被折叠的 条评论
为什么被折叠?
被折叠的 条评论
为什么被折叠?
 到【灌水乐园】发言


