


今天跟大家分享Win10和Ubuntu双系统的安装方法

从U盘制作开始,到Ubuntu安装成功
第一步:先做一个Windows引导盘,随便在百度上下载UEFI吧,这儿为何选择UEFI,为了统一后面的Ubuntu引导制作类型,引导启动都使用UEFI,很多新手在安装双系统(win+Ubuntu)都会出错,尤其是这个错误
无法将grub-efi-amd64-signed软件包安装到 /target/中。如果没有GRUB启动引导器,所安装的系统无法启动
这是因为引导类型没有统一导致的
我就在百度随便搜一个UEFI的制作工具吧


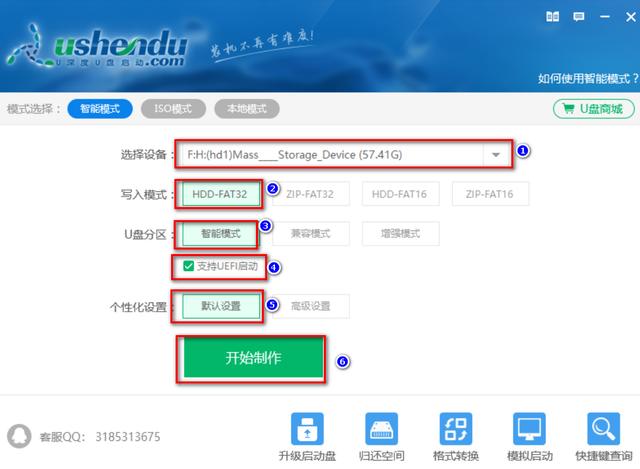
制作完U盘引导
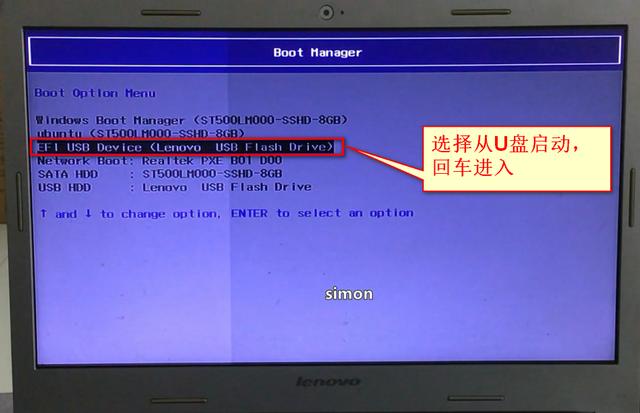
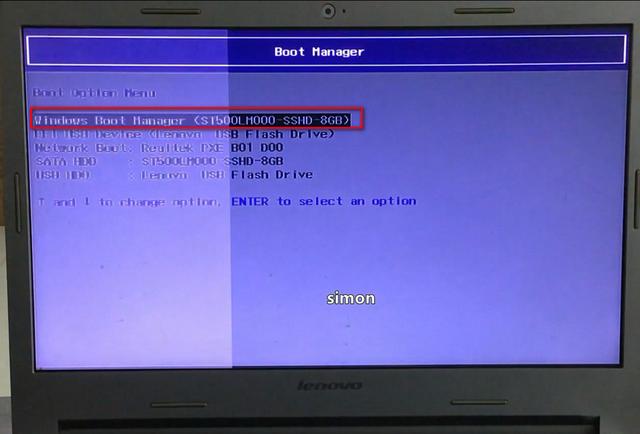
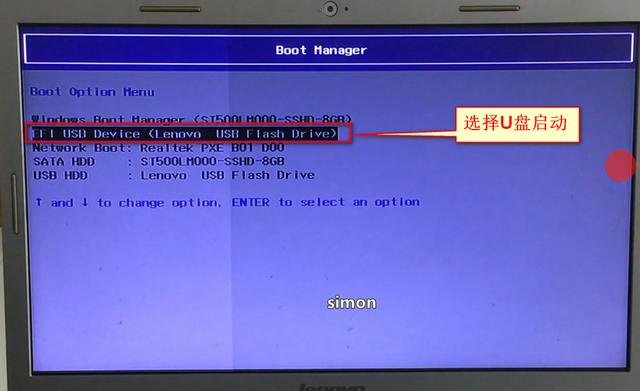
第二步:重启电脑,进入boot设置,设为U盘启动。各种型号的电脑,进入boot设置的热键也不一样,不知道的大家百度下。


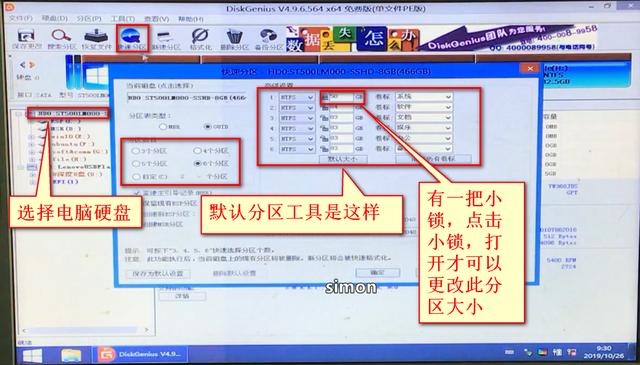
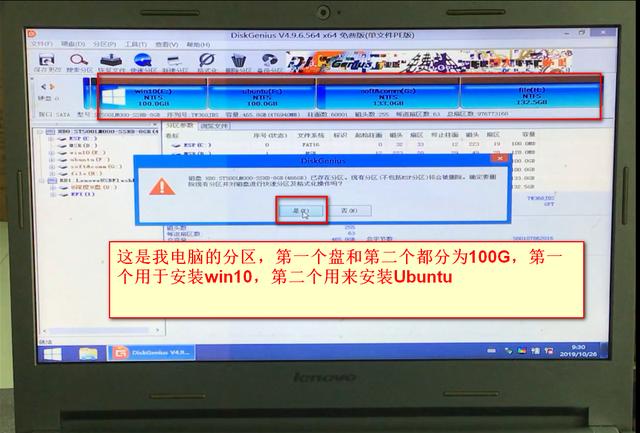
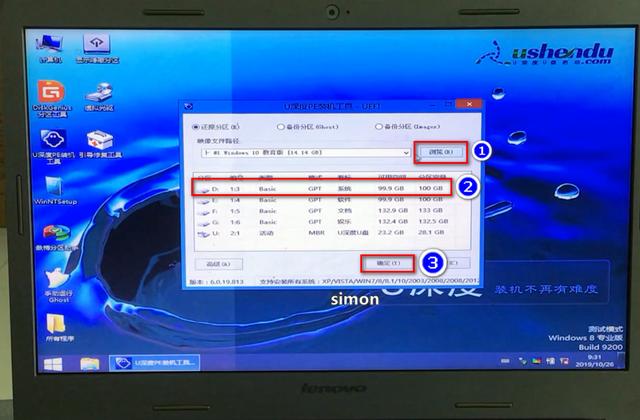
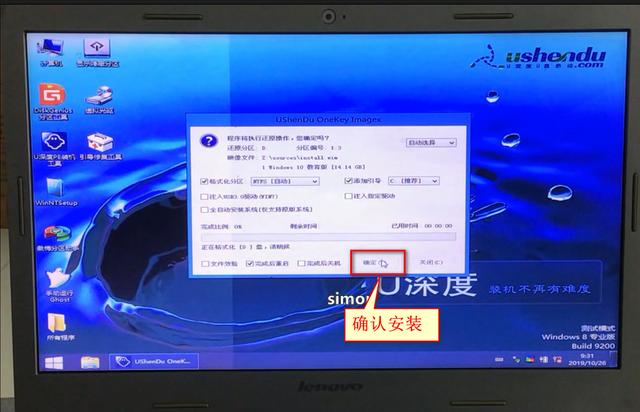
分区好后,关闭分区工具,接下来进入安装系统环节,

需要等待一会
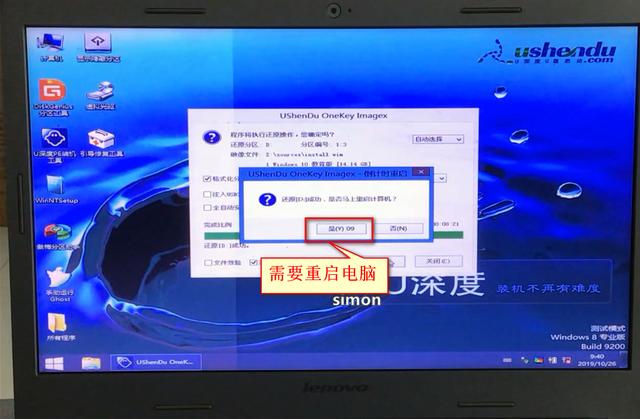
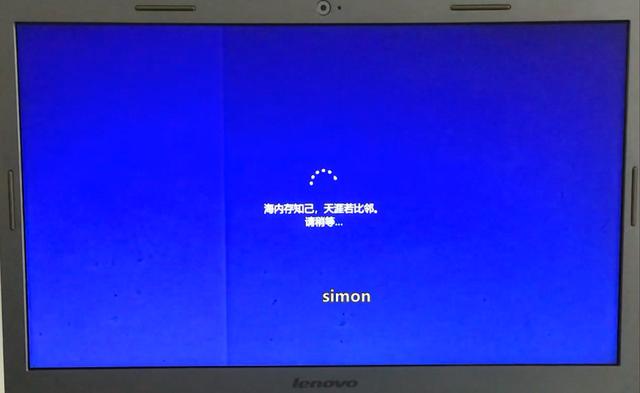
等待安装中……
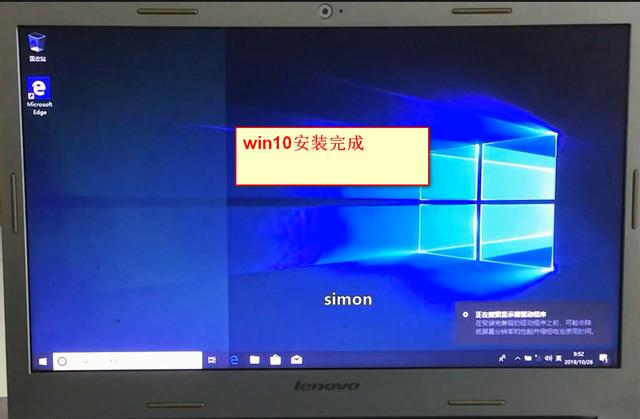
好了,Win10系统安装成功,接下来,就是制作双系统之Ubuntu
=======================================================
下面是双系统之一Ubuntu安装

需要准备制作Ubuntu引导的工具和Ubuntu镜像文件
step1:下载Ubuntu U盘引导
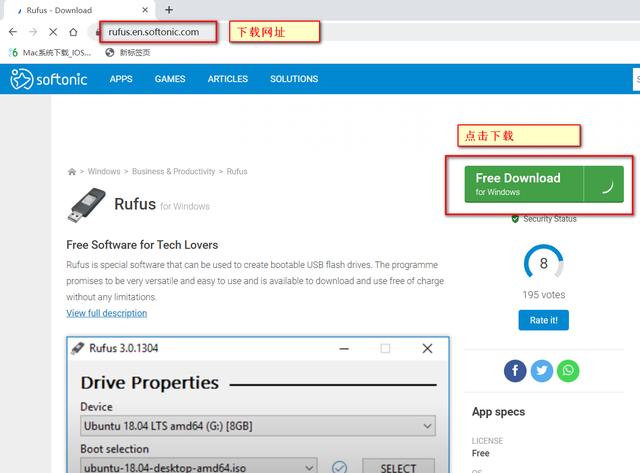
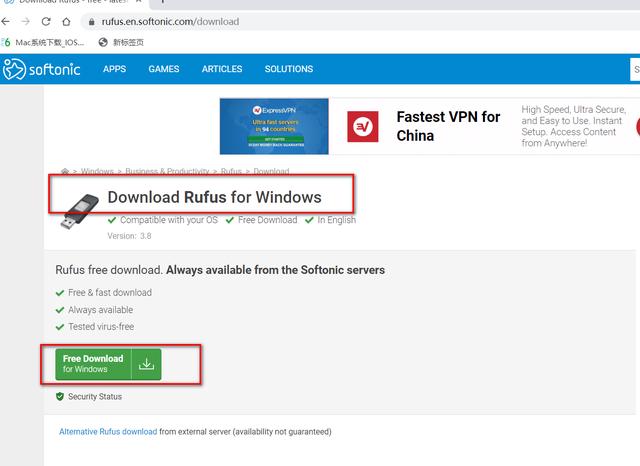
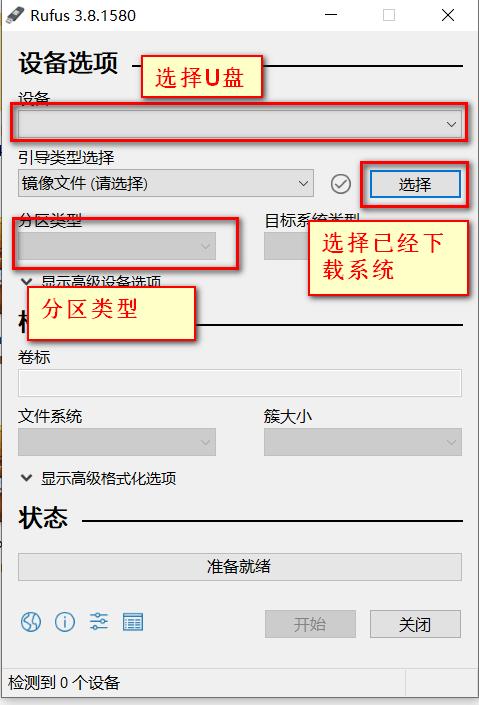
我这里使用的制作工具是Rufus
下载网址:https://rufus.en.softonic.com/
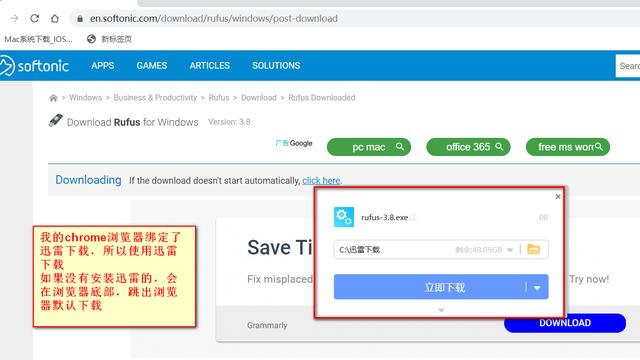
这就是下载下来的RufusUbuntu引导制作工具
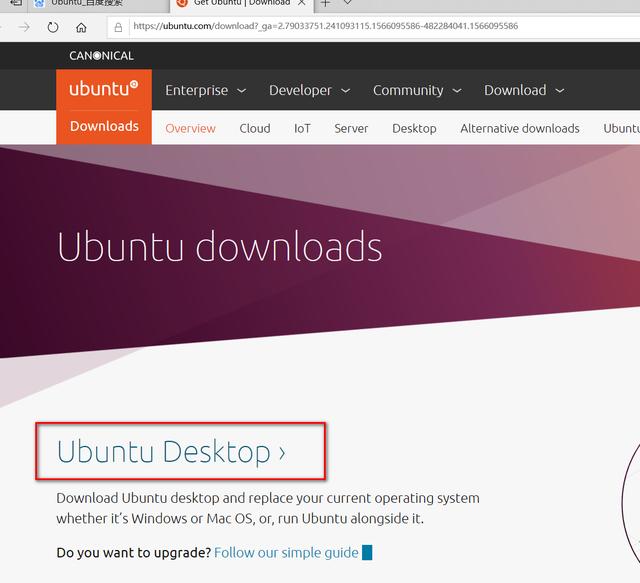
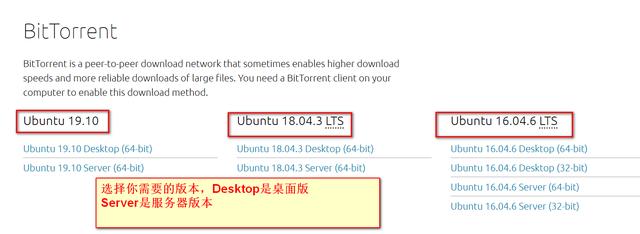
接下来准备Ubuntu的镜像文件,下载方法如下


好了,引导工具和镜像文件都下载了,
step2,制作U盘引导,右键,管理员运行,直接就可以打开了
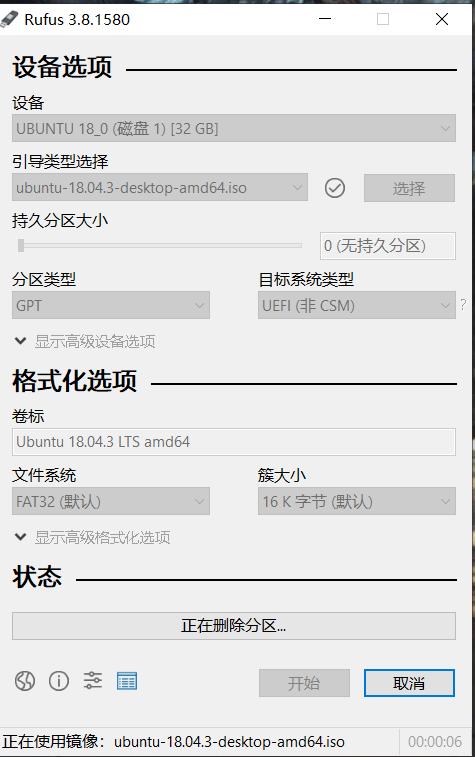
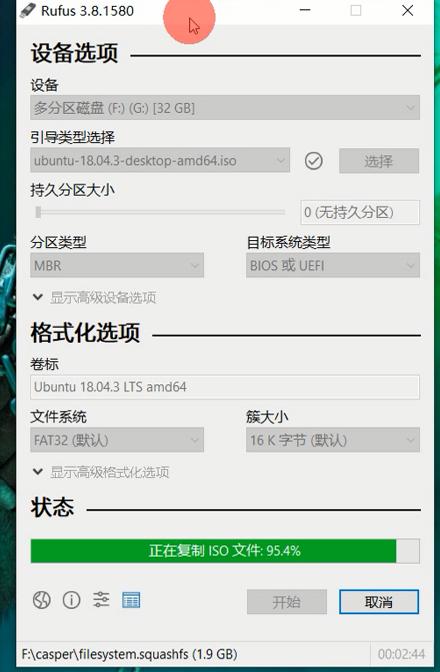
U盘引导制作完成
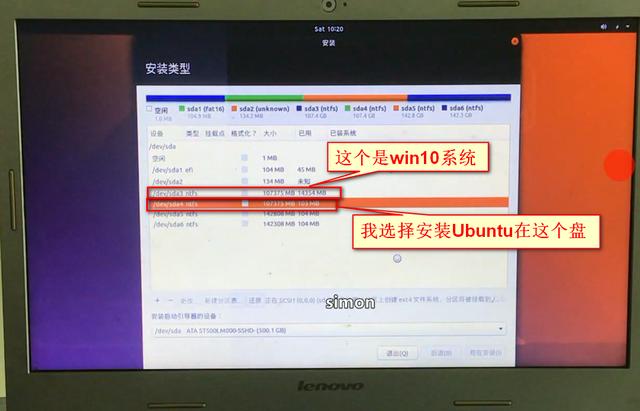
step2 把制作好的Ubuntu引导插在在目标机上,启动电脑,按热键进入boot设置,选择U盘启动(不同的电脑,boot热键也不一样)保存设置,重启电脑,进入U盘启动
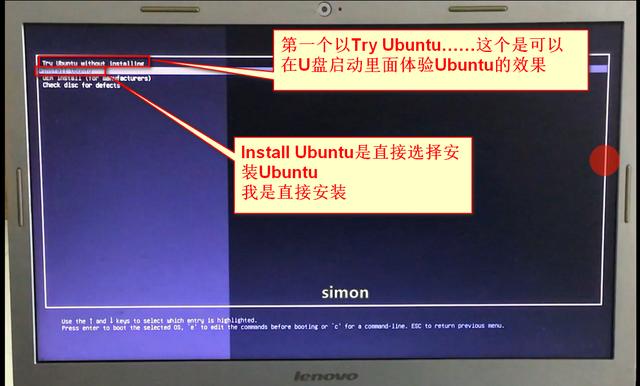
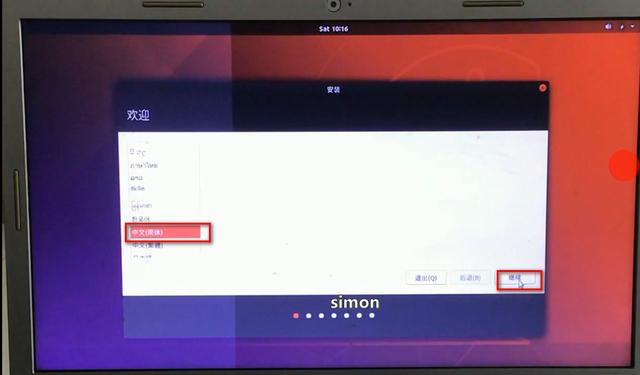
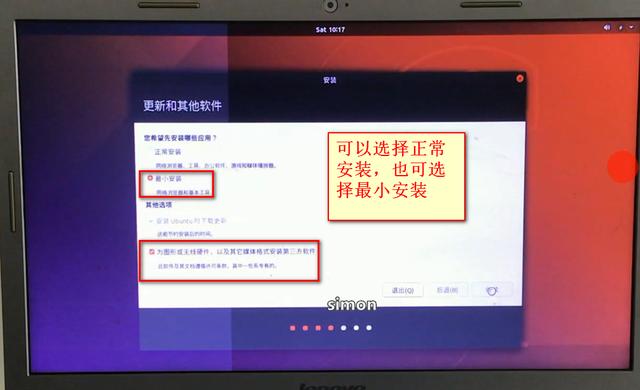
下面的步骤,选择继续
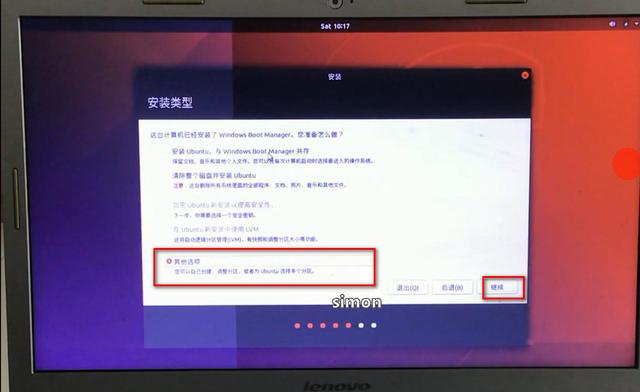
分区方案,都使用ext4格式,这个很重要
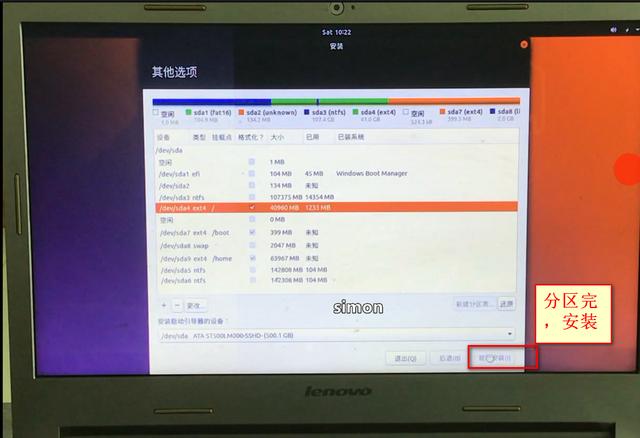
1.挂载点 / :主分区,主要用于安装系统和应用软件,大小给20个G(1024*20=20480M)
2. /boot :逻辑分区,给480M
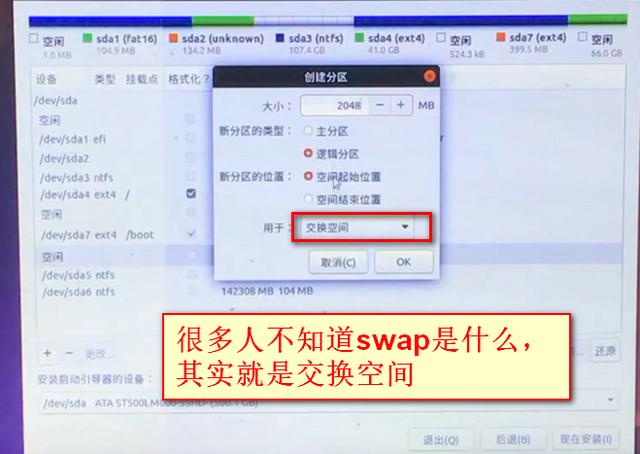
3.虚拟机交换空间swap,给4个G(1024*4=4096)
4.剩余的空间给 /home:逻辑分区
如果分区不明白的小伙伴,有视频哦
选择继续安装
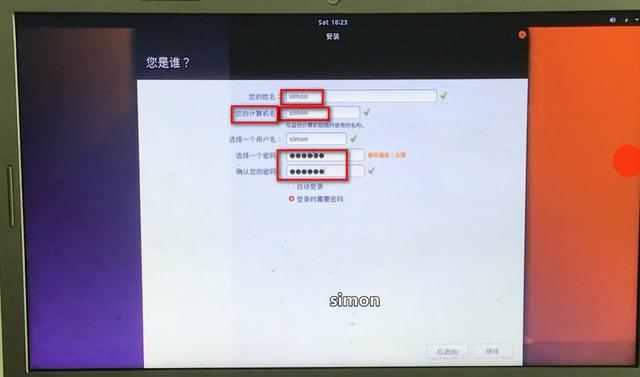
接下来是等待的过程……
然后重启

不明白的小伙伴,私信我,有时间的话,我都会回复


 124
124


 被折叠的 条评论
为什么被折叠?
被折叠的 条评论
为什么被折叠?
 到【灌水乐园】发言


