


文章篇幅过长,拆分成多篇发送在公众号。
项目名称
1024 RESUME
项目地址
- 网站 https://resume.1024.cool
- GitHub https://github.com/1024-cool/markdown-resume
项目背景
Jack 要开始新的求职生涯哟。求职大概几件事情得做。
- 简历
- 面试
- 合同
看了很多模板都不喜欢。市面上符合程序员的简历模板真的太少了。
功夫不负有心人。最终找到了一个——冷熊简历 http://cv.ftqq.com
前辈做的真不错。索性,我照抄一个项目。
代码都是我写的,前辈是 React + PHP,我就搞一个 Vue + Node。
说干就干!

项目代码
Step One 项目基础搭建
- 本地全局安装
Vue Cli
npm install -g @vue/cli
# OR
yarn global add @vue/cli
- 创建项目
resume
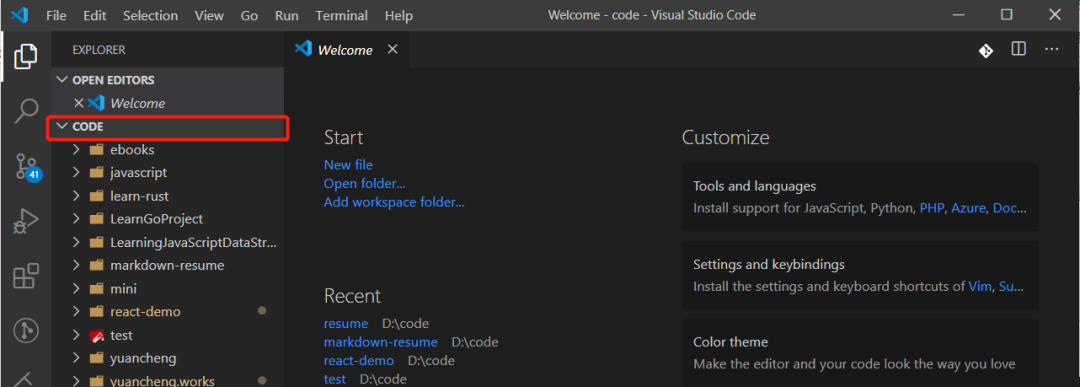
- 首先打开了我的项目目录
code,然后使用vs code打开文件目录
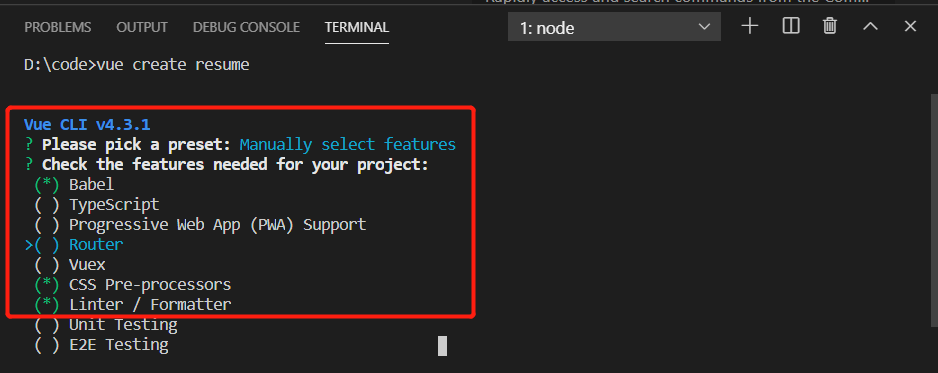
- 使用
Vue Cli初始化Vue项目resume
vue create resume
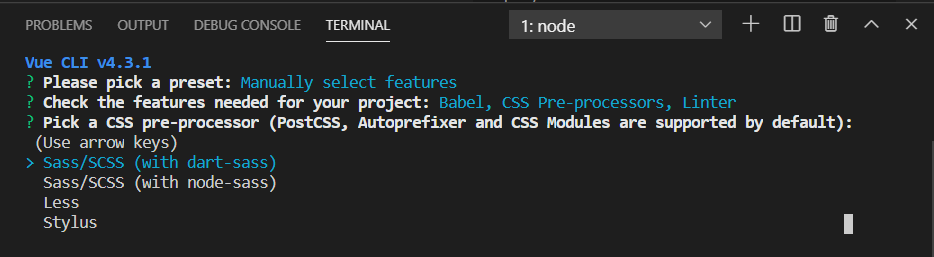
我们需要使用 scss 、eslint、babel
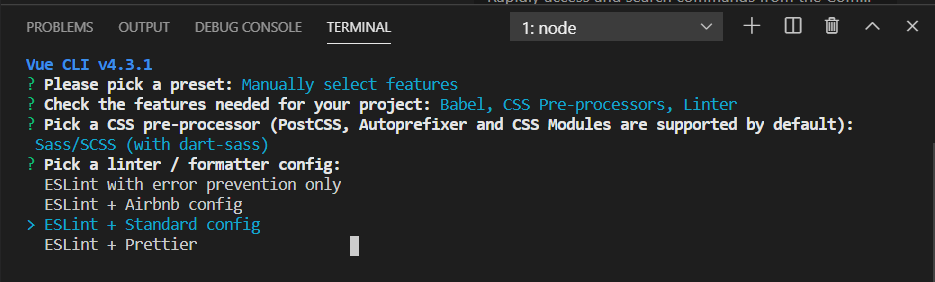
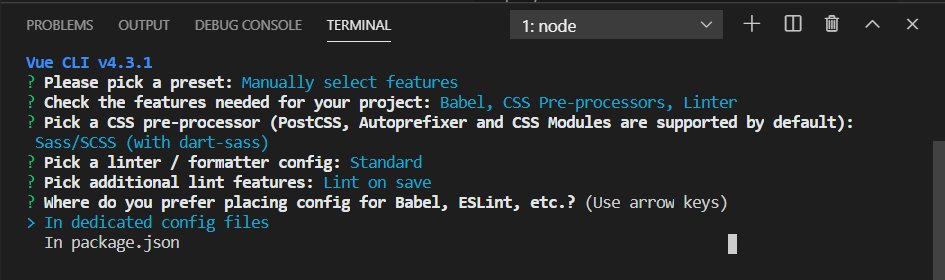
Save this as a preset for future projects? (y/N) n
- 我们可以看一下
package.json文件
{
  "name": "resume",
  "version": "0.1.0",
  "private": true,
  "scripts": {
    "serve": "vue-cli-service serve",
    "build": "vue-cli-service build",
    "lint": "vue-cli-service lint"
  },
  "dependencies": {
    "core-js": "^3.6.4",
    "vue": "^2.6.11"
  },
  "devDependencies": {
    "@vue/cli-plugin-babel": "~4.3.0",
    "@vue/cli-plugin-eslint": "~4.3.0",
    "@vue/cli-service": "~4.3.0",
    "@vue/eslint-config-standard": "^5.1.2",
    "babel-eslint": "^10.1.0",
    "eslint": "^6.7.2",
    "eslint-plugin-import": "^2.20.2",
    "eslint-plugin-node": "^11.1.0",
    "eslint-plugin-promise": "^4.2.1",
    "eslint-plugin-standard": "^4.0.0",
    "eslint-plugin-vue": "^6.2.2",
    "sass": "^1.26.3",
    "sass-loader": "^8.0.2",
    "vue-template-compiler": "^2.6.11"
  }
}
- 跑一下当前的项目。
npm run serve
Microsoft Windows [版本 10.0.18362.778]
(c) 2019 Microsoft Corporation。保留所有权利。

D:\code\resume>npm run serve

> resume@0.1.0 serve D:\code\resume
 DONE  Compiled successfully in 4879ms                                              10:57:28

  App running at:
  - Local:   http://localhost:8080/
  - Network: http://192.168.1.3:8080/

  Note that the development build is not optimized.
  To create a production build, run npm run build.
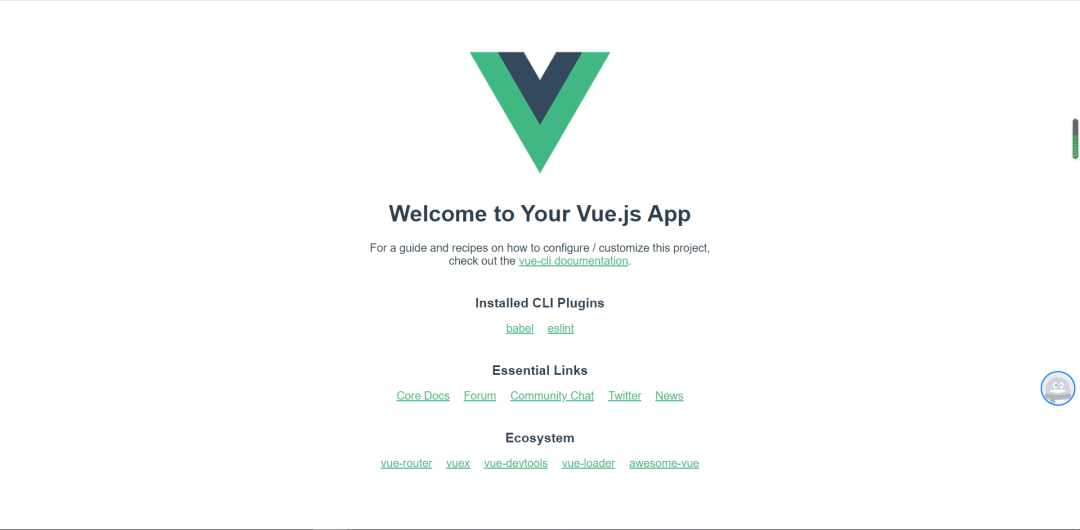
- 点击
http://localhost:8080/,看一下我们的项目页面。
- F12 查看浏览器控制台
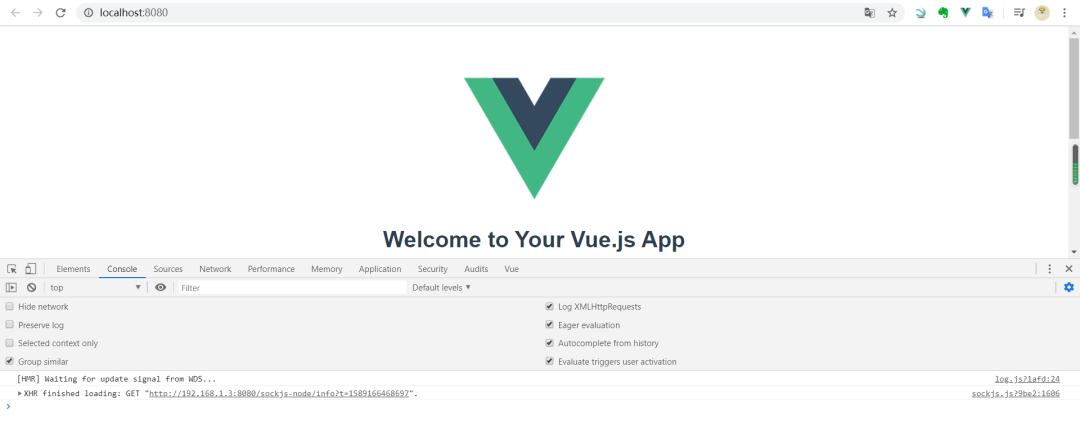
我们没有看到任何报错,恭喜你最简单的 Vue 应用跑起来了。
Step Two 开始页面布局
- 组件拆分
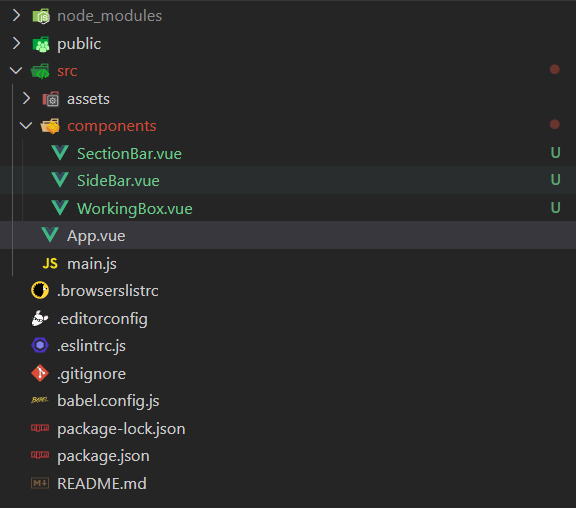
观察冷熊简历 http://cv.ftqq.com,我们可以分为三个组件。
SideBar.vue最左侧SectionBar.vue中间部分WorkingBox.vue右侧编辑器

动起来,去 components 目录新建三个组件文件,删除默认的 HelloWorld.vue 组件文件。
- 为了后面方便使用,我们去项目根目录新建一个
vue.confog.js的配置文件。
const path = require('path')
const resolve = dir => path.join(__dirname, dir)
const IS_PROD = ['production', 'prod'].includes(process.env.NODE_ENV)
module.exports = {
  // 访问的路径
  publicPath: IS_PROD === 'production' ? '/resume/' : '/',
  chainWebpack: config => {
    // 添加别名
    config.resolve.alias
      .set('@', resolve('src'))
      .set('@assets', resolve('src/assets'))
      .set('@image', resolve('src/assets/image'))
      .set('@scss', resolve('src/assets/scss'))
      .set('@components', resolve('src/components'))
  }
}

往期精彩文章
已拿字节 offer,送大厂面经一份!


 1155
1155


 被折叠的 条评论
为什么被折叠?
被折叠的 条评论
为什么被折叠?
 到【灌水乐园】发言


