


准备
搭建之前需要先安装 clang,在 Mac 上有两种方法进行 clang 的安装:
- 在 AppStore 上安装
Xcode,clang会在Xcode安装时自动安装 - 在命令行终端上执行
xcode-select --install进行安装
安装完可通过在命令行终端上输入 clang -v 验证 clang 安装是否成功
$ clang -v
Apple clang version 11.0.3 (clang-1103.0.32.62)
Target: x86_64-apple-darwin19.6.0
Thread model: posix
InstalledDir: /Library/Developer/CommandLineTools/usr/bin
安装 VS Code
- 从 VS Code 官网下载 VS Code
- 双击进行安装
VS Code 插件安装
想要运行 C++ 程序需要先安装 C/C++ 插件,打开 VS Code,进入插件扩展(快捷键 Command + Shift + X),搜索 C/C++ 插件进行安装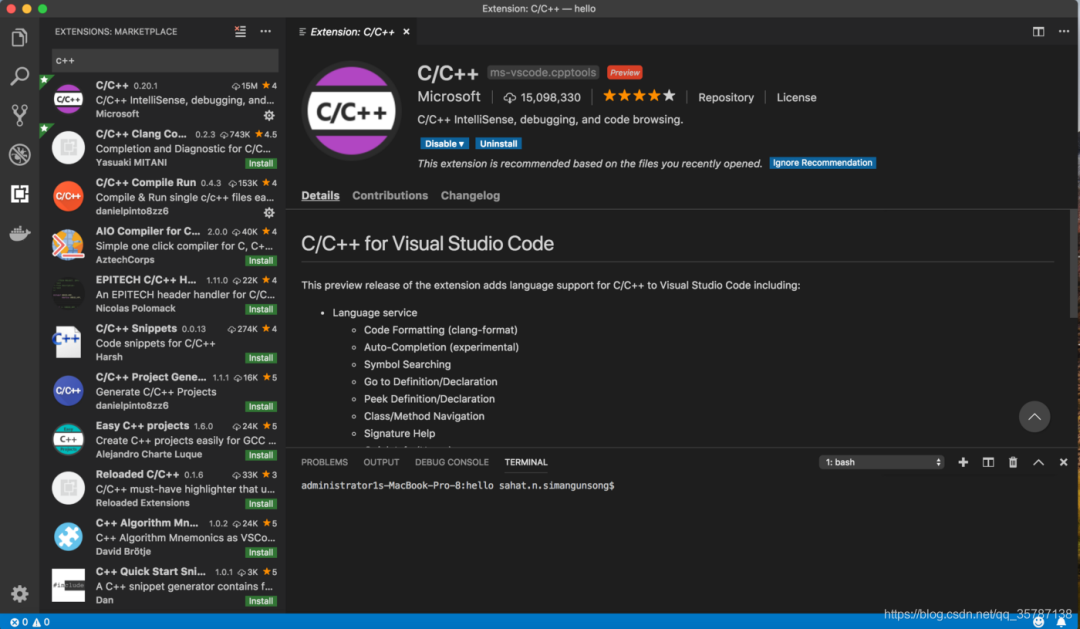 看不懂英文的,可以再安装一个中文插件
 Chinese (Simplified) Language Pack for Visual Studio Code,安装方法跟安装 C/C++ 插件一样,把搜索词换成 Chinese 就可以了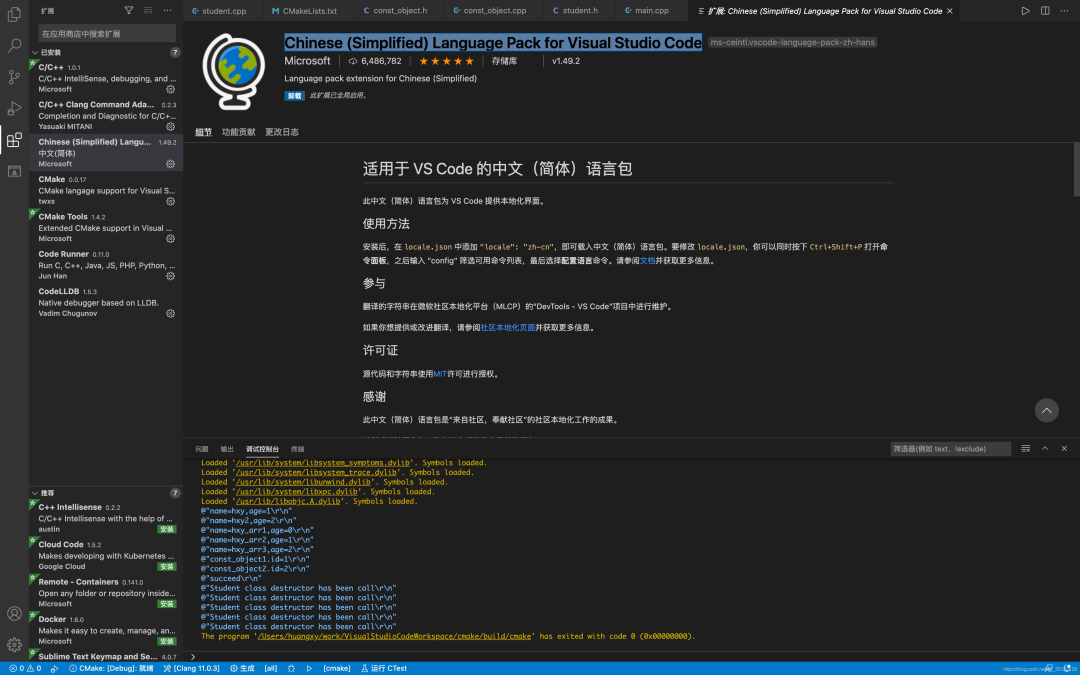
插件安装完成需要重启 VS Code 使其生效
构建运行第一个 C++ 程序
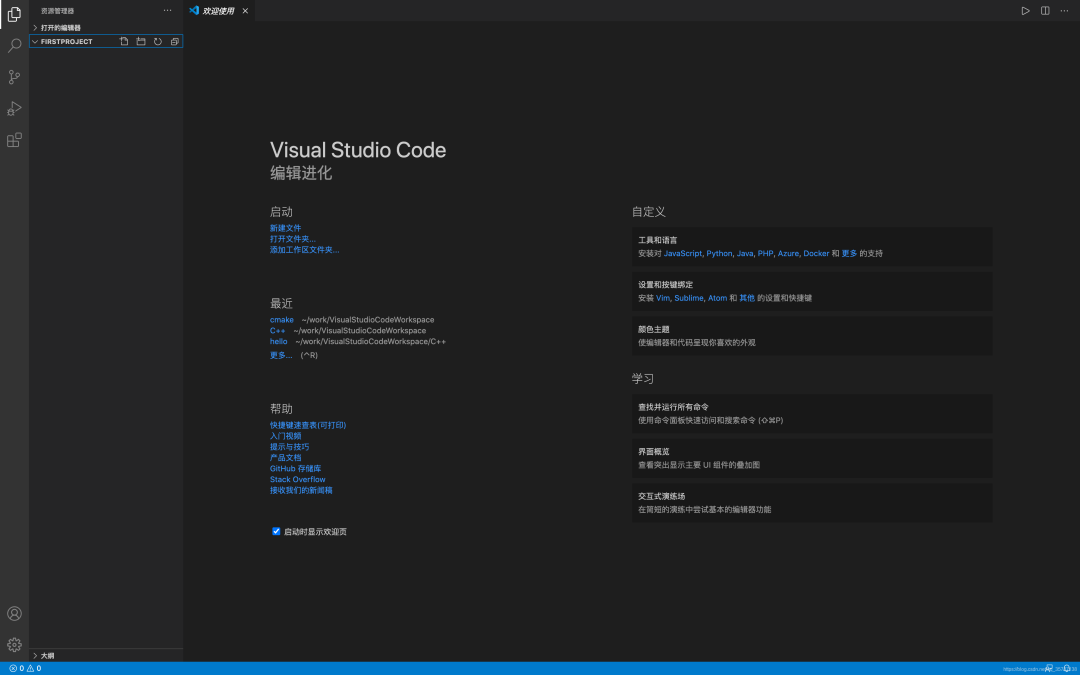
使用以下步骤创建一个项目目录firstProject,并使用 VS Code 打开
$ mkdir firstProject
$ cd firstProject
$ code .
 创建
创建 main.cpp 文件,文件代码如下
#include
using namespace std;

int main(){
    cout <"hello world!" <endl;
    return 0;
}
按 Command + Shift + P 打开命令行面板,输入 tasks,选择 Tasks:Configure Task 生成 tasks.json配置文件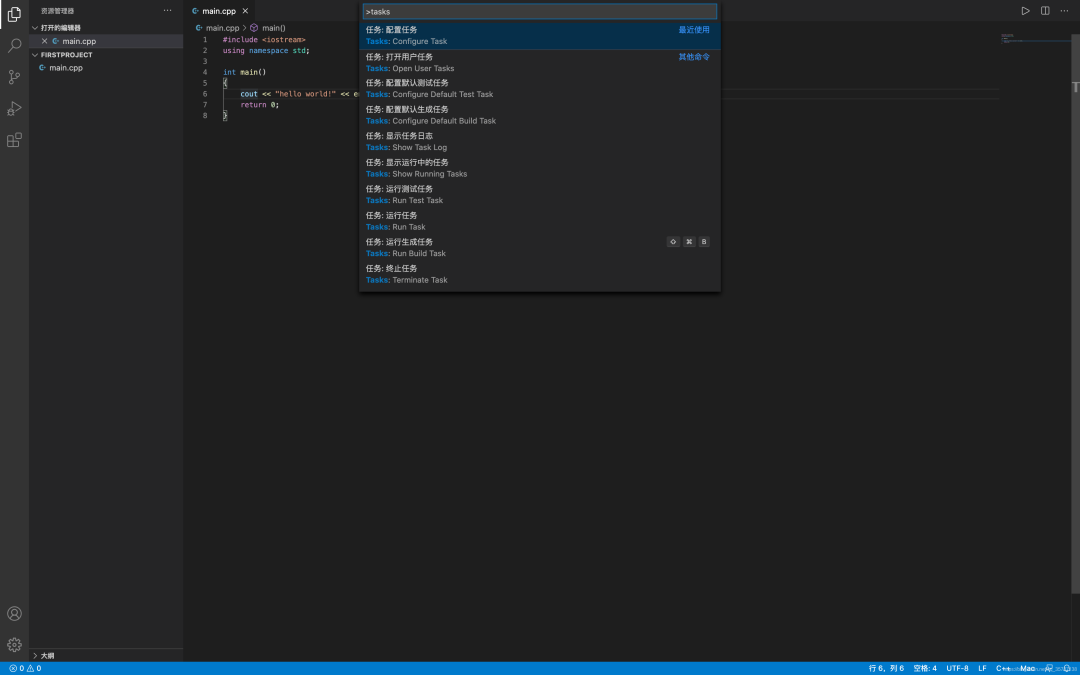 这里选择
这里选择 C/C++:clang build active file 模版,选其他模版也没关系,在下面覆盖也行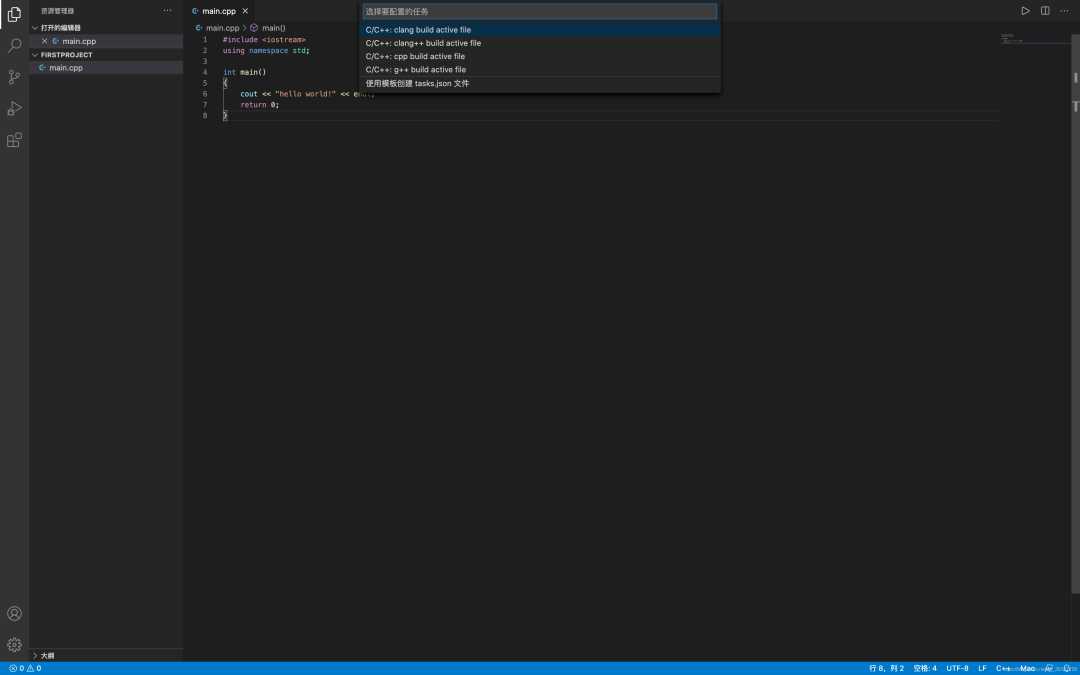
VS Code 会自动在 .vscode 目录下生成 tasks.json 配置文件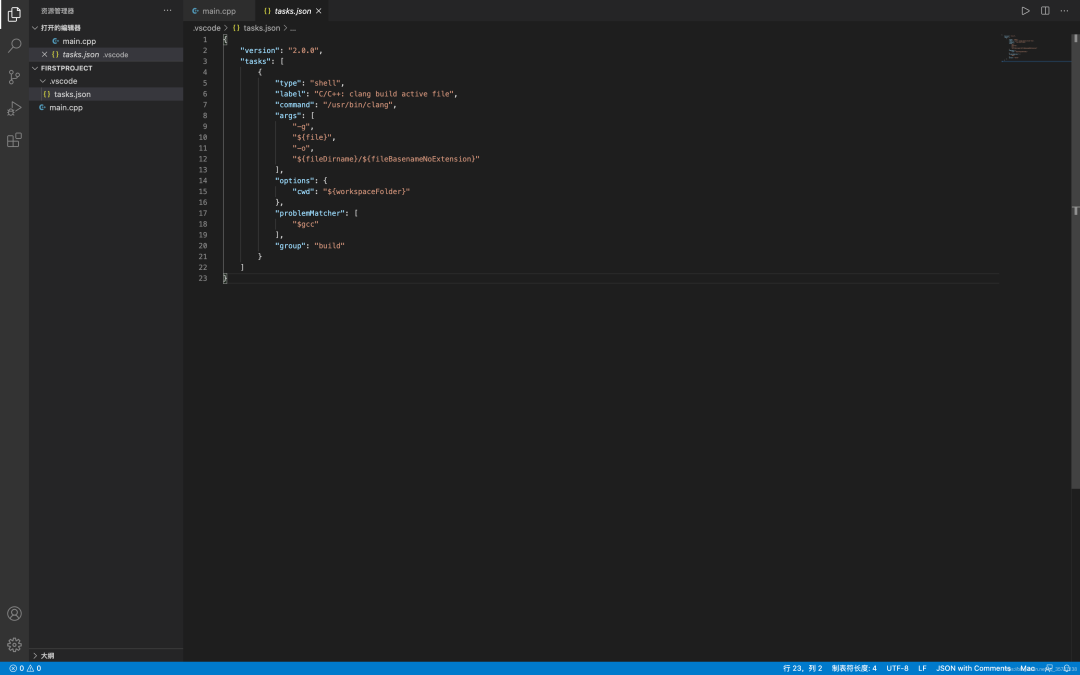 将文件内容修改为
{
    "version": "2.0.0",
    "tasks": [
        {
            "label": "build",
            "command": "clang++",
            "args": [
                "-o",
                "main", // 执行文件名称
                "main.cpp", // 需要执行的源文件
                "-g",
                "-v"
            ],
            "type": "shell",
            "presentation": {
                "echo": true,
                "reveal": "always",
                "panel": "shared"
            },
            "problemMatcher": {
                "owner": "cpp",
                "fileLocation": [
                    "relative",
                    "${workspaceRoot}"
                ],
                "pattern": {
                    "regexp": "^(.*):(\\d+):(\\d+):\\s+(warning|error):\\s+(.*)$",
                    "file": 1,
                    "line": 2,
                    "column": 3,
                    "severity": 4,
                    "message": 5
                }
            }
        }
    ]
}
接下来按 Command + Shift + B 对源文件进行编译,编译完成后,会在项目路径下生成 main 文件,使用 ./main 即可执行
$ ./main
hello world!
项目调试
如果需要对项目进行进行 debug,则需要先生成 launch.json 文件并对其做相应的配置
- 按
Command + Shift + D进入到运行界面
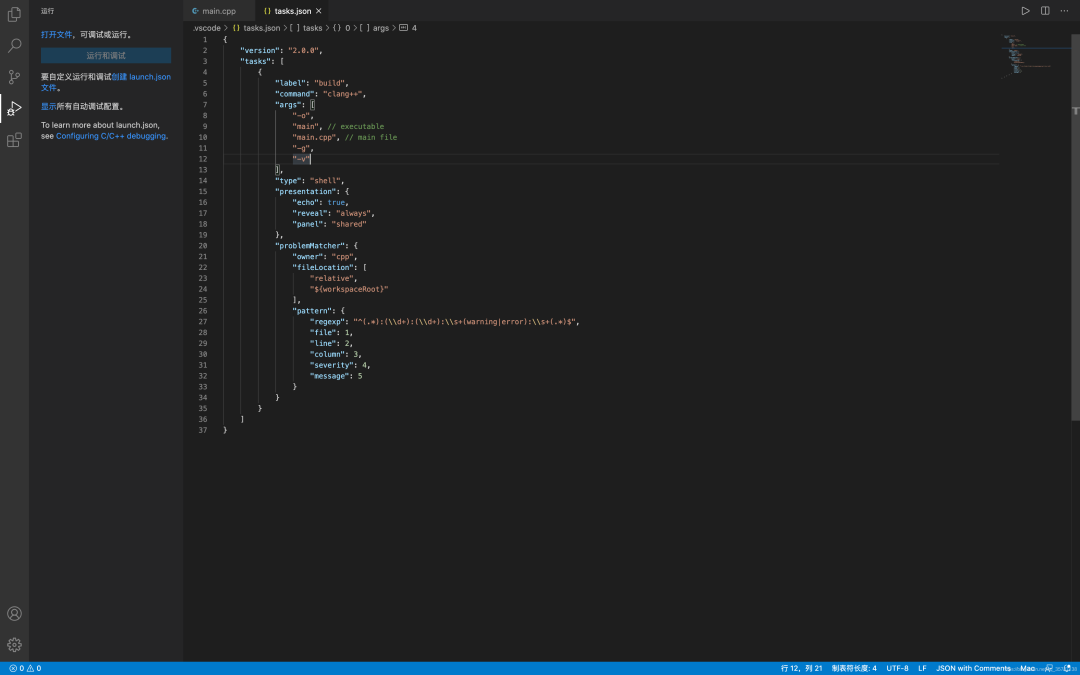
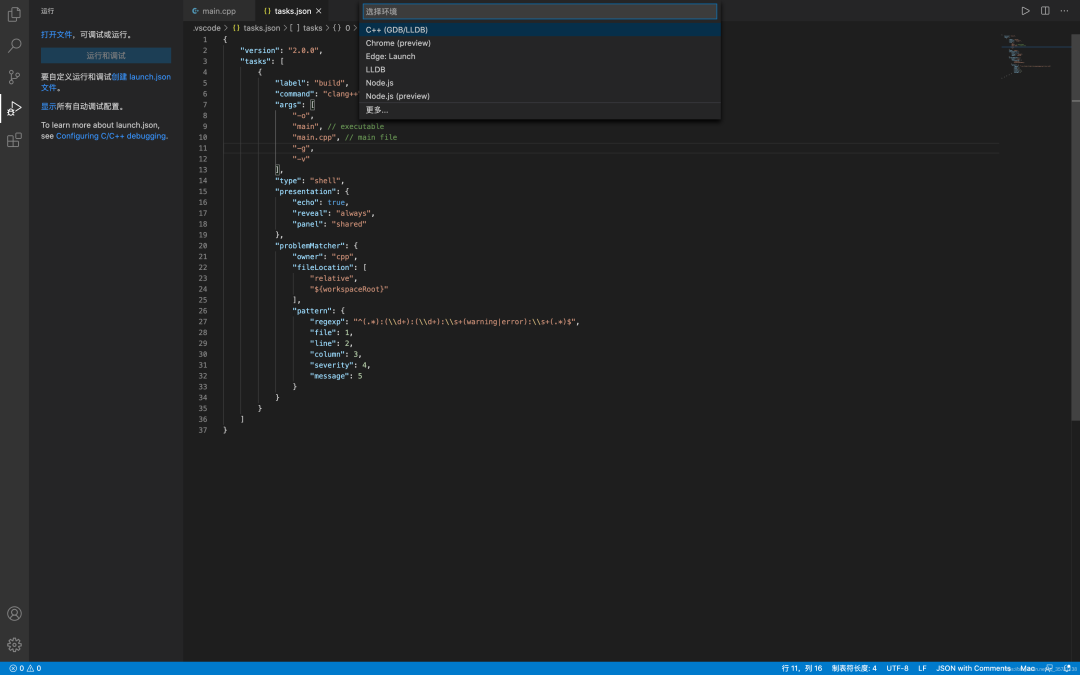
- 点击
创建 launch.json 文件,选择C++(GDB/LLDB)
 同样的,会在
 .vscode 文件夹下创建 launch.json 文件
 修改
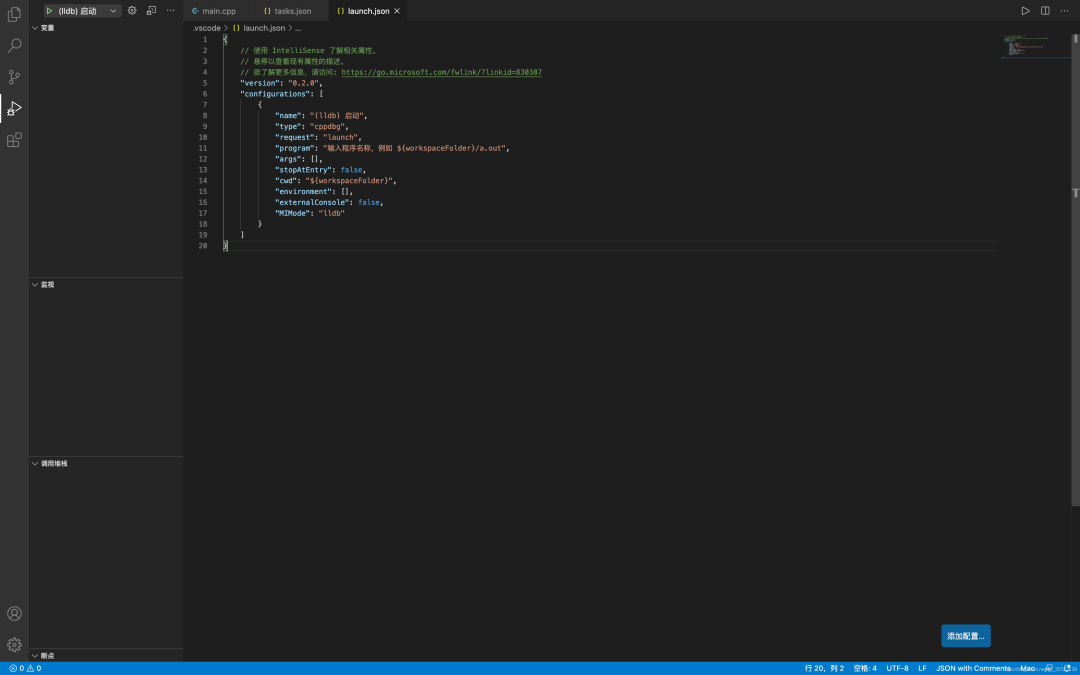
修改 launch.json 文件内容为
{
    "version": "2.0.0",
    "configurations": [
        {
            "name": "C++ Launch",
            "type": "cppdbg",
            "request": "launch",
            "program": "${workspaceRoot}/main", // main 跟 tasks.json 中的执行文件名称配置一致
            "preLaunchTask": "build",
            "internalConsoleOptions": "openOnSessionStart",
            "logging": {
                "moduleLoad": false,
                "programOutput": true,
                "trace": false
            },
            "showDisplayString": false,
            "args": [],
            "stopAtEntry": false,
            "cwd": "${workspaceRoot}",
            "environment": [],
            "externalConsole": false, // set true to enable keyboard input
            "osx": {
                "MIMode": "lldb"
            }
        }
    ]
}
在 cout 语句打上断点,然后点击运行按钮即可进行 debug
参考:Build and Debug C++ on Visual Studio Code for Mac
到此,使用 VS Code 进行 C++ 项目环境的搭建就完成啦,如果觉得对你有帮助的话可以关注我的公众号huangxy,不定时分享一些技术文章


 被折叠的 条评论
为什么被折叠?
被折叠的 条评论
为什么被折叠?
 到【灌水乐园】发言


