


准备工具

解压缩文件
tar -zxvf apache-hive-1.2.1-hbase.tar.gz -C /opt/bigdata/
tar -zxvf sqoop-1.4.7.tar.gz -C /opt/bigdata/

安装mysql
检查下是否已下载还有卸载残留
rpm -qa | grep mysql
find / -name mysql

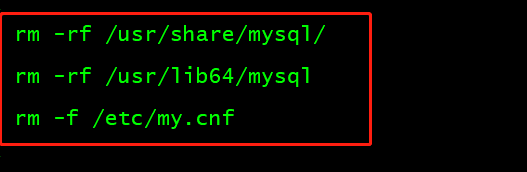
过rm -rf将以上目录删掉即可,另外顺便把配置文件/etc/my.cnf也删掉吧,用rm –f
rm -rf /usr/share/mysql/
rm -rf /usr/lib64/mysql
rm -f /etc/my.cnf
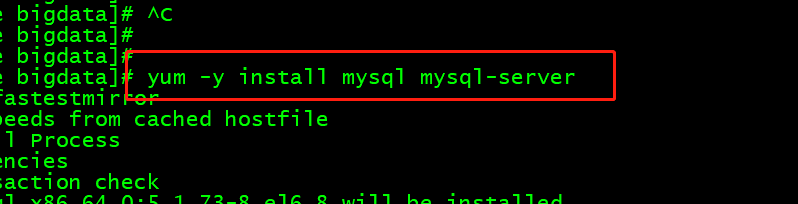
执行命令
yum -y install mysql mysql-server
安装mysql扩展
yum -y install mysql-connector-odbc mysql-devel libdbi-dbd-mysql
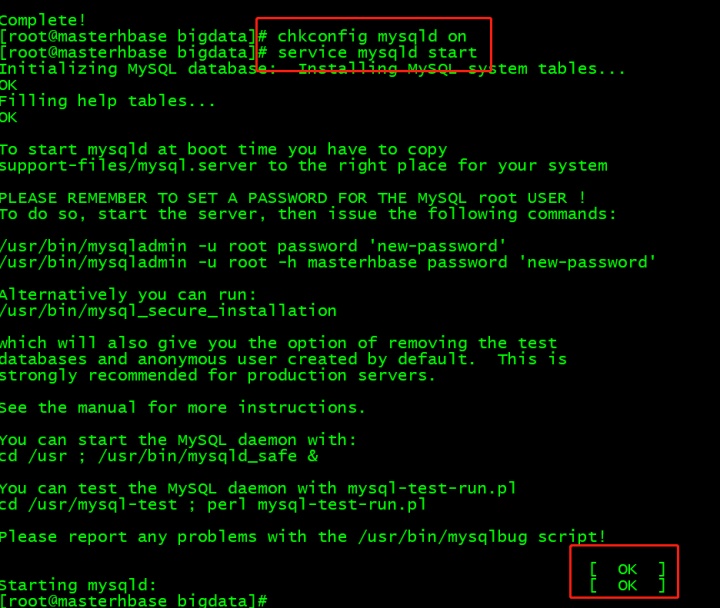
设置开启启动: chkconfig mysqld on
启动mysql
service mysqld start
检查下
chkconfig | grep mysql

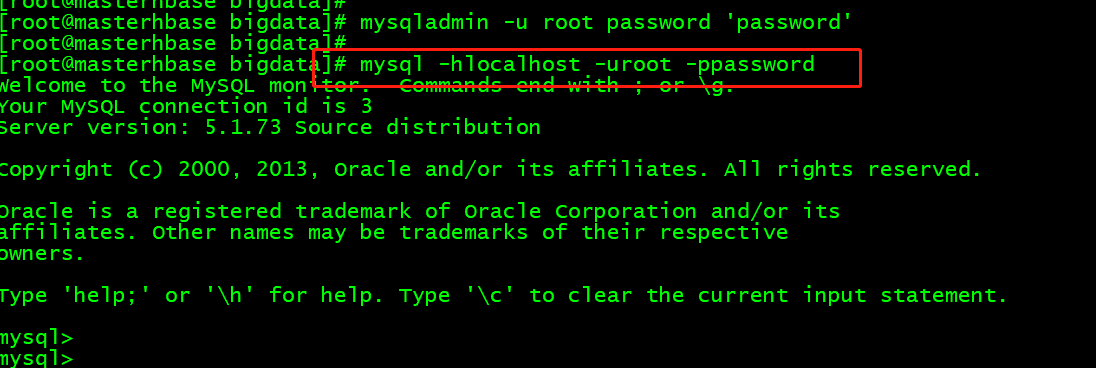
设置登录密码:mysqladmin -u root password 'password'

进入数据库,查询用户信息
mysql -hlocalhost -uroot -ppassword
设置远程登录权限
grant all privileges on *.* to 'root'@'%' identified by 'password' with grant option;

删除用户信息
delete from user where user='root' and host='127.0.0.1';
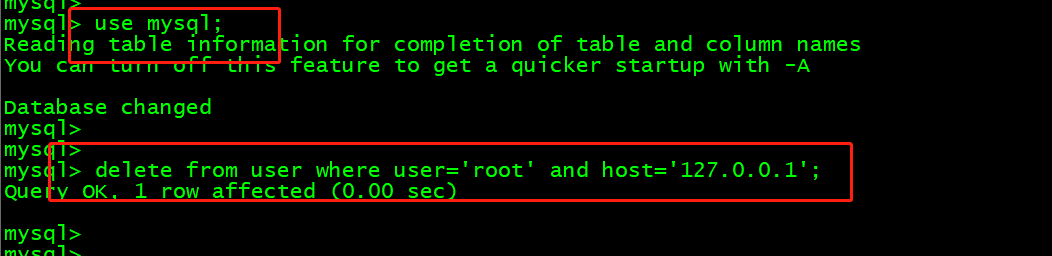
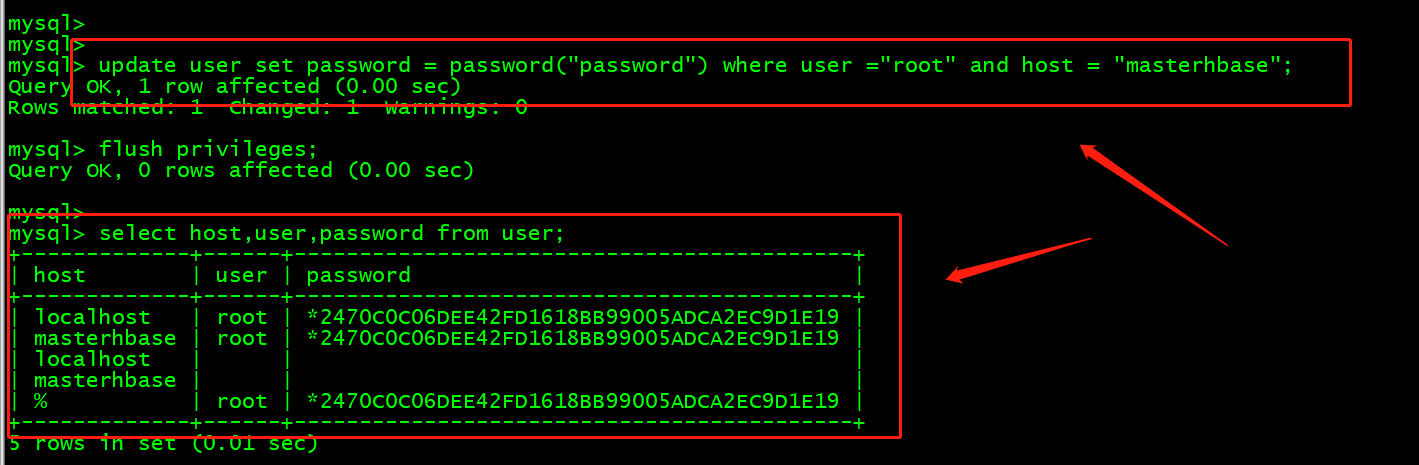
刷新信息
flush privileges;

update user set password = password("password") where user ="root" and host = "masterhbase";
退出重启mysqld服务
service mysqld restart

进入解压的hive目录中配置文件目录
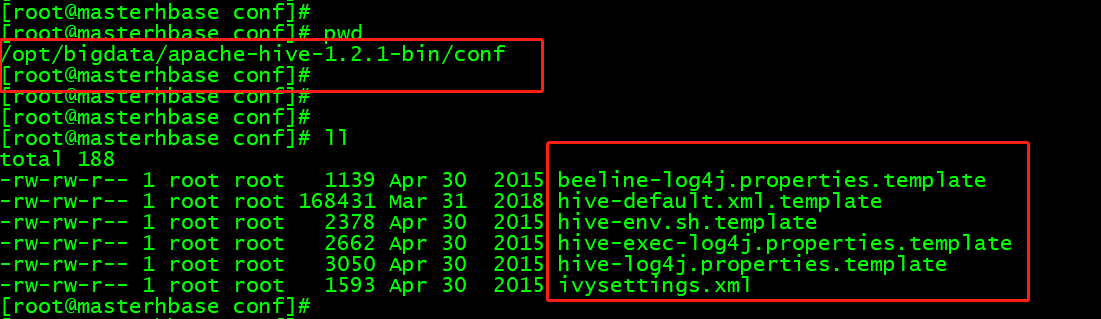
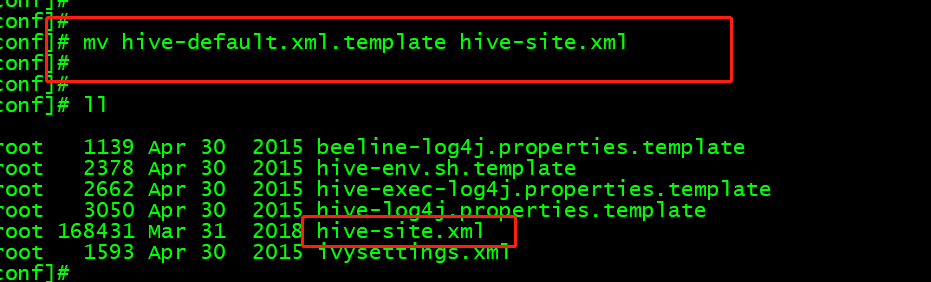
先重命名hive-default.xml.template
mv hive-default.xml.template hive-site.xml
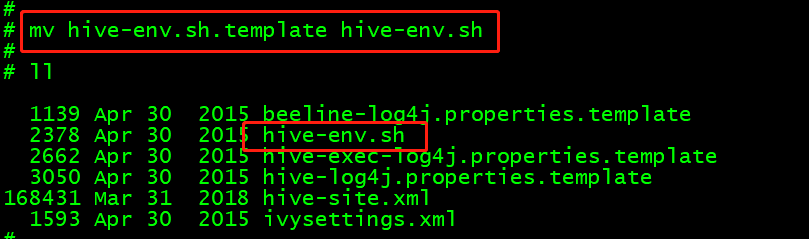
再重命名hive-env.sh.template
mv hive-env.sh.template hive-env.sh
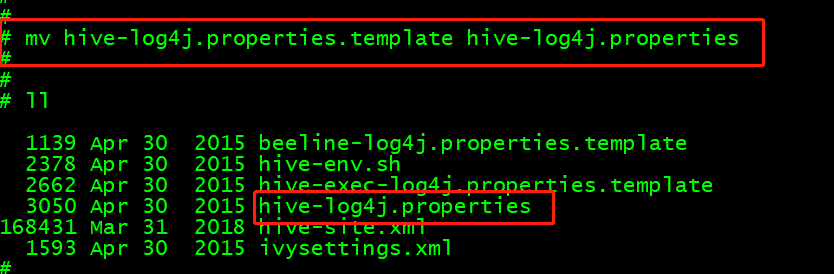
再重命名hive-log4j.properties.template
mv hive-log4j.properties.template hive-log4j.properties
依次配置
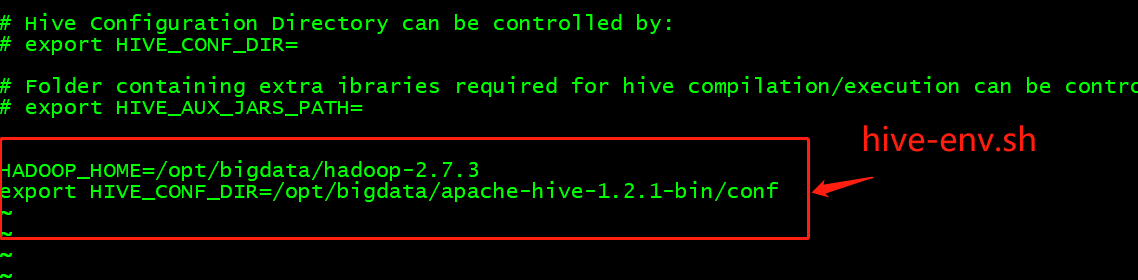
首先编辑hive-env.sh
HADOOP_HOME=/opt/bigdata/hadoop-2.7.3
export HIVE_CONF_DIR=/opt/bigdata/apache-hive-1.2.1-bin/conf
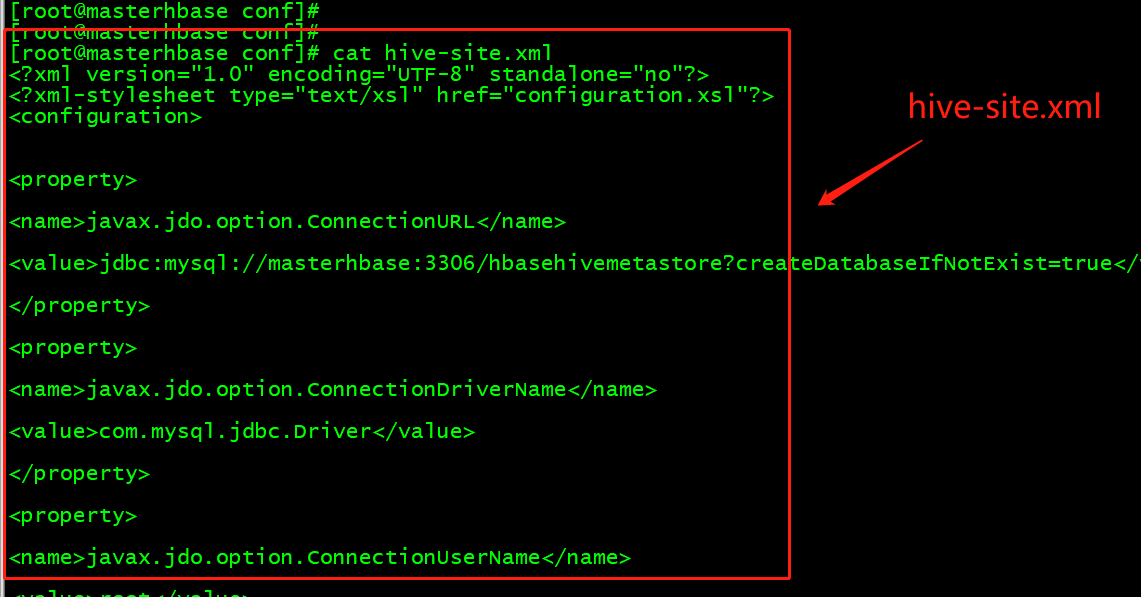
编辑hive-site.xml,情况补充以下内容
<?xml version="1.0" encoding="UTF-8" standalone="no"?>
<?xml-stylesheet type="text/xsl" href="configuration.xsl"?>
<configuration>
<property>
<name>javax.jdo.option.ConnectionURL</name>
<value>jdbc:mysql://masterhbase:3306/hbasehivemetastore?createDatabaseIfNotExist=true</value>
</property>
<property>
<name>javax.jdo.option.ConnectionDriverName</name>
<value>com.mysql.jdbc.Driver</value>
</property>
<property>
<name>javax.jdo.option.ConnectionUserName</name>
<value>root</value>
</property>
<property>
<name>javax.jdo.option.ConnectionPassword</name>
<value>password</value>
</property>
<property>
<name>hive.cli.print.current.db</name>
<value>true</value>
</property>
<property>
<name>hive.cli.print.header</name>
<value>true</value>
</property>
</configuration>
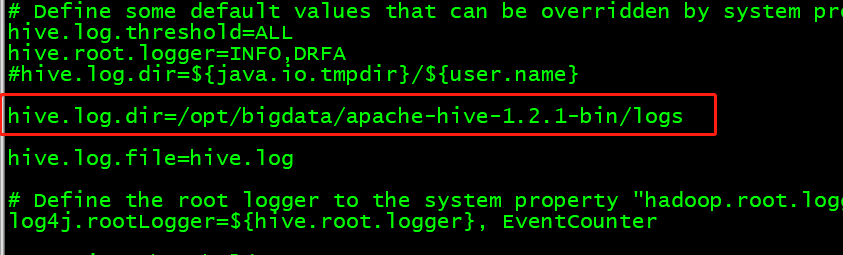
配置hive-log4j.properties
hive.log.dir=/opt/bigdata/apache-hive-1.2.1-bin/logs
将jar包上传
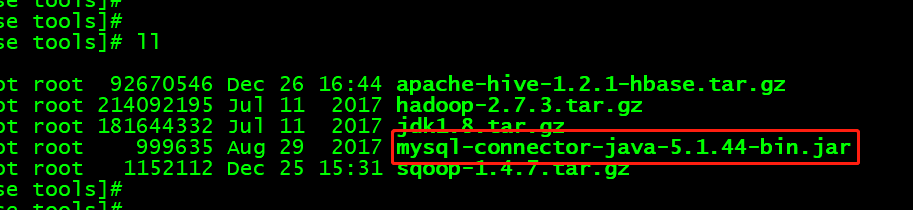
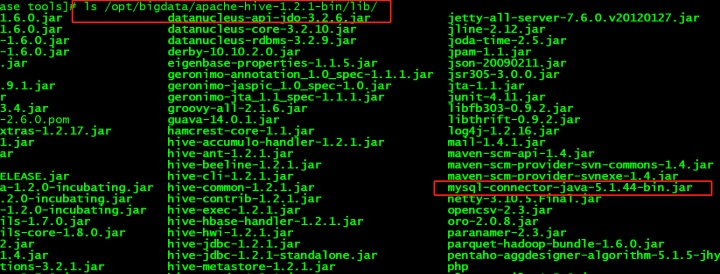
拷贝到lib目录下
cp mysql-connector-java-5.1.44-bin.jar /opt/bigdata/apache-hive-1.2.1-bin/lib/
切换到Hadoop目录,建立目录,并修改权限
/user/hive/warehouse为Hive存放数据的目录
bin/hdfs dfs -mkdir -p /user/hive/warehouse
bin/hdfs dfs -chmod g+w /user/hive/warehouse

bin/hdfs dfs -mkdir -p /tmp
bin/hdfs dfs -chmod g+w /tmp

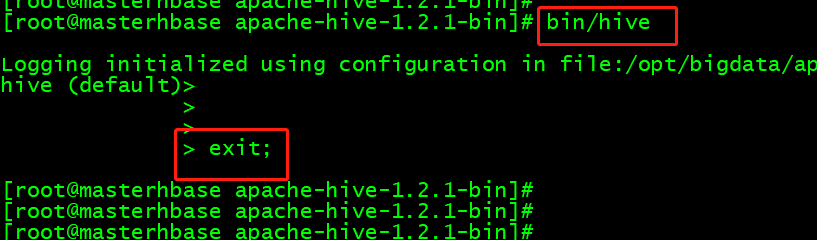
启动客户端使用Hive bin/hive就可以了
进入sqoop目录
配置conf/sqoop-env.sh
复制: cp -a sqoop-env-template.sh sqoop-env.sh
或直接重命名重命名hive-env.sh (去掉.template)

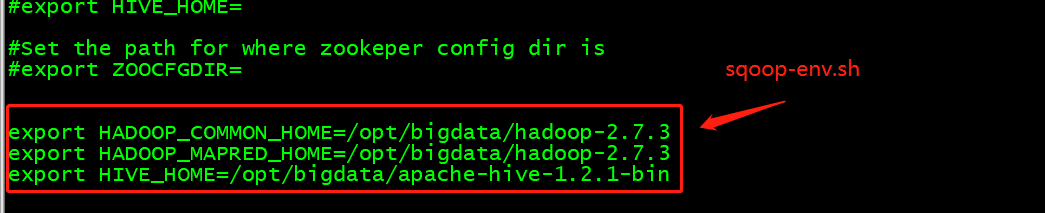
编辑文件sqoop-env.sh
export HADOOP_COMMON_HOME=/opt/bigdata/hadoop-2.7.3
export HADOOP_MAPRED_HOME=/opt/bigdata/hadoop-2.7.3
export HIVE_HOME=/opt/bigdata/apache-hive-1.2.1-bin
拷贝jdbc驱动包达到lib目录
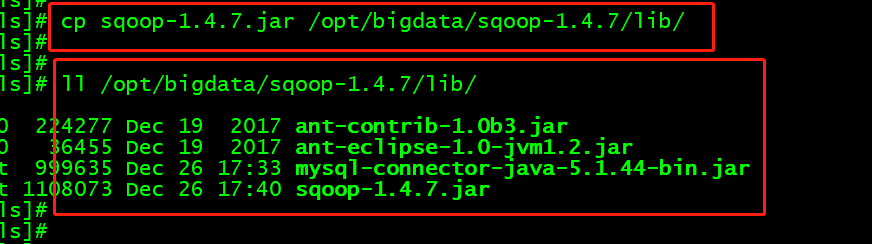
cp mysql-connector-java-5.1.44-bin.jar /opt/bigdata/sqoop-1.4.7/lib/

cp sqoop-1.4.7.jar /opt/bigdata/sqoop-1.4.7/lib/
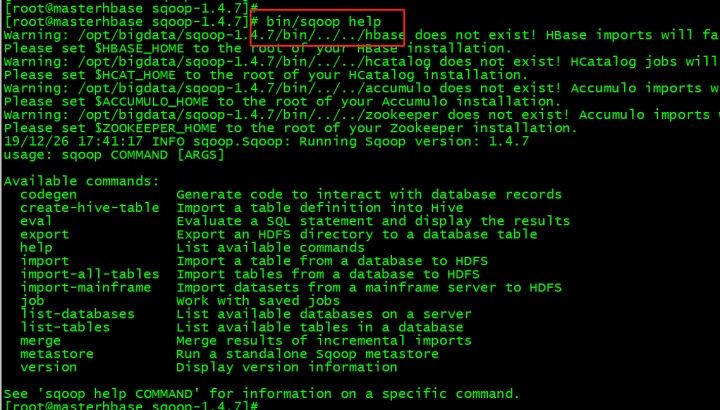
查看帮助信息:bin/sqoop help
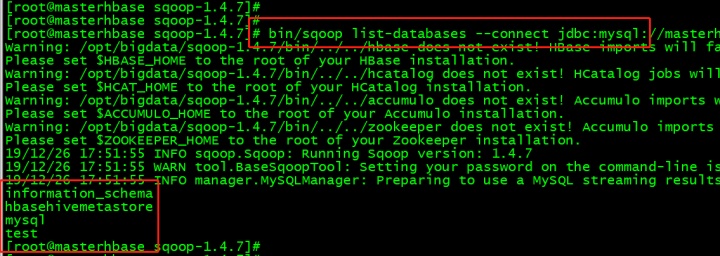
测试:sqoop连接mysql
bin/sqoop list-databases --connect jdbc:mysql://masterhbase:3306/ --username root --password password

解决办法上传jar包
avro-1.8.1.jar
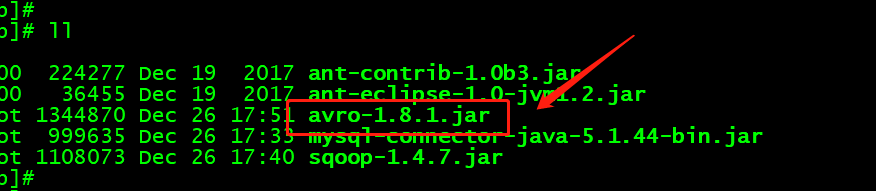
再连接可以了


 136
136


 被折叠的 条评论
为什么被折叠?
被折叠的 条评论
为什么被折叠?
 到【灌水乐园】发言


