


一、内容识别
可以利用“仿制图章工具”“修补工具”“污点修复画笔工具”等方法可以去掉的水印,我们都可以用“内容识别”功能解决。
比如下图这张照片
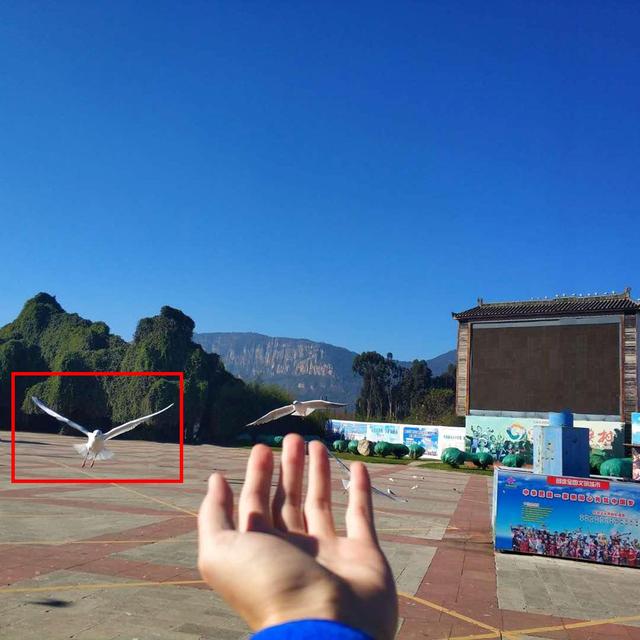
当我们想要去掉红框内海鸥时:1.用套索工具选出海鸥;2.按“shift+F5”打开内容识别,点击确定即可。
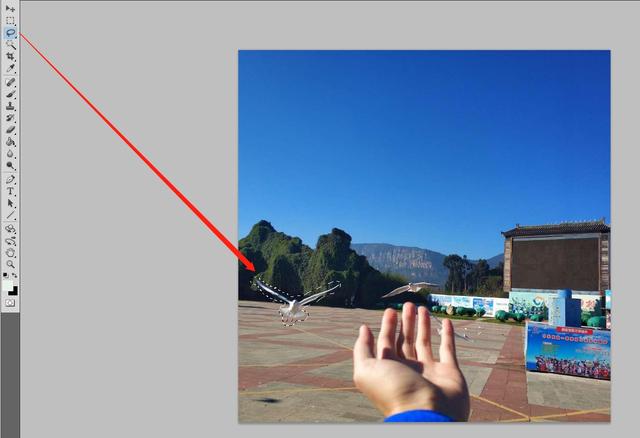
用套索工具选出海鸥
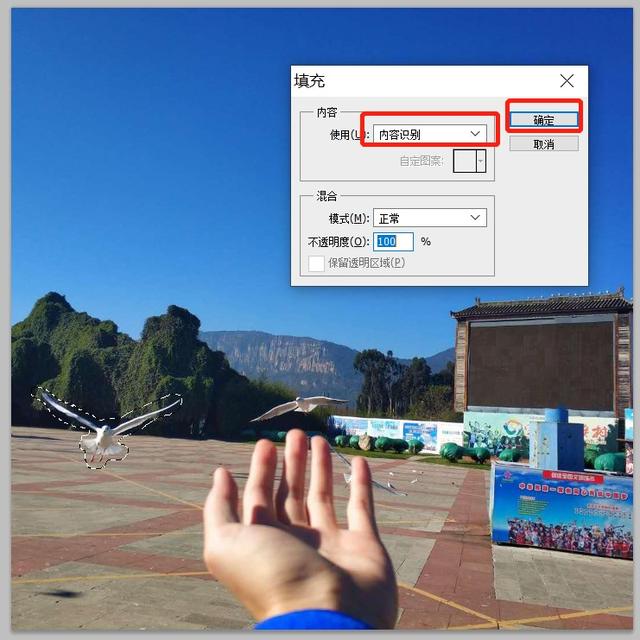
按“shift+F5”打开内容识别,点击确定即可
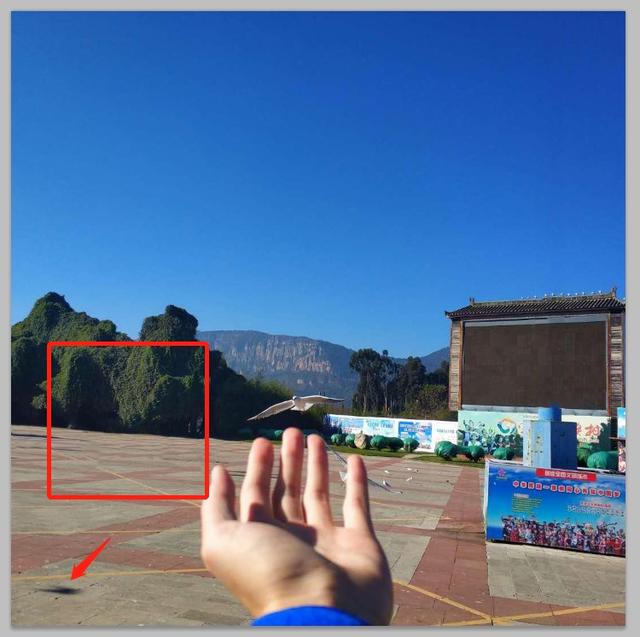
海鸥去掉啦,下方的阴影可以同样方法去掉
对应视频演示请点击观看
二、全屏文本水印
文本全屏水印怎么办呢?一秒搞定!“ctrl+L”打开色阶,把右侧的高光小三角向左侧移动即可,看下图。
这种全屏水印怎样搞定?

“ctrl+L”打开色阶
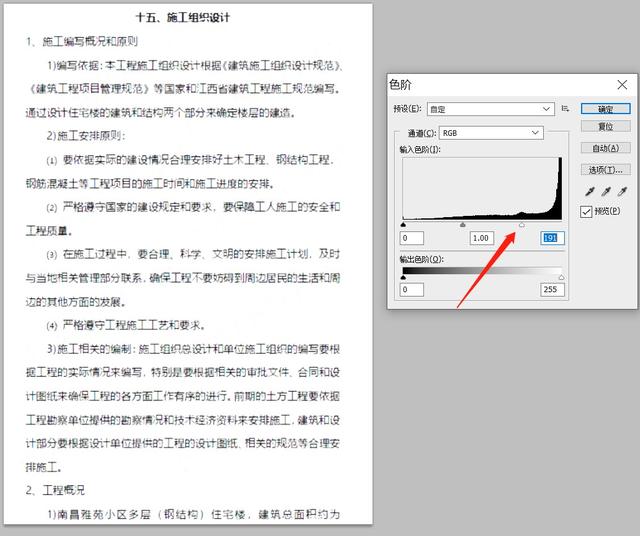
把右侧的高光小三角向左侧移动即可。
对应视频演示请点击观看
三、证件照全屏水印
当遇到证件照全屏水印怎么办呢?也很简单,依次进行如下操作:
1.用套索工具选中空白处水印;2.“ctrl+J”复制一层;3.“ctrl+I”反相;4.图层模式改为“颜色减淡”,即可发现原来的水印不见啦;5.按住alt,一次复制该水印盖住其他水印即可。

证件照全屏水印怎么去除呢?
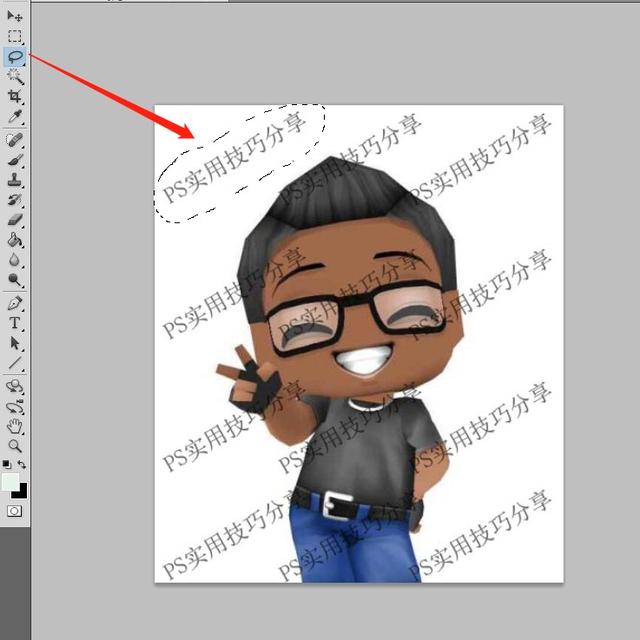
1.用套索工具选中空白处水印
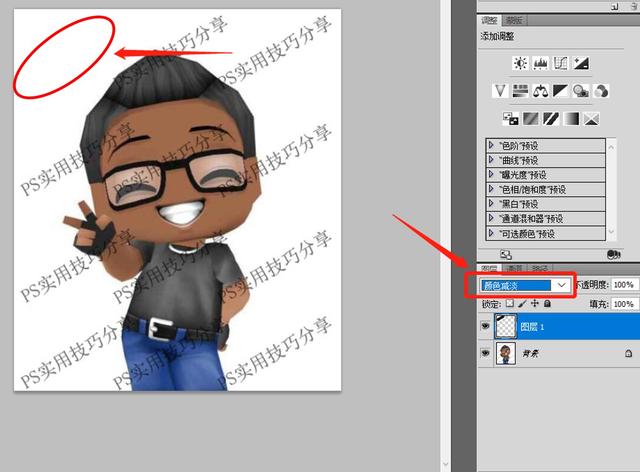
2.“ctrl+J”复制一层;3.“ctrl+I”反相;4.图层模式改为“颜色减淡”,即可
5.按住alt,一次复制该水印盖住其他水印即可。
对应视频演示请点击观看
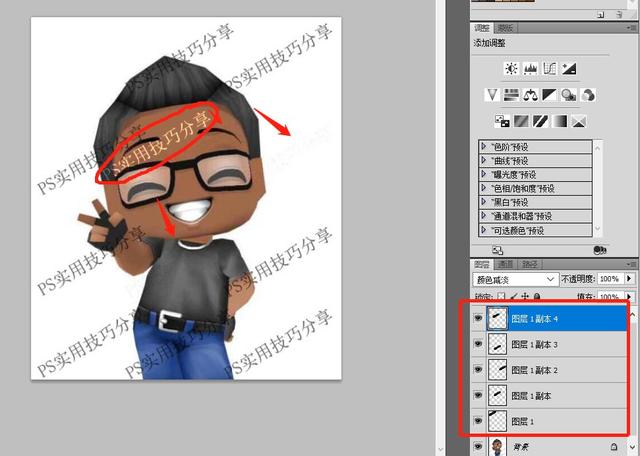
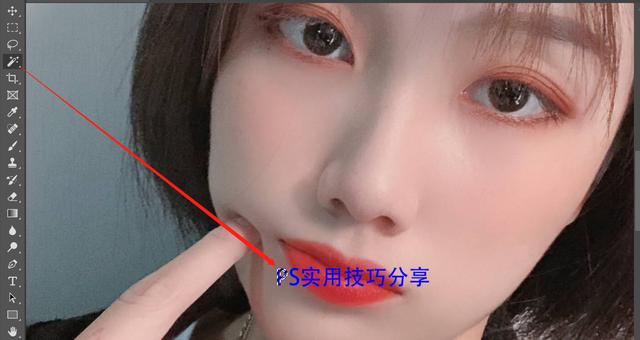
四、人物、杂志水印
1.用魔棒工具点击水印;2.点击选择——选取相似;3.再次点击选择——修改——扩展1像素;4.按“shift+F5”,点击确定即可去掉。
1.用魔棒工具点击水印

2.点击选择——选取相似
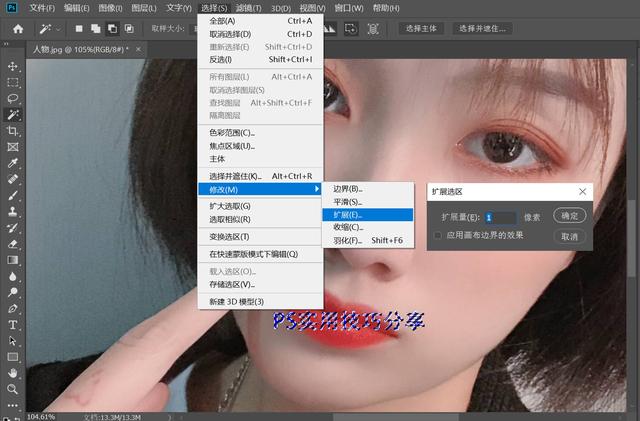
3.再次点击选择——修改——扩展1像素
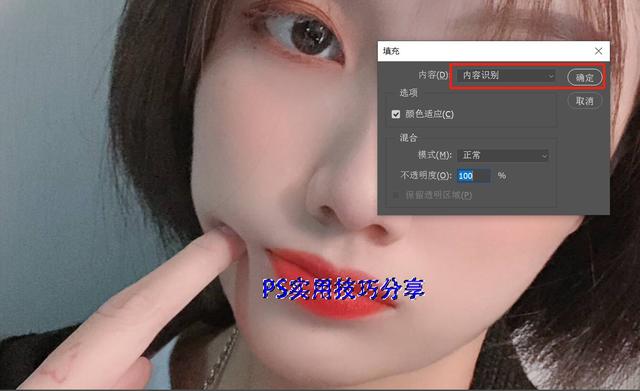
4.按“shift+F5”,点击确定即可
5.水印不见啦
对应视频演示请点击观看
五、复杂背景水印
如图,当我们想要去掉衣服背面的图案水印,应该怎样操作呢?
1.选择魔棒工具,点击水印;2.点击编辑——内容识别填充;3.擦除绿色范围内,不需要识别的内容,只保留衣服背面的绿色区域,看预览效果,非常自然,选择当前图层,点击确定即可。
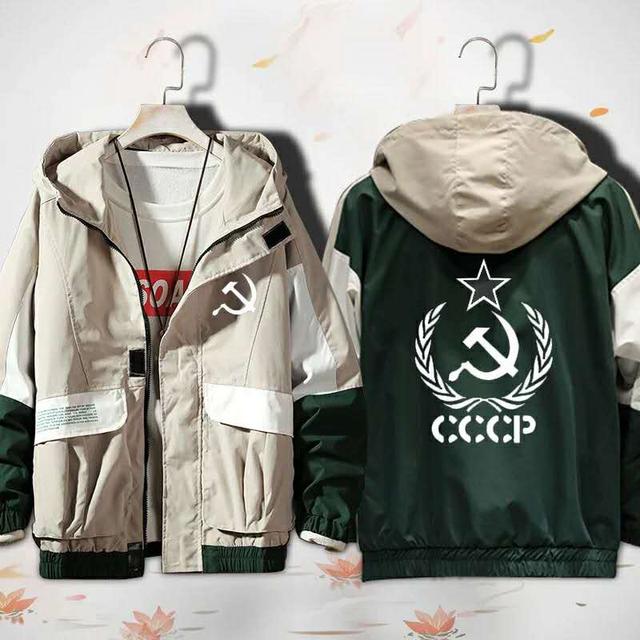
当我们想要去掉衣服背面的图案水印,应该怎样操作呢?

1.选择魔棒工具,点击水印
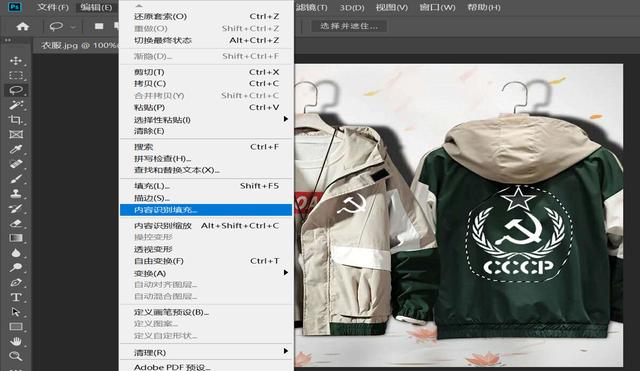
2.点击编辑——内容识别填充;
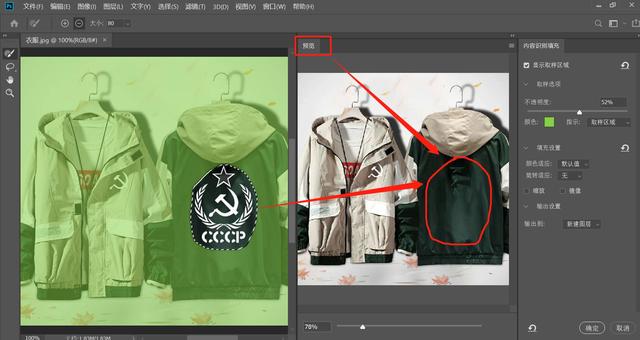
我们可以通过预览,看到处理效果,不够自然
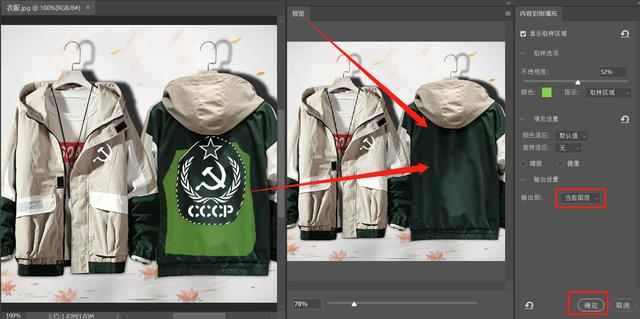
3.擦除绿色范围内,不需要识别的内容,只保留衣服背面的绿色区域,选择当前图层,点击确定即可;

4.图案去掉啦,背后纹理非常自然。
对应视频演示请点击观看
这些方法你学会了吗?朋友们,有疑问请在下方留言哦~


 被折叠的 条评论
为什么被折叠?
被折叠的 条评论
为什么被折叠?
 到【灌水乐园】发言


