


1 PostgreSQL 11.0安装及配置
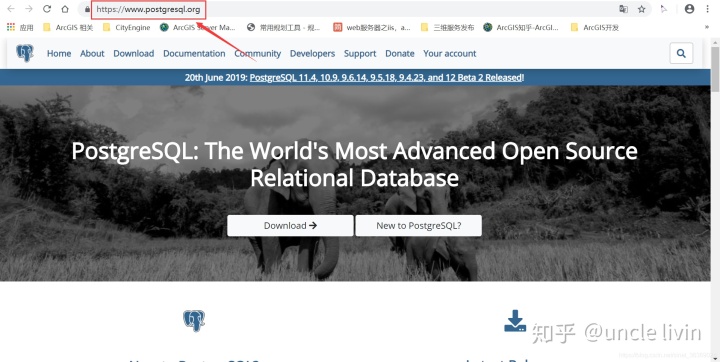
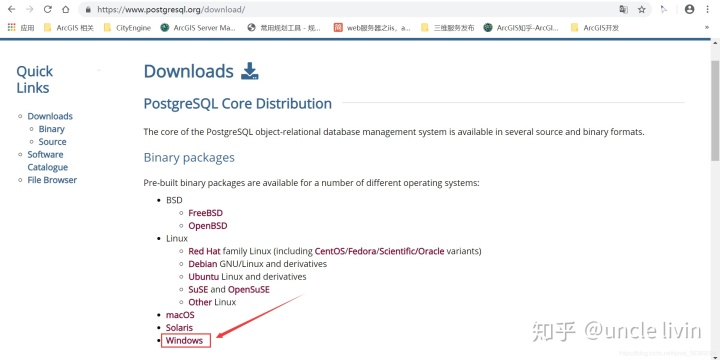
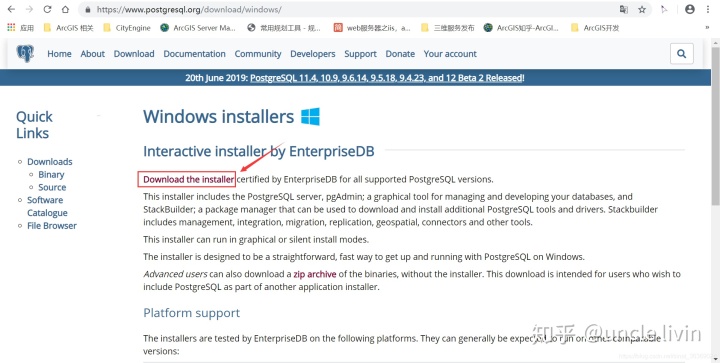
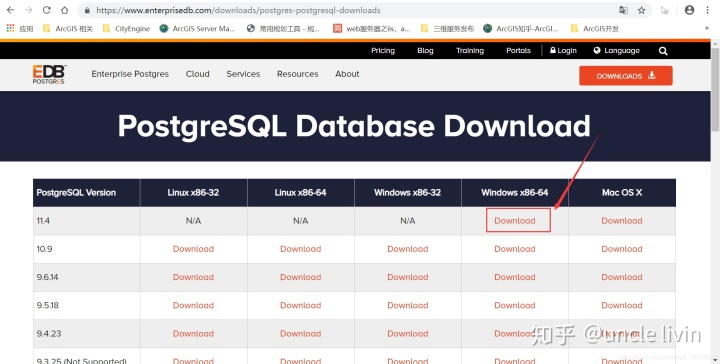
软件下载入口

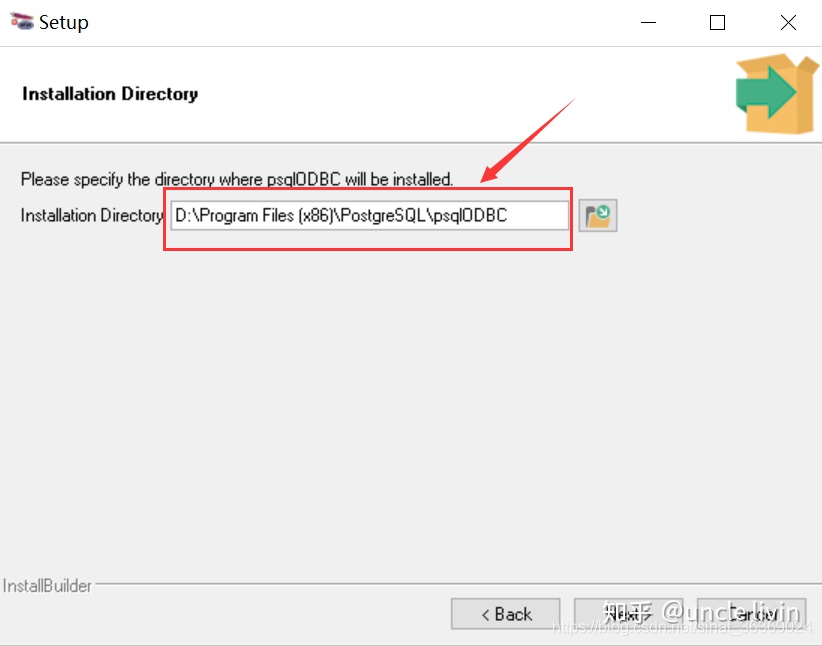
2 psqlODBC安装及配置

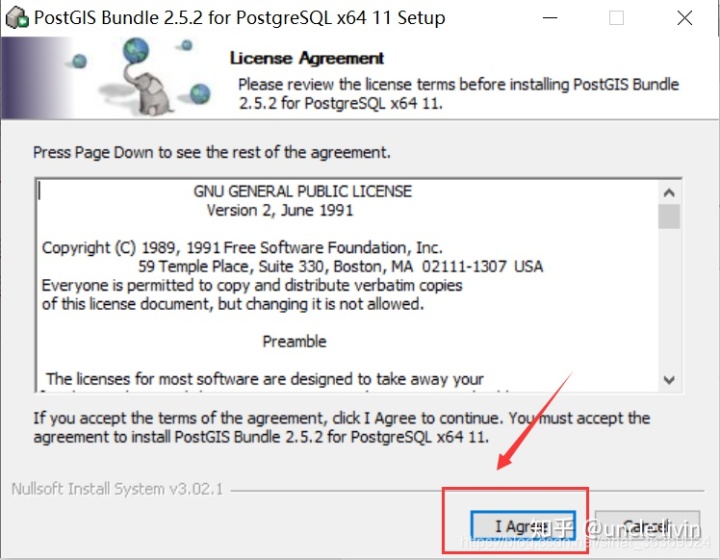
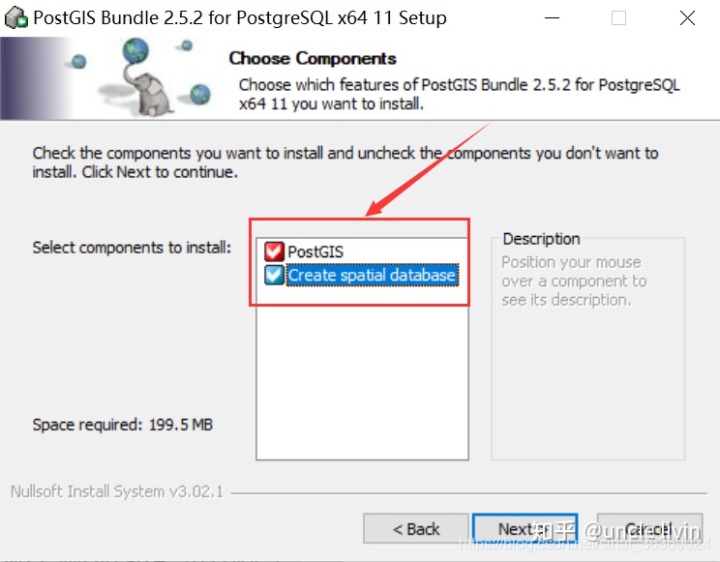
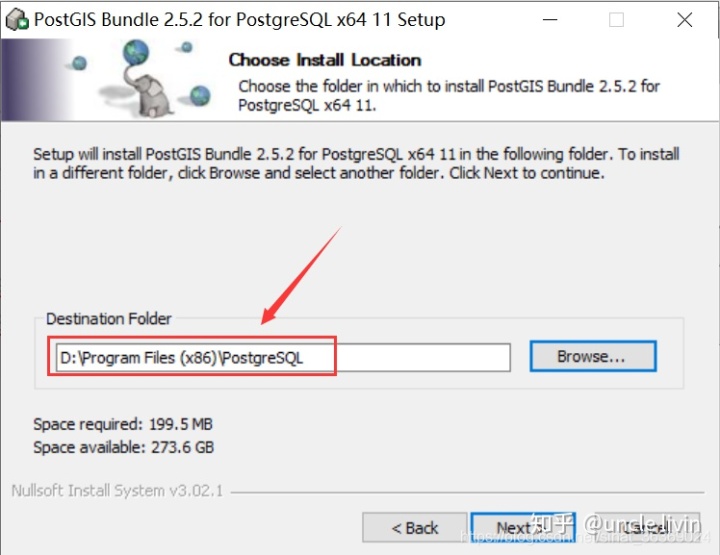
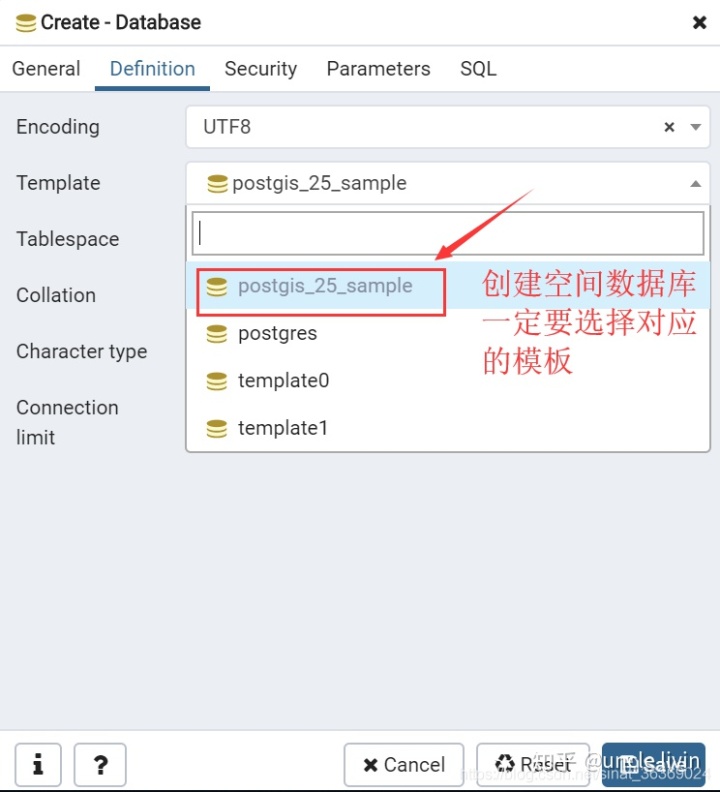
3 PostGIS安装及配置

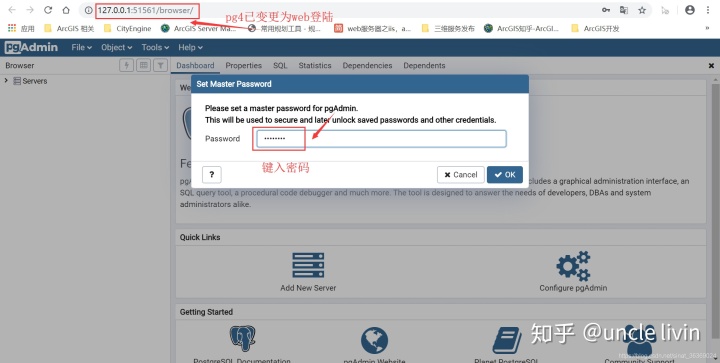
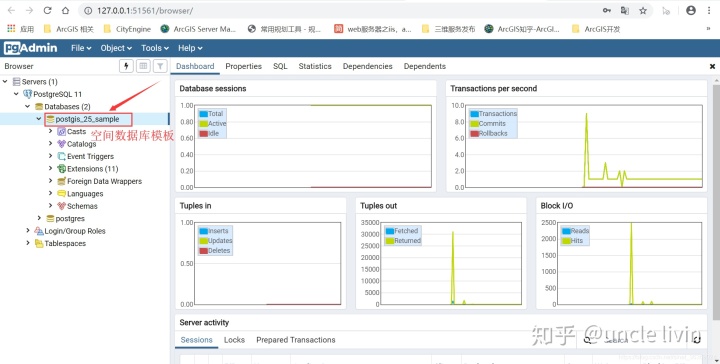
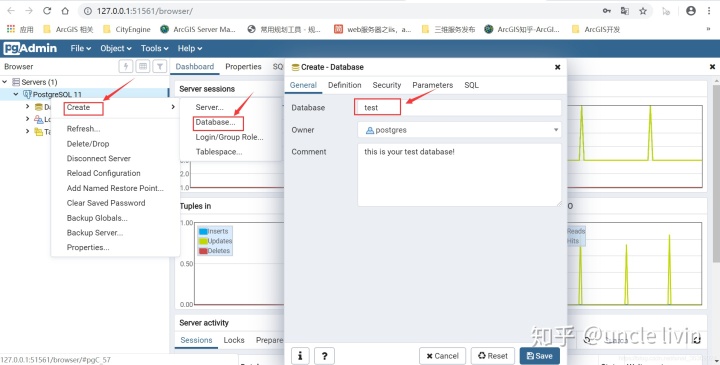
4 pgAdmin4使用入门
5 空间数据导入
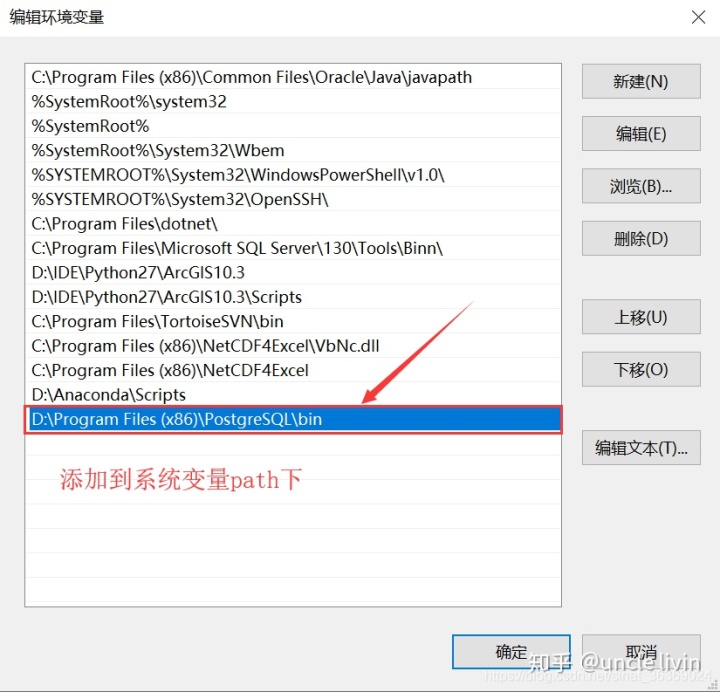
5.1 将PostgreSQL的bin文件路径添加到系统环境变量
5.2 栅格数据导入
1)raster2pgsql导入栅格数据
raster2pgsql -s 投影坐标系 -I -M -C shp文件路径 -t 切片大小 新建的数据表名 |psql -h localhost -p 5432 -U 数据库用户 -d 数据库名 -W
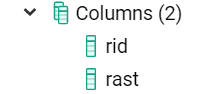
raster2pgsql -s 4326 -I -M -C D:rastert1.tif -t 256x256 public.t2 | psql -h localhost -p 5432 -U postgres -d ltest -W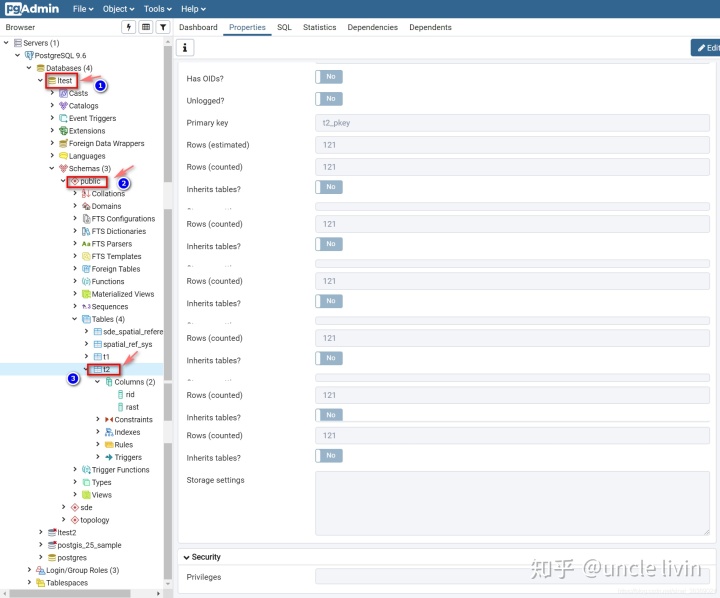
2)特别提示 raster2pgsql导入栅格数据,与在ArcGIS中直接将栅格数据存储到PostgreSQL,存在两种截然不同的数据存储方式,间接导致后一种方式存储的栅格数据,无法在geoserver中通过postgis发布影像服务。
5.3 矢量数据导入
1) PostGIS Shapefile Import / Export Manager

2) shp2pgsql导入矢量数据
shp2pgsql -s 投影坐标系  shp文件路径 新建的数据表名 |psql -h localhost -p 5432 -U 数据库用户 -d 数据库名 -W 字体编码

shp2pgsql -s 4326 D:vectorT1.shp public.t1  | psql -h localhost -p 5432 -U postgres -d ltest -W GBK
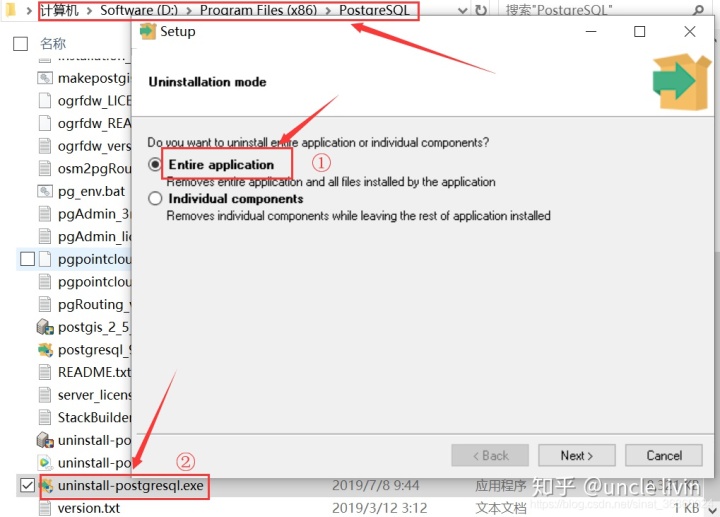
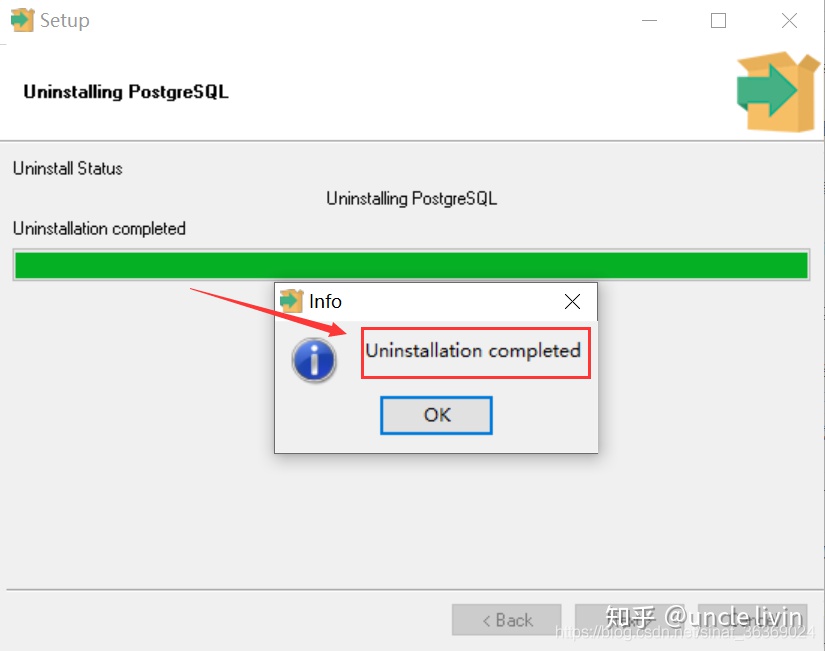
6 PostgreSQL卸载
6.1 自带卸载工具
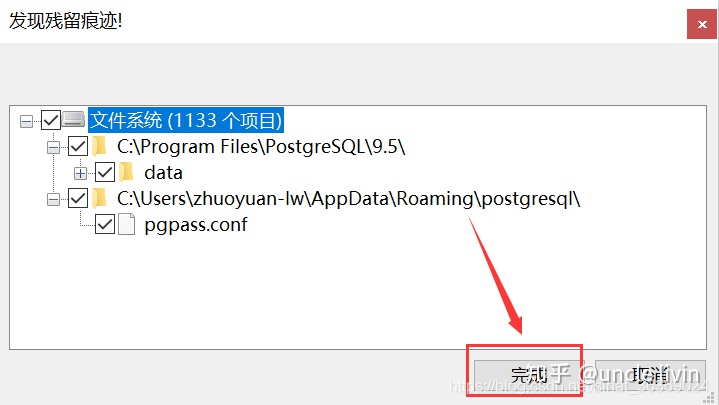
6.2 Geek Uninstaller
1)下载完全卸载工具Geek Uninstaller
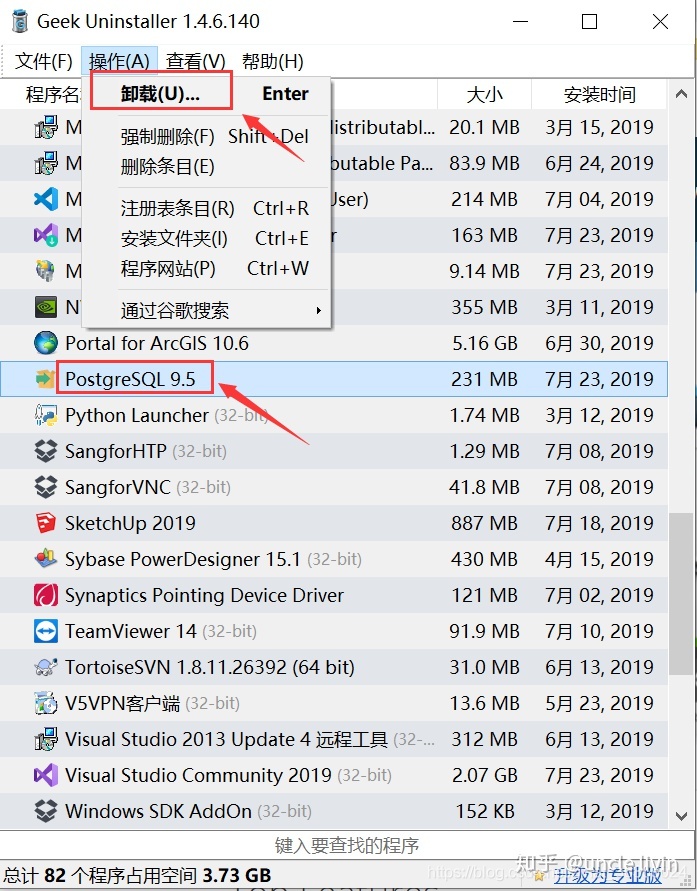
2)点击完成卸载残留
7 ArcGIS Desktop连接PostgreSQL
7.1 连接准备
1)ArcGIS 10.6及ArcGIS Pro支持的PostgreSQL可从官网帮助文档获取,也可直接查看安装文件DatabaseSupport
C:Program Files (x86)ArcGISDesktop10.6DatabaseSupportPostgreSQL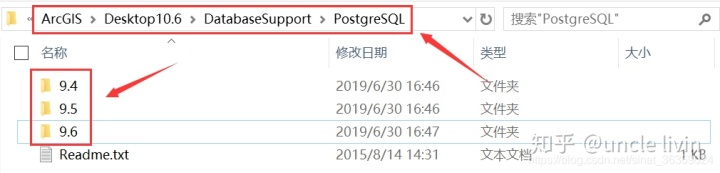
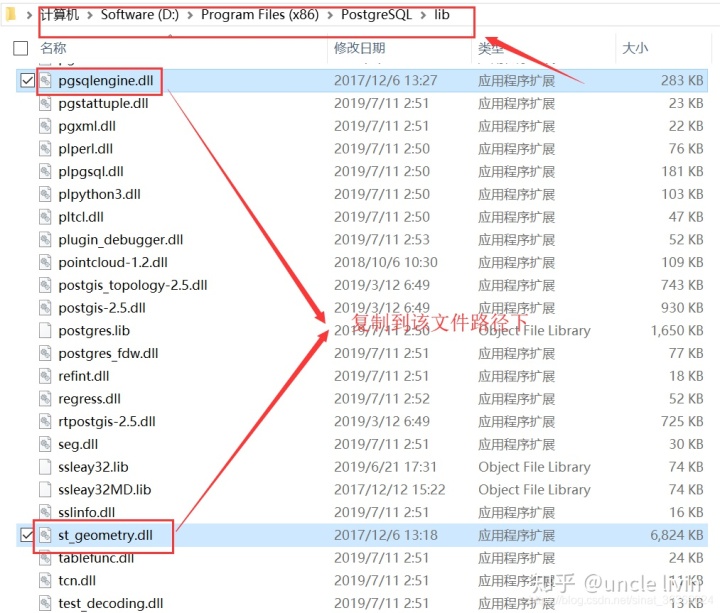
2)参考本文第1-3章安装PostgreSQL 3) 将ArcGIS10.6中的pgsqlengine.dll和st_geometry.dll拷贝到PostgreSQL的lib文件下

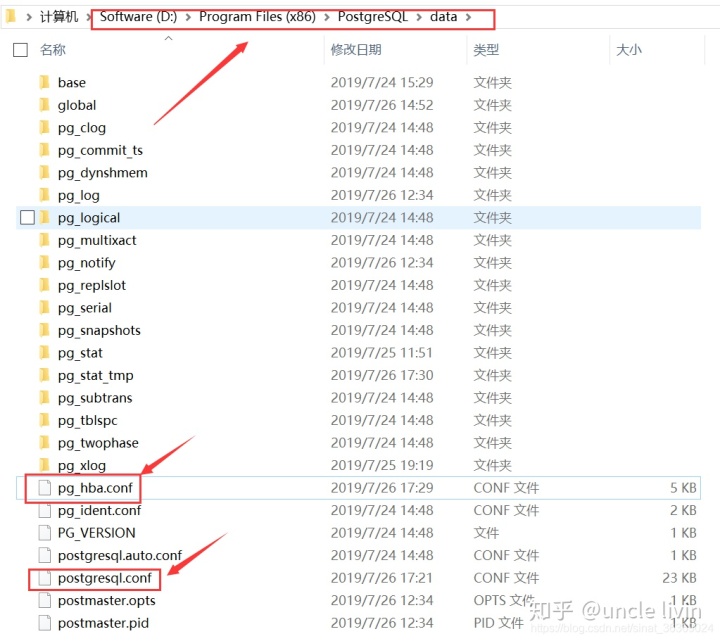
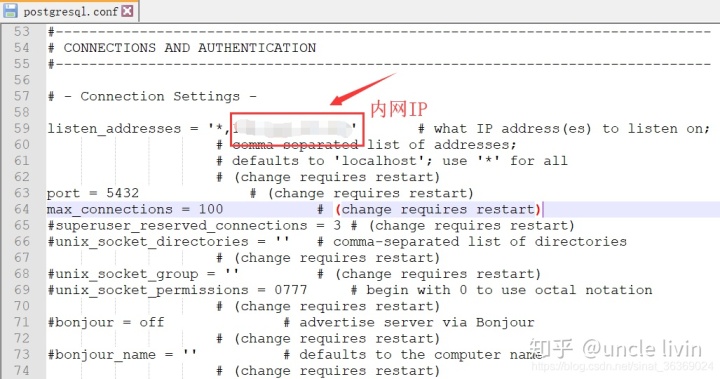
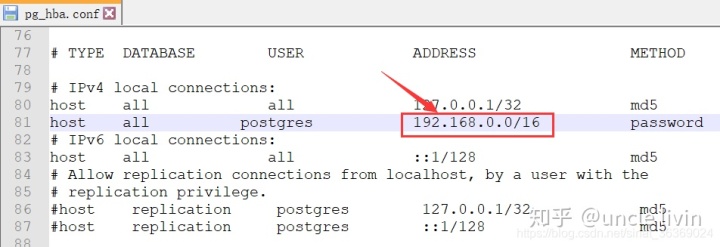
4)由于ArcGIS Desktop是32位程序,ArcGIS10.5之前的版本需要将32位PostgreSQL的客户端的 libeay32.dll, libiconv-2.dll,libintl-8.dll, libpq.dll和ssleay32.dll文件拷贝到ArcGIS Desktop 安装目录的bin目录下,也从官网Binaries下载对应32位的客户端。然而,ArcGIS10.5及后续版本已经有这些文件,复制后反而可能导致无法连接。 5)配置PostgreSQL实现TCP/IP访问连接,修改pg_hba.conf和pg_hba.conf文件

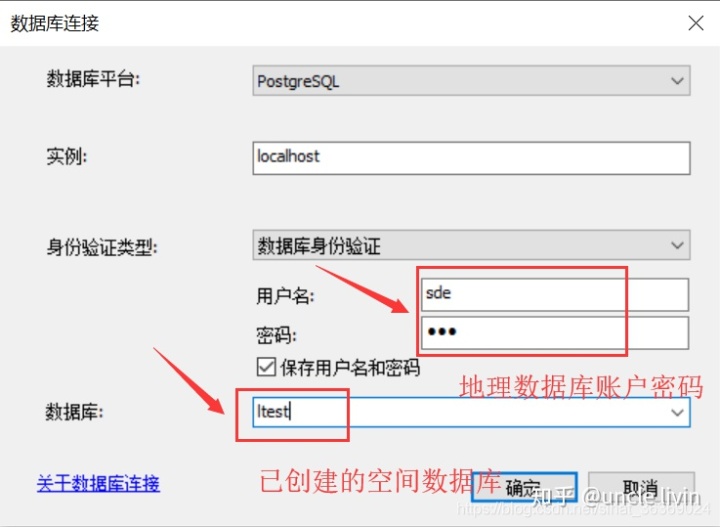
7.2 ArcGIS数据库连接
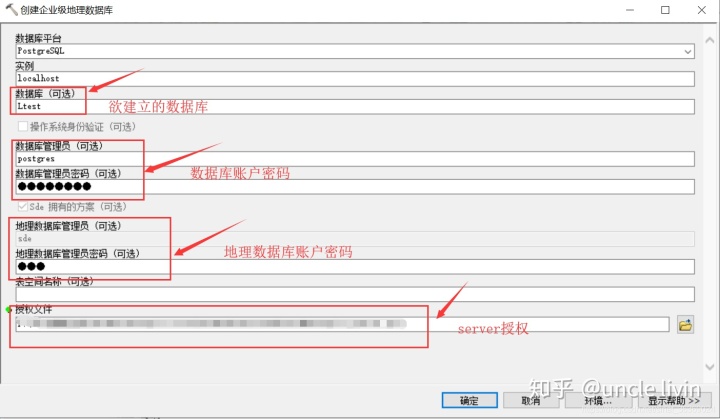
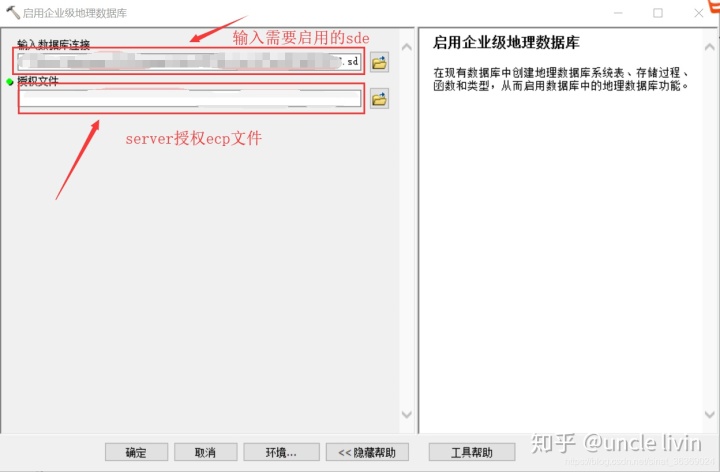
注意:创建企业级地理数据库时,授权文件须为ecp文件,prvc可在授权终端通过在线或者邮件方式自助转换为ecp
7.2.1 ArcMap
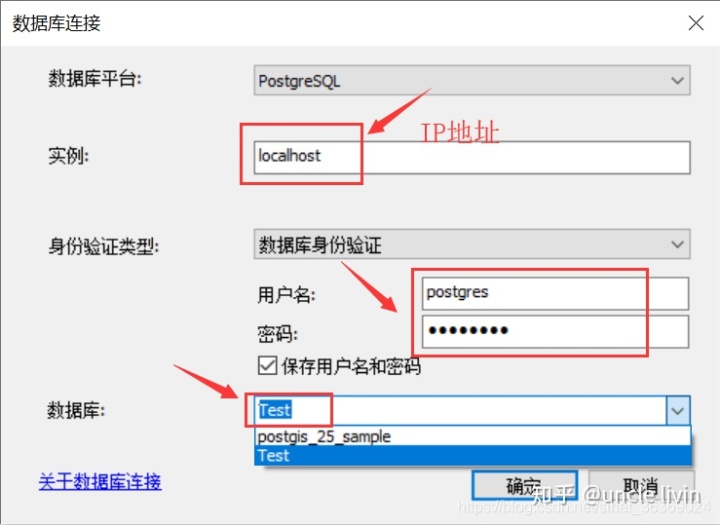
1)普通连接
2)企业地理数据库连接
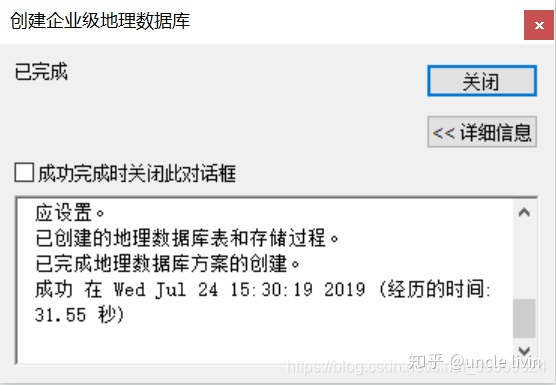
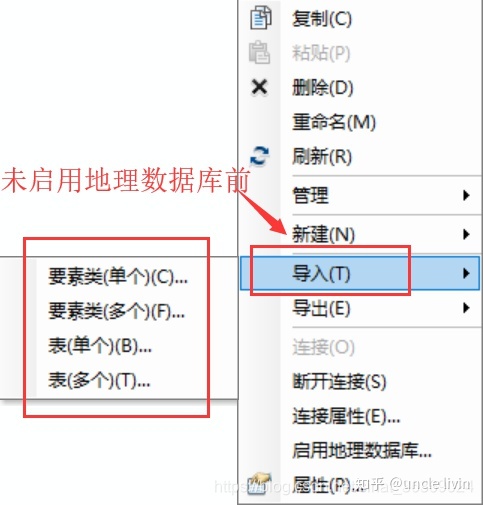
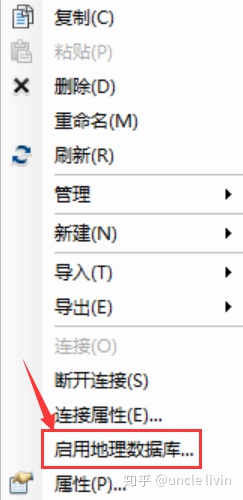
3)启用地理数据库
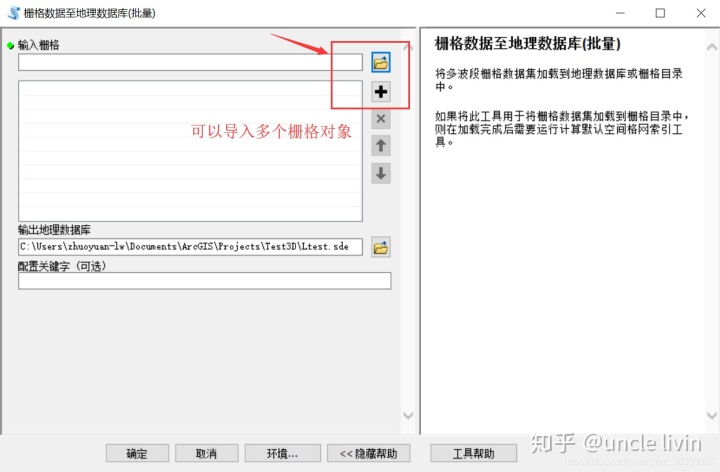
注意:企业地理数据库未启动前无法导入栅格数据

7.2.2 ArcGIS Pro
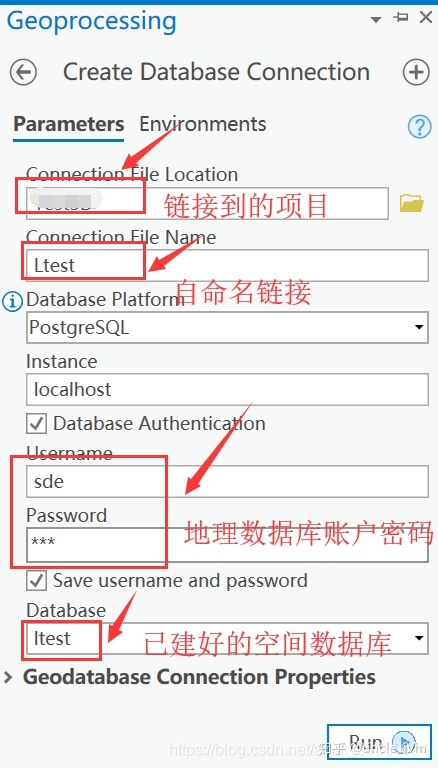
1)普通连接
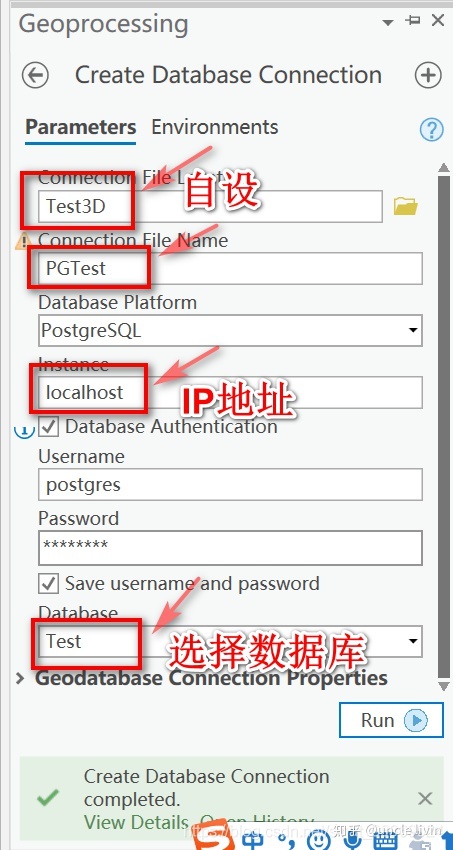
2)企业地理数据库连接

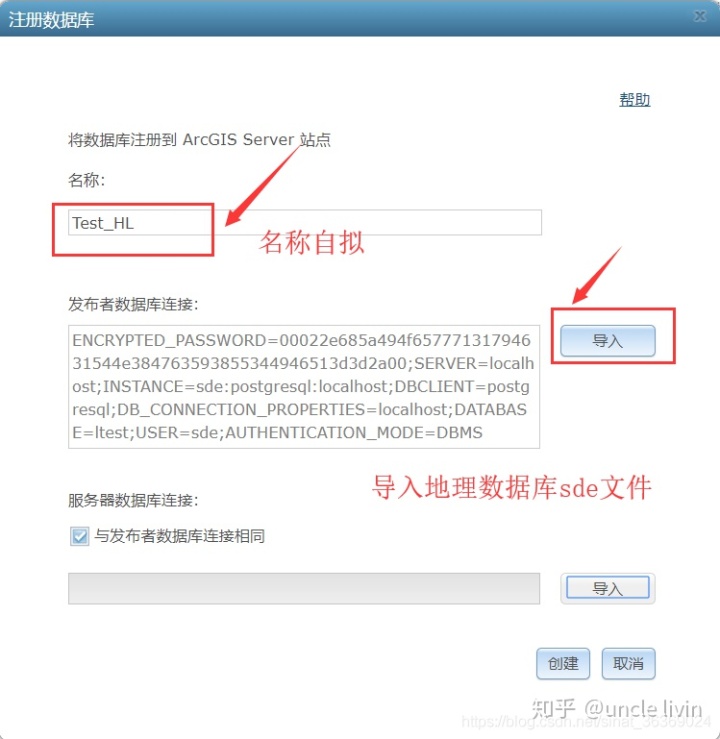
7.3 注册数据库到ArcGIS Server
1)注册数据库
2)验证数据库可用性


 2308
2308


 被折叠的 条评论
为什么被折叠?
被折叠的 条评论
为什么被折叠?
 到【灌水乐园】发言


