


Android-GPUImage-Plus
Image, Camera And Video Filters Based On OpenGL
To get pure lib without ffmpeg(No feature of video recording), please checkout the branch min. The whole jni module will be less than 600KB.
New Feature
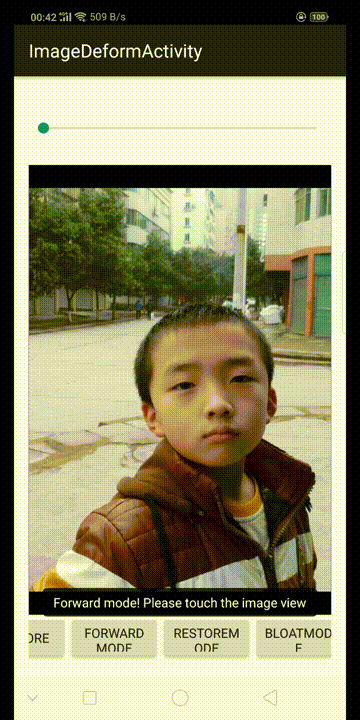
See the image deform demo.

Gradle dependency
repositories {
jcenter()
}
//Choose only one of them
dependencies {
//All arch: armeabi, armeabi-v7a, arm64-v8a, x86
compile 'org.wysaid:gpuimage-plus:2.6.3'
//Pure graphics lib without ffmpeg. (all arch for branch 'min')
compile 'org.wysaid:gpuimage-plus:2.6.3-min'
}
Abstract
This repo is an Android Studio Project, comprising "cgeDemo", "library" two sub-modules. Hundreds of built-in filters are available in the demo. 😋If you'd like to add your own filter, please take a look at the manual page. Or you can follow the demo code. The new custom filter should be written in C++.
Demo and Library will be updated as needed. Welcome for your questions or PR.
To build with the jni part, pleasae try:
export NDK=path/of/your/ndk
cd folder/of/jni (android-gpuimage-plus/library/src/main/jni)
#This will make all arch: armeabi, armeabi-v7a arm64-v8a, x86, mips
./buildJNI
#Or use "sh buildJNI"
#Try this if you failed to run the shell above
export CGE_USE_VIDEO_MODULE=1
$NDK/ndk-build
#If you don't want anything except the image filter,
#Do as below to build with only cge module
#No ffmpeg, opencv or faceTracker.
#And remove the loading part of ffmpeg&facetracker
$NDK/ndk-build
#For Window user, you should include the `.cmd` extension to `ndk-build` like this:
cd your_path_to\android-gpuimage-plus-master\library\src\main\jni
your_path_to_ndk\ndk-bundle\ndk-build.cmd
#Also remember to comment out these line in NativeLibraryLoader
//System.loadLibrary("ffmpeg");
//CGEFFmpegNativeLibrary.avRegisterAll();
You can find precompiled libs here: android-gpuimage-plus-libs (The precompiled '.so' files are generated with NDK-r16b)
Note that the generated file "libFaceTracker.so" is not necessary. So just remove this file if you don't want any feature of it.
Manual
1. Usage
Sample Code for doing a filter with Bitmap
//Simply apply a filter to a Bitmap.
@Override
protected void onCreate(Bundle savedInstanceState) {
super.onCreate(savedInstanceState);
setContentView(R.layout.activity_main);
Bitmap srcImage = ...;
//HSL Adjust (hue: 0.02, saturation: -0.31, luminance: -0.17)
//Please see the manual for more details.
String ruleString = "@adjust hsl 0.02 -0.31 -0.17";
Bitmap dstImage = CGENativeLibrary.filterImage_MultipleEffects(src, ruleString, 1.0f);
//Then the dstImage is applied with the filter.
//It's so convenient, isn't it?
//Save the result image to /sdcard/libCGE/rec_???.jpg.
ImageUtil.saveBitmap(dstImage);
}
2. Custom Shader Filter
2.1 Write your own filter
Your filter must inherit CGEImageFilterInterfaceAbstract or its child class. Most of the filters are inherited from CGEImageFilterInterface because it has many useful functions.
// A simple customized filter to do a color reversal.
class MyCustomFilter : public CGE::CGEImageFilterInterface
{
public:
bool init()
{
CGEConstString fragmentShaderString = CGE_SHADER_STRING_PRECISION_H
(
varying vec2 textureCoordinate; //defined in 'g_vshDefaultWithoutTexCoord'
uniform sampler2D inputImageTexture; // the same to above.
void main()
{
vec4 src = texture2D(inputImageTexture, textureCoordinate);
src.rgb = 1.0 - src.rgb; //Simply reverse all channels.
gl_FragColor = src;
}
);
//m_program is defined in 'CGEImageFilterInterface'
return m_program.initWithShaderStrings(g_vshDefaultWithoutTexCoord, s_fsh);
}
//void render2Texture(CGE::CGEImageHandlerInterface* handler, GLuint srcTexture, GLuint vertexBufferID)
//{
// //Your own render functions here.
// //Do not override this function to use the CGEImageFilterInterface's.
//}
};
Note: To add your own shader filter with c++. Please see the demo for further details.
2.2 Run your own filter
In C++, you can use a CGEImageHandler to do that:
//Assume the gl context already exists:
//JNIEnv* env = ...;
//jobject bitmap = ...;
CGEImageHandlerAndroid handler;
CustomFilterType* customFilter = new CustomFilterType();
//You should handle the return value (false is returned when failed.)
customFilter->init();
handler.initWithBitmap(env, bitmap);
//The customFilter will be released when the handler' destructor is called.
//So you don't have to call 'delete customFilter' if you add it into the handler.
handler.addImageFilter(customFilter);
handler.processingFilters(); //Run the filters.
jobject resultBitmap = handler.getResultBitmap(env);
If no gl context exists, the class CGESharedGLContext may be helpful.
In Java, you can simply follow the sample:
Or to do with a CGEImageHandler
3. Filter Rule String
Tool
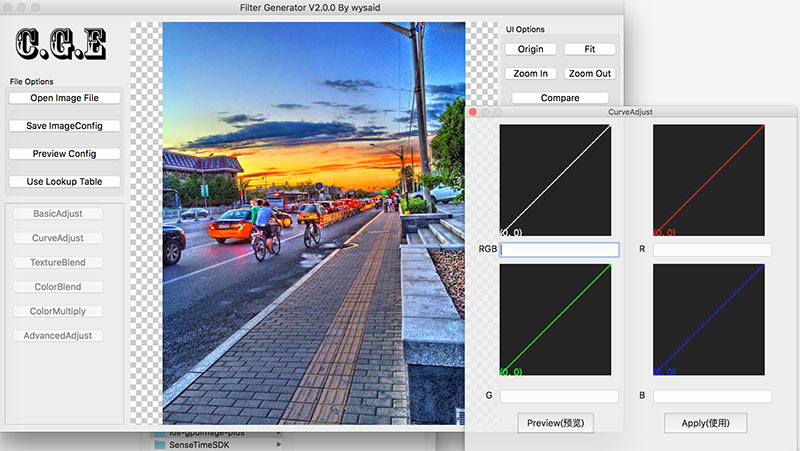
Some utils are available for creating filters: https://github.com/wysaid/cge-tools
License
Donate
Alipay:
Paypal:


 838
838


 被折叠的 条评论
为什么被折叠?
被折叠的 条评论
为什么被折叠?
 到【灌水乐园】发言


