


什么是Nginx
Wikipedia:Nginx(发音同“engine X”)是异步框架的网页服务器,也可以用作反向代理、负载平衡器和HTTP缓存。该软件由伊戈尔·赛索耶夫创建并于2004年首次公开发布.
现在大家每天聊微信、刷抖音、刷剧等等,你所做的需要联网的一切背后都有一台服务器在服务,而支持这个服务的可能是Apache、IIS和Nginx等等,其中Nginx以轻量简单广受大家喜欢。我也搭建的一个小小的网站(wezhon欢迎大家访问)采用的就是LNMP(Linux+Ningx+Mysql+PHP),其中的N就是Nginx啦。在搭建的过程中,遇到了一些坑,以及学到的一点东西,把他记录下来,以免下次在掉坑里。
我的主机是ArchLinux,在主机上面安装VirtualBox。虚拟机下面再安装Centos8做为实验机器。
安装Nginx
一、下载
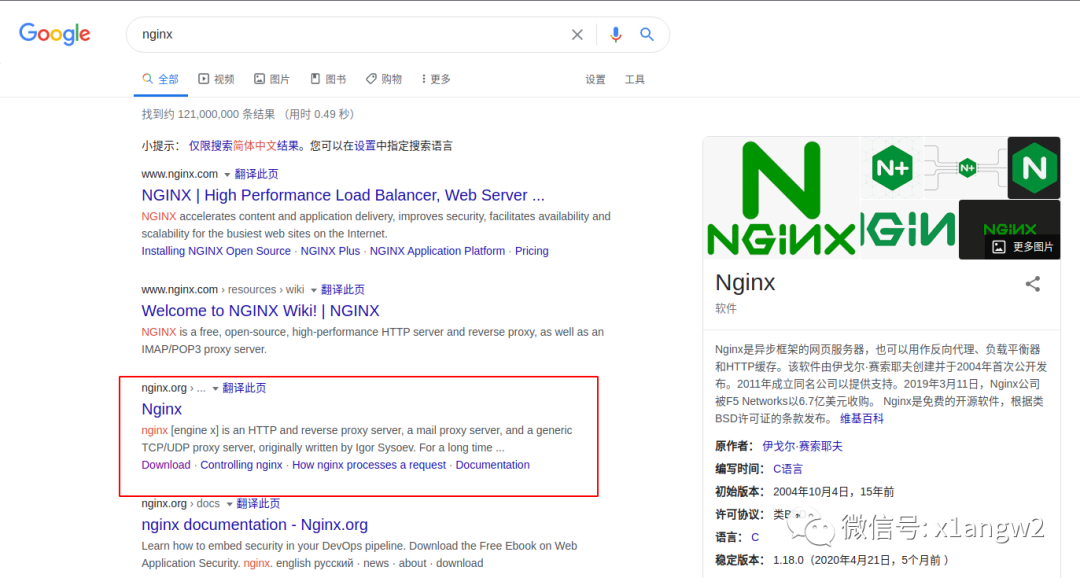
安装软件的第一步当然是下载软件包,一般我们到官方网站去下载https://nginx.org
进入官网后,找到Download下载。
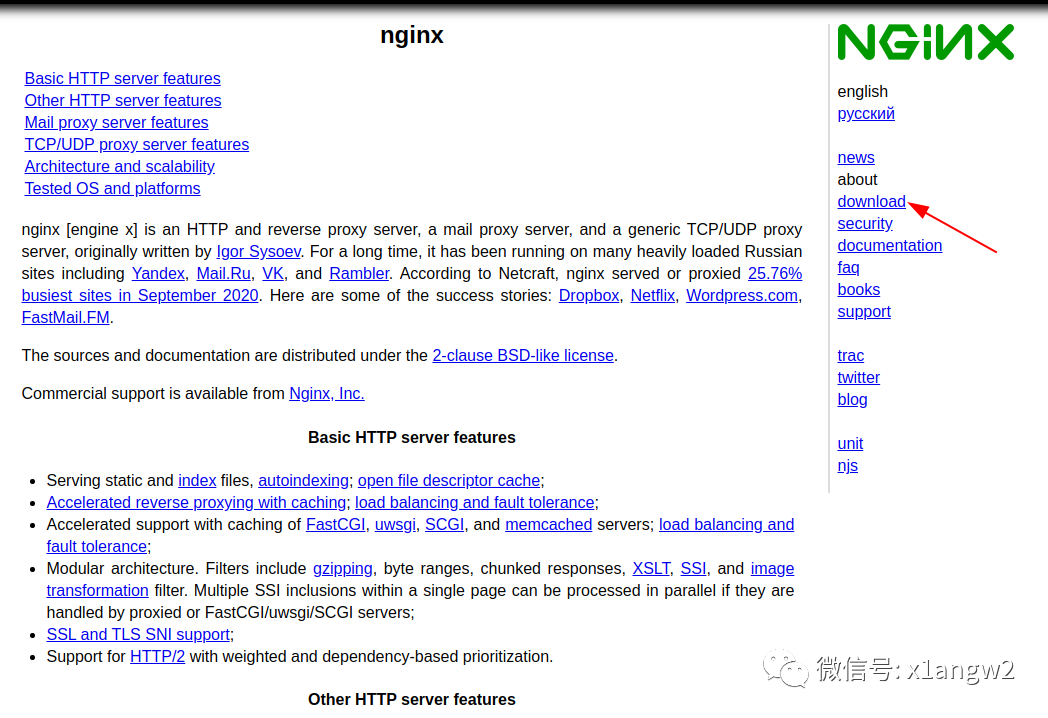

各种版本的都可以下载,一般情况下。服务器以稳定为主,所以下载稳定版比较合适。找到下载链接选择自己喜欢的下载方式即可。我这里就用wget下载了
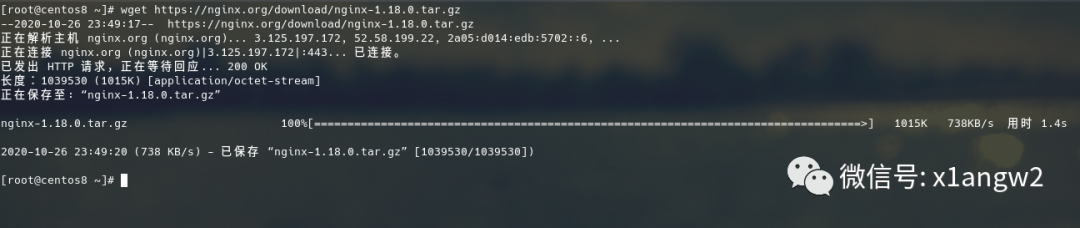
wget https://nginx.org/download/nginx-1.18.0.tar.gz # 下载nginx软件包
二、安装前的准备
- 系统更新先
yum -y update
- 安装必备的编译工具(因为采用的源码安装)
yum install -y gcc gcc-c++ autoconf automake make
- 安装第三方系统库
yum install -y zlib zlib-devel openssl openssl-devel pcre pcre-devel httpd-tools vim
# zlib是提供数据压缩用的函式库
# zlib-devel是开发包
# openssl是数据加密传输
# pcre是强大的正则式函数库
# httpd-tools是apache开发的http测试工具包
# vim我是vim党你懂得,强大的文本编辑软件,linux一切皆文件,所以需要一个文本编辑器。
- 检查系统的防火墙、selinux是否关闭
iptables -L                                      #查看linux防火墙
systemctl stop firewalld                         #关闭防火墙
systemctl disable firewalld                      #取消开机启动防火墙

getenforce                                       #查看selinux是否开启
setenforce 0                                     #临时关闭

vim /etc/selinux/config
 SELINUX=enforcing  改为 SELINUX=disabled
                                                 #永久关闭
- 解压软件
tar -zxvf nginx-1.18.0.tar.gz
# z 解压gz包
# x tar解包
# v 显示解压信息
# f 解压到同名目录下
查看解压出来哪些文件
三、经典的安装三部曲
./configuremakemake install
- ./configure用来检测你的安装平台的。比如你主机上是否有CC或GCC,是一个shell脚本。生成Makefile。
- make用来编译,从Makefile中读取指令,然后编译。
- make install用来安装从Makefile读取指令,安装到指定位置。
源码安装相对yum、apt-get、pacman等各种安装工具要麻烦一点,但是好处是我们可以指定安装的位置,设置一些安装的指定参数。具体信息可以在软件包目录下执行./configure --help查看支持的参数。
[root@centos8 nginx-1.18.0]# ./configure --help

  --help                             print this message

  --prefix=PATH                      set installation prefix
  --sbin-path=PATH                   set nginx binary pathname
  --conf-path=PATH                   set nginx.conf pathname
  --error-log-path=PATH              set error log pathname

  --user=USER                        set non-privileged user for
                                     worker processes
  --group=GROUP                      set non-privileged group for
                                     worker processes

  --build=NAME                       set build name
  --builddir=DIR                     set build directory
                        .
                        .
                        .
                        .
                        .
                        .

  --with-mail                        enable POP3/IMAP4/SMTP proxy module
  --with-mail=dynamic                enable dynamic POP3/IMAP4/SMTP proxy module
  --with-stream                      enable TCP/UDP proxy module
  --with-stream=dynamic              enable dynamic TCP/UDP proxy module
  --with-stream_ssl_preread_module   enable ngx_stream_ssl_preread_module
  --without-stream_limit_conn_module disable ngx_stream_limit_conn_module
  --without-stream_access_module     disable ngx_stream_access_module
  --without-stream_geo_module        disable ngx_stream_geo_module
  --without-stream_map_module        disable ngx_stream_map_module

  --with-debug                       enable debug logging
参数较多,只截取了部分贴出来,完整的参数可以在这里查看(http://ftp.wezhon.com/nginx_configure_help.txt)。
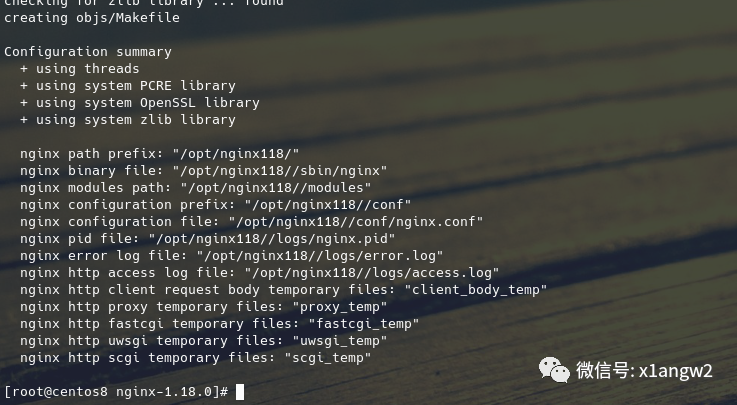
./configure
./configure --prefix=/opt/nginx118/ --with-http_ssl_module --with-http_flv_module --with-http_gzip_static_module --with-http_stub_status_module --with-threads --with-file-aio

# --prefix=/opt/nginx118/  指定安装目录
# --with-**                开启各种模块
make
make
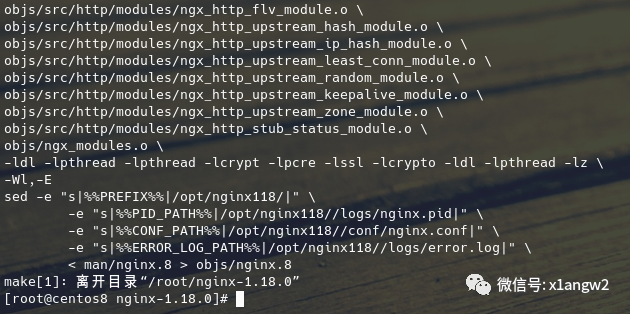
没有出现错误,就表示编译成功了。
make install
make install
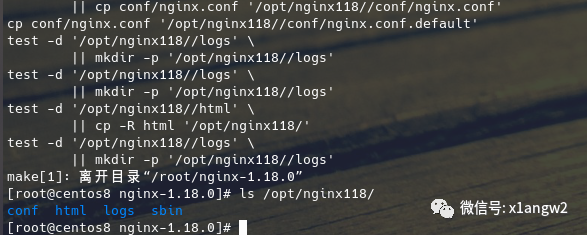
安装成功后,在安装目录下出现这四个文件夹。
# conf            # 配置文件夹,各种配置文件都在里面
# html            # 网站根目录
# logs            # 很明显,存放日志的
# sbin            # 二进制文件
四、启动Nginx服务
输入nginx -h可以查看支持的命令
Usage: nginx [-?hvVtTq] [-s signal] [-c filename] [-p prefix] [-g directives]

Options:
  -?,-h         : this help                                                             # 帮助命令
  -v            : show version and exit                                                 # 显示nginx版本信息
  -V            : show version and configure options then exit                          # 显示nginx版本及安装及编译信息
  -t            : test configuration and exit                                           # 测试nginx.conf语法是否正确
  -T            : test configuration, dump it and exit                                  # 同上,输出配置信息
  -q            : suppress non-error messages during configuration testing              # 在检测配置文件期间屏蔽非错误信息
  -s signal     : send signal to a master process: stop, quit, reopen, reload           # 给nginx发送信号(停止、退出、重启)
  -p prefix     : set prefix path (default: /opt/nginx118//)                            # 设置软件目录前缀
  -c filename   : set configuration file (default: conf/nginx.conf)                     # 指定配置文件参数运行nginx
  -g directives : set global directives out of configuration file                       # 覆盖设置一些默认参数
直接输入nginx将启动Nginx,不会输出信息(没有消息就是最好的消息)。可以使用ps -ef | grep nginx查看Nginx是否运行。

现在我们已经可以在浏览器输入localhost:80或127.0.0.1:80就可以访问Nginx的主页了。
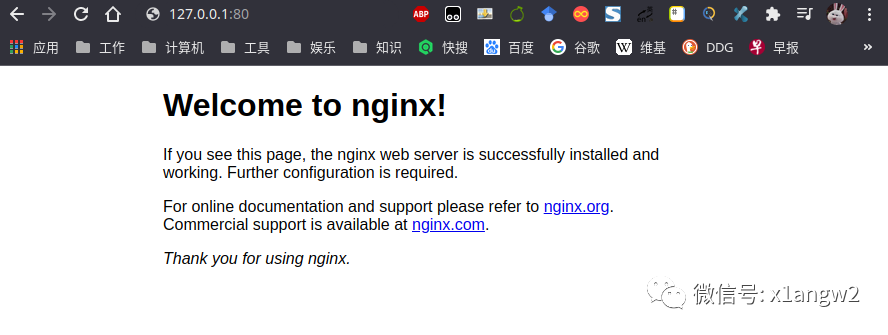
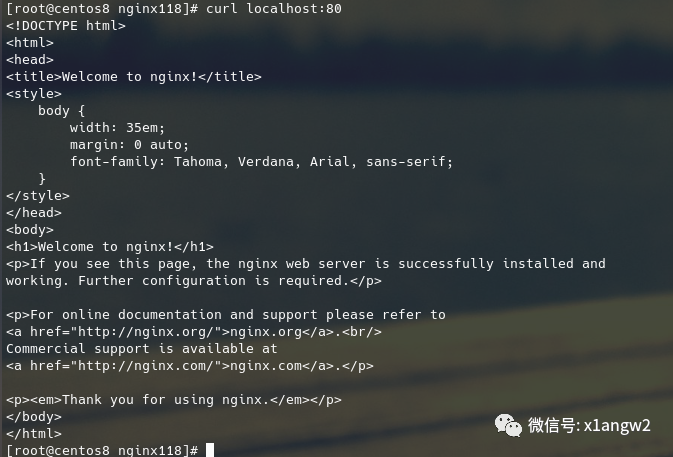
至此,Nginx已经完全完毕且正常运行了。
Nginx.conf
在Windwos下,不管是安装还是使用软件,多数情况下,我们都是用鼠标点点点就好了。特别是IIS的配置同样是用鼠标点击就可以。由于有图形界面,所以配置比较简单,不需要理解TCP/IP、HTTP、PHP、HTML等就可以设置一个站点。想当年我的第一台VPS就安装的是Windows Server,当时没有任何基础也把IIS运行起来了。
Linux有一句名言:Linux一切皆文件。所以Nginx的配置也都是在一个文件中设置,这个文件就是nginx.conf。这个文件在我们安装的/opt/nginx118/conf/目录下。
vim /opt/nginx118/conf/nginx.conf
worker_processes  1;


events {
    worker_connections  1024;
}


http {
    include       mime.types;
    default_type  application/octet-stream;


    sendfile        on;
    keepalive_timeout  65;


    server {
        listen       80;
        server_name  localhost;


        location / {
            root   html;
            index  index.html index.htm;
        }

        error_page   500 502 503 504  /50x.html;
        location = /50x.html {
            root   html;
        }

    }


}
上面的Nginx.conf文件内容我把注释内容全部删除了。全部内容点击这里查看(http://ftp.wezhon.com/nginx.conf)。来一步一步的看一看nginx.conf有哪些东西。
worker_processes  1;
# 设置工作进程

events {
    worker_connections  1024;
# 单个进程最大连接数
}


http {
# 设定http服务器
    include       mime.types;
    # 文件扩展名与文件类型映射表

    default_type  application/octet-stream;
    # 默认文件类型


    sendfile        on;
    # 是否开启高效传输模式

    keepalive_timeout  65;
    # 长连接超时时间,单位为秒


    server {
    # 虚拟主机配置
        listen       80;
        # 监听端口 这个字段可以根据ip或端口设置多个虚拟主机
        server_name  localhost;
        # 域名设置 这个字段可以根据域名设置多个虚拟主机


        location / {
        # 对 '/' 启用反向代理
            root   html;
            # 网站根目录

            index  index.html index.htm;
            # 根目录首页文件
        }

        error_page   500 502 503 504  /50x.html;
        location = /50x.html {
        # 错误页面设置

            root   html;
        }

    }
}
nginx.conf语法高亮
编辑nginx.conf文件时没有语法高亮,其实在下载的源码包是有语法高亮的。因为我的编辑器是VIM,所以只需要把源码包里面的vim文件夹拷贝到~/.vim/下即可。
cp -r nginx-1.18.0/contrib/vim/* ~/.vim/ # -r 递归
DONE
Linux可以玩的东西太多了,Docker、Git、vim、Python。计算机可以玩的东西就更多了,HTML、PHP、Mysql、爬虫、Andriod、HACK...这两天在看一本书《编码》,教你如何构建一台计算机,打开了新世界的大门。


 693
693


 被折叠的 条评论
为什么被折叠?
被折叠的 条评论
为什么被折叠?
 到【灌水乐园】发言


