


IDE开发工具:IntelliJ IDEA 14.0.2
版本管理:Maven
技术栈:SpringCloud
环境:JDK 1.8
一、创建Maven项目
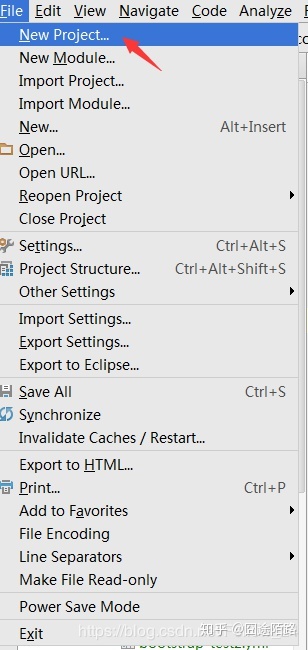
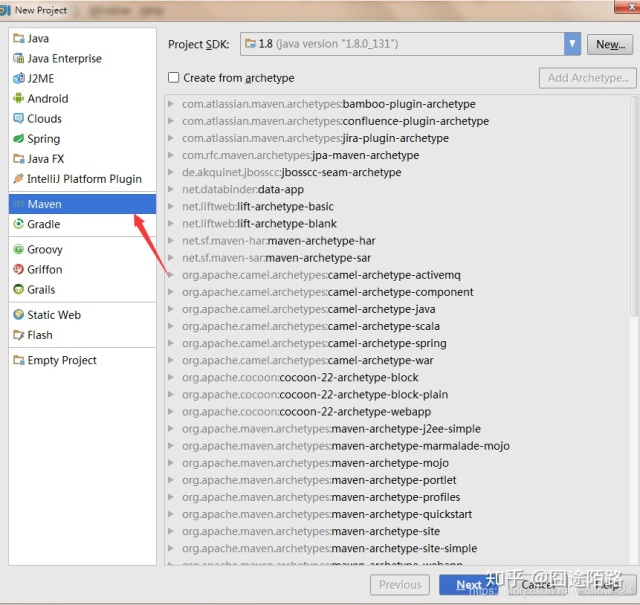
1、File——>New Project ——>Maven 如图所示:
2、填写模块名称和项目路径

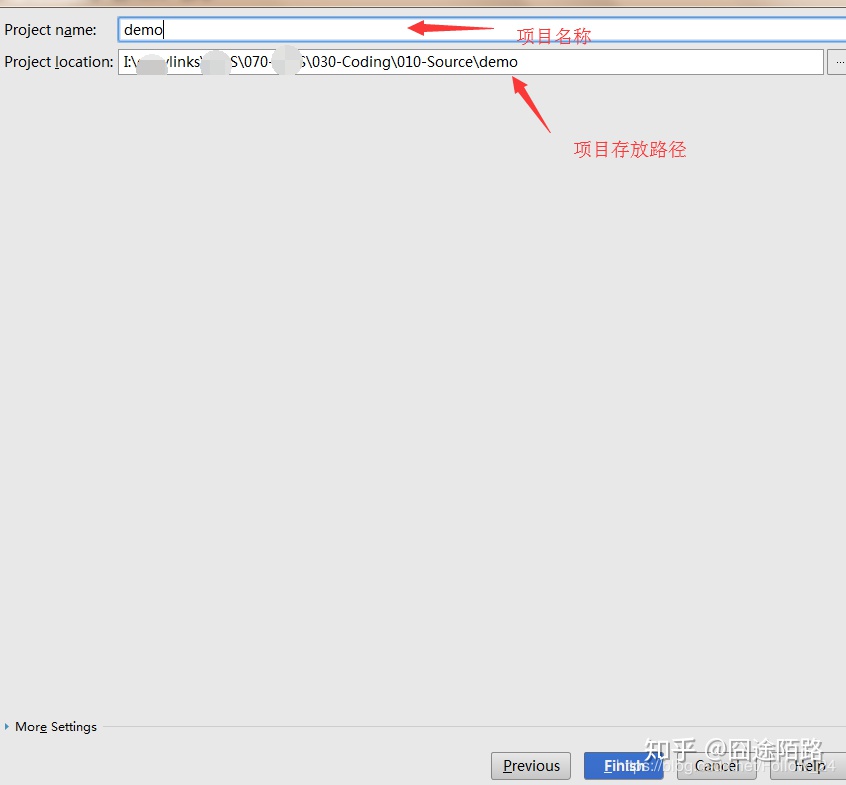
按照以上步骤,就简单的创建了一个Maven项目。
此时项目还不是SpringBoot项目!!
二、把maven项目变成SpringBoot项目
1、pom.xml引入需要的jar包
注意:按照各自项目实际情况;楼主是本项目由自己的maven私库
- 引入SpringBoot所需jar包
- 引入SpringCloud所需jar包
- 引入ereka服务注册发现客户端所需jar包
- 引入mybatis-SpringCloud依赖jar包
- 引入kafka 所需jar包
- 引入redis 所需jar包
- 引入配置中心Spring config 客户端依赖jar包
等等,按照各自项目所需。
<?2、创建SpringCloud项目主入口类**Application

package com.**s.**s;

import com.**ks.e**.common.util.SpringContextUtils;
import org.springframework.beans.factory.annotation.Autowired;
import org.springframework.boot.SpringApplication;
import org.springframework.boot.autoconfigure.SpringBootApplication;
import org.springframework.boot.web.client.RestTemplateBuilder;
import org.springframework.cloud.context.config.annotation.RefreshScope;
import org.springframework.cloud.netflix.eureka.EnableEurekaClient;
import org.springframework.cloud.netflix.feign.EnableFeignClients;
import org.springframework.context.annotation.Bean;
import org.springframework.context.annotation.EnableAspectJAutoProxy;
import org.springframework.kafka.annotation.EnableKafka;
import org.springframework.scheduling.annotation.EnableScheduling;
import org.springframework.web.client.RestTemplate;

@RefreshScope
@EnableEurekaClient
@EnableFeignClients
@EnableKafka
@EnableScheduling
@EnableAspectJAutoProxy(proxyTargetClass=true , exposeProxy=true)
@SpringBootApplication
public class MsgApplication {
	// 启动的时候要注意,由于我们在controller中注入了RestTemplate,所以启动的时候需要实例化该类的一个实例
    @Autowired
    private RestTemplateBuilder builder;

        // 使用RestTemplateBuilder来实例化RestTemplate对象,spring默认已经注入了RestTemplateBuilder实例
    @Bean
    public RestTemplate restTemplate() {
        return builder.build();
    }

    public static void main(String[] args) {
    	SpringApplication springApplication = new SpringApplication(MsgApplication.class);
        SpringContextUtils.setApplicationContext(springApplication.run(args));
    }
}
@SpringBootApplication 这个标注就表示,这个项目是SpringBoot项目,并且此类是项目的主入口类。
由以下main方法启动Application
    public static void main(String[] args) {
    	SpringApplication springApplication = new SpringApplication(MsgApplication.class);
        SpringContextUtils.setApplicationContext(springApplication.run(args));
    }
到这里,SpringBoot项目已经完成一大半。接下来就是数据库连接配置以及注册中心config和Ereka等配置文件的配置了
三、注册中心和服务发现配置等
1、Spring Config Center配置项目的配置文件读取
楼主这里是以Spring Config Center作为配置中心来,配置读取项目所需的各种连接和配置信息等(Spring Config Center这里不作详细介绍)
2、GitLab远程托管配置信息
在Spring Config Center配置服务中心配置好了项目的连接和读取权限后,在gitlab上配置本项目的各种所需信息
这里详见另一篇文章
SpringCloud项目采用gitLab作为配置中心
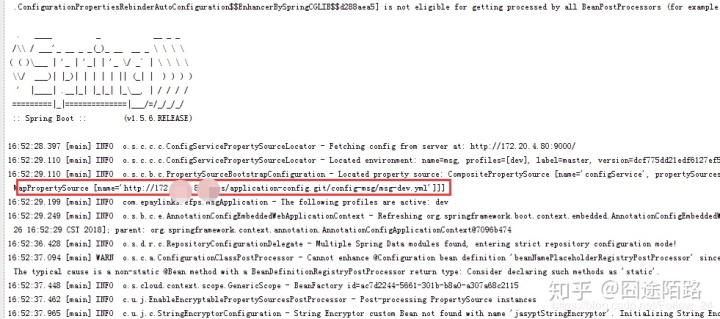
3、项目中加载各环境下对应的配置文件信息(dev、test、prod、uat)
这里以dev开发环境为例
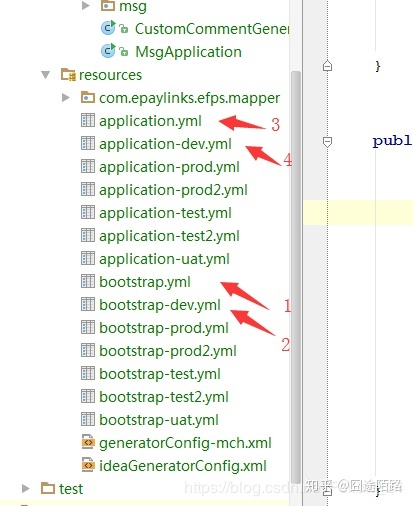
所有SpringCloud项目均是从bootstrap.yml文件开始加载项目所需的各种连接和配置信息的,这是SpringCloud核心内置决定,可以去研究源码,这里不作详述。
4、bootstrap-dev.yml的配置如:
spring:
  application:
    name: msg
  cloud:
    config:
      uri: http://172.20*.4*.80:9000/   # 配置spring cloud config服务端的url
      profile: dev                      # 指定profile
      label: master                     # 指定gitlab仓库的分支
主要是连接spring cloud config服务端,以获取远程gitlab上的配置信息。
5、application-dev.yml的配置如下:
eureka:
  client:
    registerWithEureka: true
    service-url:
      defaultZone: http://172.20.4.80:8000/eureka/
swagger:
  enable: true
主要用来连接eureka服务注册和发现
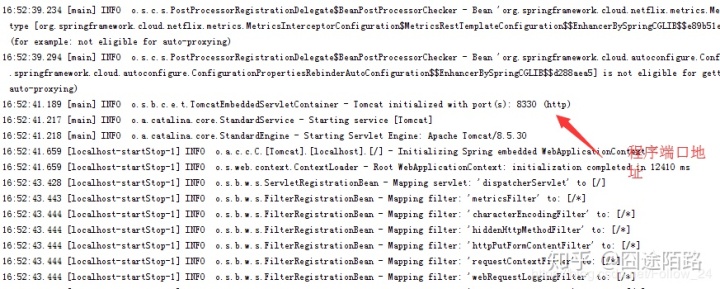
到这里,SpringCLoud项目基本已经完成。接下来就是各种数据库建表Mybatis配置和撸代码的工作了。

觉得对你有帮助,关注博客和公众号。不定期分享最新前沿技术框架和bat大厂常用技术等,加群不定期分享行业内大牛直播讲课以及获得视频课件资料等。


 2959
2959


 被折叠的 条评论
为什么被折叠?
被折叠的 条评论
为什么被折叠?
 到【灌水乐园】发言


