


前言
最近微信里的童鞋让看一个错误,这是一个web练手项目,项目用到原生Servlet和jsp老技术,它是用eclipse搞的,奈何我放弃eclipse已多年,在IDEA里我还真没搞过这种没用到maven的web项目(jar包手动下载拷贝到WEB-INF下),故将配置过程记录于此。方便日后学习。
导入到IDEA
点击import Project:

找到eclipse中的项目,点击OK:

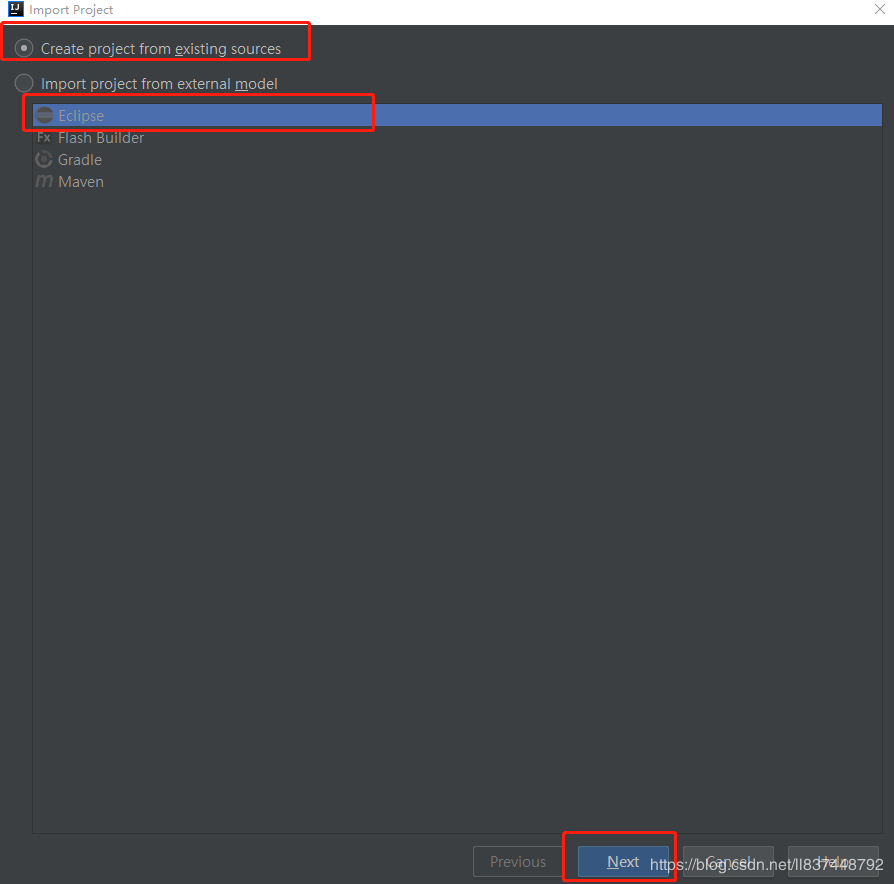
选择Create Project from existing sources,选择Eclipse,点击Next:
一路Next:
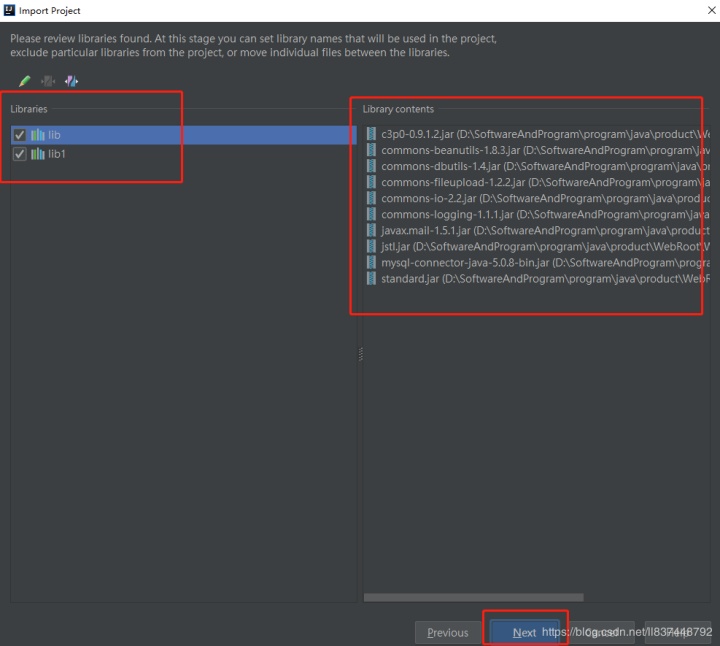
勾选项目中的jar文件:
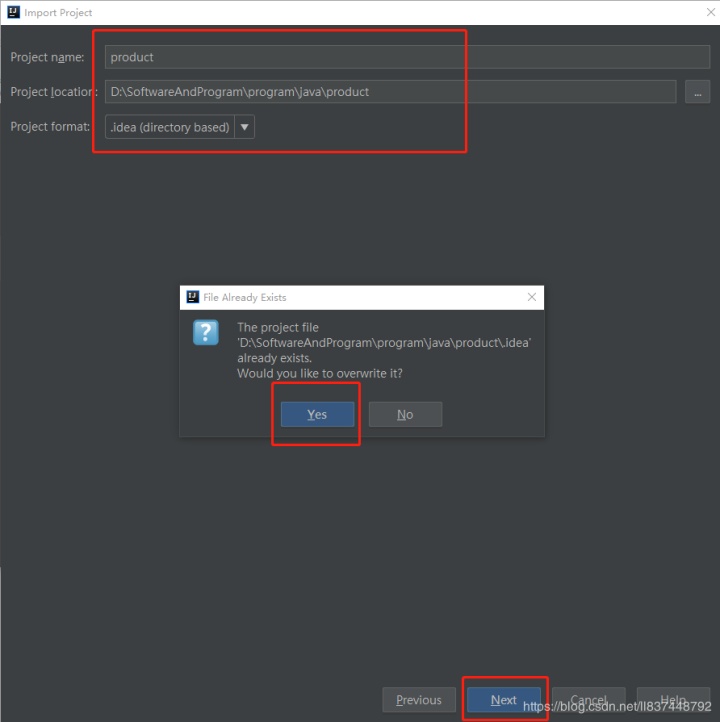
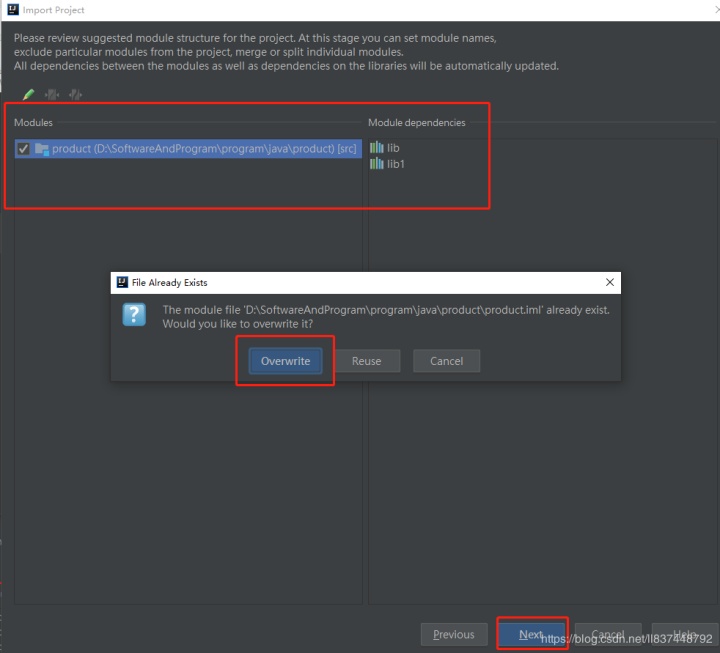
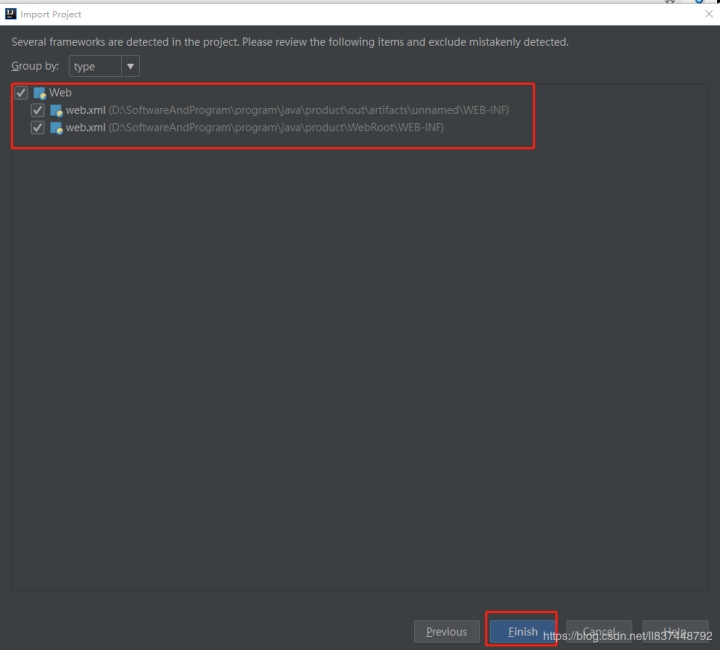
然后一路Next,这里提示重写idea配置文件,点击Overwrite:
最后选择jdk路径,点击Next:
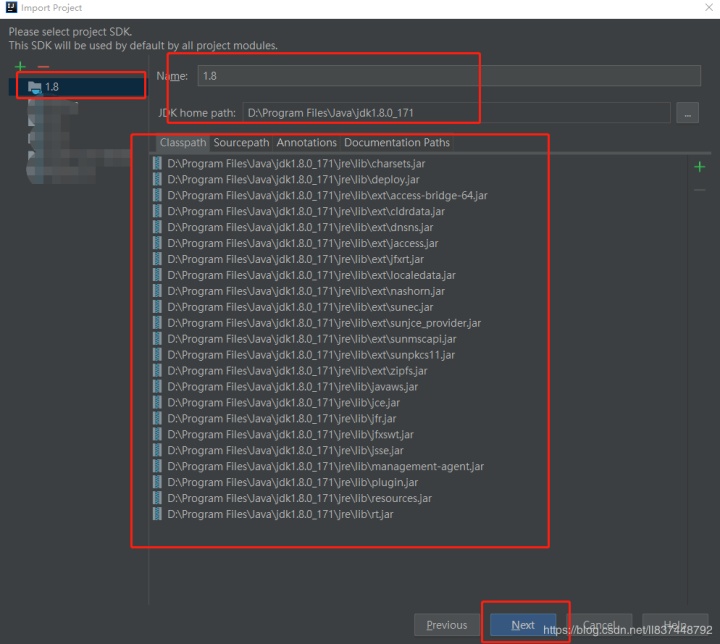
点击完成:
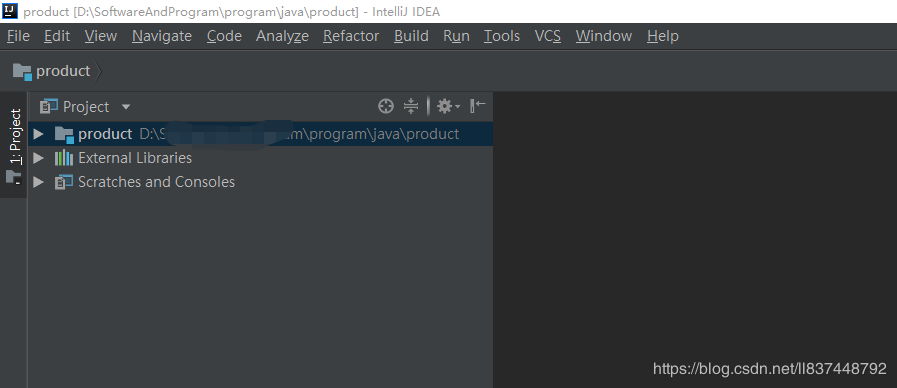
导入成功:
配置编译环境
在项目上右键单击选择Open Model Settings,快捷键F12:

选择Artifacts、Web Application Exploded、Empty:
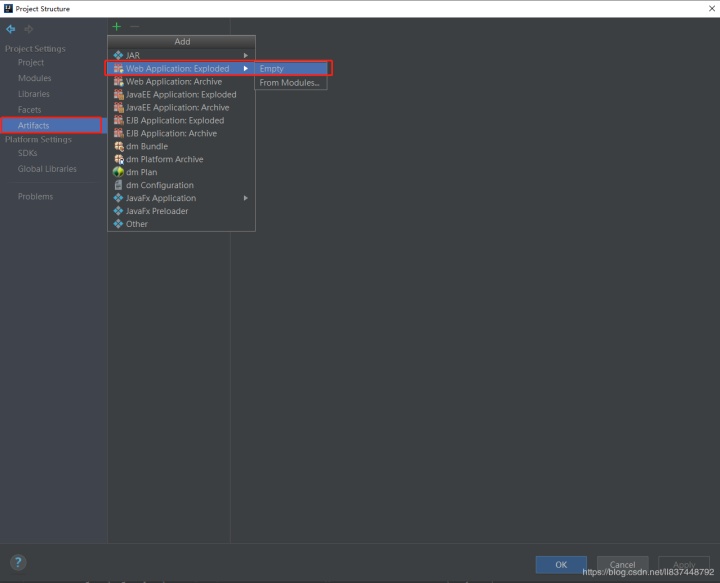
填写Name ,我这里填写product:

如图所示,然后点击OK

选择Modules,点击+,Library:
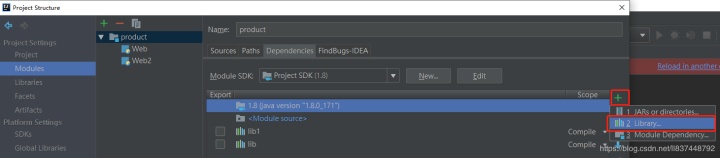
将Application Server Libraries下的Tomcat库选择上,因为Servlet相关的包需要用到

配置完成后,点击Build->Build Artifacts:
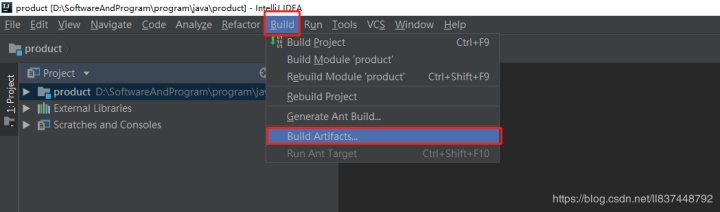
点击$name->Build开始编译:

配置运行环境
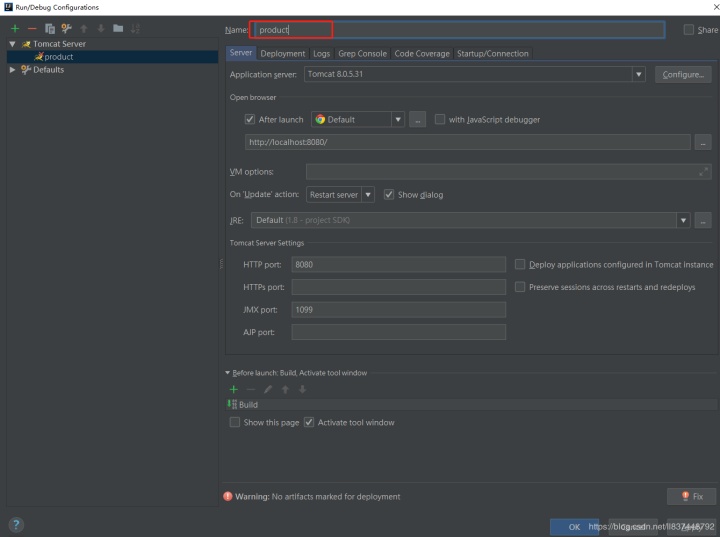
点击Edit Configuration:

点击+、Tomcat Server、Local

填写名称,在Server下填写对应配置,(默认即可):
选择Deployment,点击+、Artifact:
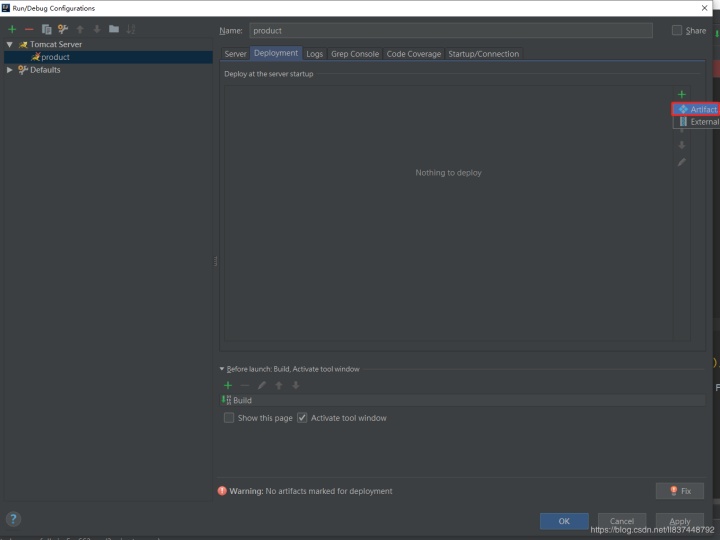
选择$name,我这里即为product,最后点击OK:

点击运行后,控制台打印部署成功:

访问http://localhost:8080/register.jsp:

作者简洁
作者:小碗汤,一位热爱、认真写作的小伙,目前维护原创公众号:『我的小碗汤』,专注于写go语言、docker、kubernetes、java等开发、运维知识等提升硬实力的文章,期待你的关注。转载说明:务必注明来源(注明:来源于公众号:我的小碗汤,作者:小碗汤)


 925
925


 被折叠的 条评论
为什么被折叠?
被折叠的 条评论
为什么被折叠?
 到【灌水乐园】发言


