


 愿你越努力越幸运
 「歇一歇,继续奔跑」
作为Java Web的开发者,一定离不开Tomcat服务器的接触,对于如何使用Tomcat服务器部署项目,大家或许很熟悉,所谓知其然知其所以然,对于Tomcat是如何运行我们部署的项目,我们也应该知道其原理,有利于以后及时定位到问题。
硬件环境JDK 1.8
Intellij IDEA
Tomcat 8.5.59
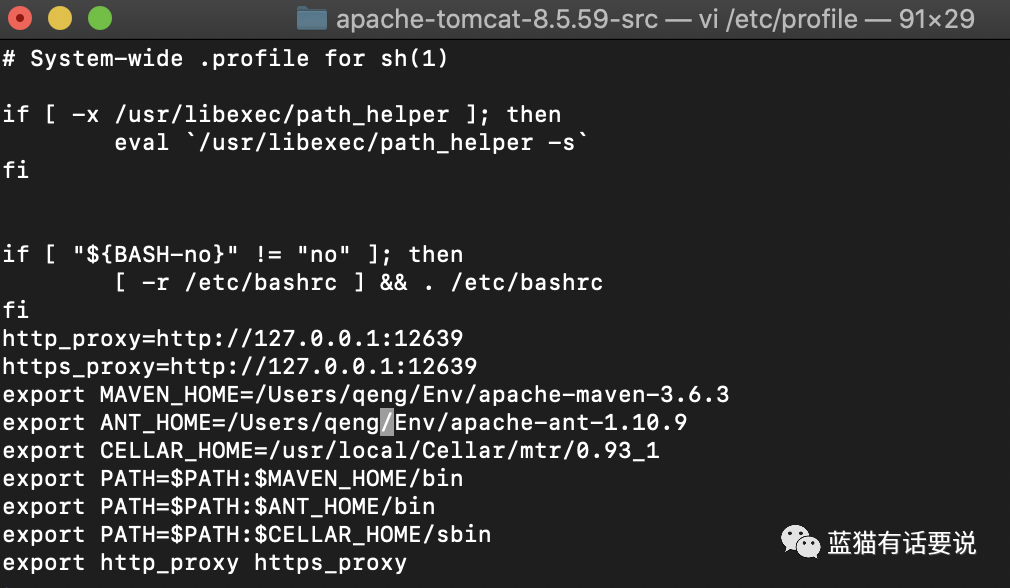
Ant 1.10.9
Maven 3.6.3
MacBook Pro (15-inch)
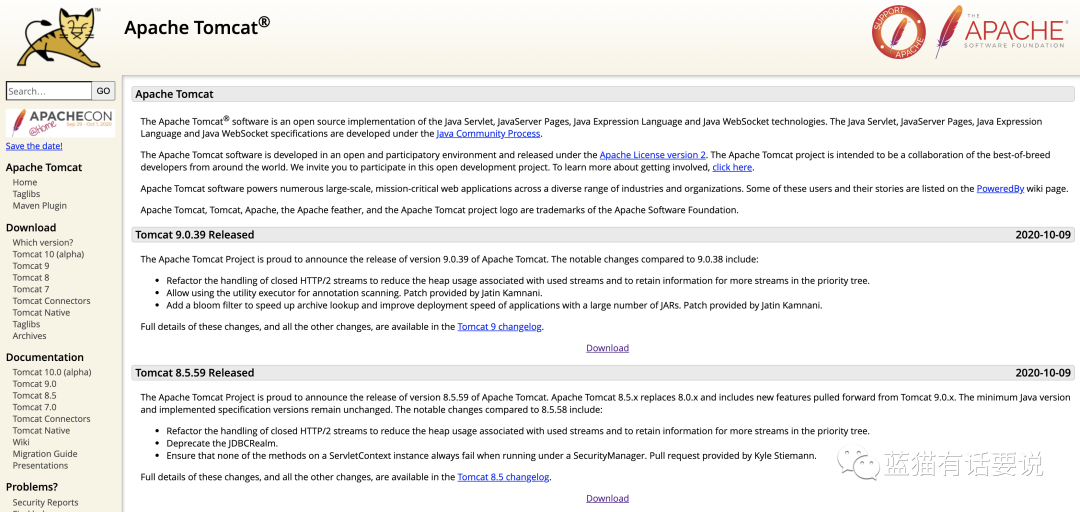
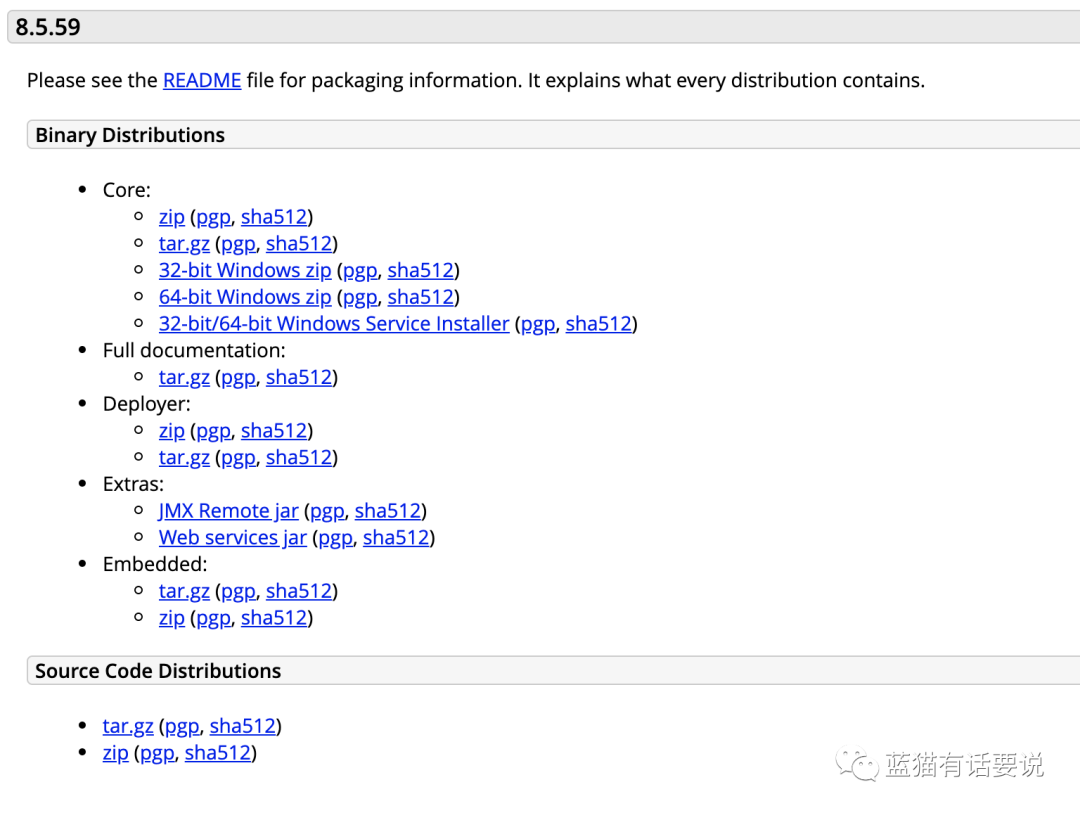
首先我们需要从Tomcat的官网里下载需要编译的Tomcat源代码,下载地址:http://tomcat.apache.org,蓝猫使用的是Tomcat 8.5.59版本的源码编译。
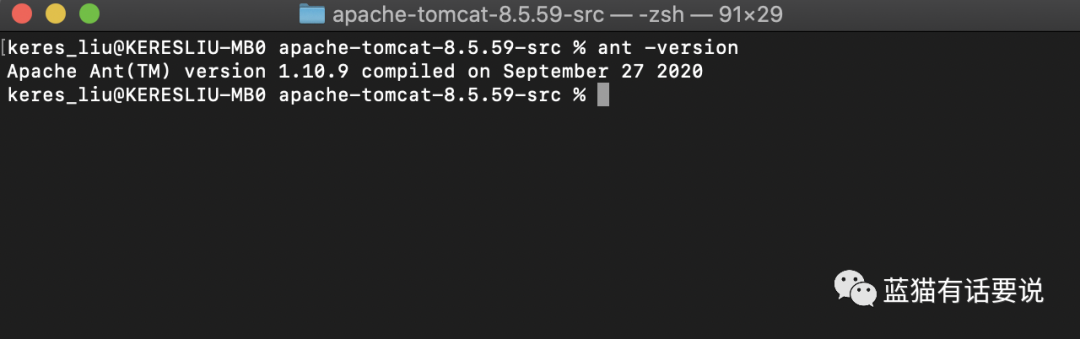
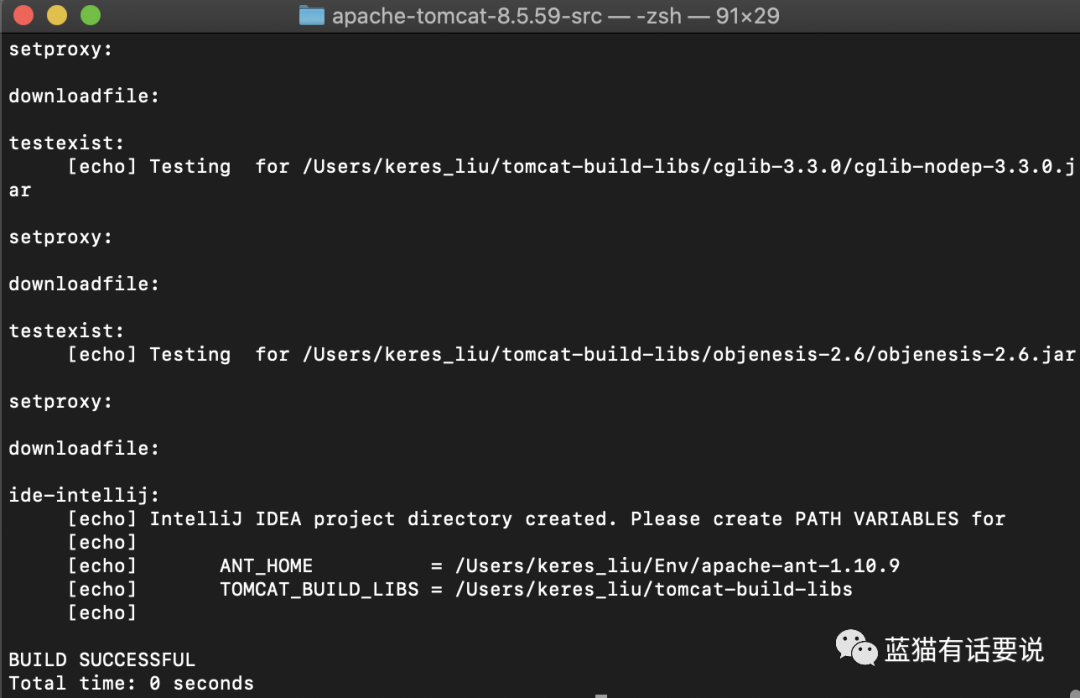
解压下载的Tomcat源码压缩包,并进入解压后的文件夹,进入文件夹输入ant -buildfile build.xml ide-intellij构建编译tomcat源代码并输出为IDEA的格式,当看到BUILD SUCCESSFUL字样时说明已经编译成功。
当Ant成功构建编译完Tomcat源代码后,在apache-tomcat-8.5.59-src文件夹目录新建pom.xml,并编写内容如下:
<?xml version="1.0" encoding="UTF-8"?><project xmlns="http://maven.apache.org/POM/4.0.0" xmlns:xsi="http://www.w3.org/2001/XMLSchema-instance" xsi:schemaLocation="http://maven.apache.org/POM/4.0.0 http://maven.apache.org/xsd/maven-4.0.0.xsd"> <modelVersion>4.0.0modelVersion> <groupId>org.apache.tomcatgroupId> <artifactId>Tomcat8.5artifactId> <name>Tomcat8.5name> <version>8.5version> <properties> <project.build.sourceEncoding>UTF-8project.build.sourceEncoding> properties> <build> <finalName>Tomcat8.5finalName> <sourceDirectory>javasourceDirectory> <testSourceDirectory>testtestSourceDirectory> <resources> <resource> <directory>javadirectory> resource> resources> <testResources> <testResource> <directory>testdirectory> testResource> testResources> <plugins> <plugin> <groupId>org.apache.maven.pluginsgroupId> <artifactId>maven-compiler-pluginartifactId> <version>3.3version> <configuration> <encoding>UTF-8encoding> <source>1.8source> <target>1.8target> configuration> plugin> plugins> build> <dependencies> <dependency> <groupId>junitgroupId> <artifactId>junitartifactId> <version>4.12version> <scope>testscope> dependency> <dependency> <groupId>org.easymockgroupId> <artifactId>easymockartifactId> <version>3.5.1version> dependency> <dependency> <groupId>antgroupId> <artifactId>antartifactId> <version>1.7.0version> dependency> <dependency> <groupId>wsdl4jgroupId> <artifactId>wsdl4jartifactId> <version>1.6.2version> dependency> <dependency> <groupId>javax.xmlgroupId> <artifactId>jaxrpcartifactId> <version>1.1version> dependency> <dependency> <groupId>org.eclipse.jdt.core.compilergroupId> <artifactId>ecjartifactId> <version>4.5.1version> dependency> dependencies>project>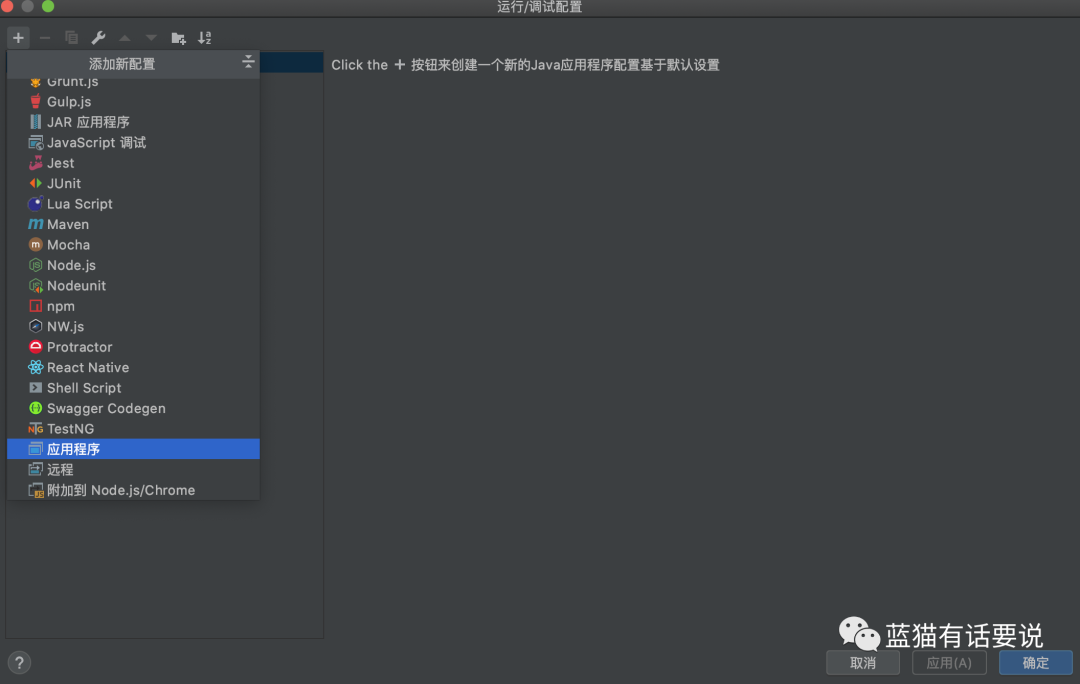

-Dcatalina.home=/Users/qeng/OpenProjects/apache-tomcat-8.5.59-src/webapps -Dcatalina.base=/Users/qeng/OpenProjects/apache-tomcat-8.5.59-src -Djava.endorsed.dirs=/Users/keres_liu/OpenProjects/apache-tomcat-8.5.59-src/endorsed -Djava.io.tmpdir=/Users/qeng/OpenProjects/apache-tomcat-8.5.59-src/temp -Djava.util.logging.manager=org.apache.juli.ClassLoaderLogManager -Djava.util.logging.config.file=/Users/qeng/OpenProjects/apache-tomcat-8.5.59-src/conf/logging.properties -Duser.language=en -Duser.region=US -Dfile.encoding=UTF-8-Duser.language=en及-Duser.region=US -Dfile.encoding=UTF-8的作用是防止启动时控制台的日志为乱码。
步骤六:若上述都配置完后,便可运行Bootstrap类,当控制台中出现Server startup in 1055 ms后说明项目已经成功启动,Tomcat默认启动的端口是8080,此时打开浏览器输入http://127.0.0.1:8080后便可看到Tomcat的主页。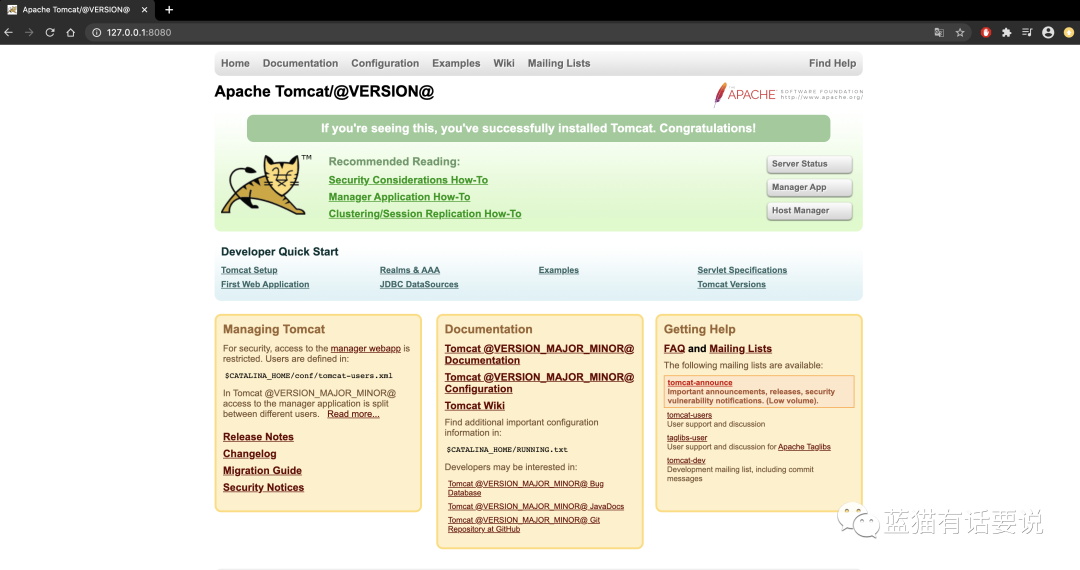

这需在ContextConfig类中加入以下代码:
context.addServletContainerInitializer(new JasperInitializer(), null);
/** * Process a "contextConfig" event for this Context. */ protected synchronized void configureStart() { // Called from StandardContext.start() if (log.isDebugEnabled()) { log.debug(sm.getString("contextConfig.start")); } if (log.isDebugEnabled()) { log.debug(sm.getString("contextConfig.xmlSettings", context.getName(), Boolean.valueOf(context.getXmlValidation()), Boolean.valueOf(context.getXmlNamespaceAware()))); } webConfig(); //新增JSP解析器 context.addServletContainerInitializer(new JasperInitializer(), null); if (!context.getIgnoreAnnotations()) { applicationAnnotationsConfig(); } if (ok) { validateSecurityRoles(); } // Configure an authenticator if we need one if (ok) { authenticatorConfig(); } // Dump the contents of this pipeline if requested if (log.isDebugEnabled()) { log.debug("Pipeline Configuration:"); Pipeline pipeline = context.getPipeline(); Valve valves[] = null; if (pipeline != null) { valves = pipeline.getValves(); } if (valves != null) { for (Valve valve : valves) { log.debug(" " + valve.getClass().getName()); } } log.debug("======================"); } // Make our application available if no problems were encountered if (ok) { context.setConfigured(true); } else { log.error(sm.getString("contextConfig.unavailable")); context.setConfigured(false); } }关于如何搭建Tomcat源码环境已经接讲完了,接下来就可以运行Tomcat项目一步一步地调试代码,摸清楚Tomcat是如何运行的,在后续的文章中将会继续分析Tomcat源码。
「 在看的,麻烦点一下再走~ 」


 2万+
2万+


 被折叠的 条评论
为什么被折叠?
被折叠的 条评论
为什么被折叠?
 到【灌水乐园】发言


