


1.添加依赖
org.springframework.boot
spring-boot-starter-web
org.springframework.cloud
spring-cloud-starter-netflix-eureka-client
org.springframework.cloud
spring-cloud-starter-netflix-ribbon
org.projectlombok
lombok
true
2.修改启动类
import org.mybatis.spring.annotation.MapperScan;
import org.springframework.boot.SpringApplication;
import org.springframework.boot.autoconfigure.SpringBootApplication;
import org.springframework.cloud.client.loadbalancer.LoadBalanced;
import org.springframework.context.annotation.Bean;
import org.springframework.web.client.RestTemplate;
@SpringBootApplication
@MapperScan("cn.ytheng.order_service")
public class OrderServiceApplication {
/**
* @Loadbalanced负载均衡策略
*/
@Bean
@LoadBalanced
public RestTemplate restTemplate() {
return new RestTemplate();
}
public static void main(String[] args) {
SpringApplication.run(OrderServiceApplication.class, args);
}
}
3.添加Controller
import cn.theng.order_service.utils.RibbonUtils;
import org.springframework.beans.factory.annotation.Autowired;
import org.springframework.cloud.client.ServiceInstance;
import org.springframework.cloud.client.loadbalancer.LoadBalancerClient;
import org.springframework.util.LinkedMultiValueMap;
import org.springframework.web.bind.annotation.PostMapping;
import org.springframework.web.bind.annotation.RequestMapping;
import org.springframework.web.bind.annotation.RequestParam;
import org.springframework.web.bind.annotation.RestController;
import org.springframework.web.client.RestTemplate;
import java.util.HashMap;
import java.util.Map;
@RestController
@RequestMapping("/api/v1/order")
public class ProductOrderController {
@RequestMapping("/test")
public Object test(@RequestParam("product_id") int productId) {
//方法一
// ServiceInstance instance = loadBalancerClient.choose("product-service");
// String url = String.format("http://%s:%s/api/v1/product/find?id=" + productId, instance.getHost(), instance.getPort());
// RestTemplate template = new RestTemplate();
// Map map2 = template.getForObject(url, Map.class);
//负载均衡
//商品列表启用两个节点时
//由客户端来自动选择节点,可能是8771端口,也有可能是8772端口
//参数id名称需要保持一致
//方法二(推荐)
String uri = "http://product-service/api/v1/product/find?id={id}";
Map request = new HashMap<>();
request.put("id", productId);
Map map3 = RibbonUtils.get(uri, Map.class, request);
return "success";
}
@PostMapping("/test2")
public Object test2(@RequestParam("product_id") int productId) {
Product product = new Product();
product.setId(productId);
String uri = "http://product-service/api/v1/product/find2";
LinkedMultiValueMap headers = new LinkedMultiValueMap<>();
headers.add("token", "theng");
Object result = RibbonUtils.post(uri, Object.class, product, headers);
return "success";
}
}
4.添加Ribbon调用公共类
import org.springframework.beans.factory.annotation.Autowired;
import org.springframework.http.*;
import org.springframework.stereotype.Component;
import org.springframework.util.LinkedMultiValueMap;
import org.springframework.web.client.RestTemplate;
import javax.annotation.PostConstruct;
import java.util.Arrays;
import java.util.Collections;
import java.util.Map;
@Component
public class RibbonUtils {
@Autowired
private RestTemplate restTemplate;
private static RestTemplate template;
//@PostConstruct修饰的方法会在服务器加载Servlet的时候运行,并且只会被服务器调用一次
@PostConstruct
public void init() {
template = restTemplate;
}
/**
*
* @param uri 接口地址
* @param responseType 返回类型
*
* */
public static T get(String uri, Class responseType) {
return template.getForObject(uri, responseType);
}
/**
*
* @param uri 接口地址
* @param responseType 返回类型
* @param request 传递参数
*
* */
public static T get(String uri, Class responseType, Map request) {
return template.getForObject(uri, responseType, request);
}
/**
*
* @param uri 接口地址
* @param responseType 返回类型
* @param request 传递参数
* @param headerMap 报头信息
*
* */
public static T get(String uri, Class responseType, Map request, Map headerMap) {
//添加报头
HttpHeaders headers = new HttpHeaders();
headers.setAccept(Arrays.asList(MediaType.APPLICATION_JSON));
for(Map.Entry entry : headerMap.entrySet()){
String mapKey = entry.getKey();
String mapValue = entry.getValue();
headers.add(mapKey, mapValue);
}
//body的类型定为String,这里使用get没有用到body,post会使用到
HttpEntity entity = new HttpEntity(null, headers);
ResponseEntity result = template.exchange(uri, HttpMethod.GET, entity, responseType, request);
return result.getBody();
}
/**
*
* @param uri 接口地址
* @param responseType 返回类型
* @param body 传递实体
* @param headers 报头信息
*
* */
public static T post(String uri, Class responseType, Object body, LinkedMultiValueMap headers) {
if (!headers.containsKey("Content-Type")) {
headers.put("Content-Type", Collections.singletonList("application/json;charset=UTF-8"));
}
HttpEntity request = new HttpEntity(body, headers);
Object obj = template.postForObject(uri, request, responseType);
return (T) obj;
}
}
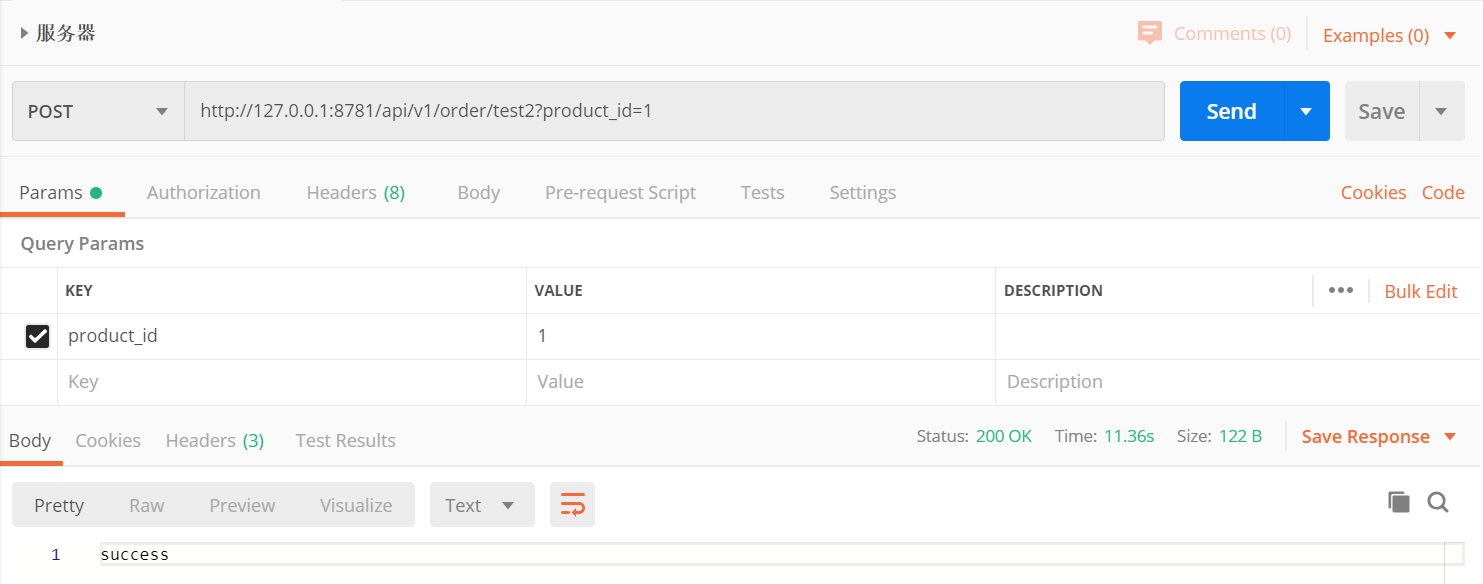
5.在PostMan上测试两个接口即可
以上就是本文的全部内容,希望对大家的学习有所帮助,也希望大家多多支持脚本之家。


 1796
1796


 被折叠的 条评论
为什么被折叠?
被折叠的 条评论
为什么被折叠?
 到【灌水乐园】发言


