


系统:Windows 7 64位系统
安装之前,首先下载软件:
Nginx: http://nginx.org/en/download.html
PHP Stable PHP 5.6.26: http://php.net/downloads.php
mysql: http://dev.mysql.com/downloads/utilities/
第一步:在D盘建立文件夹Nginx+php+Mysql,路径为:D:\Nginx+php+Mysql
第二步:安装Nginx,安装目录为:D:\Nginx+php+Mysql\nginx
1.打开D:\Nginx+php+Mysql\nginx目录,运行该文件夹下的nginx.exe
2.测试是否启动nginx。打开浏览器访问http://localhost 或 http://127.0.0.1,看看是否出现“Welcome to nginx!”,出现的证明已经启动成功了。
若启动不成功,查看是否端口被占用。
安装PHP,安装目录为:D:\Nginx+php+Mysql\php
安装mySQL,安装目录为: D:\Nginx+php+Mysql\mysql
第三步:修改Nginx的conf文件:目录为D:\Nginx+php+Mysql\nginx\conf
文件名为:nginx.conf
1. 去掉worker_processes前的#号,开启一个进程
2. 添加events
3. 设置http->设置server->支持php
#user nobody;
worker_processes1;
#error_log logs/error.log;
#error_log logs/error.log notice;
#error_log logs/error.log info;
#pid logs/nginx.pid;
events {
worker_connections1024;
}
http {
include mime.types;
default_type application/octet-stream;
#log_format main'$remote_addr - $remote_user [$time_local] "$request"'#'$status $body_bytes_sent "$http_referer"'#'"$http_user_agent" "$http_x_forwarded_for"';
#access_log logs/access.log main;
sendfile on;
#tcp_nopush on;
#keepalive_timeout0;
keepalive_timeout65;
#gzip on;
server {
listen80;
server_name localhost;
#charset koi8-r;
#access_log logs/host.access.log main;
location/{
root d:/Nginx+php+Mysql/nginx/html;
index index.html index.htm;
}error_page500 502 503 504 /50x.html;
location= /50x.html {
root html;
}# pass the PHP scripts to FastCGI server listening on127.0.0.1:9000#
location~\.php$ {
root html;
fastcgi_pass127.0.0.1:9000;
fastcgi_index index.php;
fastcgi_param SCRIPT_FILENAME $document_root$fastcgi_script_name;
include fastcgi_params;
}}
}
测试nginx是否安装成功

第四步:修改php下php.ini-development文件,将文件名修改为php.ini,找开php.ini:
搜索“extension_dir”,找到extension_dir = "ext" 先去前面的分号再改为 extension_dir = "./ext"
搜索“php_mysql”,找到:”extension=php_mysql.dll和extension=php_mysqli.dll 去掉前面的“;”extension=php_mysql.dll和extension=php_mysqli.dll (支持MYSQL数据库)
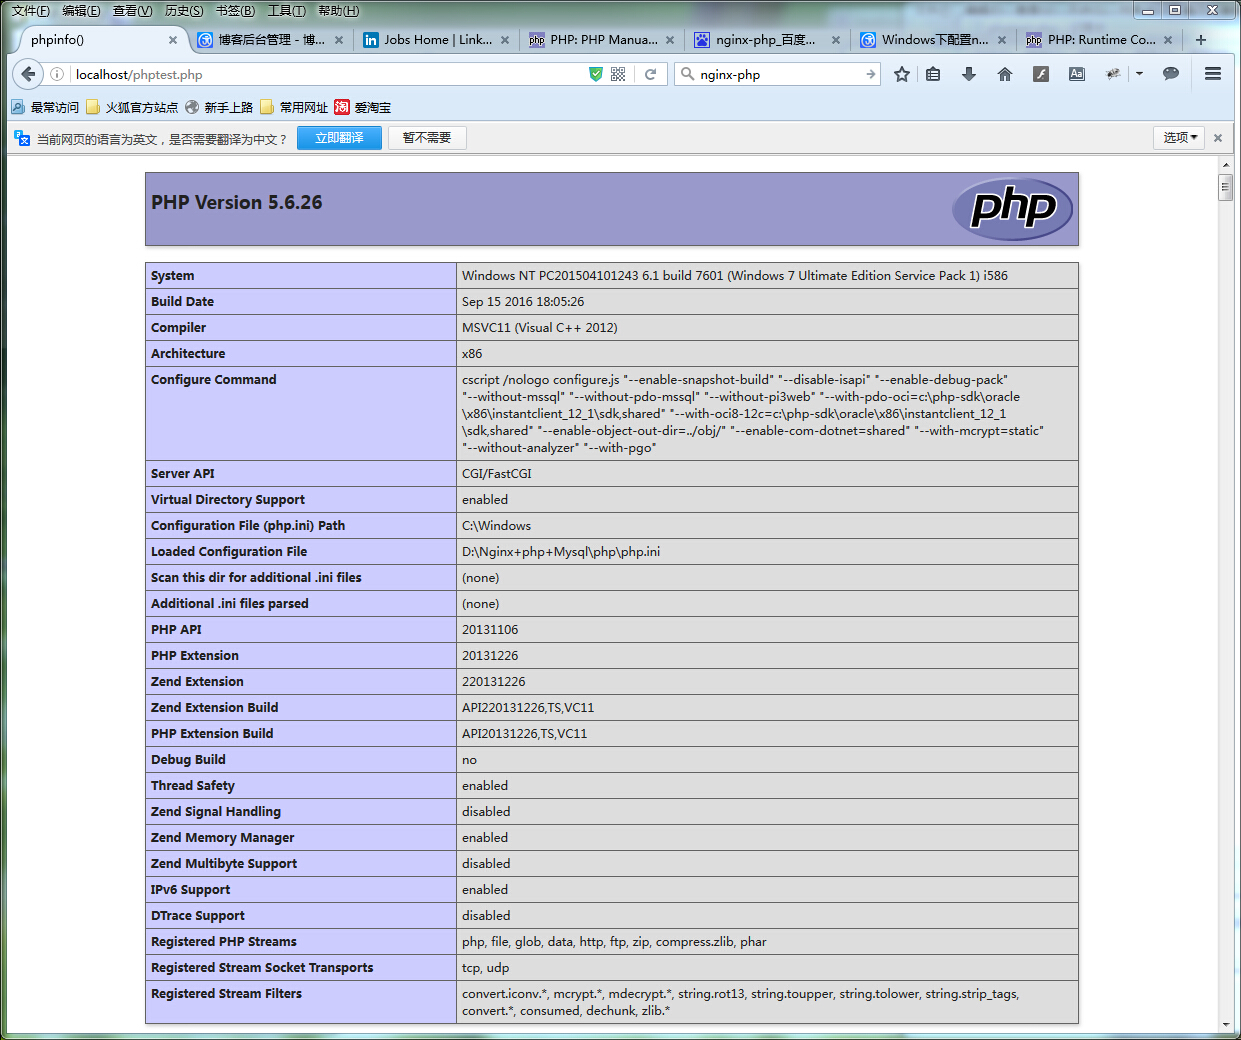
查看php是否安装成功:

第四步:在php目录下新建文件php-cgi.vbs,用php-cgi.vbs文件启动php-cgi:
打开php-cgi.vbs,写入启动编码:
set wscriptObj = CreateObject("Wscript.Shell")
wscriptObj.run"php-cgi -b 127.0.0.1:9000",0
第五步:在D:\Nginx+php+Mysql目录下新建启动项:runServer.bat和停止项stopServer.bat
在启动项runServer.bat中输入:
@echo off
echo Starting nginx...
cd%~dp0nginx
start"" "./nginx.exe"echo Starting mysql...
net start mysql
echo Starting PHP FastCGI...
cd%~dp0PHP
start"" "php-cgi.vbs"pause
Exit
在停止项中输入:
@echo off
echo Stopping nginx...
taskkill/F /IM nginx.exe >nul
echo Stopping PHP FastCGI...
taskkill/F /IM php-cgi.exe >nul
echo Stopping mysql...
net stop mysql
pause
exit
最后,查看是否启动成功:
在nginx的html目录下D:\Nginx+php+Mysql\nginx\html,新建phpinfo.php
写入:
php
phpinfo();?>
在浏览器中输入phpinfo.php的路径,查看是否配置成功:


 651
651


 被折叠的 条评论
为什么被折叠?
被折叠的 条评论
为什么被折叠?
 到【灌水乐园】发言


