


1、 先搭建好基本配置环境:
1、 服务器环境CentOS6.5

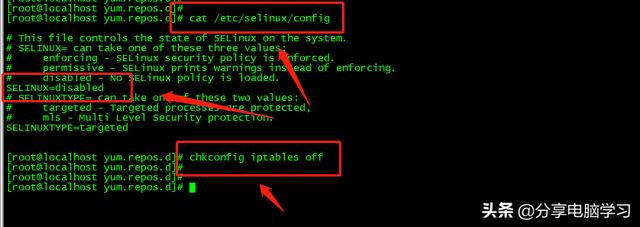
2、 配置网络、关闭Selinux和防火墙
3、已配置YUM源,虚拟机准备一些工具
(1)yum install -y lrzsz
(2)yum install -y gcc
(3)yum install -y gcc-c++
(4)yum install -y vim
(5)yum install -y openssh-clients
(6)yum install -y createrepo
(7)yum install -y wget
(8)yum install -y httpd
(9)yum install -y ntp
2、 搭建服务器环境:
以下均在root用户权限下操作
我们准备一个目录用来存放我们的离线工具包

1、首先我们安装jdk
上传工具包

编写脚本
命令tee
(1)读取标准输入的数据,并将其内容输出成文件
(2)主要用于重定向到文件
常用参数
-a,将读取的内容追加到文件的后面,而不是覆盖(在默认的情况下是覆盖)
命令tee与重定向的区别
重定向,是将读取的内容输出到指定文件中,在屏幕上并不显示
命令tee,在屏幕上显示的同时,将读取的内容也重定向到指定文件中
脚本

2、安装Maven
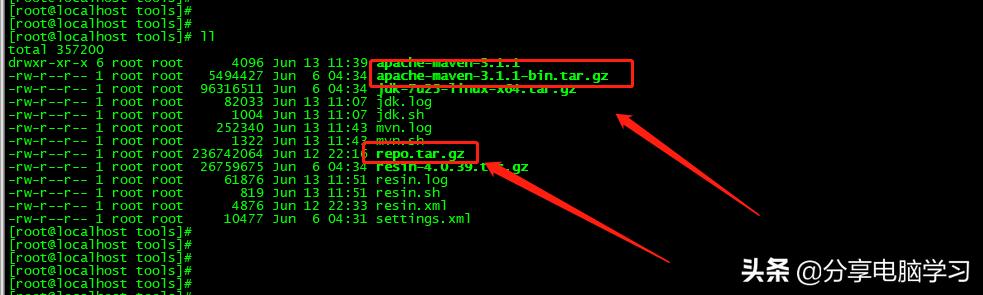
上传工具包
编写脚本
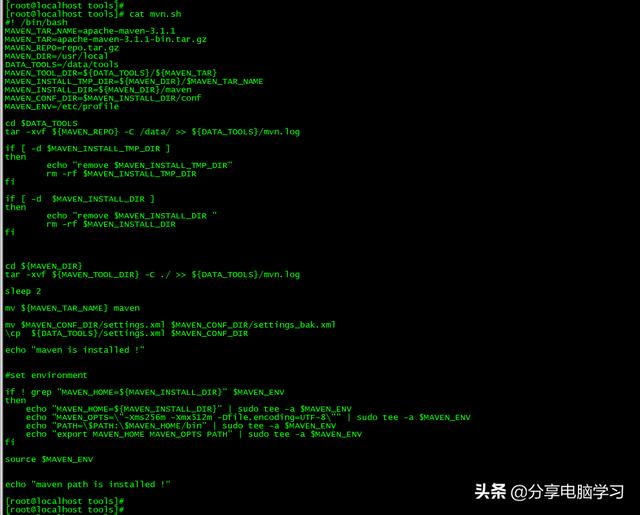
其中我将已经准备好的仓库放到指定的位置,防止项目重新下载太多jar包
仓库地址

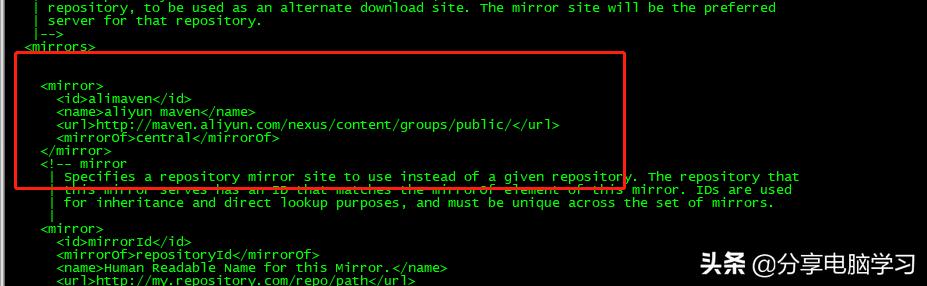
配置文件settings.xml中的关键部分
本地仓库

镜像地址
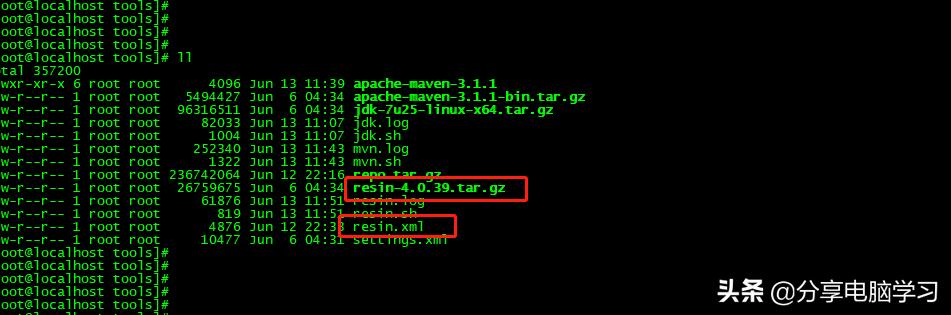
3、安装Resin
上传工具包
编写脚本
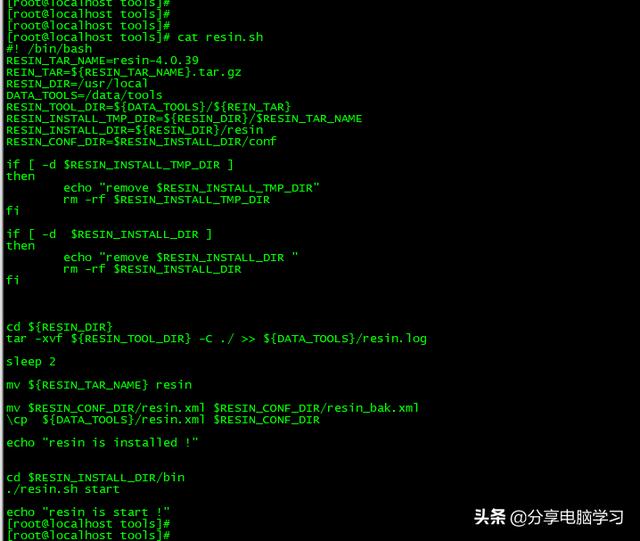
配置中的关键部分resin.xml,是为了方便配置项目

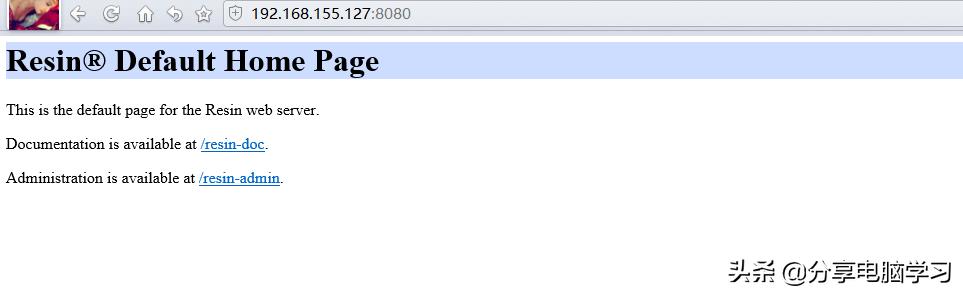
启动后访问到resin就可以了


 770
770


 被折叠的 条评论
为什么被折叠?
被折叠的 条评论
为什么被折叠?
 到【灌水乐园】发言


