


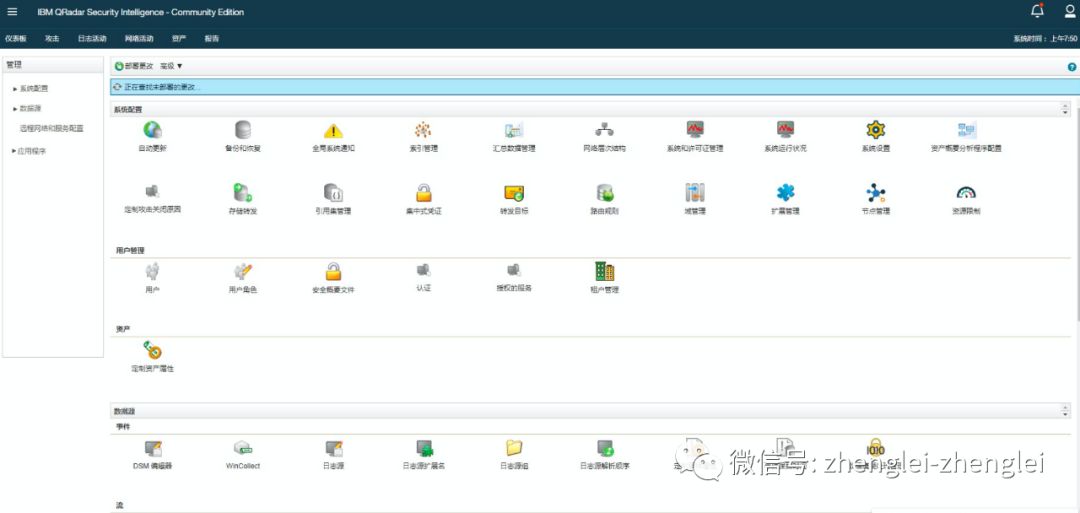
其实,Qradar在2017年发布有一个免费的版本,QRadar Community Edition,最近看到很多国内客户都在申请商业版本的试用,我把这CE版本的安装教程整理了一下。

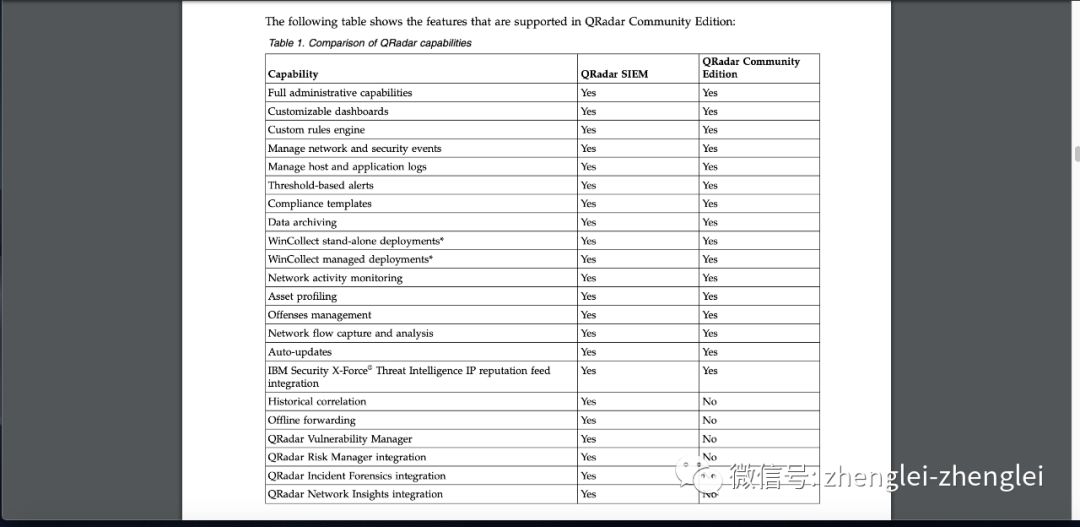
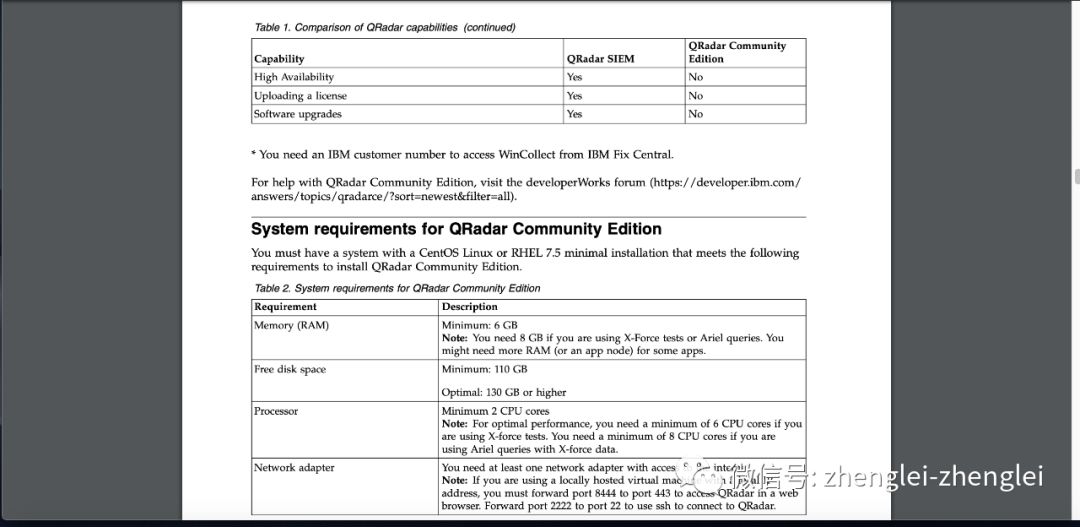
CE版本和标准版本功能区别在哪里呢?我们可以看这里,还是很强大哦!
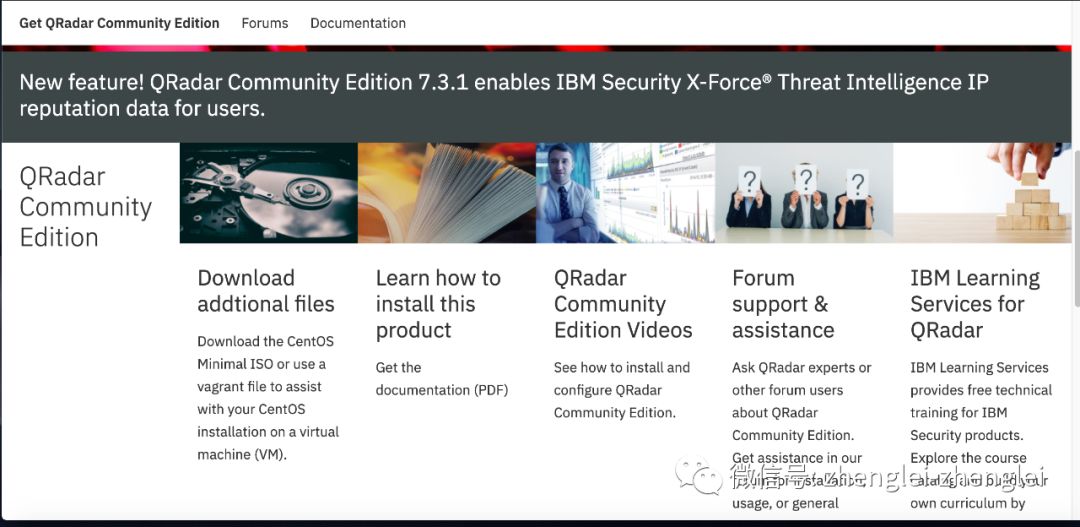
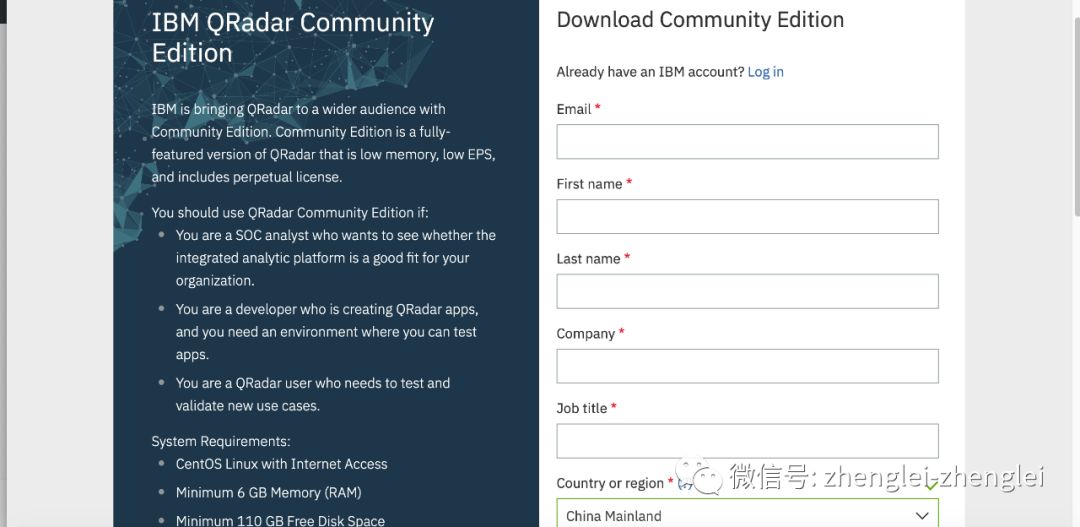
访问这个网站https://developer.ibm.com/qradar/ce/ 可以下载。
这里同样给出了下载CentOS的地址。
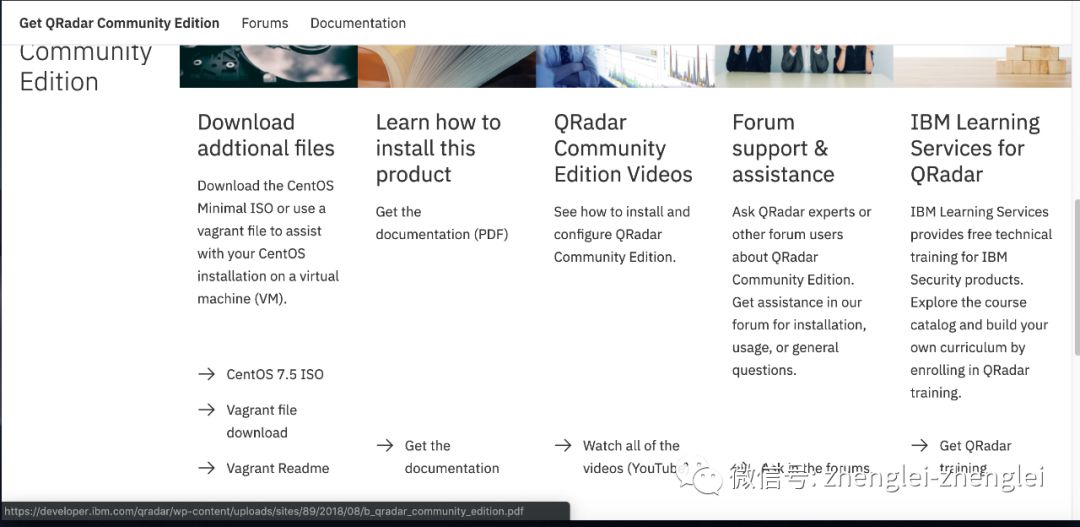
点开Vagrant Readme 可以参考如何傻瓜式安装。
# How to setup and use the Vagrantfile for QRadarCE
# Create directory for Vagrantfile
mkdir community_edition
# Extract zip to directory
unzip QRadarCE_Vagrantfile.20180613163615.zip -d community_edition/
# Install vagrant plugins needed:
vagrant plugin install vagrant-disksize
vagrant plugin install vagrant-reload
# Make sure you have your QRadar CE ISO in the same directory as the Vagrantfile
cp QRadarCE.iso community_edition/
# Go into the directory
cd community_edition/
# Touch the auto_install to tell the Vagrantfile that you want it to automatically install QRadar
touch auto_install
# Accept the EULA
## Add --accept-eula argument to /media/cdrom/setup --no-screen in the Vagrantfile to accept the EULA
# Bring up the VM and start the QRadar install (takes about 1 hour)
vagrant up
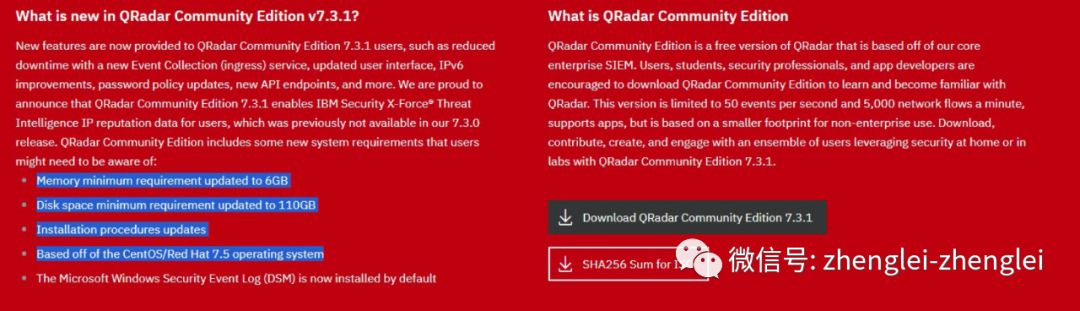
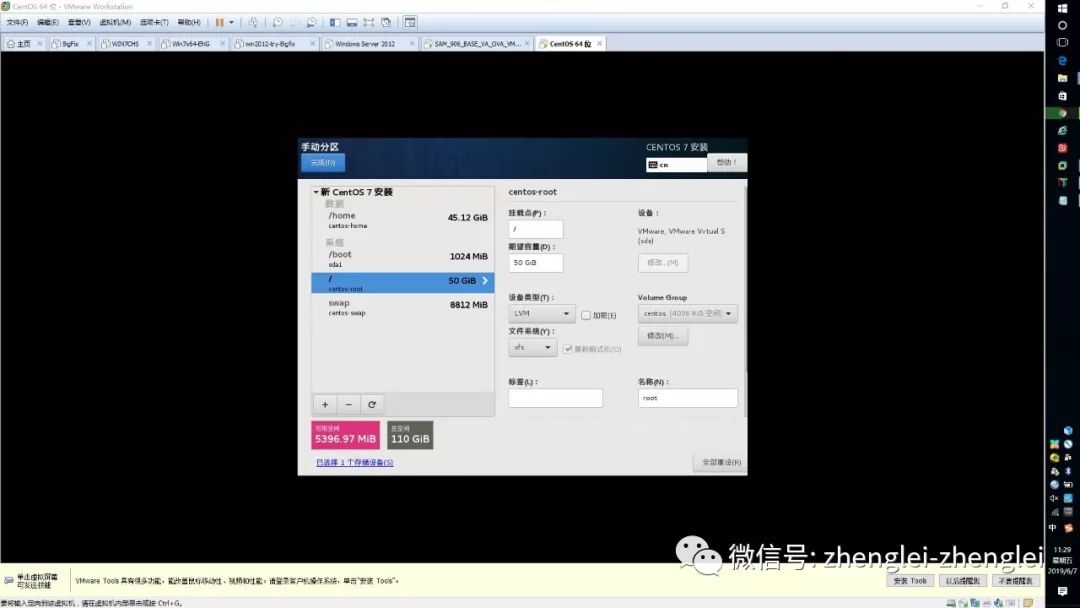
这里可以看到提示,CE版本需要多少内存和硬盘。8G推荐哦。
其实下载安装手册也可以看到。
https://developer.ibm.com/qradar/wp-content/uploads/sites/89/2018/08/b_qradar_community_edition.pdf
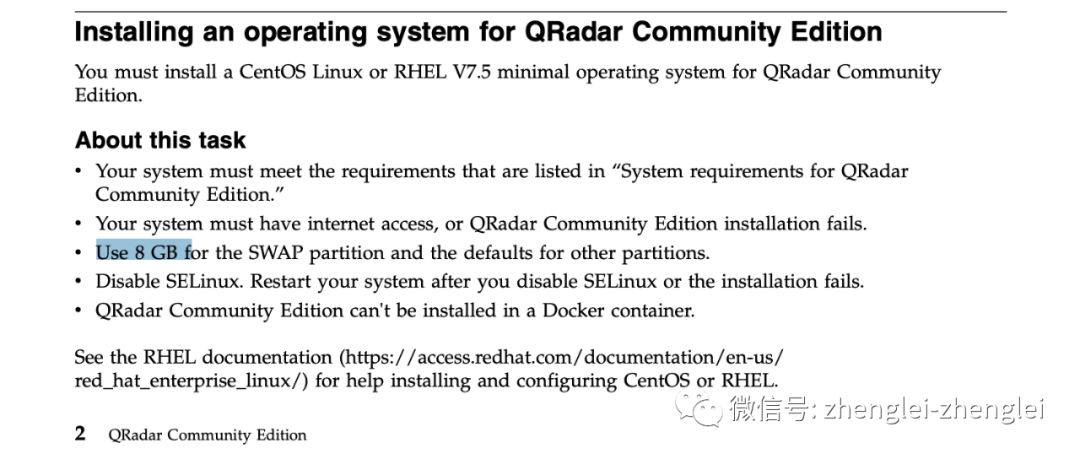
注意一下这里的8G swap 分区,如果小于。。会100%安装失败。
不要问我为什么。。。!
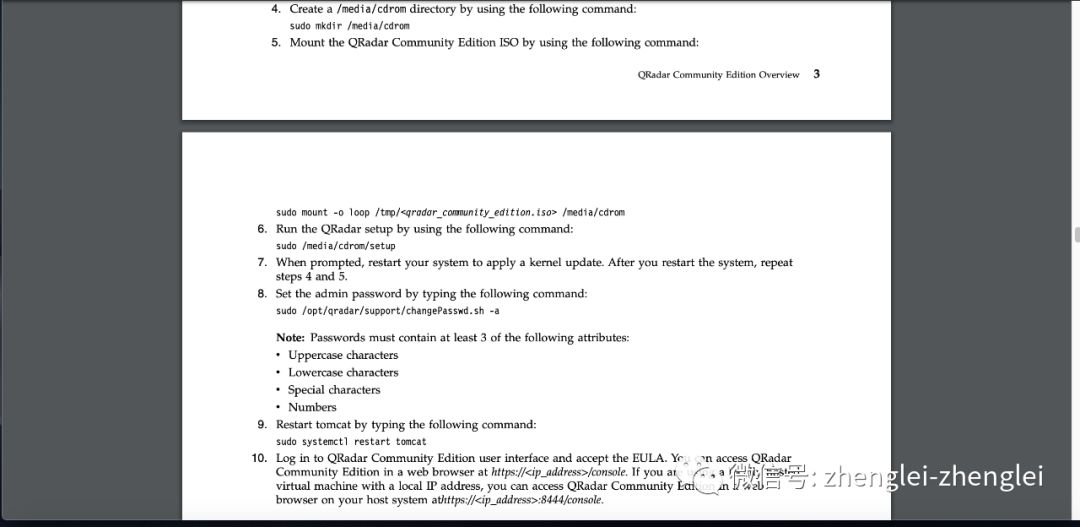
安装其实也非常简单,高手其实看到这里就可以自行玩起来啦。
DSM默认包含如下日志源,不包含Windows的win client
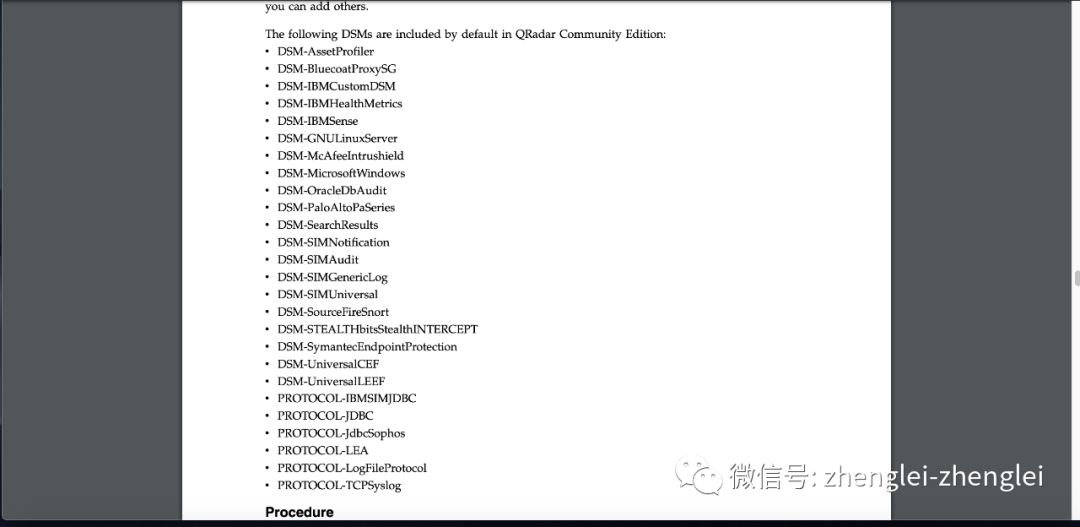
也可以自己安装
首先你要有一个IBM ID,特别好申请,不要钱,要个邮箱就行。
https://www.ibm.com/account/reg/us-en/signup?formid=urx-32552
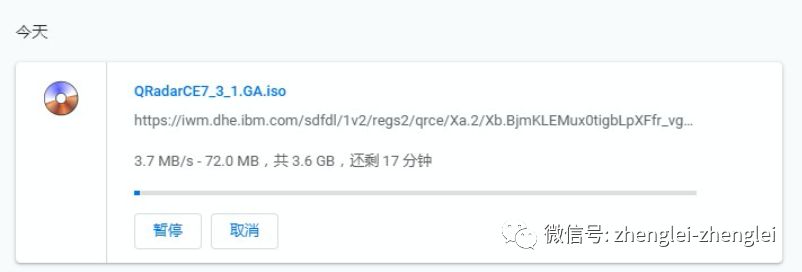
我们去下载CE的安装包。
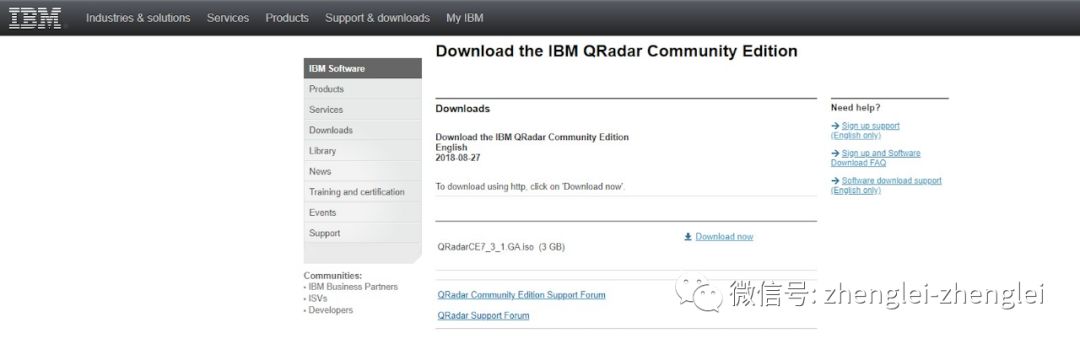
3.6G 看你家网速咯。
CentOS 7.5 ISO 的link ,其实IBM网站就有, 看你仔细不仔细咯。http://archive.kernel.org/centos-vault/7.5.1804/isos/x86_64/CentOS-7-x86_64-Minimal-1804.iso

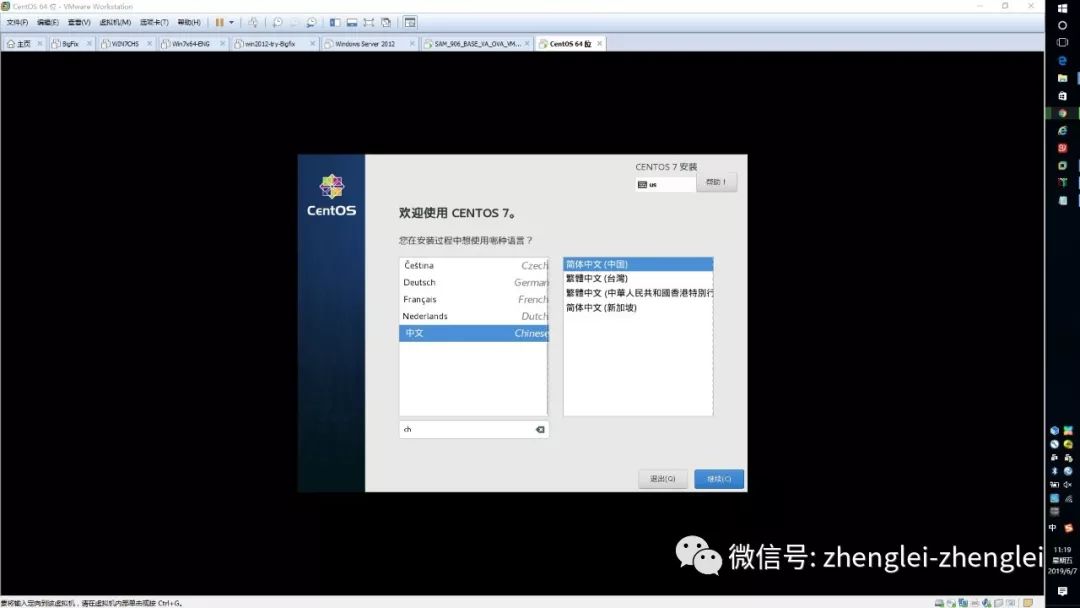
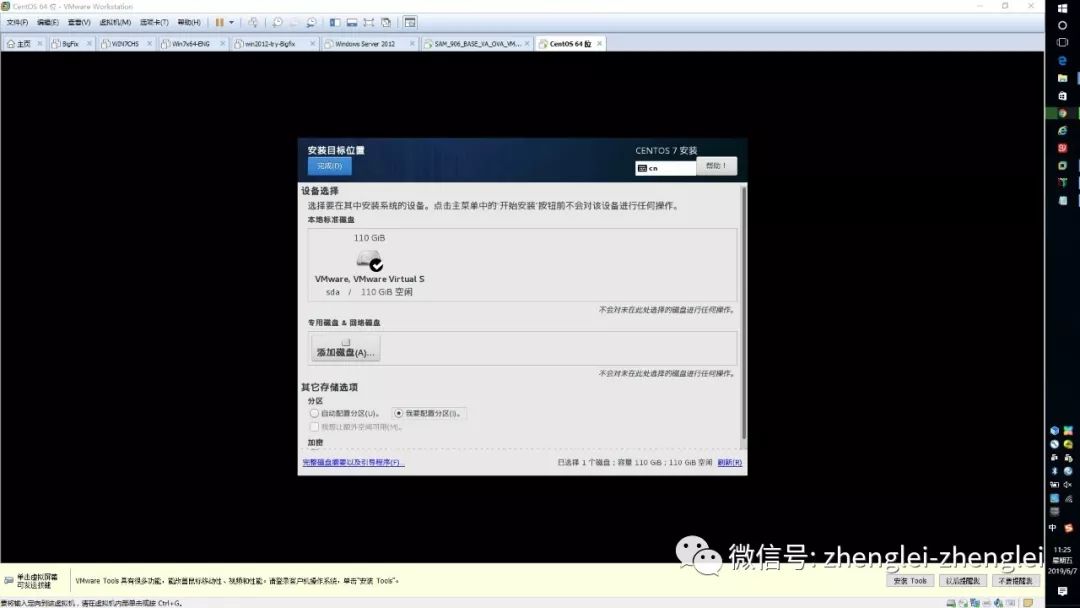
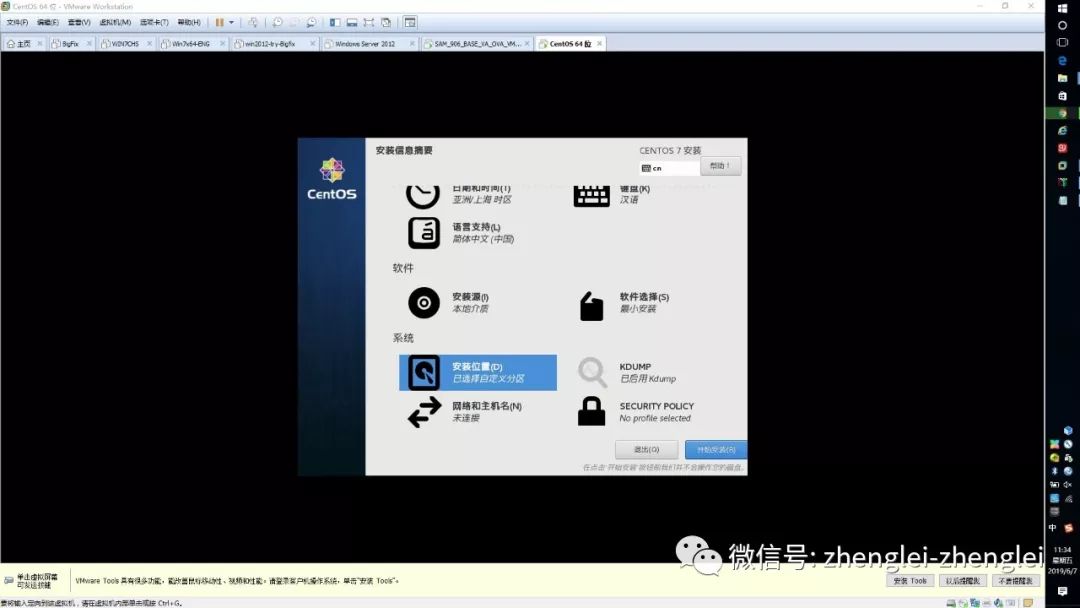
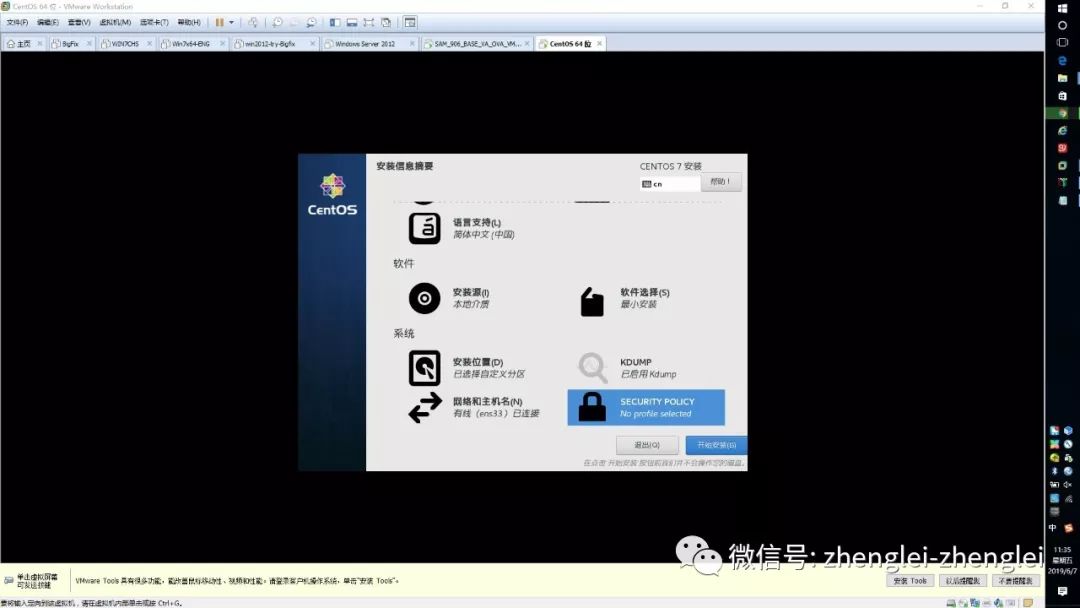
第一步安装centos,新建虚机。
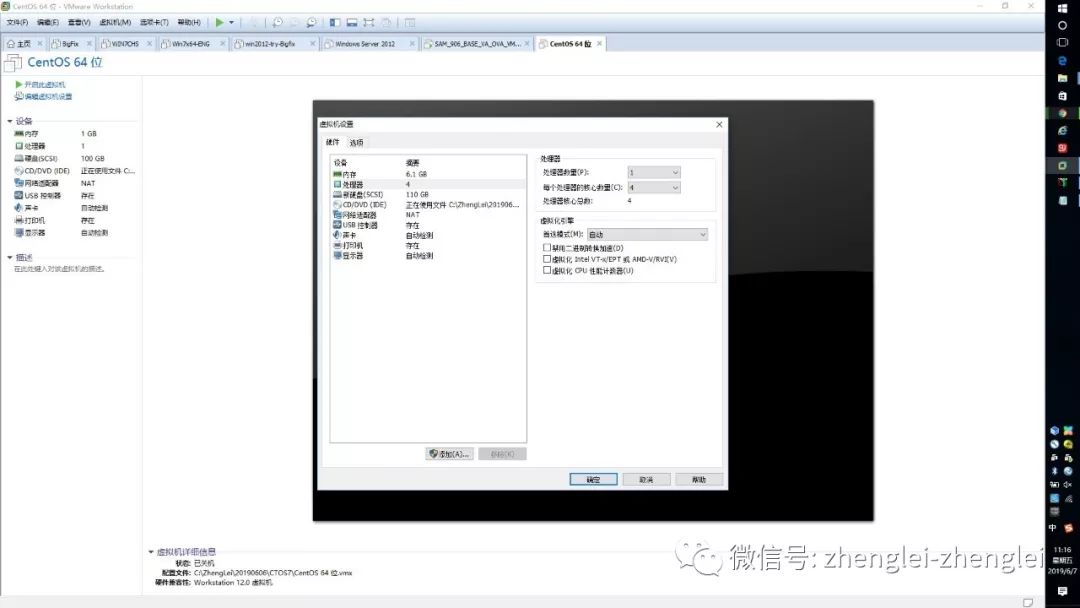
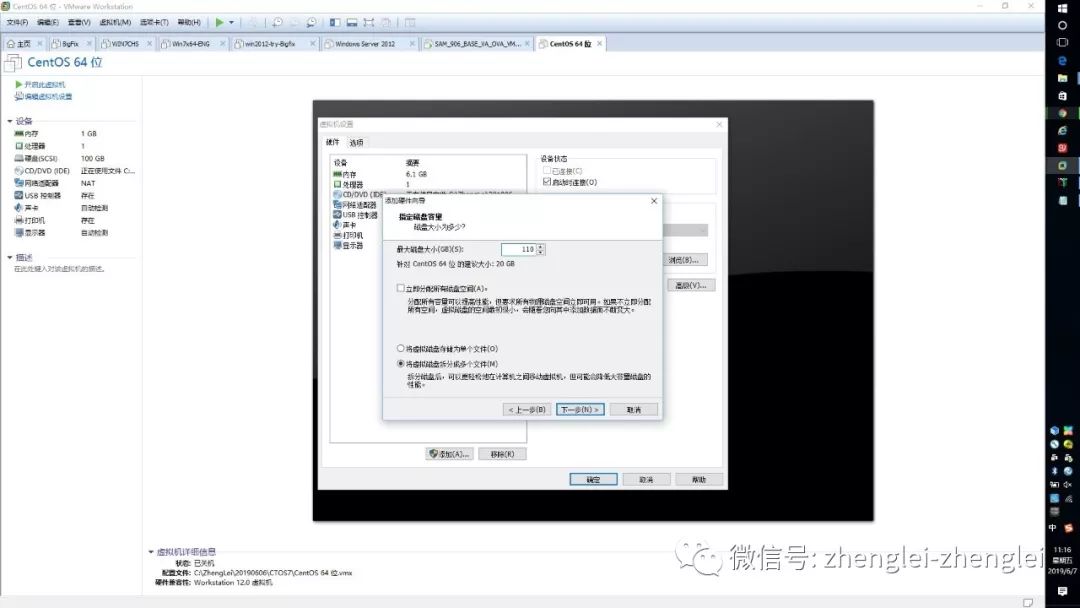
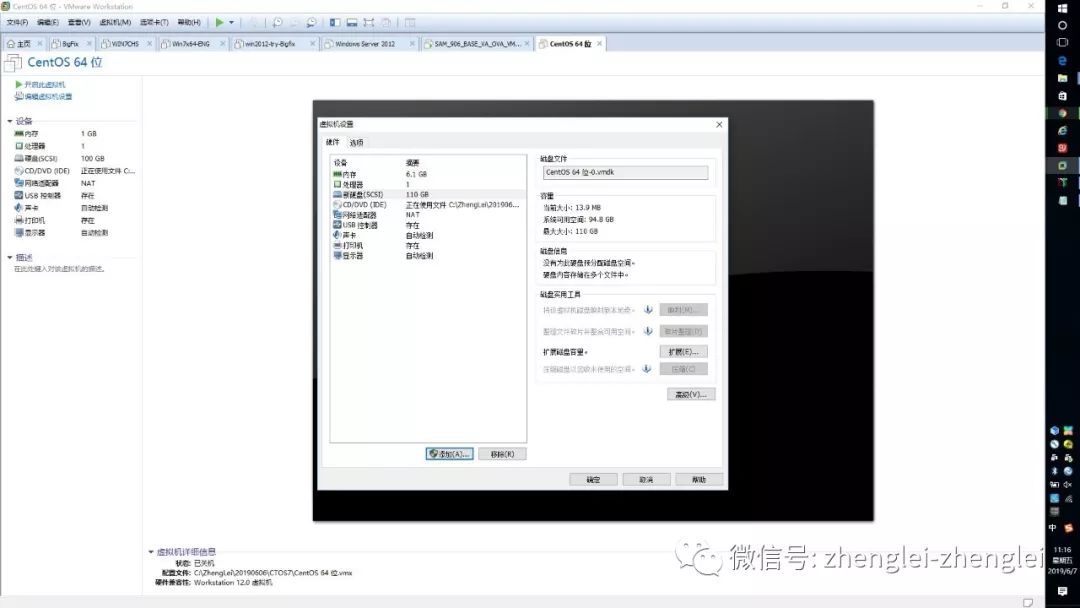
6G 内存 110G磁盘, 开机

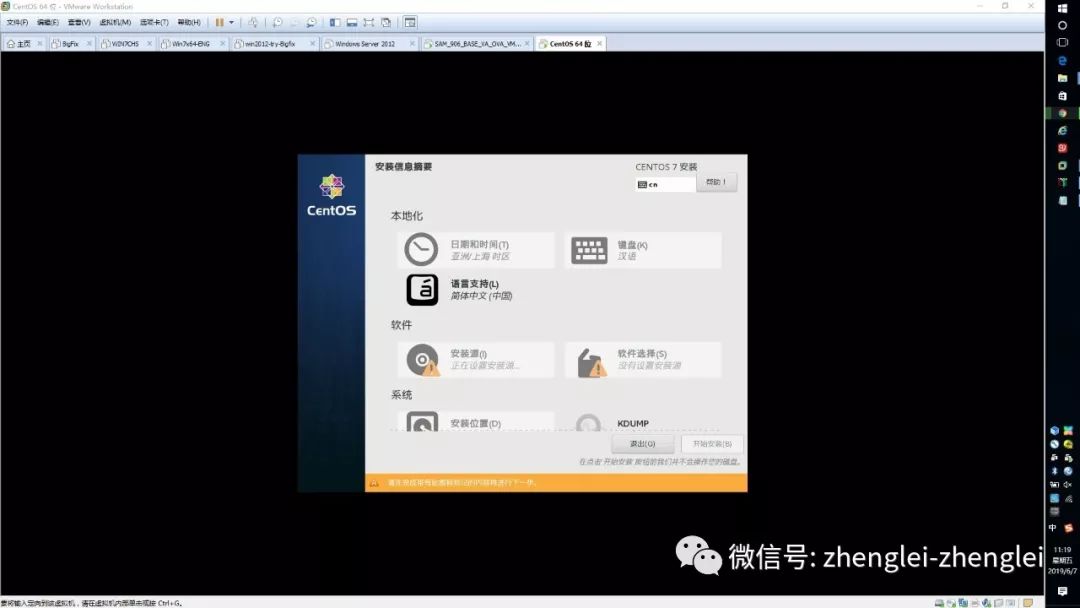
选择,我要分区

最小化安装吧,这个iso就是这么小


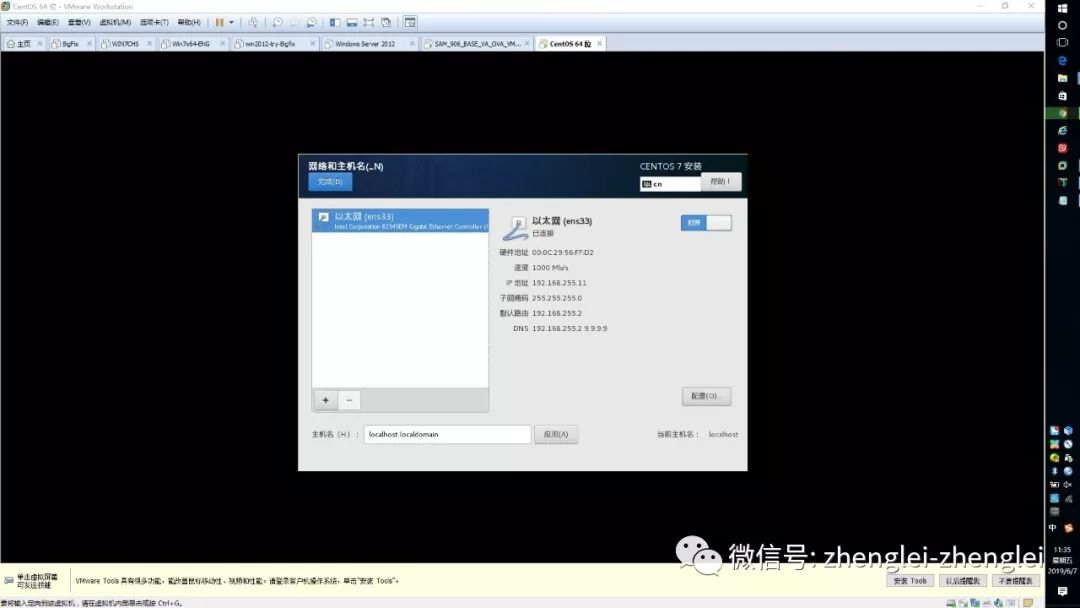
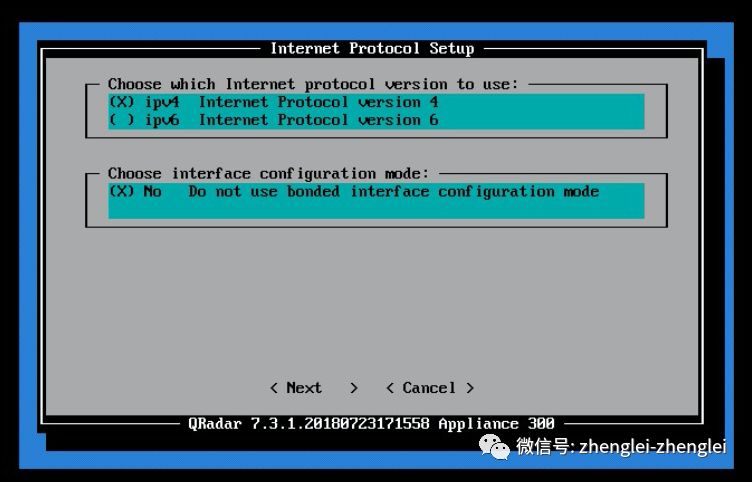
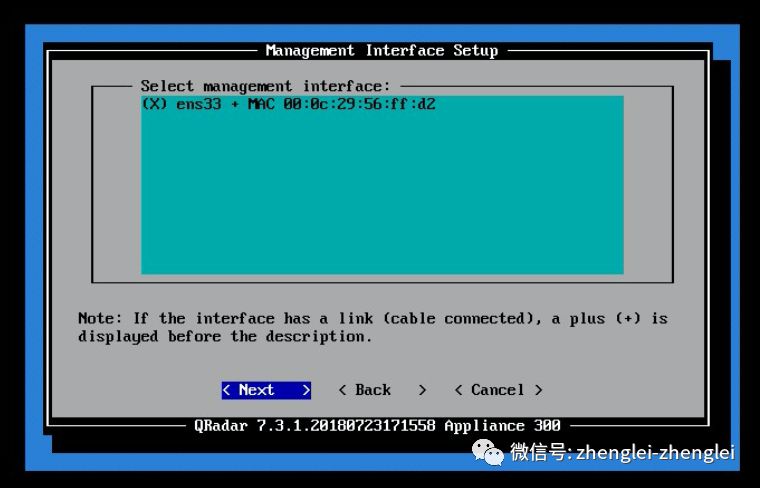
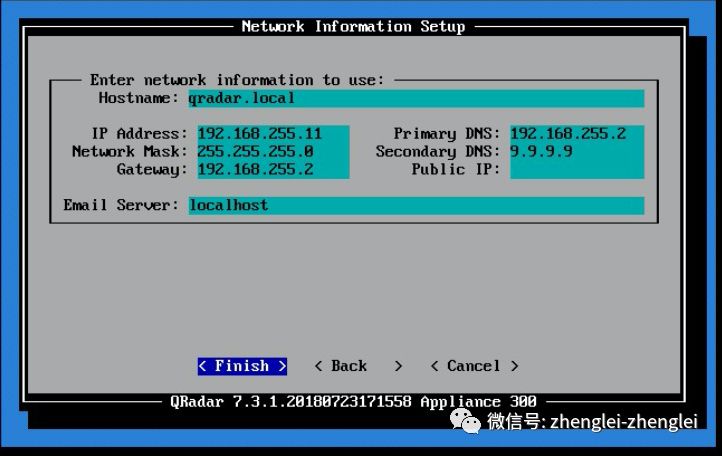
配置网络
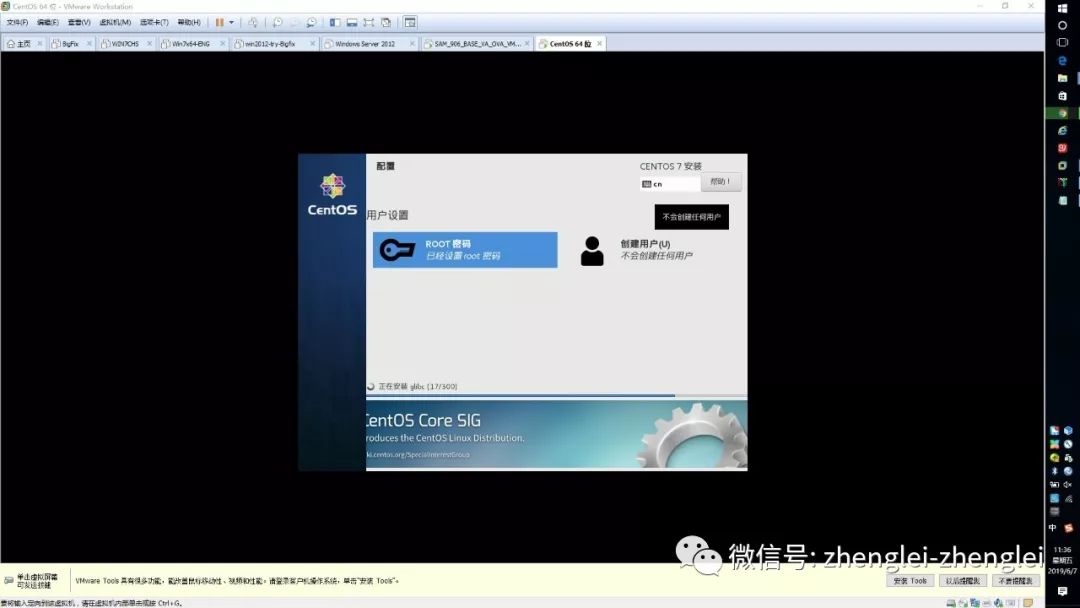
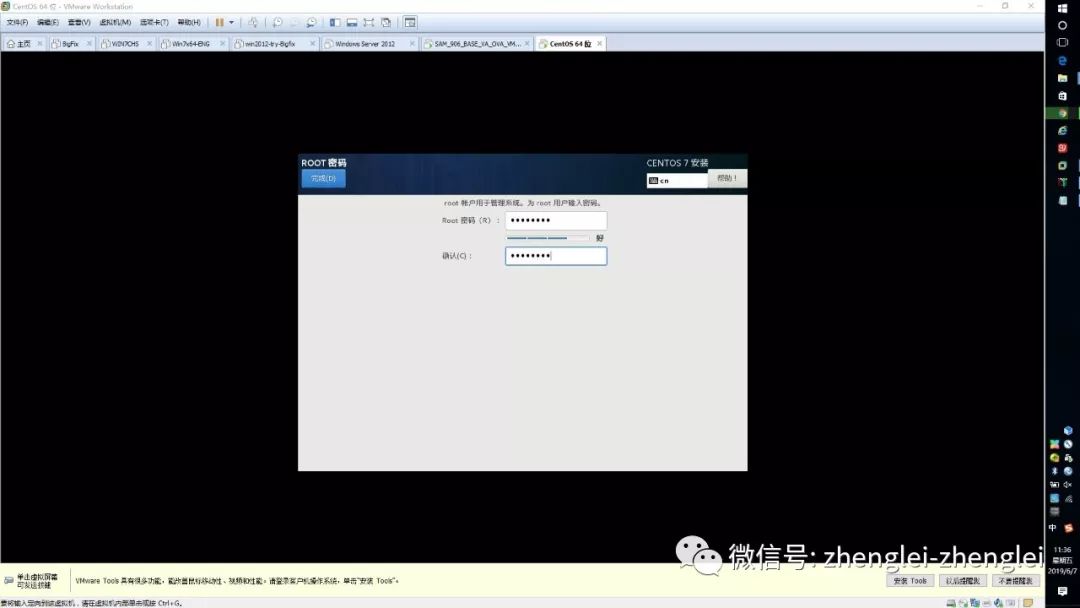
记得你的root密码,忘了别问我哦。
安装完,会自动重启。
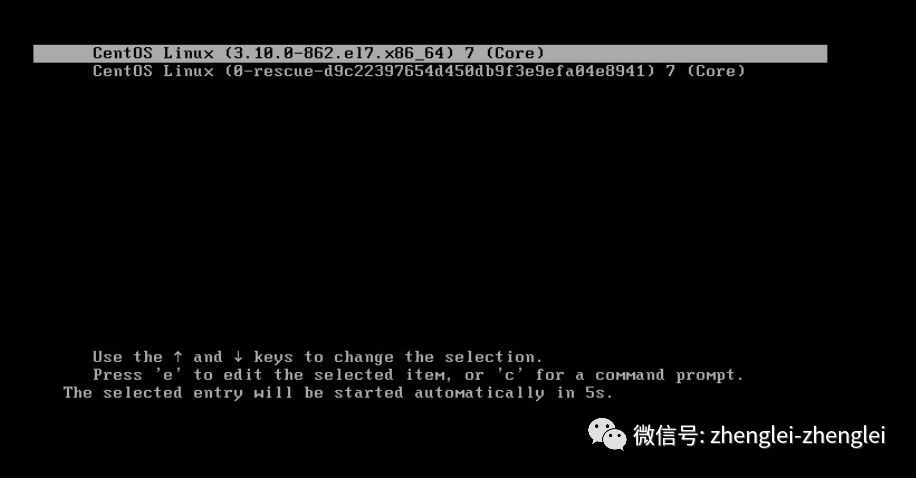
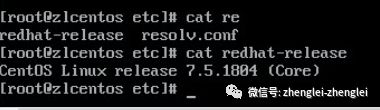
登陆系统,查看一下你的os 版本。
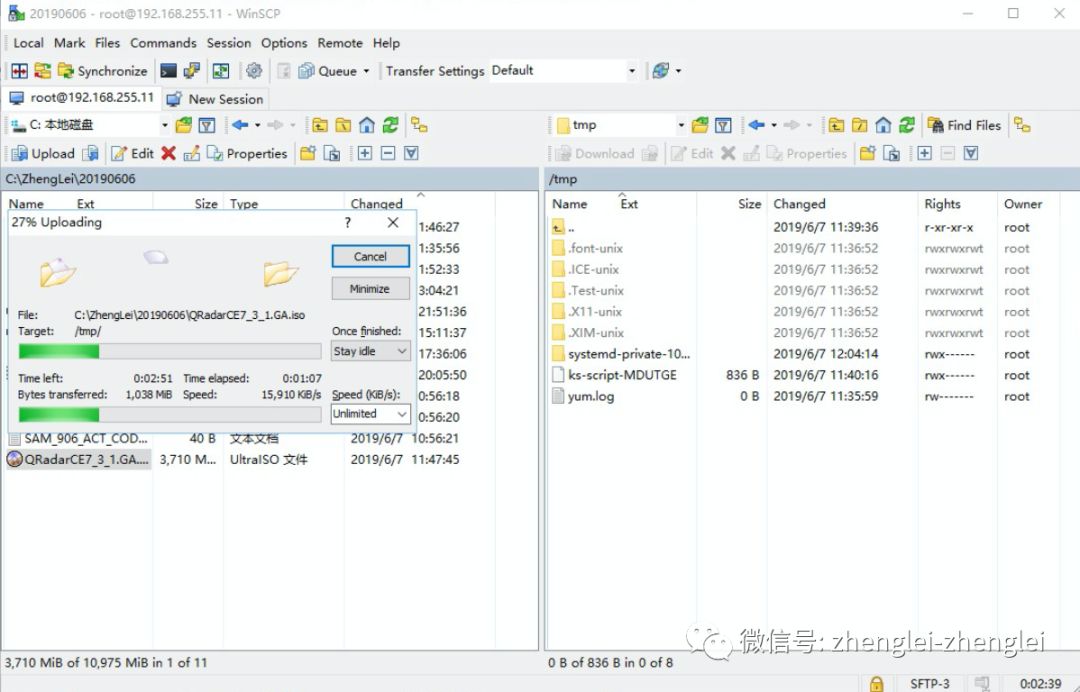
用工具例如winscp上传 Qradar CE 安装介质。

其实,如果您用的不是CentOs 也行哦,有个RedHat的指南地址如下:
https://developer.ibm.com/answers/questions/477564/qradar-ce-731-installation-guide-on-rhel-server-75-1/
提醒一下,这里需要修改OS设置,建议主机名也修改一下。
echo "net.ipv6.conf.all.disable_ipv6 = 1" >>/etc/sysctl.conf
sed -i 's/SELINUX=enforcing/SELINUX=disabled/g'/etc/selinux/config
hostnamectl set-hostname qradar.local
需要注意的是,如果是CentOS 7.5版本,这里别upgrade,万一你升级了也,也别恨自己,我有个好办法来帮你。修改一个配置文件就行。
mkdir /tmp/qradar-7.6cp -R /media/cdrom/* /tmp/qradar-7.6sed -i 's/release 7.5/release 7.6/g' /tmp/qradar-7.6/inc/setup.funcs/tmp/qradar-7.6/setup
别问我怎么知道的,
yum update -y && yum -y upgrade
,都是眼泪。学费我替你交了。

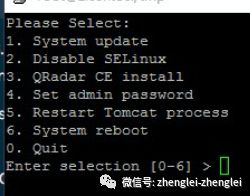
有位美国老师写了个install.sh的脚本,可以从网站下载。
https://github.com/josh-morin/qradar/blob/master/scripts/install.sh
1. Disable SELinux
2. QRadar CE install
3. Set admin password
4. Restart Tomcat process
5. System reboot
0. Quit
有六个功能,我看最新版取消了升级功能,可能是怕大家升级了出问题。
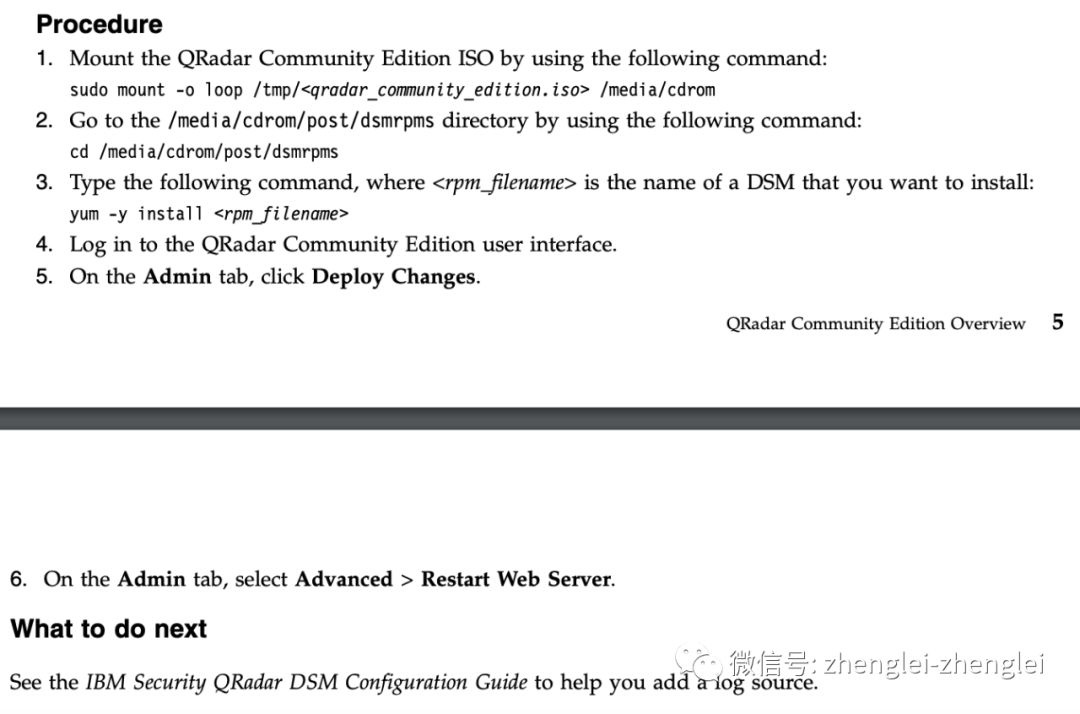
当然您也可以手动安装,看你的光盘mount的地址咯。
mkdir /media/cdrom
mount -o loop /tmp/QRadarCE7_3_1.GA.iso /media/cdrom
/media/cdrom/setup or 你修改过的 7.6目录。
/tmp/qradar-7.6/setup
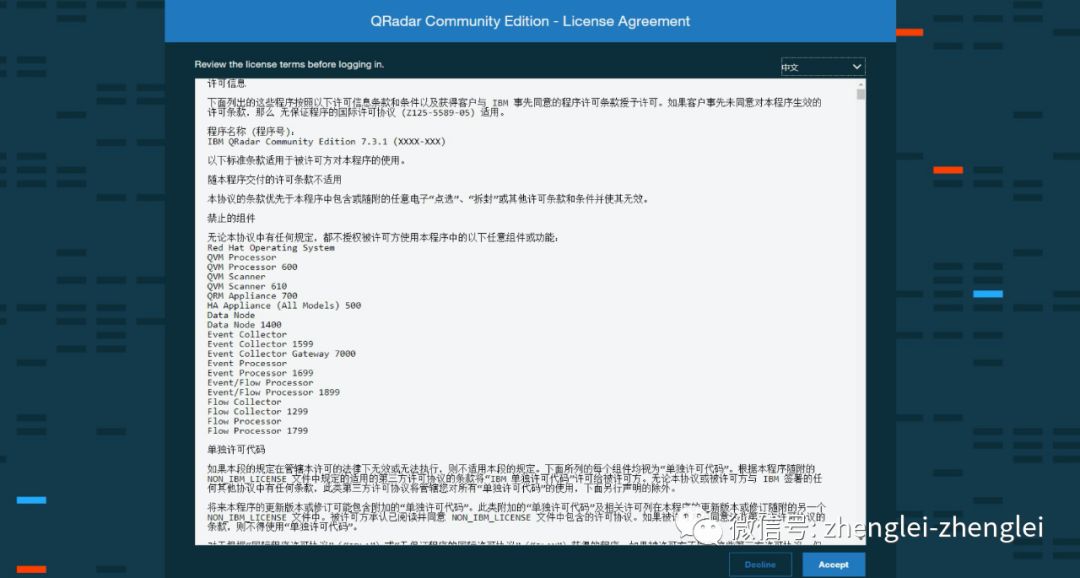
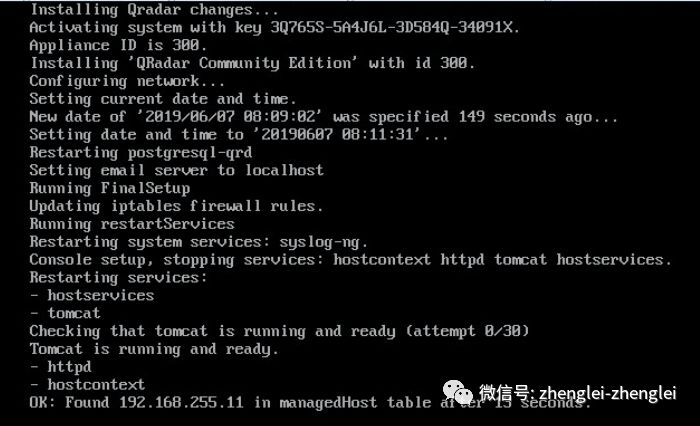
接受许可协议

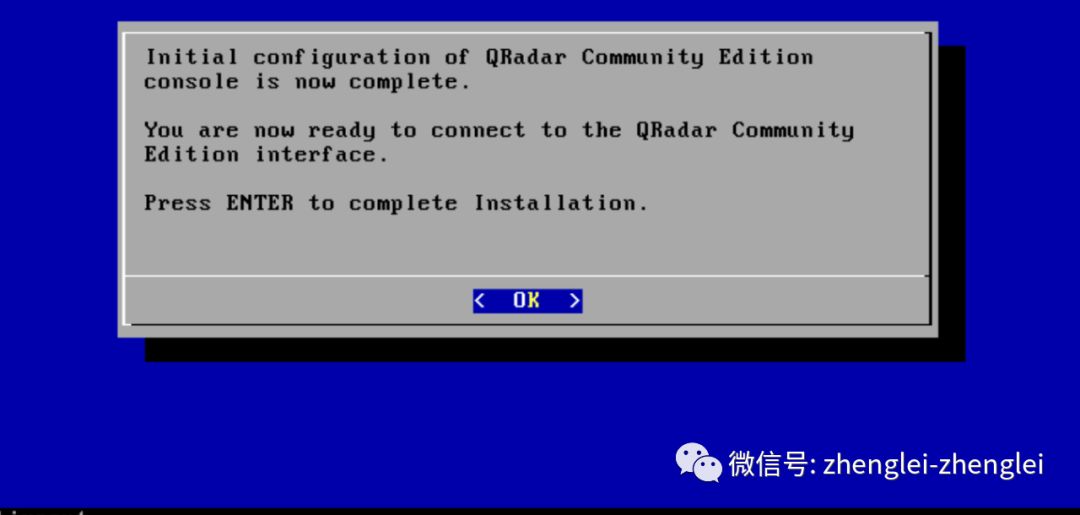
记得修改Password和重启服务。
/opt/qradar/support/changePasswd.sh -asystemctl restart tomcat.service
打开网页登陆吧


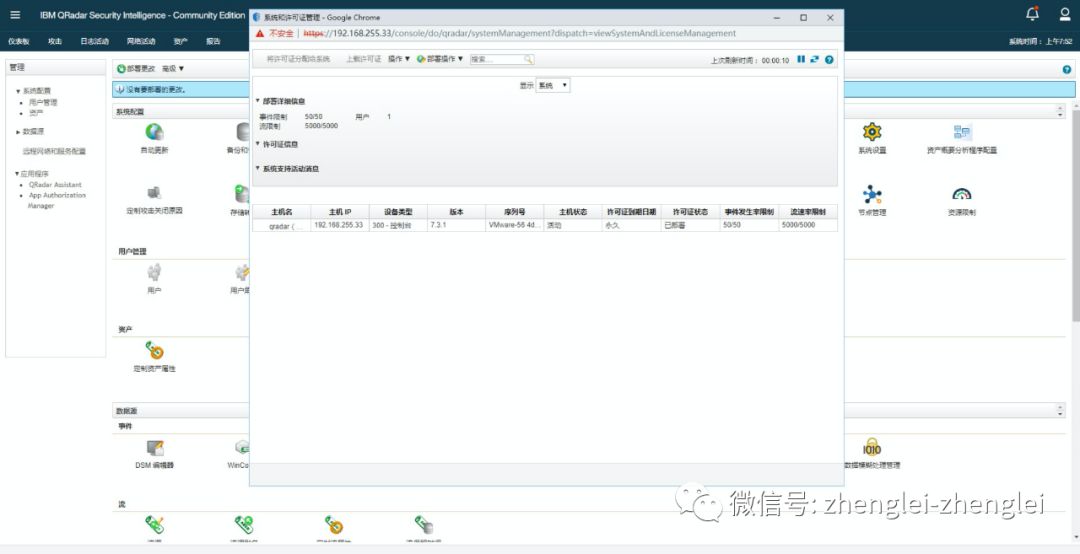
新安装的没数据
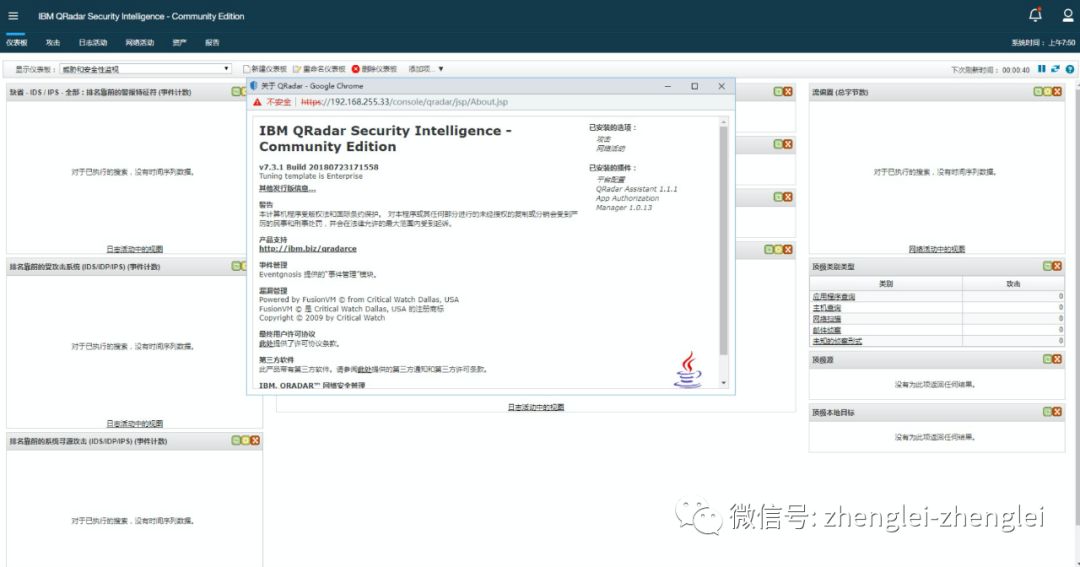
默认给50license
这里讲一个细节,实际使用肯定会改IP地址的,Q产品需要一个工具来改。
qchange_netsetup 执行这条命令

最后,补充一点,Q CE版本默认不带win collect 模块,需要自己下载
"Microsoft Windows Security Event Log", link 如下:
https://www-945.ibm.com/support/fixcentral
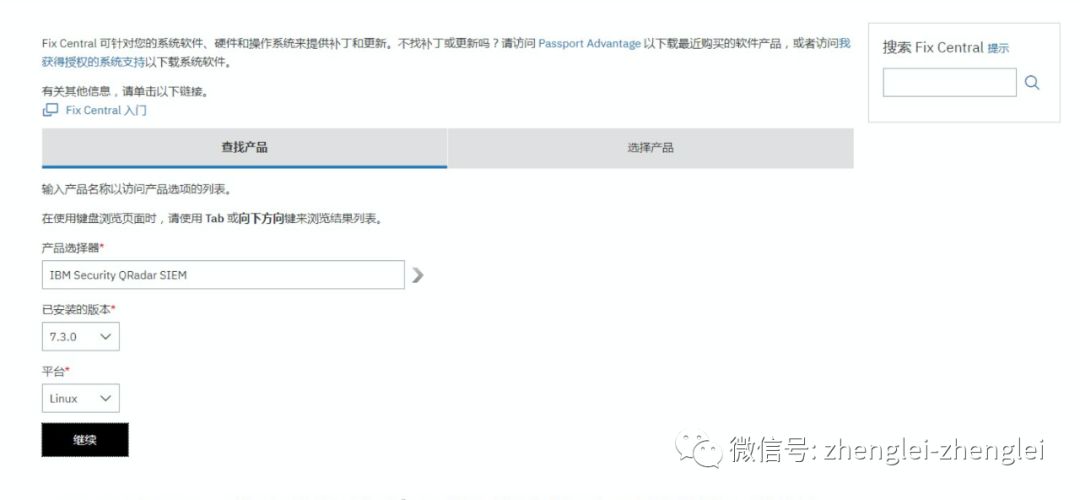
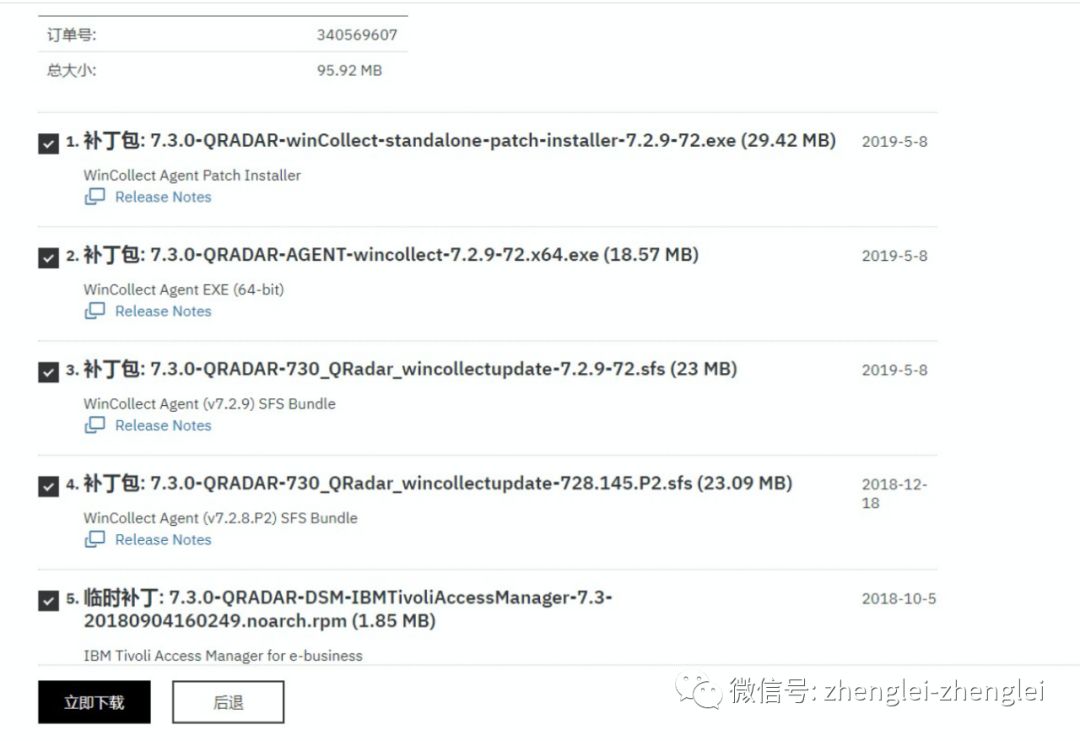
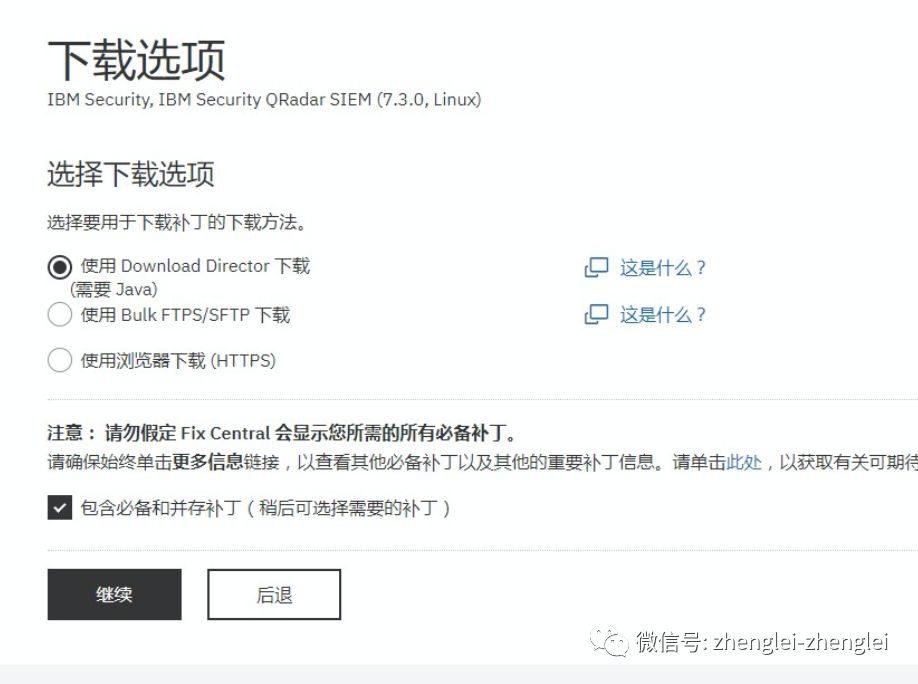
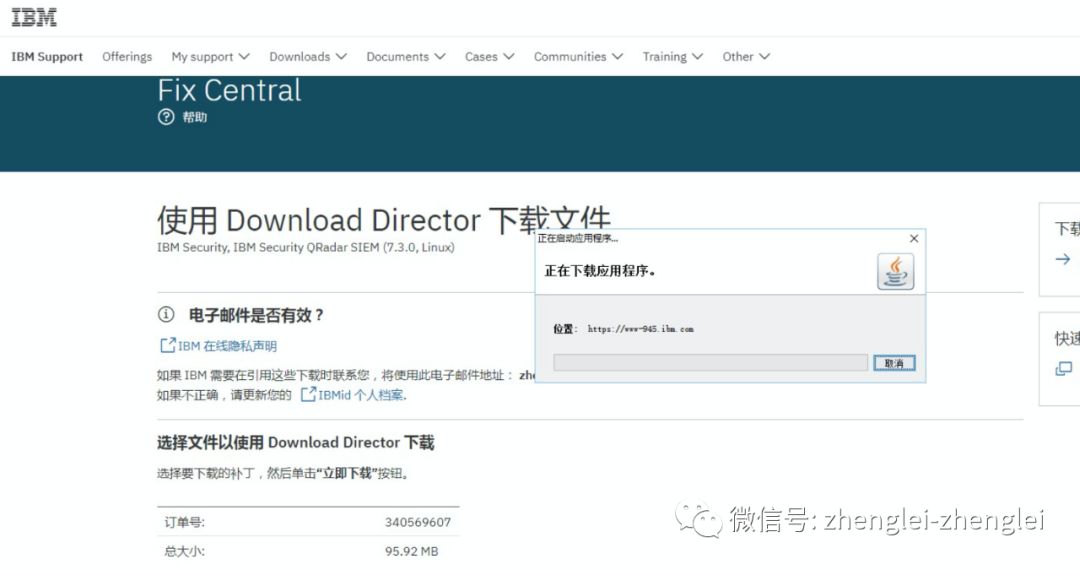
这里推荐用Java下载器进行下载。

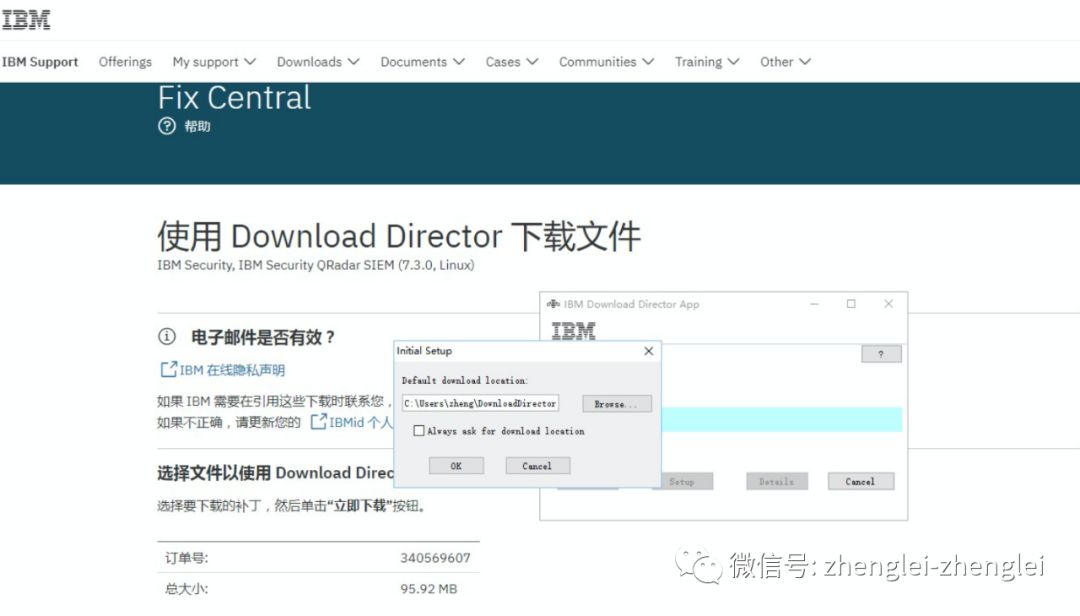
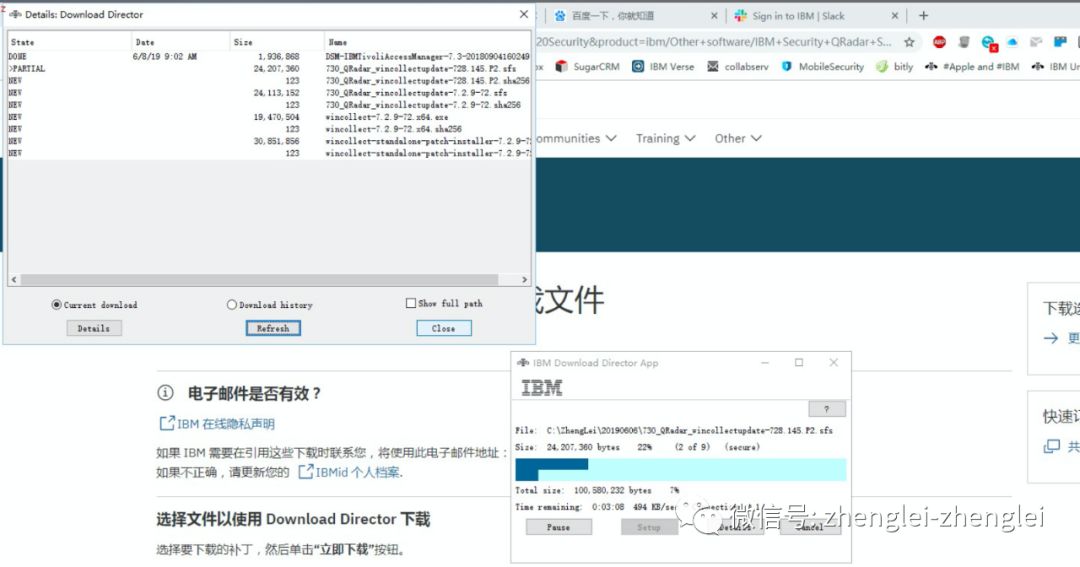
上传到tmp目录,执行,
mkdir -p /media/updates
cd /tmp
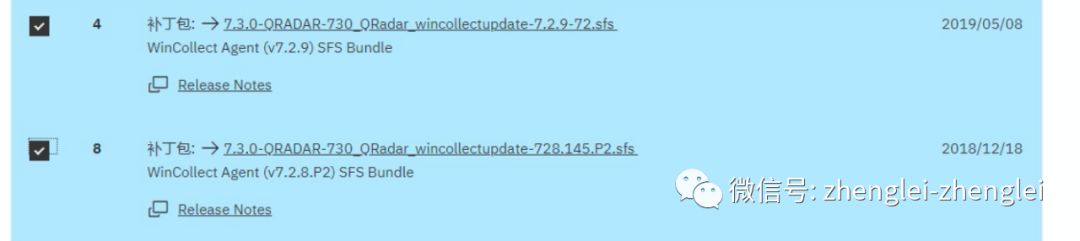
mount -o loop -t squashfs 730_QRadar_wincollectupdate-7.3.0.106.sfs /media/updates
/media/updates/installer
记得要去admin页面进行部署。

Windows下面的安装和配置win collect 我就不介绍了。有国外网站参考。
https://samsclass.info/50/proj/p5xQR.htm
官方文档:
https://www.ibm.com/support/knowledgecenter/en/SSKMKU/com.ibm.wincollect.doc/t_ug_wincollect_install_wincollect_agent.html
https://www.ibm.com/support/knowledgecenter/en/SSKMKU/com.ibm.wincollect.doc/b_wincollect.pdf
其实官方培训课程也不错
https://www.securitylearningacademy.com/mod/url/view.php?id=12623
最后,写完了CE的安装教程,虽然免费,但是。。希望可以帮助到大家。
祝好!


 被折叠的 条评论
为什么被折叠?
被折叠的 条评论
为什么被折叠?
 到【灌水乐园】发言


