


Grafika是一个PHP图像处理库,是基于Imagick和GD,可以用于改变图片大小,剪裁,比较,添加水印等等功能。还有感知哈希,高级图像过滤,绘制贝塞尔曲线等功能,可谓非常强大。
由于功能太多,所以分成几篇文章写。
优点:
缩略图的速度非常快,质量非常高
支持智能剪裁
很好的支持GIF图片
5种缩略图模式
图像对比功能
图像高级过滤功能
图像混合
其他图像处理库支持的API基本都支持
安装
下载
1、直接下载:
2、composer:
composer require kosinix/grafika:dev-master --prefer-dist
环境需求
PHP >= 5.3,当然官方推荐php7
GD库 >= 2.0版本
Imagick最好(不强求)>=3.3.0 , ImageMagick >= 6.5.3
部署
下载下来的Grafika目录基本结构像下面这样:

不过composer下载下来的多一点儿,你只需要使用kosinix/grafika目录下的东西就好了。
我们在grafika目录下建立一个index.php,之后的操作都在这里。
grafika给我们提供了一个非常好用的autoloader.php位于src目录下。
在index.php中引入它,(说明下,以下示例都需要引入这个autoloader.php文件,我们默认省略),下面就可以直接开发了。
require_once 'src/autoloader.php';
创建Editors
1、createEditor
grafika通过静态方法createEditor来创建一个editor。它包含所有的图片处理方法。
由于,grafika是基于Imagick和GD库,所以使用createEditor方法会根据当前情况,自动选择所需要的图片处理库。(推荐使用)
use Grafika\Grafika; // Import package
$editor = Grafika::createEditor(); // Create the best available editor
2、Imagick Editor
当然你也可以直接使用Imagick类库。
use Grafika\Imagick\Editor; // Import package
$editor = new Editor(); // Imagick editor
注意:有些情况可能不支持该类库,你需要使用下面语句检查后使用,(不过你最好直接使用方法1,就没这些事)
use Grafika\Imagick\Editor; // Import package
$editor = new Editor(); // Imagick editor
if( $editor->isAvailable() ) { // Safety check
// Your code here
}
3、GD Editor
你也可以直接使用GD库,也有些情况可能不支持,记得检查
use Grafika\Gd\Editor; // Import package
$editor = new Editor(); // Gd editor
if( $editor->isAvailable() ) { // Safety check
// Your code here
}
创建图像
grafika允许你使用4种方式创建一个待处理的图像
1、直接打开图像
创建editor + open方法
use Grafika\Grafika;
$editor = Grafika::createEditor();
$editor->open( $image, 'path/to/image.jpg');
2、使用静态方法打开图片
使用直接打开、创建图片
use Grafika\Grafika;
$image = Grafika::createImage('path/to/image.jpg');
// 这里省略了$editor = Grafika::createEditor();
3、创建一个空白的画布
新建一个画布作为新图像
use Grafika\Grafika;
$image = Grafika::createBlankImage(100,100);
4、从已有图片拷贝一个
拷贝一个图像作为图像处理
$copy = clone $image;
这种方法你要保证之前有一张图片
这几种方法之后的操作大同小异,我们只选择第一种常规方法作为讲解示例
图片缩略图
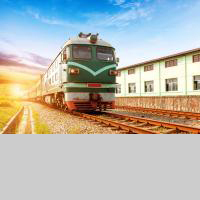
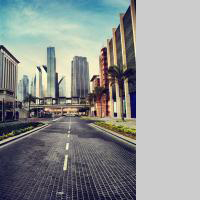
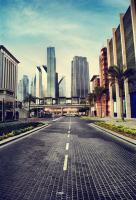
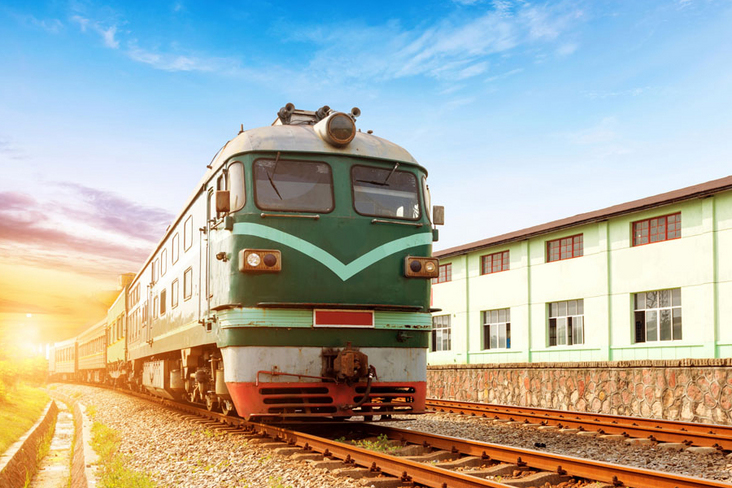
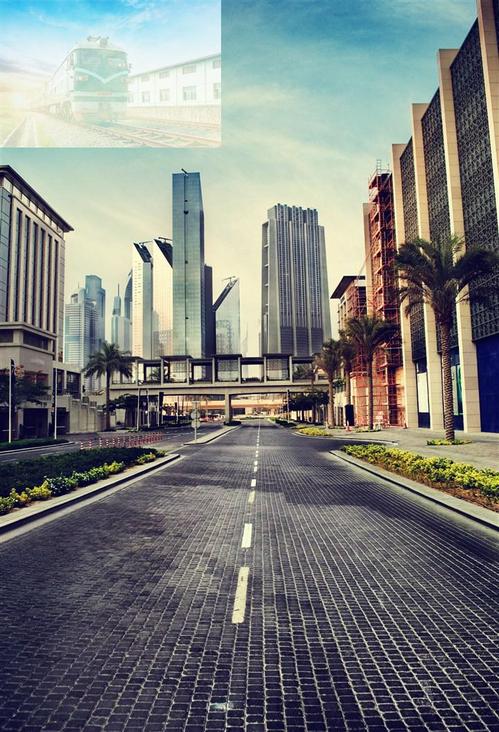
我们先准备一个原图

接下来,假设我们要创建的缩略图长:200px宽200px
1、Resize Fit
等比例缩放类型。那么就保证图片较长的一边不超过200px,等比缩放,缩放后不填充背景。
use Grafika\Grafika;
$editor = Grafika::createEditor();
$editor->open($image1 , 'yanying.jpg'); // 打开yanying.jpg并且存放到$image1
$editor->resizeFit($image1 , 200 , 200);
$editor->save($image1 , 'yanying1.jpg');
$editor->open($image2 , 'yanying-h.jpg'); // 打开yanying.jpg并且存放到$image2
$editor->resizeFit($image2 , 200 , 200);
$editor->save($image2 , 'yanying2.jpg');
当然不要忘了第一行的require
2、Resize Exact
固定尺寸缩放类型。就是不管图片长宽比,全部缩小到200px,可能导致图片变形。
use Grafika\Grafika;
$editor = Grafika::createEditor();
$editor->open($image1 , 'yanying.jpg'); // 打开yanying.jpg并且存放到$image1
$editor->resizeExact($image1 , 200 , 200);
$editor->save($image1 , 'yanying1.jpg');
$editor->open($image2 , 'yanying-h.jpg'); // 打开yanying.jpg并且存放到$image2
$editor->resizeExact($image2 , 200 , 200);
$editor->save($image2 , 'yanying2.jpg');


3、Resize Fill
居中剪裁。就是把较短的变缩放到200px,然后将长边的大于200px的部分居中剪裁掉,图片不会变形。
use Grafika\Grafika;
$editor = Grafika::createEditor();
$editor->open($image1 , 'yanying.jpg'); // 打开yanying.jpg并且存放到$image1
$editor->resizeFill($image1 , 200,200);
$editor->save($image1 , 'yanying1.jpg');
$editor->open($image2 , 'yanying-h.jpg'); // 打开yanying.jpg并且存放到$image2
$editor->resizeFill($image2 , 200,200);
$editor->save($image2 , 'yanying2.jpg');
4、Resize Exact Width
等宽缩放。和第一种功能相似,最终宽为200px,等比缩放,高度不管。
use Grafika\Grafika;
$editor = Grafika::createEditor();
$editor->open($image1 , 'yanying.jpg'); // 打开yanying.jpg并且存放到$image1
$editor->resizeExactWidth($image1 , 200);
$editor->save($image1 , 'yanying1.jpg');
$editor->open($image2 , 'yanying-h.jpg'); // 打开yanying.jpg并且存放到$image2
$editor->resizeExactWidth($image2 , 200);
$editor->save($image2 , 'yanying2.jpg');


5、Resize Exact Height
等高缩放。最终高为200px,等比缩放,不考虑图片宽度。

图像对比功能
1、图片相似度对比
我们首先准备一张基本图,用来和其他图片对比。(segmentfault网页图片可能处理过,直接使用本文图片可能结果不一致)
1、我们第一次使用一张灰度图片来比较
use Grafika\Grafika;
$editor = Grafika::createEditor();
$result = $editor->compare('yanying.jpg' , 'yanying_grey.jpg');
var_dump($result); // int 2
说明: grafika图片对比方法compare返回一个数字,其中如果数字越接近于0,那么表示图片越相似。如果数字在0-10范围内,那么图片都可能相似。但是如果数字大于10,那么,可能就完全不同。
这里返回2,说明相似度还是非常高的。
2、我们再用一张缩小的图片来测试,记住都是和第一张基本图比较。
use Grafika\Grafika;
$editor = Grafika::createEditor();
$result = $editor->compare('yanying.jpg' , 'yanying-smaller.jpg');
var_dump($result); // int 0
这里结果返回0,相似度非常高。
3、我们再用一张剪裁下来的局部图片测试
use Grafika\Grafika;
$editor = Grafika::createEditor();
$result = $editor->compare('yanying.jpg' , 'yanying-half.jpg');
var_dump($result); // int 20
结果超过10了,相似度不怎么高
4、我们再用一张完全不同的图片测试

use Grafika\Grafika;
$editor = Grafika::createEditor();
$result = $editor->compare('yanying.jpg' , 'yanying-h.jpg');
var_dump($result); // int 39
结果39,越来越大,越来越不像
2、比较图片是否相同
grafika提供方法equal来检查两张图片是否完全相同。这里的检查是一个像素一个像素的检测,所以时间可能会较长。
当然grafika也会预检查,如果两张图片大小不相同,则直接返回false。只有其他都相同后才会进行逐像素检查。
我们这里对比之前创建的一张缩略图,因为大小不一致,所以直接返回false
use Grafika\Grafika;
$editor = Grafika::createEditor();
$result = $editor->equal('yanying.jpg' , 'yanying-smaller.jpg');
var_dump($result); // boolean false
智能剪裁
智能剪裁是自动识别图像中的重要部分,剪裁时候偏向于保留重点部分。
不过grafika也提供了人为操控位置剪裁,我们先说这个。
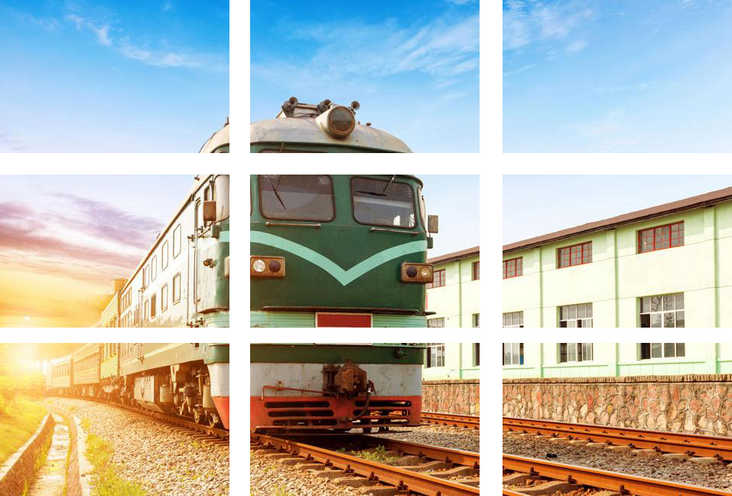
基本位置剪裁
基本位置剪裁包含9个位置
top-left
top-center
top-right
center-left
center
center-right
bottom-left
bottom-center
bottom-right
我们这里一起说了,这里我们使用900*600的图片,分成9块
use Grafika\Grafika;
$editor = Grafika::createEditor();
$src = 'yanying.jpg';
$editor->open( $image, $src );
$editor->crop( $image, 300, 200, 'top-left' );
$editor->save( $image, 'result1.jpg' );
$editor->free( $image );
$editor->open( $image, $src );
$editor->crop( $image, 300, 200, 'top-center' );
$editor->save( $image, 'result2.jpg' );
$editor->free( $image );
$editor->open( $image, $src );
$editor->crop( $image, 300, 200, 'top-right' );
$editor->save( $image, 'result3.jpg' );
$editor->free( $image );
$editor->open( $image, $src );
$editor->crop( $image, 300, 200, 'center-left' );
$editor->save( $image, 'result4.jpg' );
$editor->free( $image );
$editor->open( $image, $src );
$editor->crop( $image, 300, 200, 'center' );
$editor->save( $image, 'result5.jpg' );
$editor->free( $image );
$editor->open( $image, $src );
$editor->crop( $image, 300, 200, 'center-right' );
$editor->save( $image, 'result6.jpg' );
$editor->free( $image );
$editor->open( $image, $src );
$editor->crop( $image, 300, 200, 'bottom-left' );
$editor->save( $image, 'result7.jpg' );
$editor->free( $image );
$editor->open( $image, $src );
$editor->crop( $image, 300, 200, 'bottom-center' );
$editor->save( $image, 'result8.jpg' );
$editor->free( $image );
$editor->open( $image, $src );
$editor->crop( $image, 300, 200, 'bottom-right' );
$editor->save( $image, 'result9.jpg' );
$editor->free( $image );
看下结果
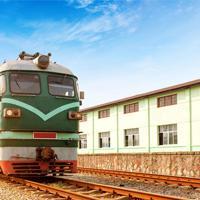
智能剪裁
原图
我们使用智能剪裁将图片剪裁至200*200px
use Grafika\Grafika;
$editor = Grafika::createEditor();
$editor->open( $image, 'yanying-smaller.jpg' );
$editor->crop( $image, 200, 200, 'smart' );
$editor->save( $image, 'yanying-smart.jpg' );
发现还是可以突出重点的
GIF缩略图
压缩GIF,不丢失动画
grafika可以直接压缩GIF图片,并且不丢失动画功能。

use Grafika\Grafika;
$editor = Grafika::createEditor();
$editor->open( $image, 'sample.gif' );
$editor->resizeFit( $image, 250, 128 );
$editor->save( $image, 'output.gif' );
我们这里将原图压缩到原来的一半,发现动画并没有丢失
移除GIF动画效果
当然,如果有需要,我们也可以直接移除GIF的动画效果
use Grafika\Grafika;
$editor = Grafika::createEditor();
$editor->open( $image, 'sample.gif' );
$editor->flatten( $image );
$editor->save( $image, 'output-no-animation.gif' );
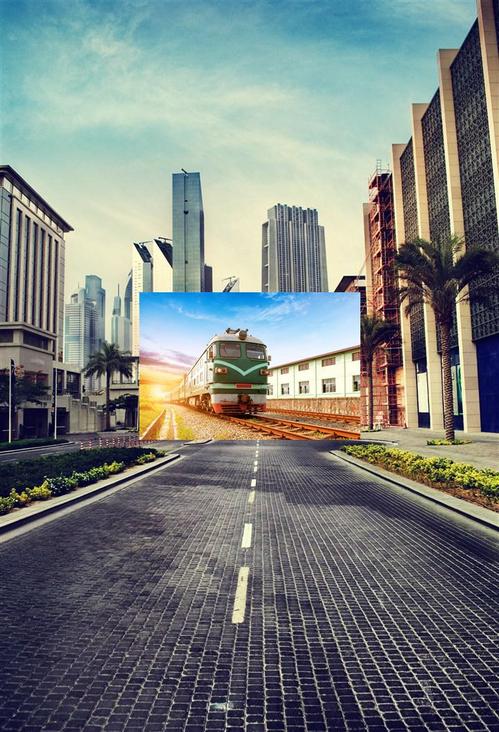
图片合并
图片合并需要2张图片,将其中一张作为基本图,准备的第二章图片就是放置在基础图片之上。
我们首先来看代码
use Grafika\Grafika;
$editor = Grafika::createEditor();
$editor->open($image1 , 'yanying-h.jpg');
$editor->open($image2 , 'yanying-smaller.jpg');
$editor->blend ( $image1, $image2 , 'normal', 0.9, 'center');
$editor->save($image1,'333/yanying-blend.jpg');
解释一下
首先打开两张图片,其中$image1为基础图片,也就是放在下面的。重点在blend这个方法。
其中
第一个参数为基础图片
第二个参数为放置在基础图片之上的图片normal, multiply, overlay or screen.,这里的类型意思就是图片叠加的模式,下面会给出实例看每种的不同。
第三个参数为透明度,这个不说太多,容易想到。
第四个为位置,有10个选择,其中,前面9种为用户自定义拜访位置,而最后一个是智能拜访,由grafika来判断摆放在哪里好。top-left, top-center, top-right, center-left, center, center-right, bottom-left, bottom-center, bottom-right and smart
第五个参数为可选参数,表示图片2距离图片1左边的距离
第六个参数也为可选参数,表示图片2距离图片1上边的距离
我们试着摆几种情况。
1、normal
其中位置信息:center,透明度为0.9,也就是上面代码的那种
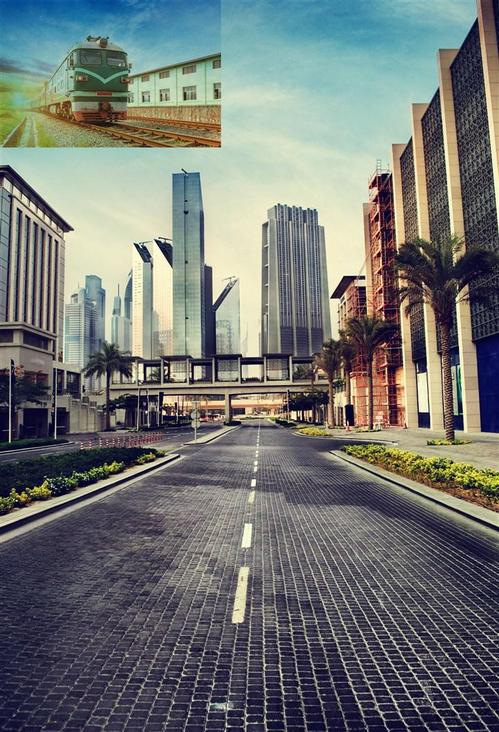
2、multiply
位置信息:,top-left,其他不变
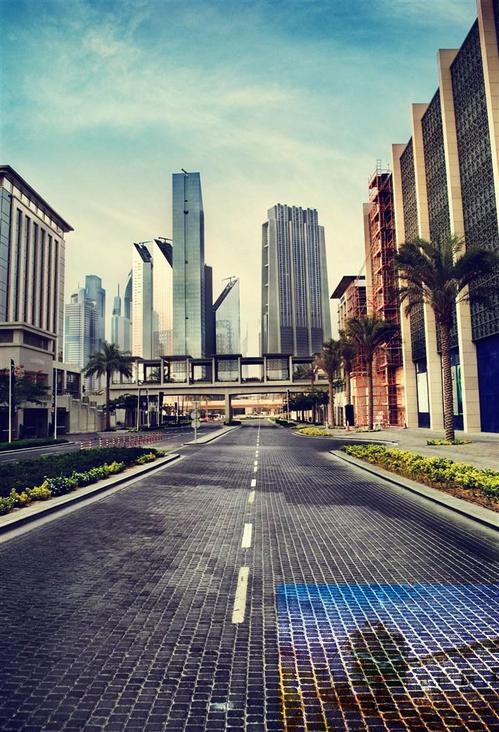
3、overlay
位置信息:bottom-right,其他不变
4、screen
位置信息:,最后一个位置参数不给,也就是默认top-left
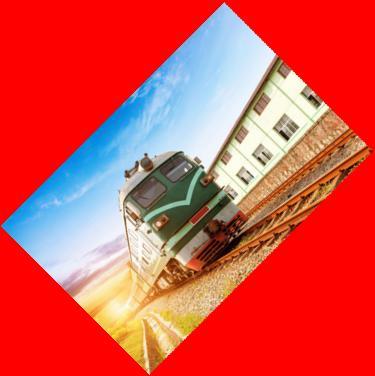
图像旋转
图像旋转比较简单,只需要给一个旋转角度参数就可以了,如果想要给背景填充个颜色,再给一个颜色参数即可。(默认不给背景色为黑色)
代码如下
use Grafika\Grafika;
use Grafika\Color;
$editor = Grafika::createEditor();
$editor->open($image , 'yanying-smaller.jpg');
$editor->rotate($image ,'45',new Color('#ff0000'));
$editor->save($image,'333/yanying-rotate.jpg');
最后一个背景颜色参数也是需要Color对象
图片写文字
在图片上面写文字的参数比较多,不过如果正常使用,只需要给前两个必填的即可,后面的参数都是可选的。
我们逐一的来看各个参数
image:所需要写文字的图片
text:需要写的文字
size:(选填)字体大小,默认为12px
x:(选填)文字的最左边距离图片最左边的距离,默认为0
y:(选填)文字的基线到图片的最上边的距离,默认是12px,也就是文字的高度。(基线你就当做文字最下面好了)
color:(选填)字体颜色,Color对象,需要new Color一下,默认为黑色。
font:(选填)字体的完整路径,默认Sans font.
angle:(选填)文字旋转角度,取值范围为0-359,默认为0,也就是不旋转
我们随便找个文字试试
use Grafika\Grafika;
use Grafika\Color;
$editor = Grafika::createEditor();
$editor->open($image , 'yanying-smaller.jpg');
$editor->text($image ,'yanying',30,200,100,new Color("#000000"),'',45);
$editor->save($image,'333/yanying-text.jpg');
看下效果。这里说明下,如果文字为中文,需要找一个支持中文的字体。默认字体不支持中文,所以你写中文,就是都是小方框。

严颖,PHP研发工程师
2016-11-07日晚
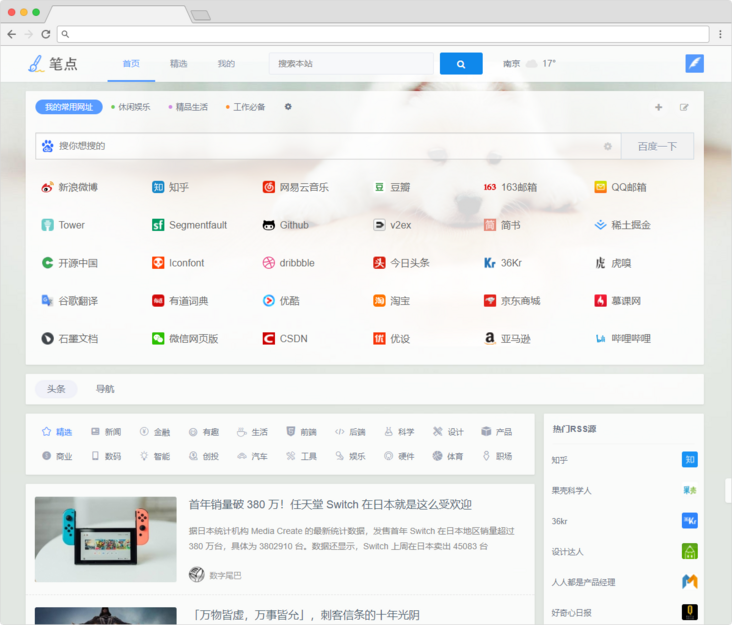
推荐一个我们团队自己开发的针对开发者的网址导航:笔点导航 - 用心做最简洁的网址导航
可以自定义网址
可以自定义分类
分类可以标记颜色
自定义皮肤
自定义搜索
网址拖拽排序
自定义插件小模块


 772
772


 被折叠的 条评论
为什么被折叠?
被折叠的 条评论
为什么被折叠?
 到【灌水乐园】发言


