


Spire.Cloud支持的Linux服务器系统包括CentOS和Ubuntu(推荐使用CentOS 7和Ubuntu 18版本),本教程主要介绍如何在CentOS 7系统上实现Spire.Cloud私有化部署。
详细步骤如下:
一、安装CentOS 7系统
首先,需要在服务器上安装CentOS 7系统,如果已安装,可跳过该步骤。
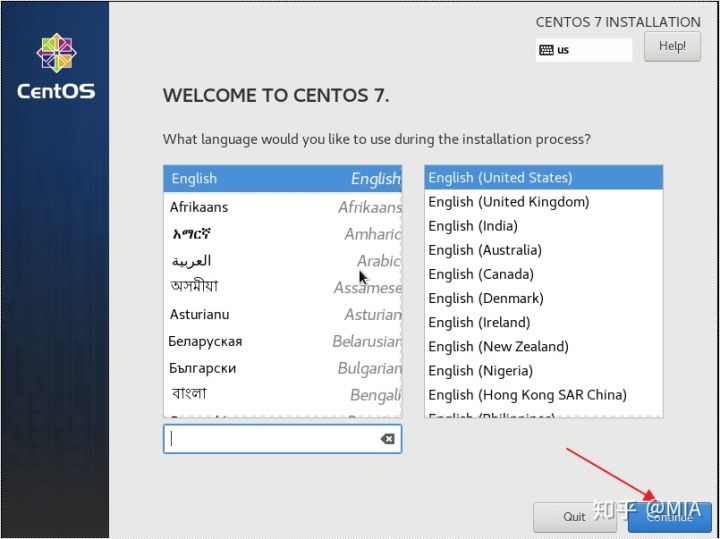
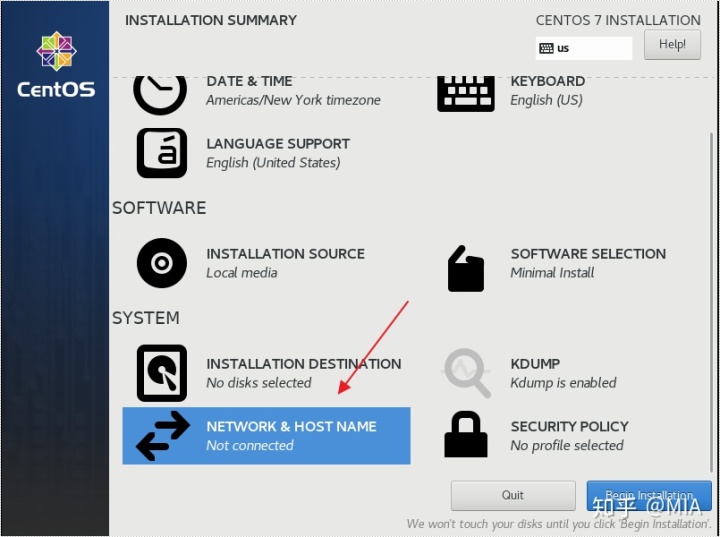
1、安装CentOS 7,进入以下界面,点击continue。
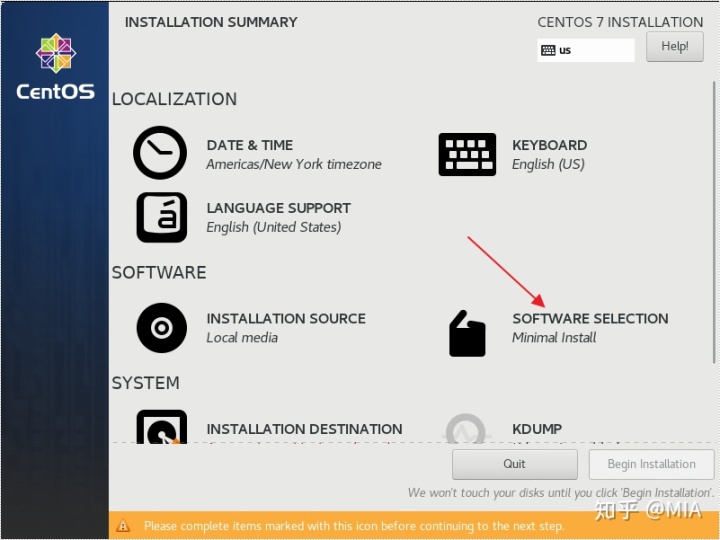
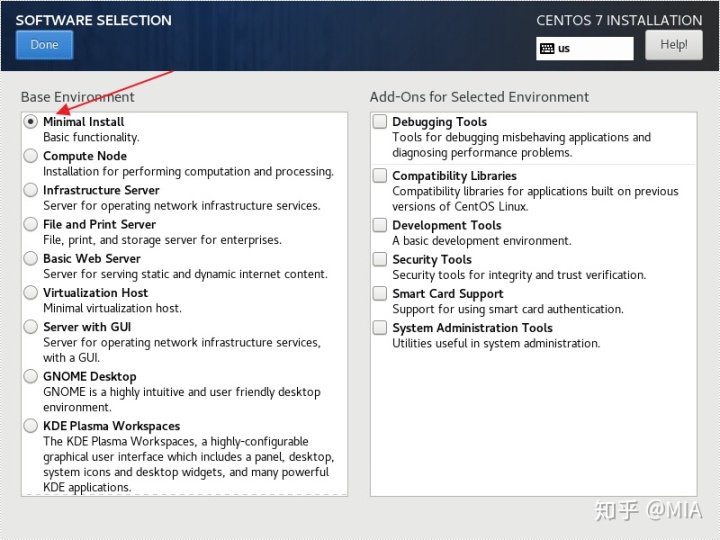
2、选择最小安装。
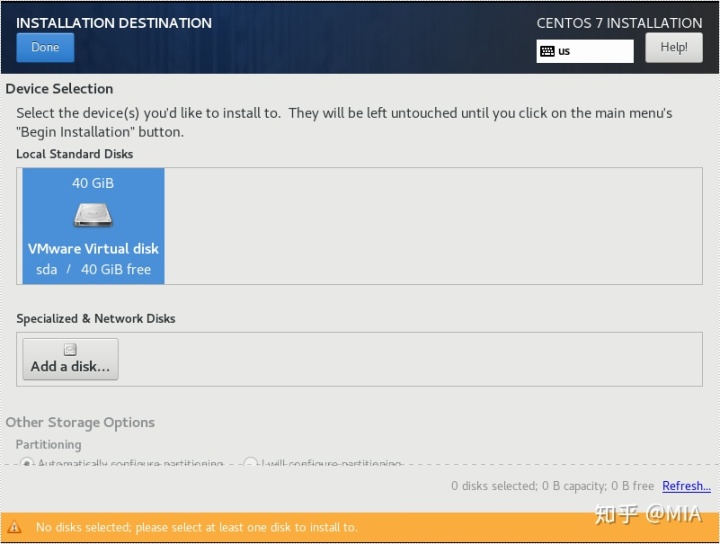
3、设置分区,选择默认设置即可。
4、开启网络。

5、配置完毕开始安装。

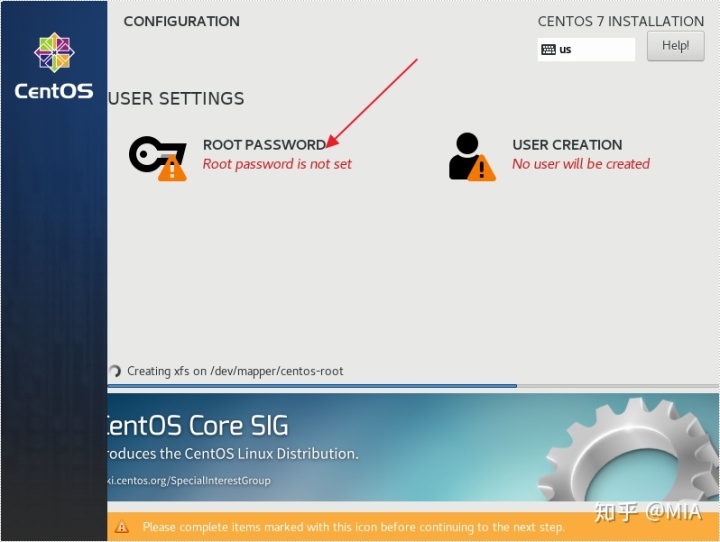
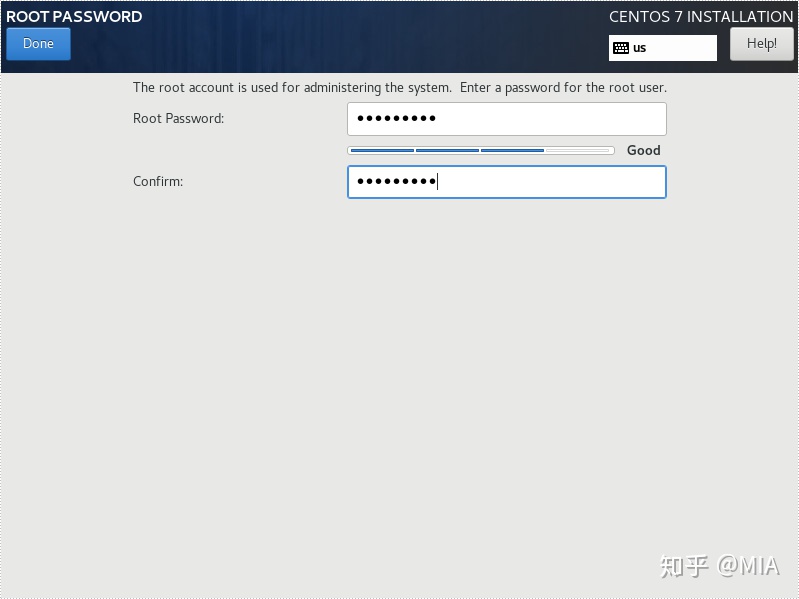
6、设置root账户密码。
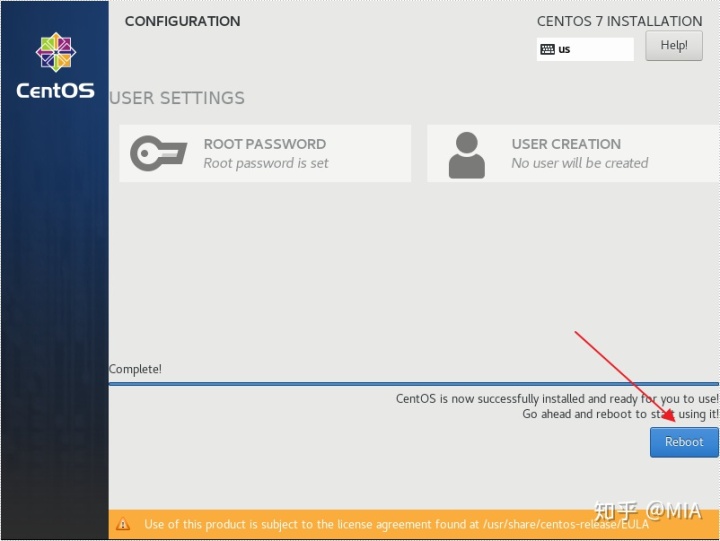
7、安装完毕后重启系统。
二、系统配置
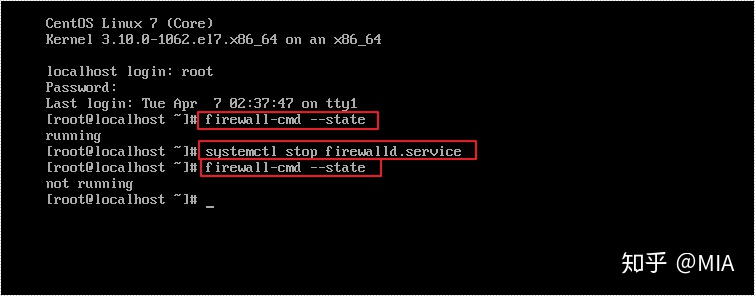
1、关闭防火墙。
1)首先查看防火墙的状态:
firewall-cmd –-state
2)关闭防火墙:
systemctl stop firewalld.service
3)再次查看状态,检查防火墙是否已经关闭:
firewall-cmd –-state
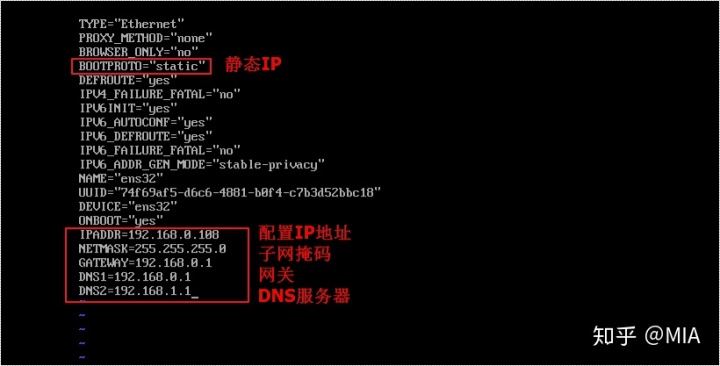
2、配置静态IP地址。
1)使用命令:vi /etc/sysconfig/network-scripts/ifcfg-ens32(需要查看确认此信息),打开配置文件。
按Insert键开始编辑,将bootproto的值改为static,并在末尾加上IP地址,子网掩码,网关和DNS服务器。编辑完之后按ESC键退出编辑,然后再按冒号(:)键,输入指令wq保存退出。
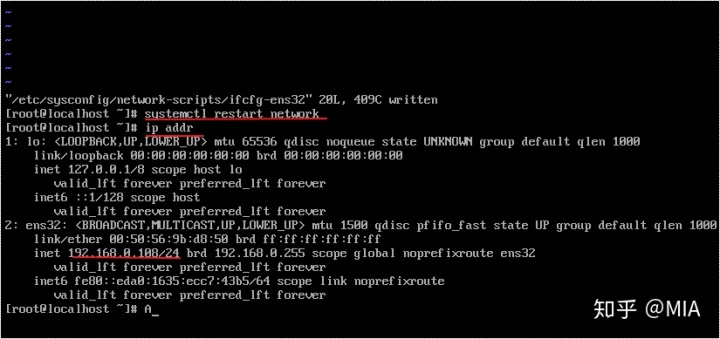
2)然后输入命令:systemctl restart network重启网络服务。
3)输入命令ip addr查看当前ip地址,确认是否修改成功。
三、部署Spire.Cloud
1、请联系我们获取Spire.Cloud产品部署包。邮箱:sales@e-iceblue.com;电话:028-81705109。
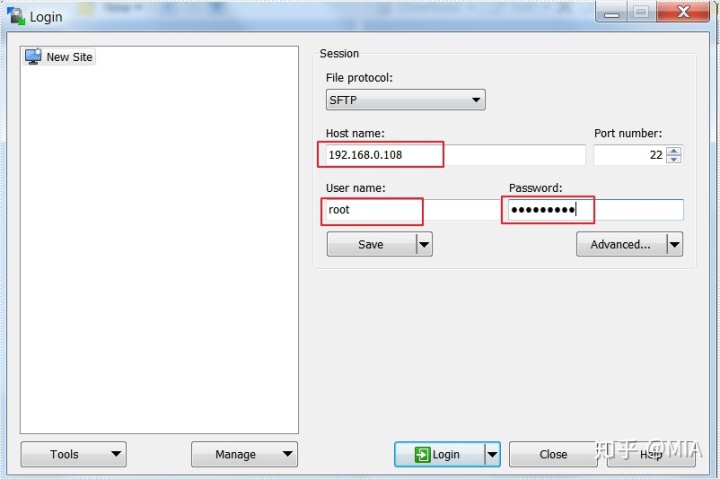
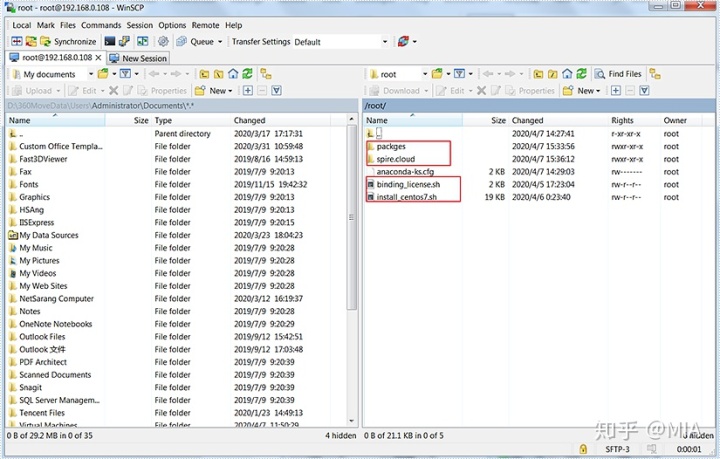
2、将产品部署文件拷贝到CentOS 7系统中,可以借助winscp工具进行拷贝。具体步骤如下。
1)首先登陆。
2)将文件直接拷贝进去,这里是拷贝到了/root/目录下。
3、安装产品
在root账户权限下执行脚本install_centos7.sh。
执行命令: sh install_centos7.sh;也可以选择打包日志:sh install_centos7.sh >1.log
这里部署耗时较长(2h+),请耐心等待。

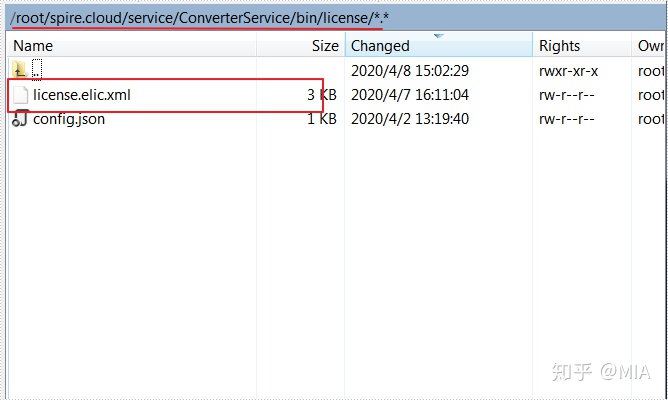
4、应用license
1)将license文件拷贝到spire.cloud/service/ConverterService/bin/license目录下。
2)切换到binding_license.sh所在目录(针对本次部署/root/),执行脚本binding_license.sh、sh binding_license.sh。
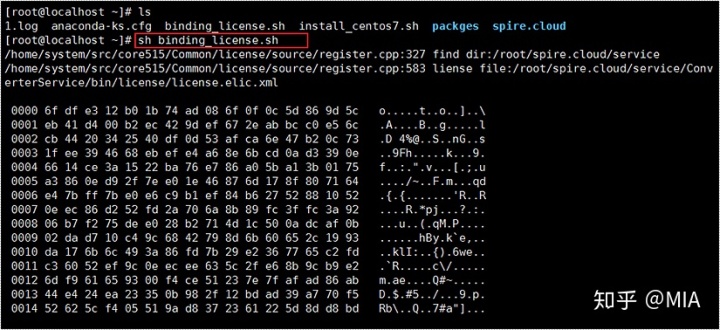
注:私有化部署需要应用有效的license文件,否则在线编辑服务和WEB API服务将不能正常运行。
如果你需要临时license文件,请联系我们。邮箱:sales@e-iceblue.com;电话:028-81705109。
至此,Spire.Cloud已部署完成。现在你可以在本地服务器上使用Spire.Cloud在线编辑服务在线创建、编辑、保存和打印Office(Word/Excel/PowerPoint)文档;或使用WEB API,在应用程序中操作Office(Word/Excel/PowerPoint)及PDF文档,然后使用在线编辑查看结果文档。
现在测试在线编辑。在浏览器地址栏输入“[服务器ip]:3000”(针对本次部署输入192.168.0.108:3000),出现以下界面:
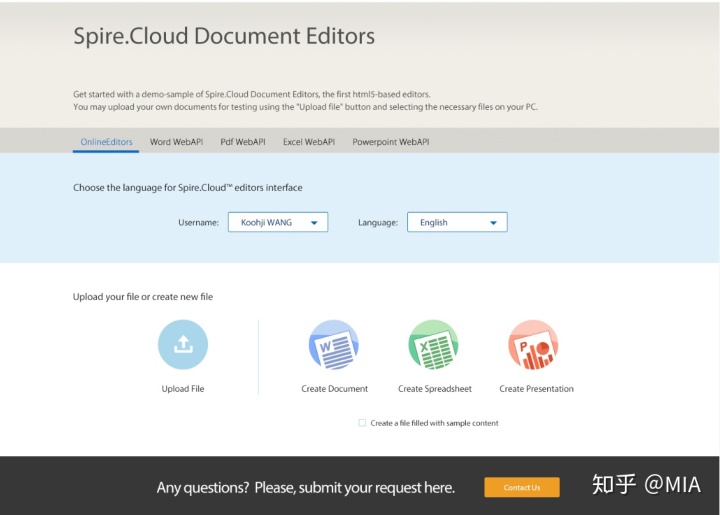
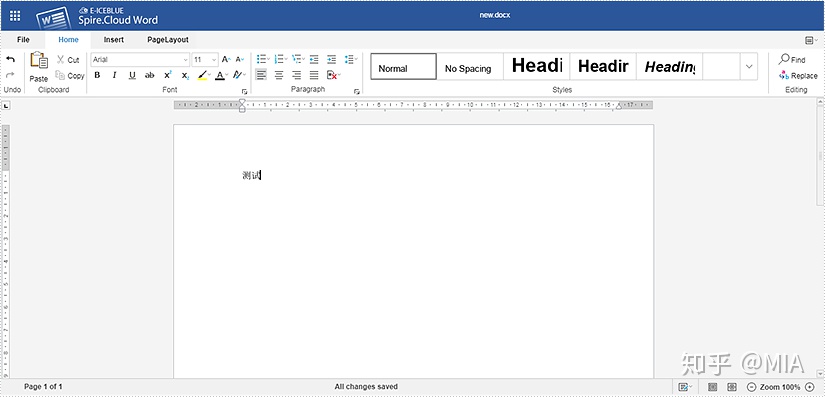
点击Create Document,创建一个空白Word文档并编辑内容:


 426
426


 被折叠的 条评论
为什么被折叠?
被折叠的 条评论
为什么被折叠?
 到【灌水乐园】发言


