


文章目录
- Ubuntu使用virtualbox安装树莓派
- 安装
- 安装virtualbox
- 安装树莓派
- 开启虚拟机
- 使用
- 下载
- 参考文献
- 安装
Ubuntu使用virtualbox安装树莓派
之前用qemu装的树莓派怎么整也没办法联网
安装
安装virtualbox
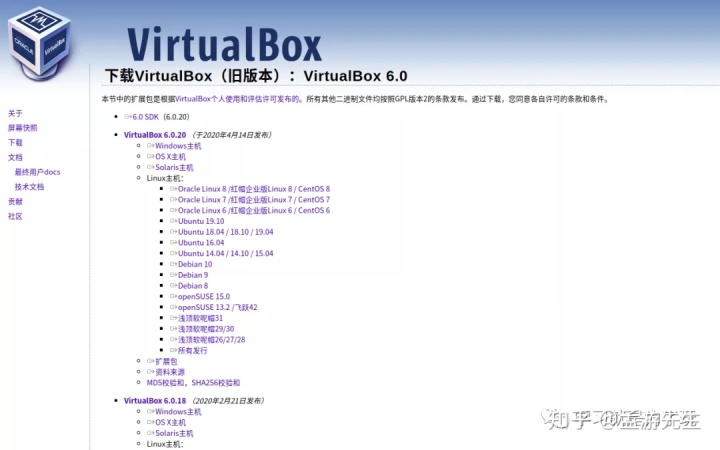
首先是安装virtualbox 下载:https://www.virtualbox.org/wiki/Download_Old_Builds_6_0
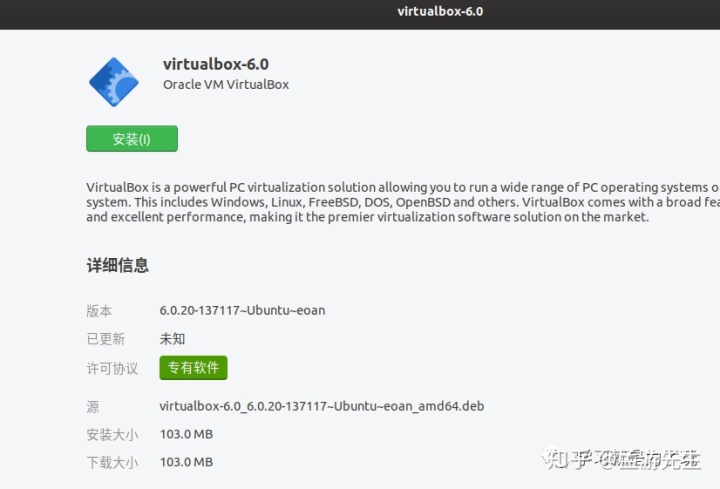
这种方式下载的软件没办法更新,想更新的话添加oracle的仓库下载virtualbox即可,详情参考:如何安在Ubuntu上安装VirtualBox [入门教程][1](链接在文章末尾)
安装树莓派
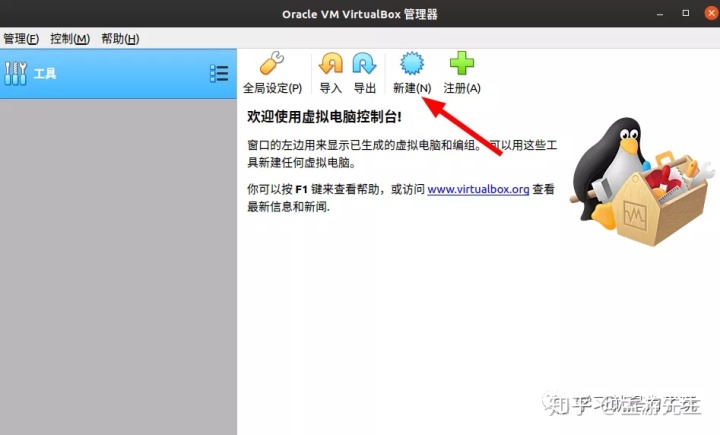
找到virtualbox打开即可,剩下的操作和在Windows下一样了。

1.新建虚拟机
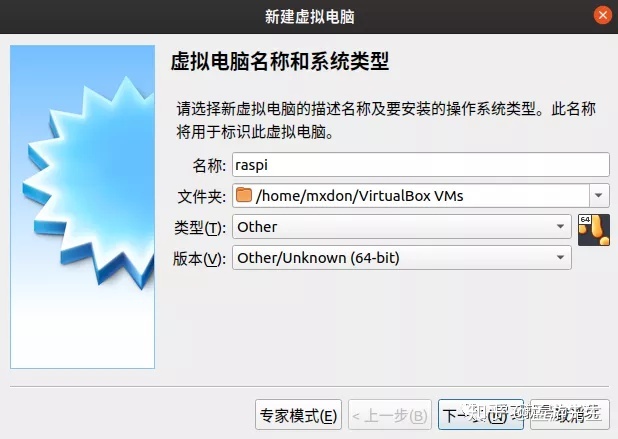
2.选择操作系统及创建的位置
我这选择默认位置,操作系统为其他,名字为raspi
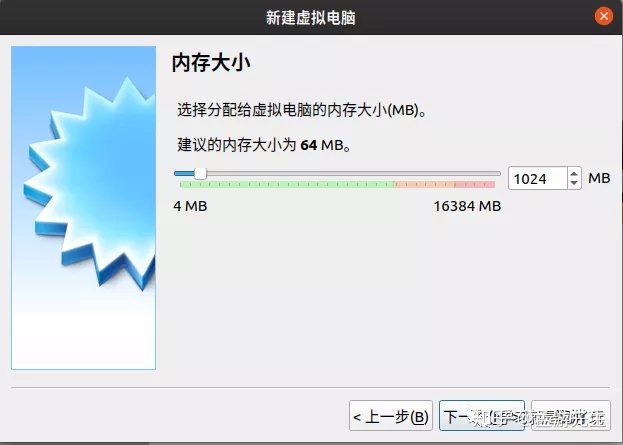
3. 分配内存
据说树莓派3是1024MB,所以我也给他分了1024MB
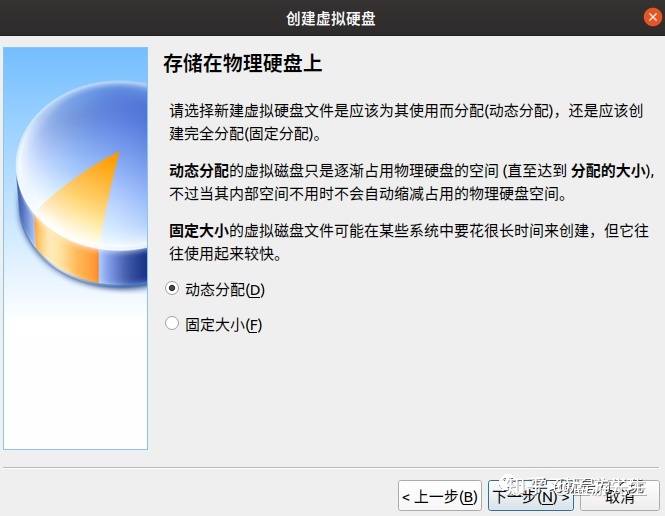
4. 创建虚拟硬盘
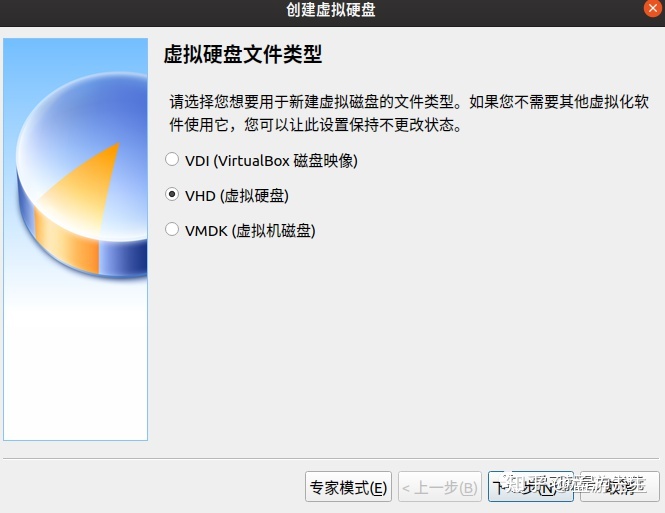
看个人空间需求选择固定大小还是动态分配
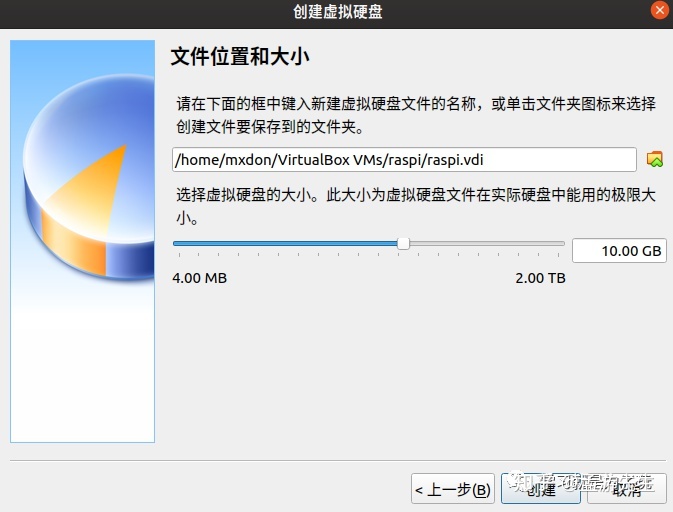
考虑到树莓派的镜像有4GB大小,再考虑我的使用情况,姑且分配10GB给他
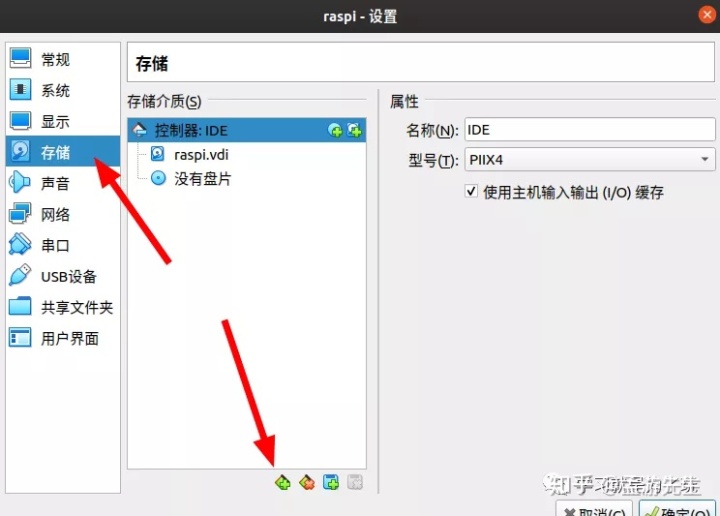
5. 准备安装
点击设置

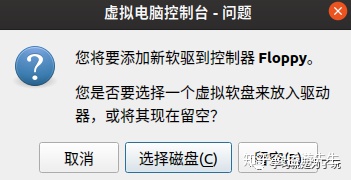
选择存储,点击下方的添加图标,选择添加软盘控制器
添加软盘
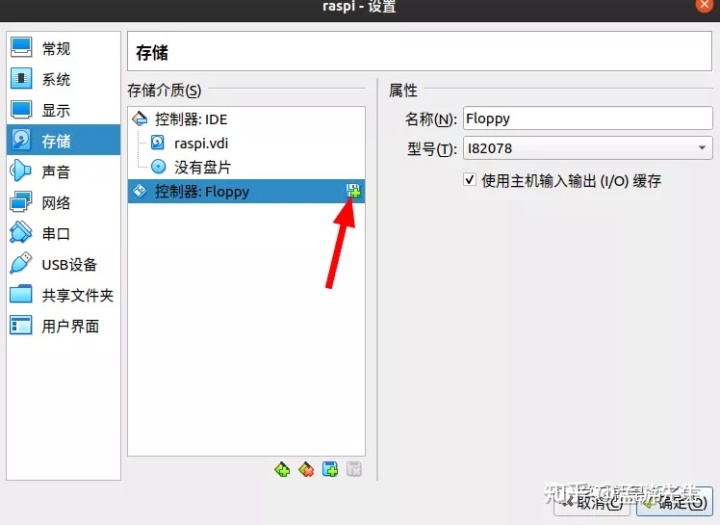
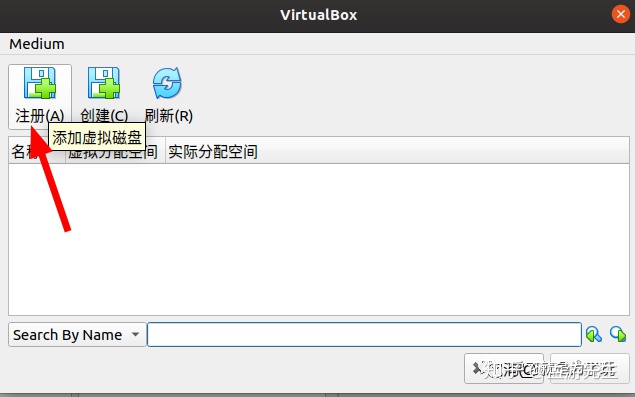
选择磁盘
点击注册
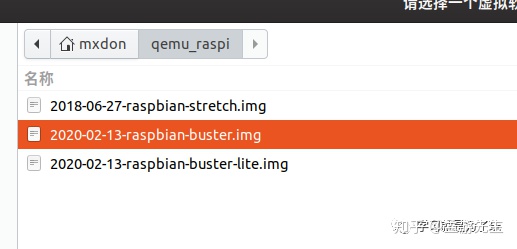
选择树莓派的镜像文件
结果会报错
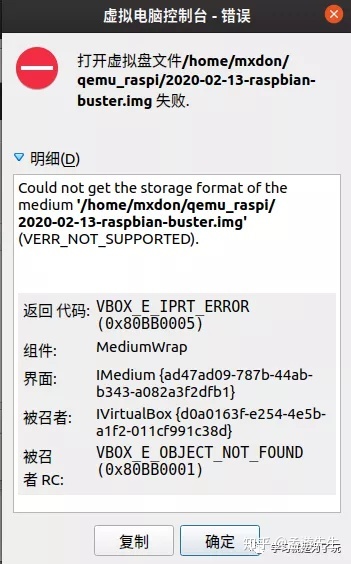
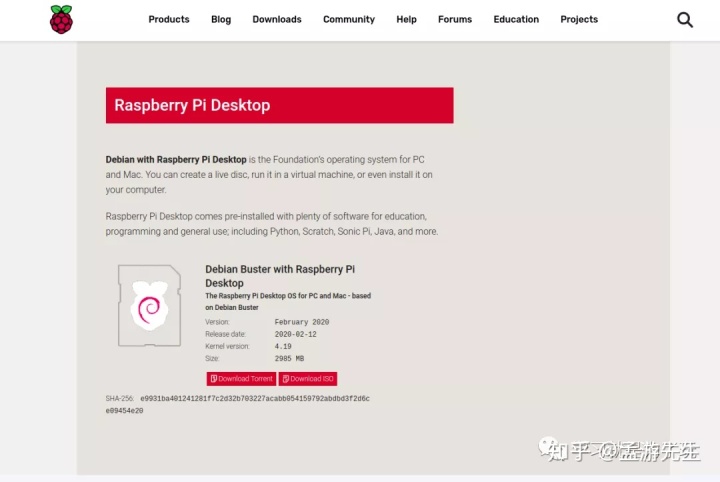
经过尝试与学习,查到的博主使用的均是iso的镜像,所以重新下载了一个iso的镜像:
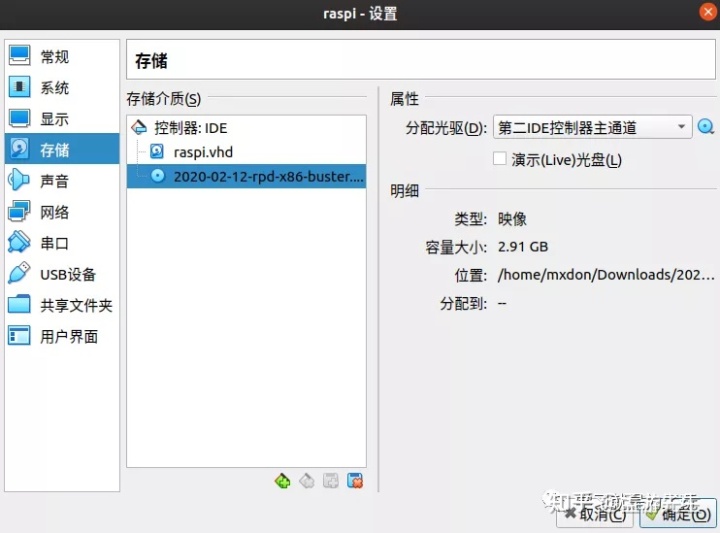
这样也就不需要再添加软盘控制器:

在分配光驱处选择一个虚拟光驱文件,选择下载的iso文件,点击确定即可开启虚拟机
开启虚拟机
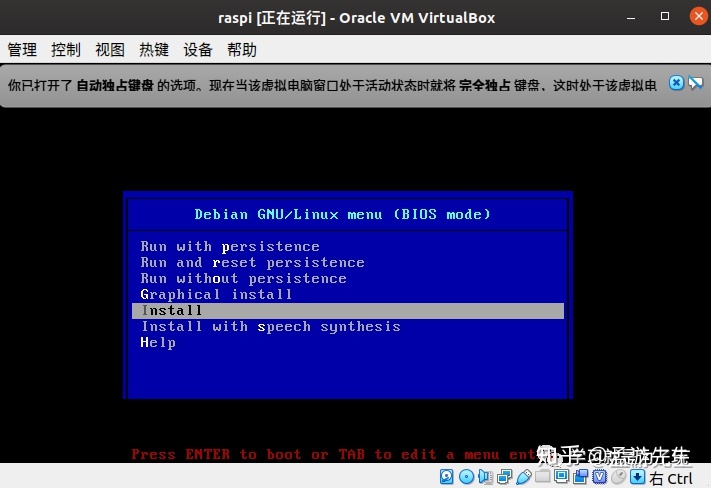
点击启动就行了

install
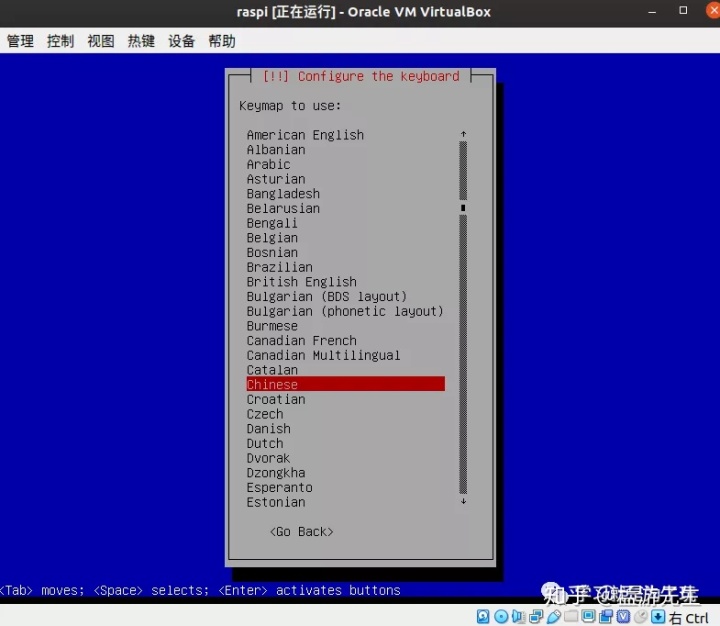
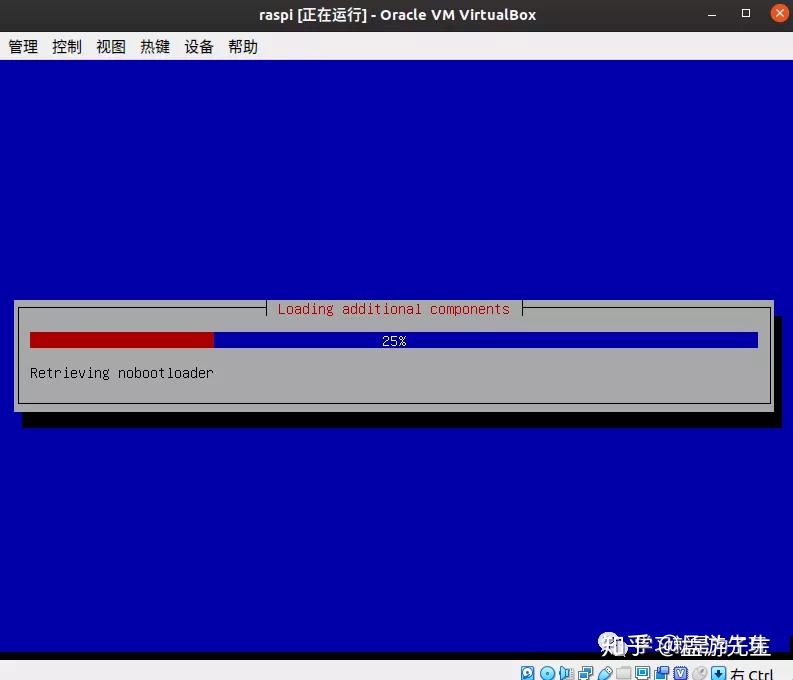
选择键盘布局
等待
引导选项,默认即可——使用整块磁盘
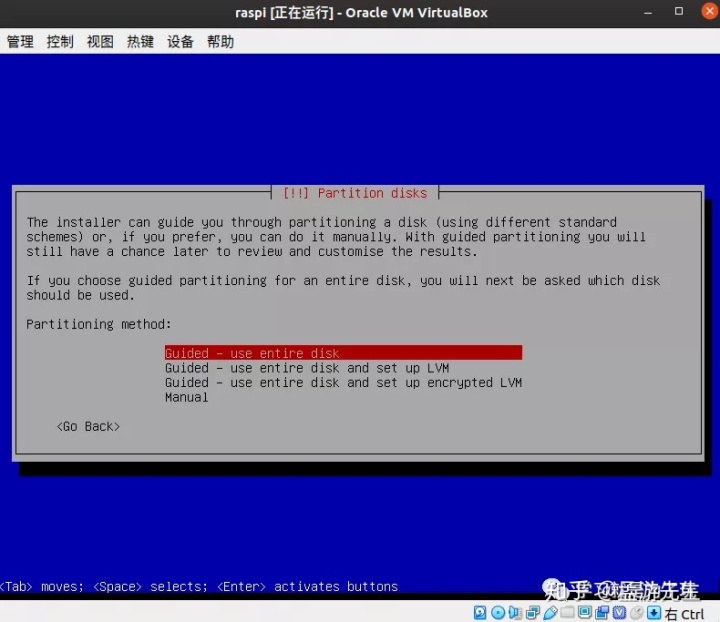
这里选择的磁盘就是之前创建的虚拟磁盘,所以提示中数据全部清除也不用在意

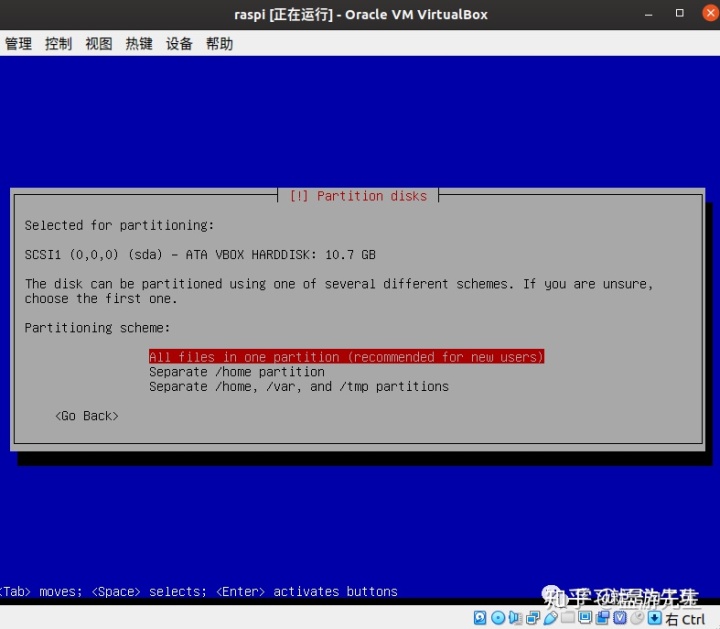
如果是小白的话,选择第一项就好(翻译)——意思是所有文件放在一个分区,也就是/分区,这点和众多Linux分区一毛一样
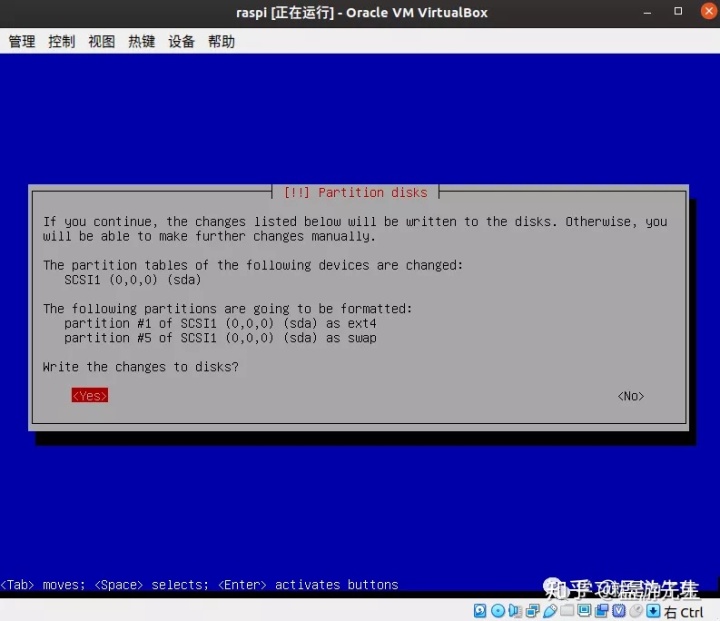
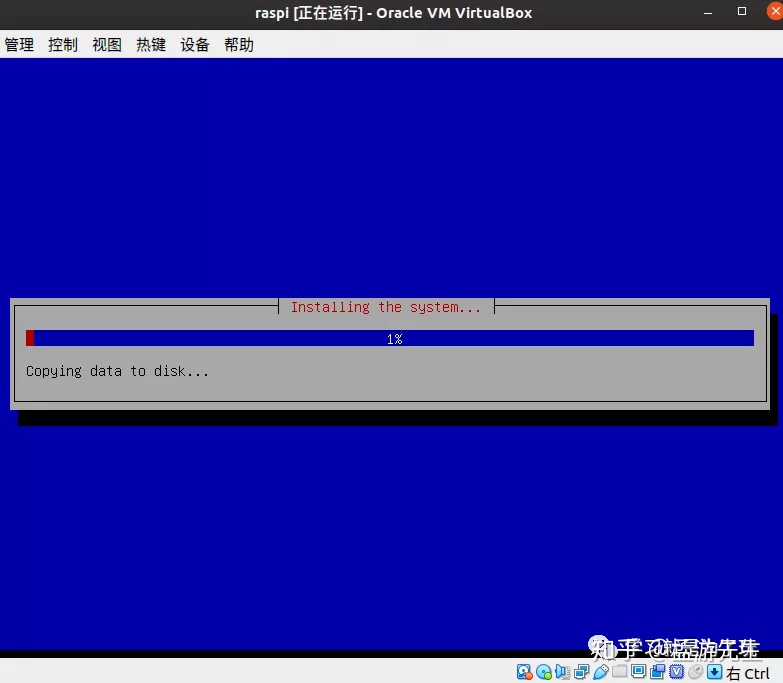
完成分区并写入镜像
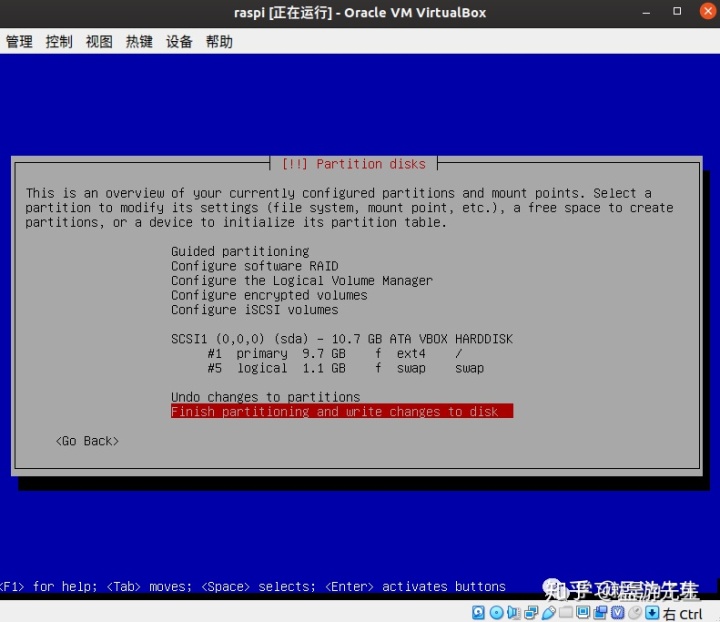
使用tab键选择yes
等待
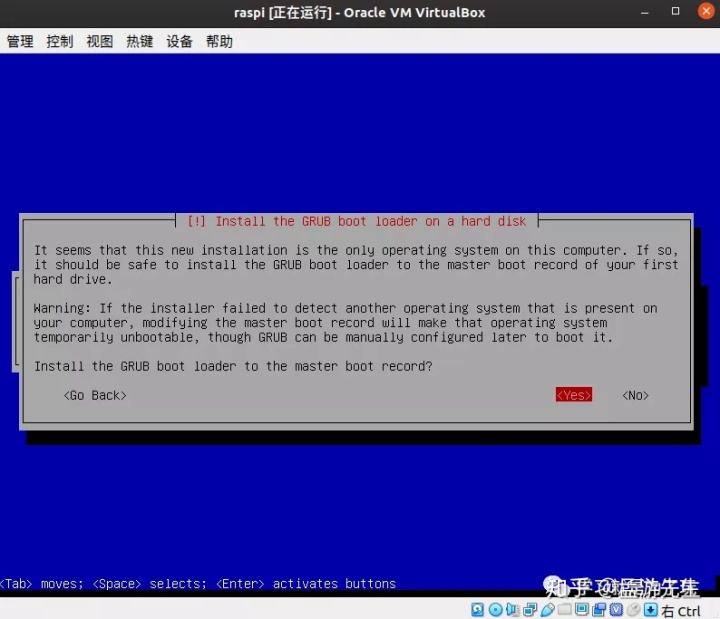
是否写入bootloader,当然选择yes咯
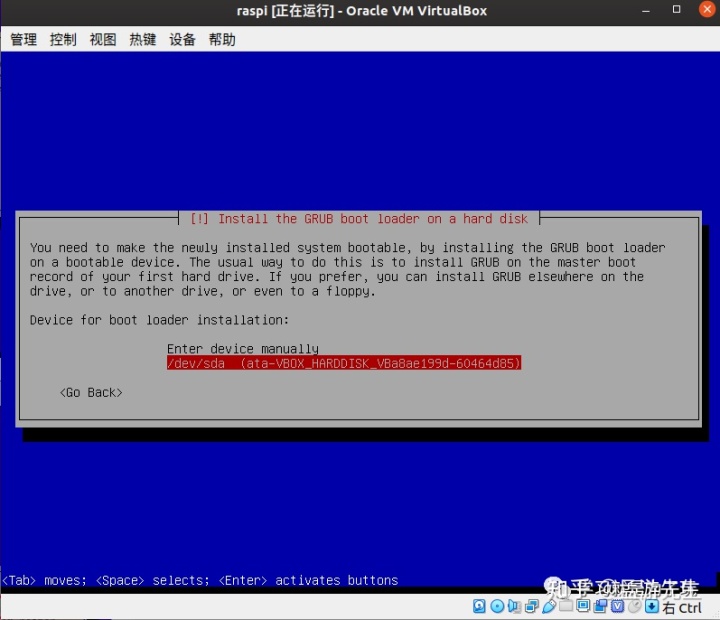
选择bootloader的安装设备,身为小白,初次尝试,能自己动,就别手动设置了,选择虚拟磁盘噢
移除安装介质,直接回车即可

使用
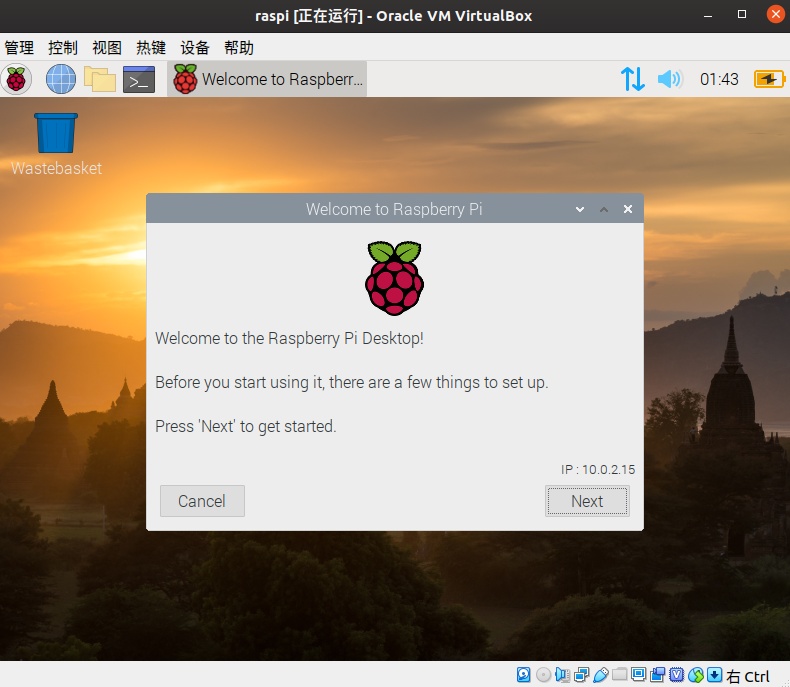
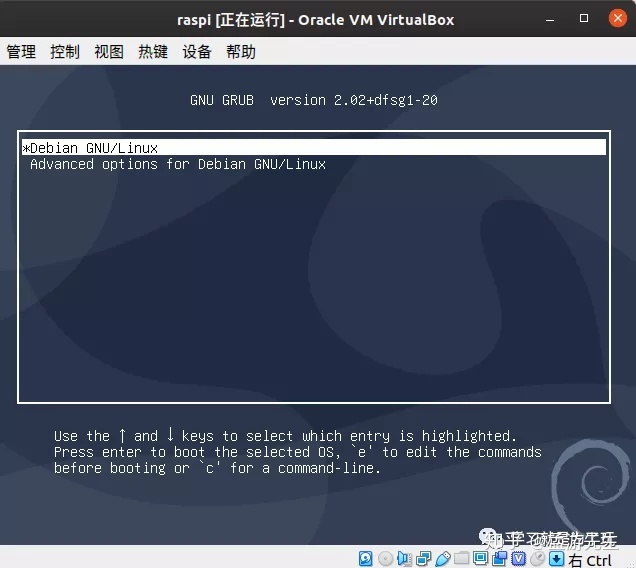
等到如下界面回车即可进入操作系统
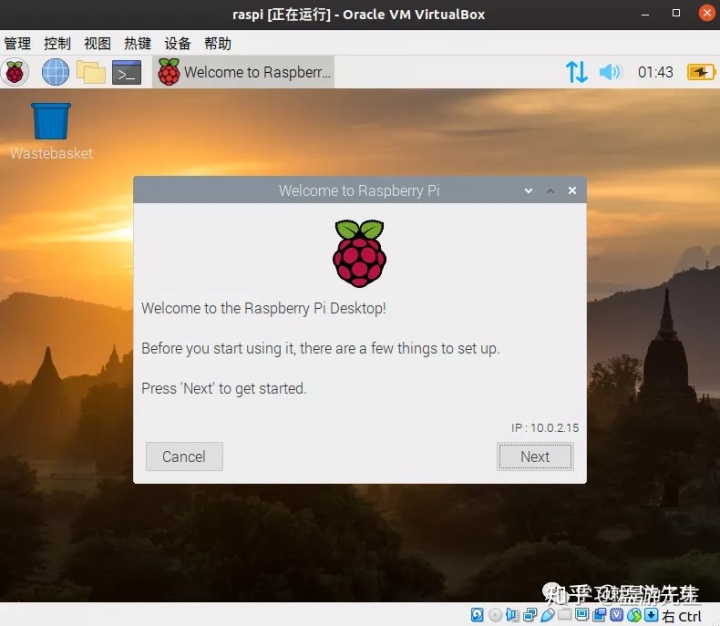
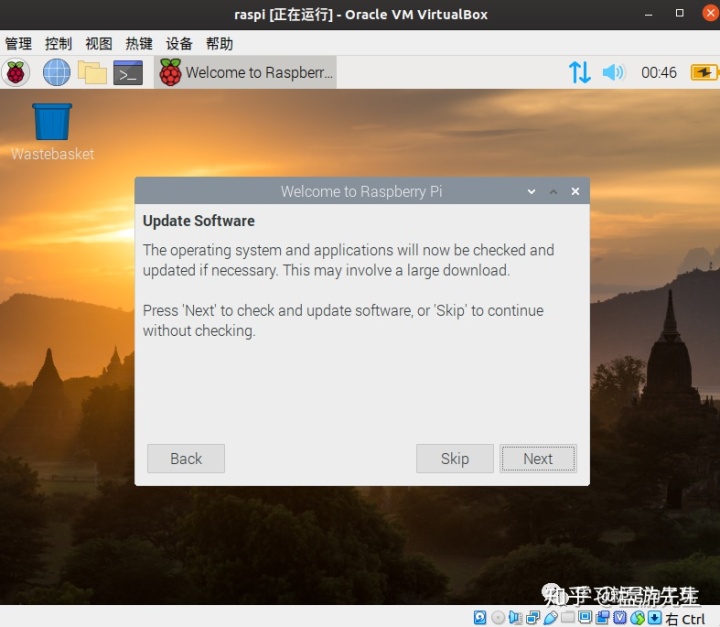
奥利给!完事了,点击next进行一些设置
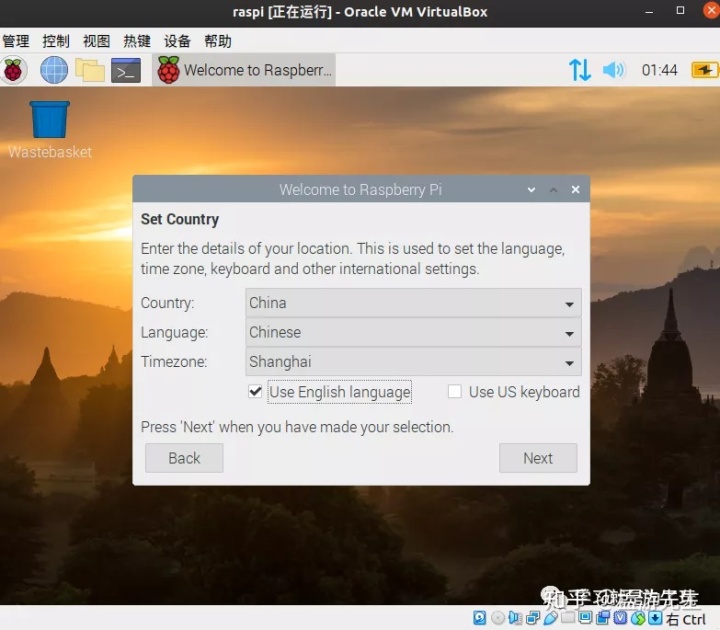
选择地区、语言和时区
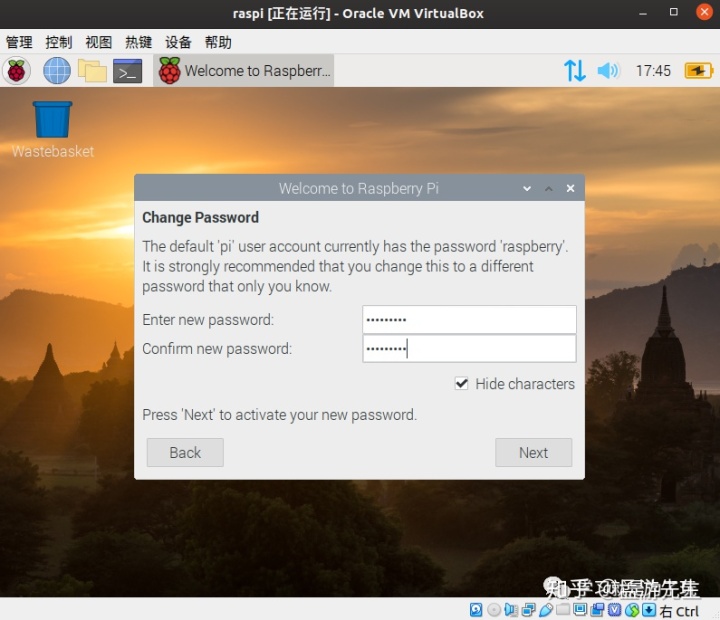
重设密码
系统和软件更新,这里我选择跳过
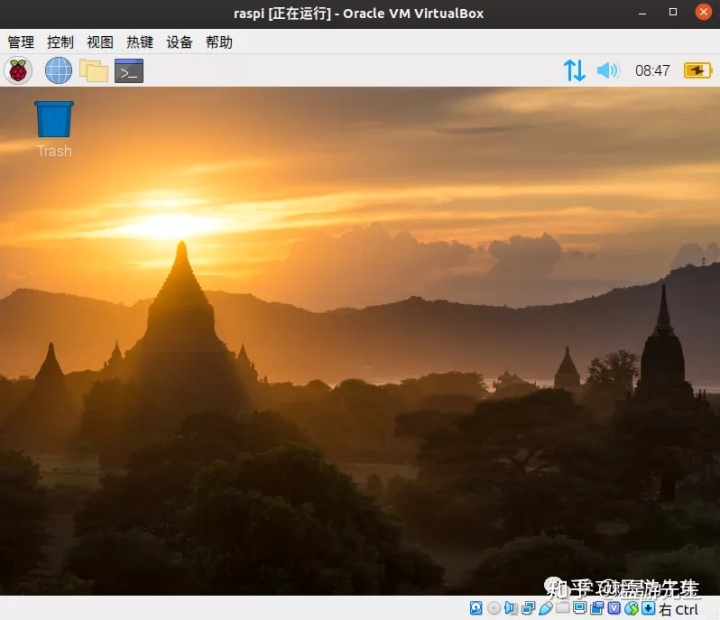
设置完成后需要重启一次

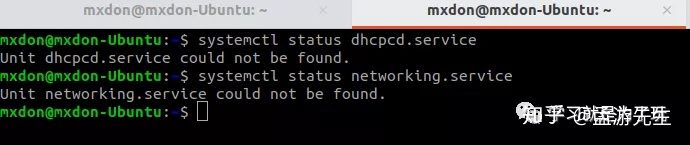
奥利给,这就算是完事了,接下来看看联网问题
使用我的导航网页测试了一下,默认安装是没有问题的
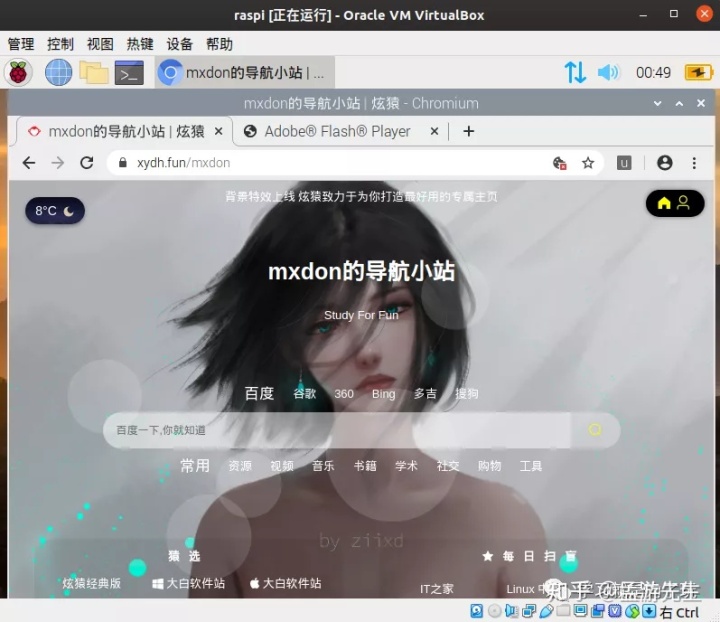
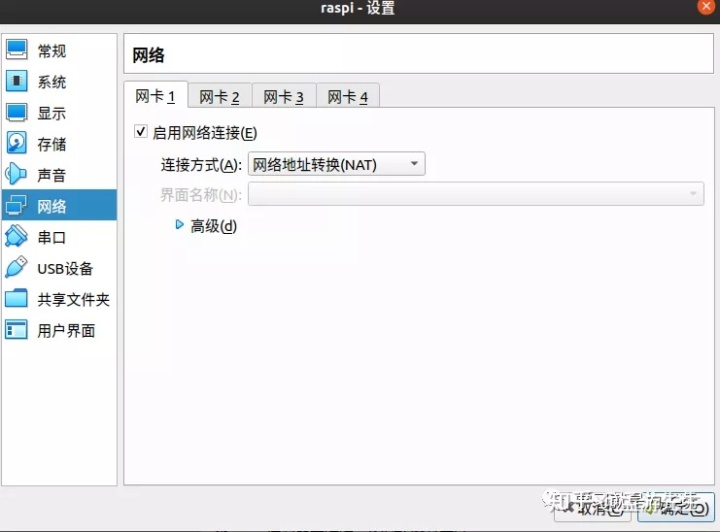
如果有问题的话,可以在虚拟机的设置界面进行设置
下载
virtualbox:https://www.virtualbox.org/wiki/Downloads
树莓派桌面系统——官网:https://www.raspberrypi.org/downloads/raspberry-pi-desktop/
树莓派桌面系统——清华软件源(推荐):https://mirrors.tuna.tsinghua.edu.cn/raspbian-images/rpd_x86/images/rpd_x86-2020-02-14/
参考文献
[1] 如何安在Ubuntu上安装VirtualBox [入门教程]: https://itsfoss.com/install-virtualbox-ubuntu/[2] 【笔记】虚拟机安装树莓派系统: https://www.jianshu.com/p/1a65cb0b8f58[3] 【完整速装】树莓派虚拟机系统创建与安装WordPress网站: https://www.bilibili.com/video/BV1t7411m7XF?from=search&seid=2851836006535052667
往期回顾
- 自己封装一个专属的Windows10系统
- Ubuntu19.10使用Qemu安装树莓派
- 电脑必备软件清单3——下载类
- 电脑必备软件清单2——工具类
- 电脑必备软件清单1——卸载类


 1万+
1万+


 被折叠的 条评论
为什么被折叠?
被折叠的 条评论
为什么被折叠?
 到【灌水乐园】发言


