


新建虚拟机,参考之前的文档《VM安装CentOS6.5》,完成网络配置。
远程工具连接
关闭Selinux
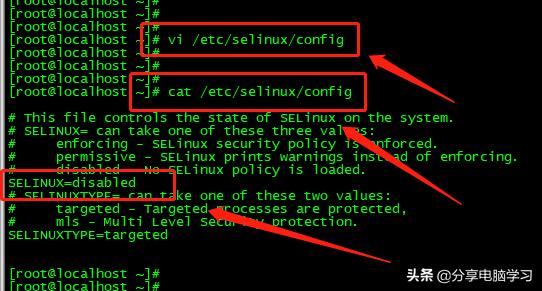
关闭防火墙
chkconfig iptables off

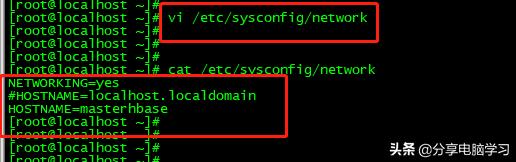
修改主机名
第一个network,修改后,将主机命名为masterhbase
NETWORKING=yes
#HOSTNAME=localhost.localdomain
HOSTNAME=masterhbase
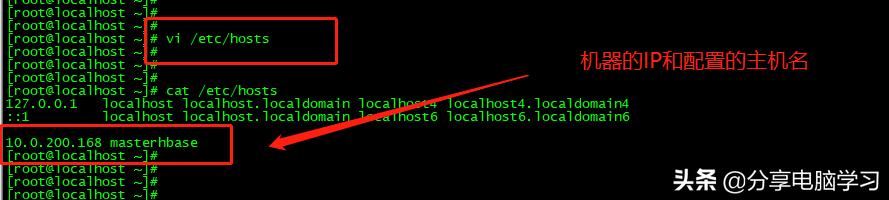
修改hosts
10.0.200.168 masterhbase
重启机器,让配置生效
配置yum源
上传文件
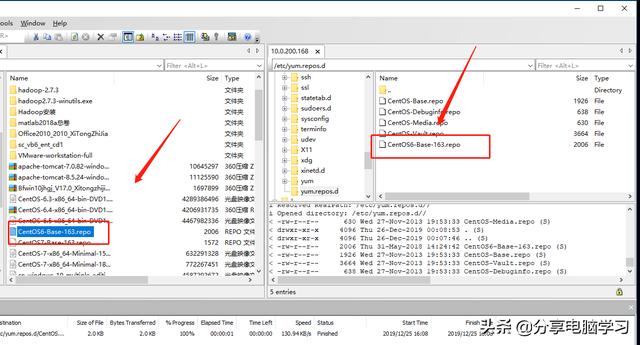
删除原先的镜像
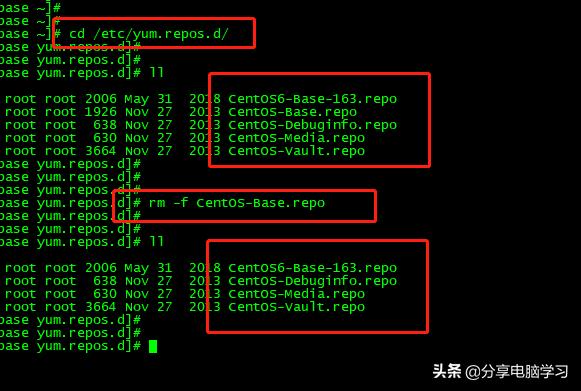
清空之前配置,执行下面的语句
yum clean all
yum repolist

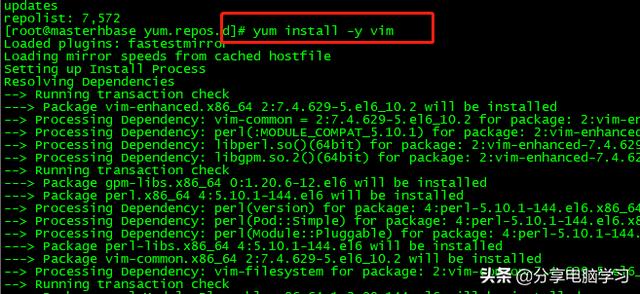
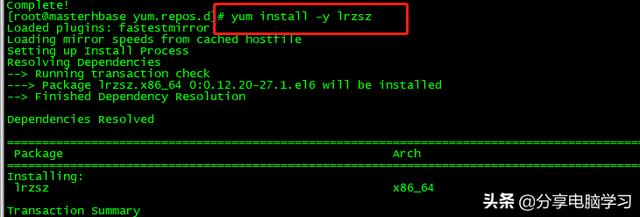
安装一些工具,一做测试,二方便后面使用
yum install -y vim
yum install -y lrzsz
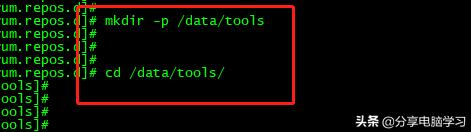
准备一个放置软件包的目录
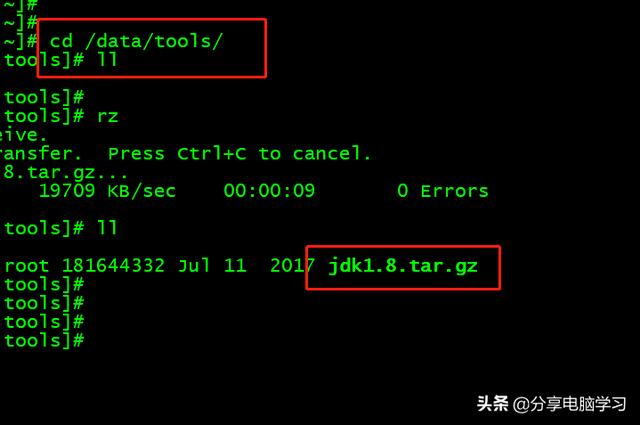
上传jdk安装包
解压安装JDK
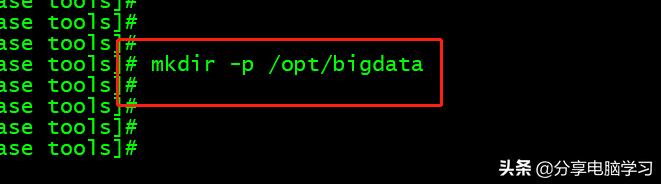
创建安装目录
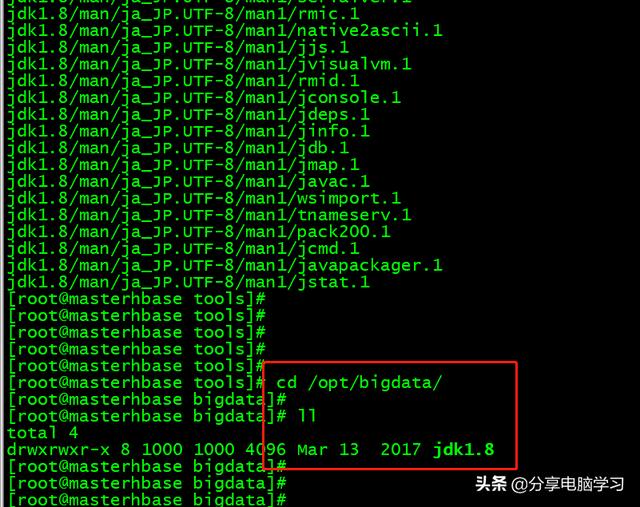
mkdir -p /opt/bigdata
tar -zxvf jdk1.8.tar.gz -C /opt/bigdata/
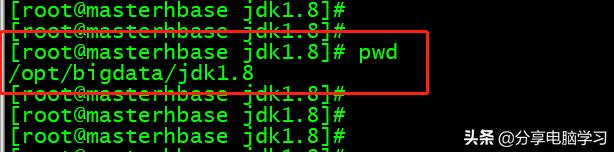
这是安装目录
/opt/bigdata/jdk1.8
配置环境变量
编辑文件vim /etc/profile
编辑内容
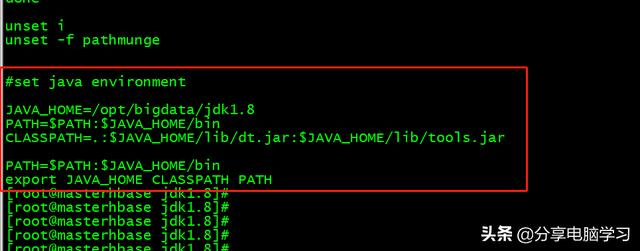
#set java environment
JAVA_HOME=/opt/bigdata/jdk1.8
PATH=$PATH:$JAVA_HOME/bin
CLASSPATH=.:$JAVA_HOME/lib/dt.jar:$JAVA_HOME/lib/tools.jar
PATH=$PATH:$JAVA_HOME/bin
export JAVA_HOME CLASSPATH PATH
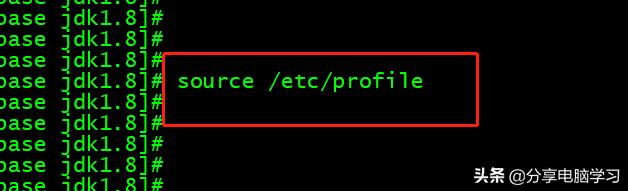
配置生效
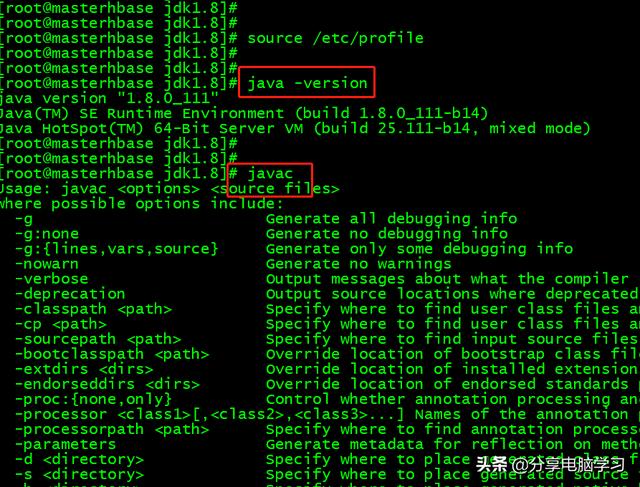
source /etc/profile
查看配置效果
java –version
javac
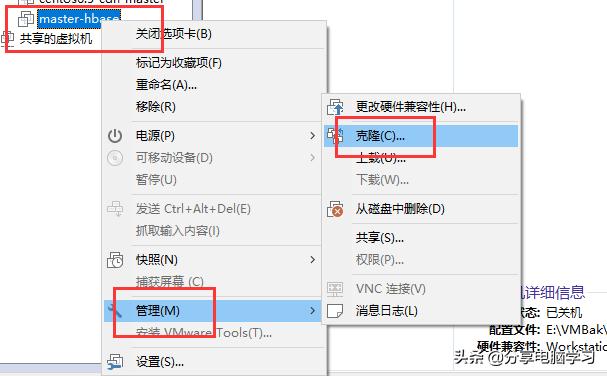
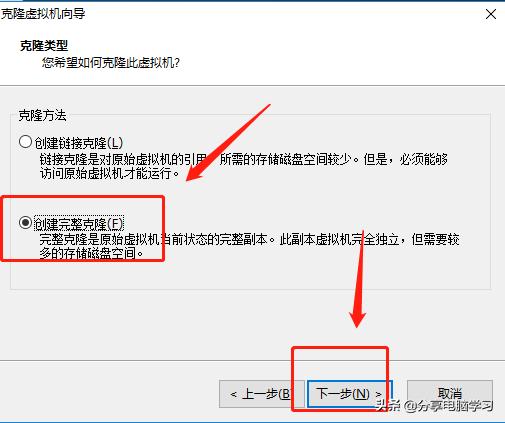
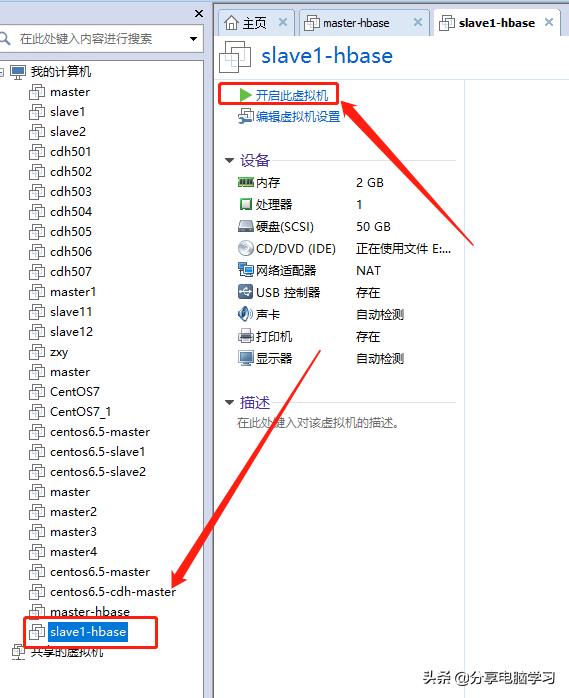
克隆节点
先关机

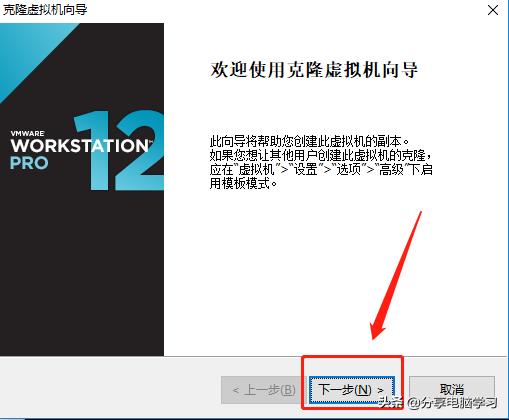
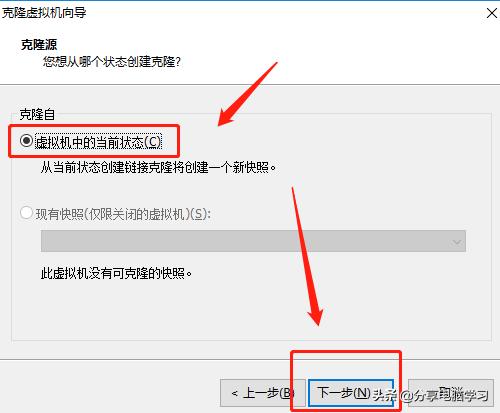
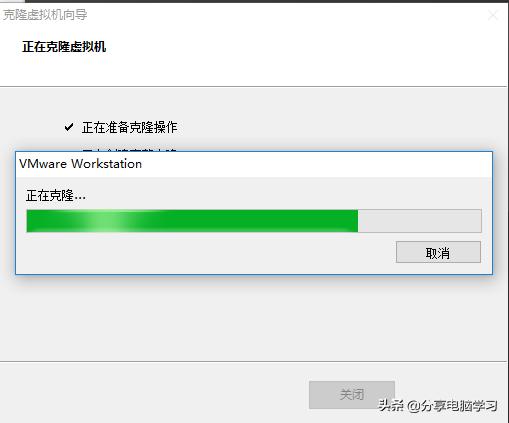
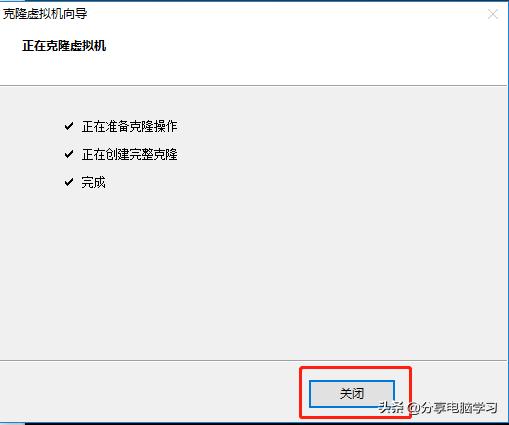
开始克隆
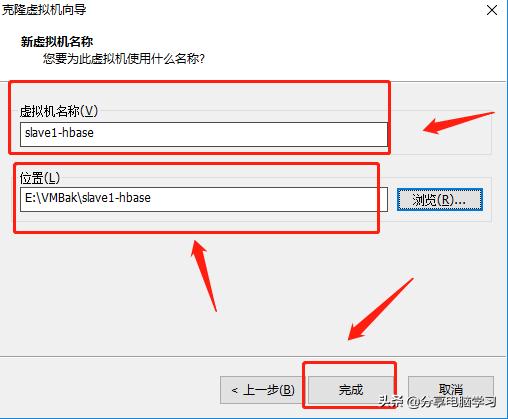
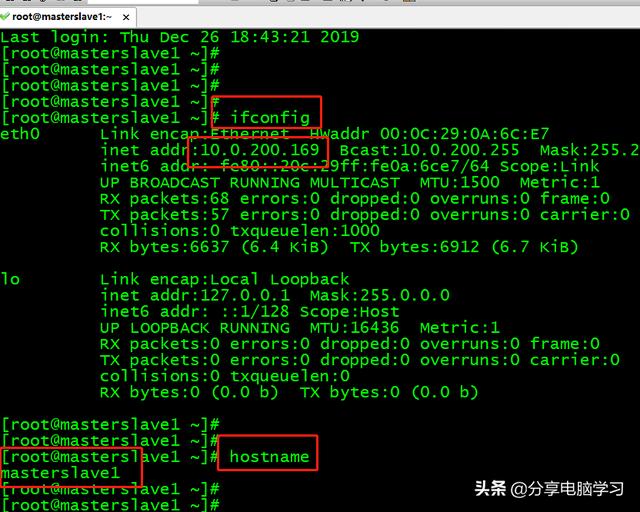
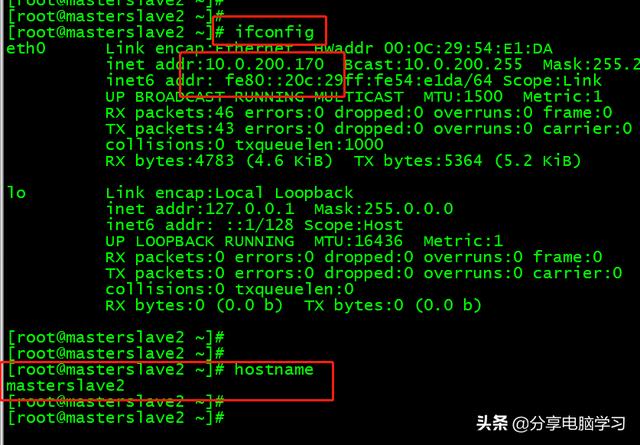
完成后,开启机器,更改IP、主机名和hosts文件
先修改一个地方
vi /etc/udev/rules.d/70-persistent-net.rules
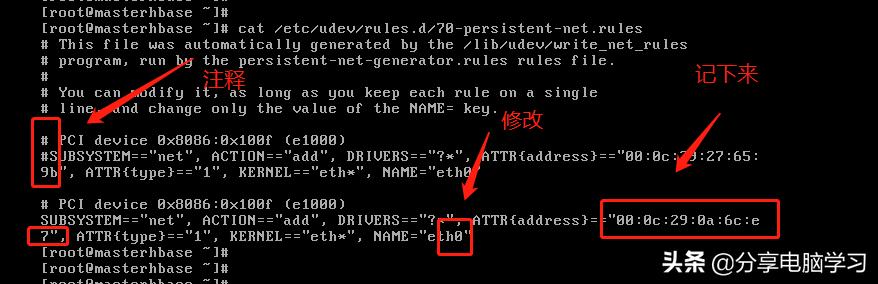
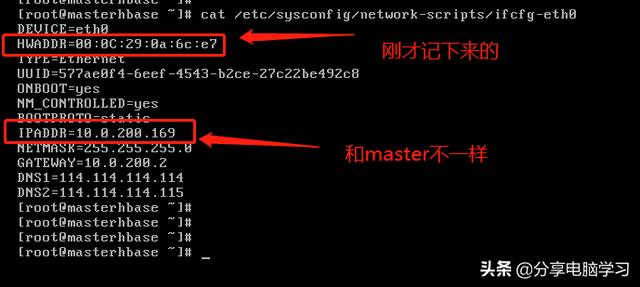
修改IP
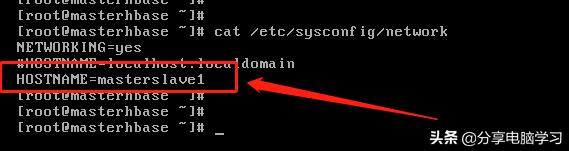
修改主机名
修改hosts文件

重启虚拟机,用远程工具连接
再克隆一个节点
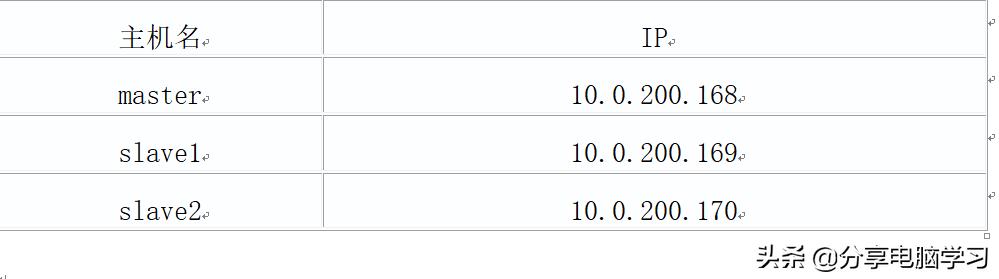
一共三个节点
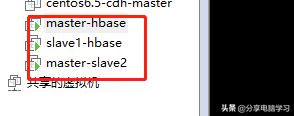
三个节点的分配
免密配置
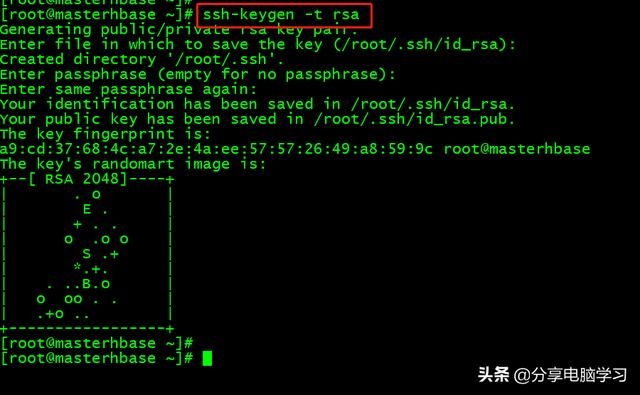
三台节点生成密钥
ssh-keygen -t rsa(一直回车)
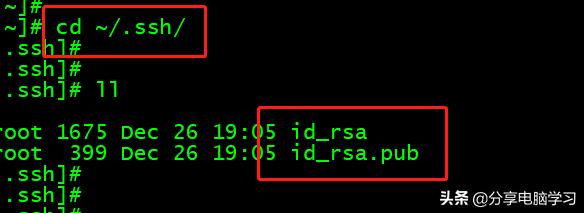
进入目录查看
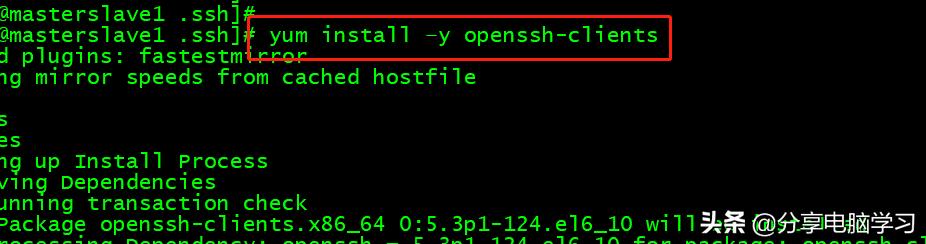
三个节点上添加新工具
yum install -y openssh-clients
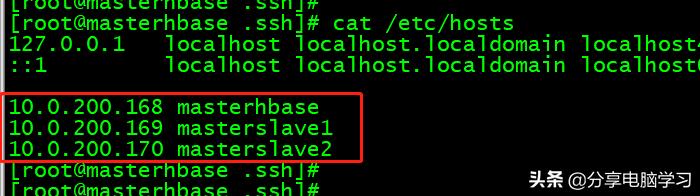
在三台机器上,hosts文件配置
10.0.200.168 masterhbase
10.0.200.169 masterslave1
10.0.200.170 masterslave2
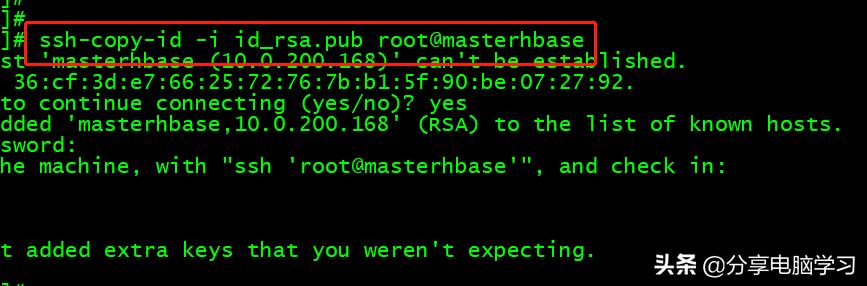
在三个节点上.ssh目录中执行下面一段话,将公钥拷贝到另外两个节点中
ssh-copy-id -i id_rsa.pub root@masterhbase
ssh-copy-id -i id_rsa.pub root@masterslave1
ssh-copy-id -i id_rsa.pub root@masterslave2
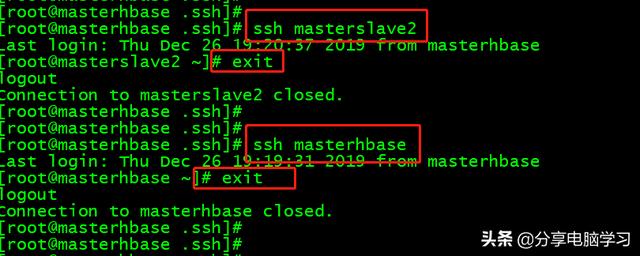
测试登录三个节点,可以发现都不用再输入密码(有的可能需要再输入一次就可以了)
ssh masterhbase
ssh masterslave1
ssh masterslave2
exit是退出
到此为止
关闭防火墙和selinux,YUM源已安装好、系统版本CentOS6.5、java版本是1.8,三台节点,免密已配置完成。


 3195
3195


 被折叠的 条评论
为什么被折叠?
被折叠的 条评论
为什么被折叠?
 到【灌水乐园】发言


