


Deploy Remote Desktop Web ClientIn your RD Web Access server open Powershell with administrative access (Run as Administrator). Then go ahead with the commands one by one.
Update the PowerShellGet module.
Install-Module -Name PowerShellGet –Force
 Restart your powershell to take this update effect.
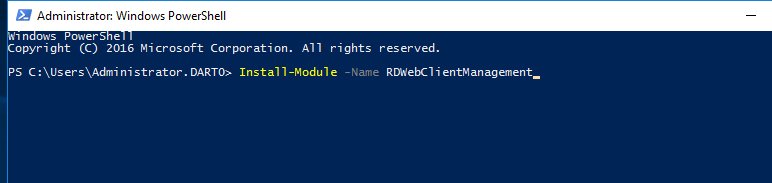
Run the below command which will install Remote Desktop web client management
Install-Module -Name RDWebClientManagement
Run below command to download the latest version of Remote Desktop Web Client.
Install-RDWebClientPackage
You may end up with some powershell errors if so don’t worry and just make a system restart and then try the step 5. It should be good now.
You now need to configure the SSL certificate that has been used in your RD Connection Broker server. So go to your RD Connection Broker server and export your certificate as .cer.
 Now copy your .CER certificate to your RD Web server and run the below command in your powershell.
Import-RDWebClientBrokerCert <.cer file path>
Run below cmdlet to publish your Remote Desktop Web Client.
Publish-RDWebClientPackage -Type Production –Latest
We are done now.
Now the RDS Web Client has been installed as an extension to your RD Web Access website. There won’t be a link from your RD Web Access portal but you can just access it using the below path. Just type ‘webclient’ after ‘/RDWeb/’ and you can see your amazing HTML5 web client for your RD Web Access. Example like the below URL.
If you want to deploy as a test you can do it with changing the type to test on the publish cmdlet.
Publish-RDWebClientPackage -Type Test –Latest
And you can access like the example URL below.
It should be looking like below one and works without prompting for any desktop client.

The Web Client works really cool if you have configured properly and your browser has HTML5 support. Note, most popular browsers have support with HTML5 hence no worries. If you click published Apps they are launched within the browser window with choice of full screen option. Like the image below.


 被折叠的 条评论
为什么被折叠?
被折叠的 条评论
为什么被折叠?
 到【灌水乐园】发言


