


这几天收拾家,翻出来一台当年被电视购物忽悠,花999RMB买回来的rossmelatech “迷你笔记本”电脑,一回忆起来,满满的都是泪,下面进入正题。
大约12年前,也就是2008年那会,我小学三年级,还不太懂电脑,家里人看到某TV购物频道成天铺天盖地的笔记本广告,那广告老厉害了,号称轻薄机身,超长待机,免费上网,全固态硬盘,超快速度,永不中毒.......
各种优点集于一身的超级上网本,架不住"低价"诱惑,按照电视上的订购电话花了999RMB买了一台,当时还感觉占了很大一个便宜,毕竟那时一台这样超级的笔记本电脑将近上万元了。
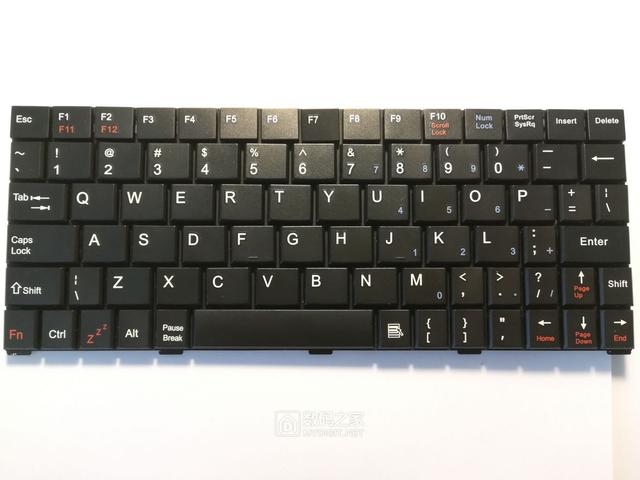
一周后,电脑到货,拆开包装一看,简直惨不忍睹,塑料机身,毫无质感,超差的键鼠,充电器还裂开了口子,凑合502粘好,插上电开机,便一直等待,差不多一分钟左右,进入桌面,想着还需要些软件,便尝试着用U盘从家里的电脑上拷贝过来,但实际一运行,就傻眼了。所有的Windows程序都用不了,还无法上网,连基本的MP4,MP3都无法使用,简直就是999RMB买回来一个大号劣质玩具,再找之前的电话,早已是空号难以维权。
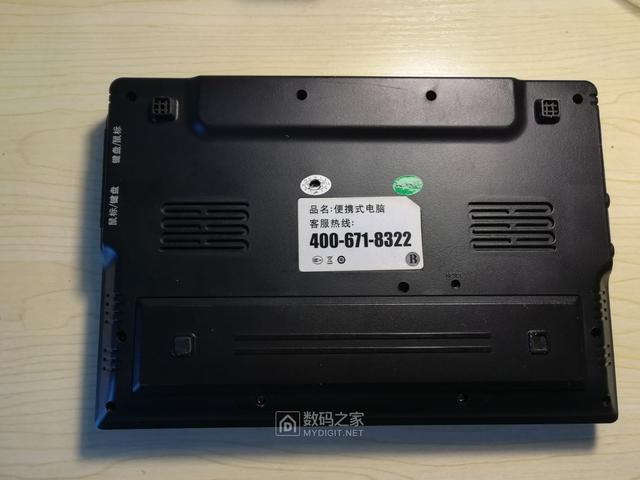
后来这台垃圾电脑便被扔到柜子里吃灰了,直到今天被无意中发现,拿出来打扫了一下卫生,充电,开机,就有了下面的图片


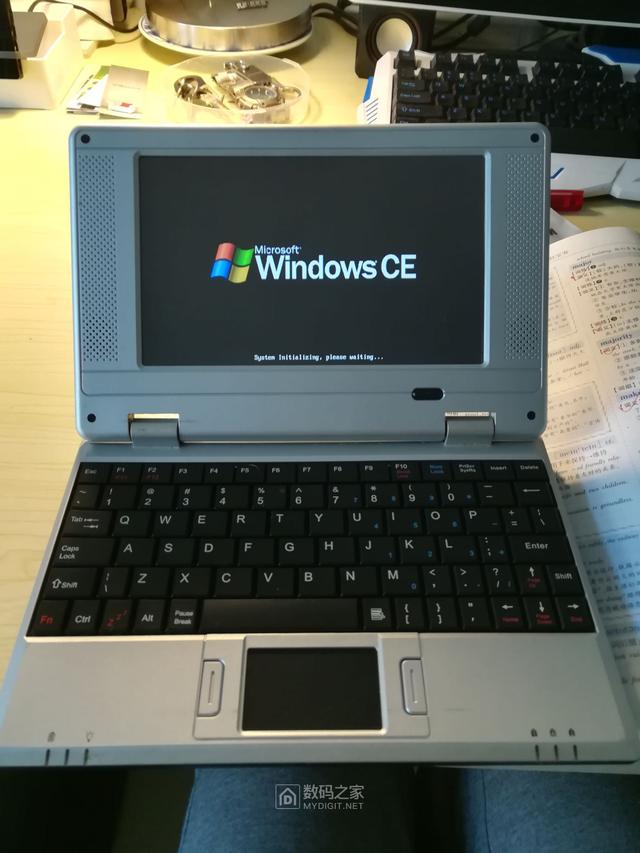
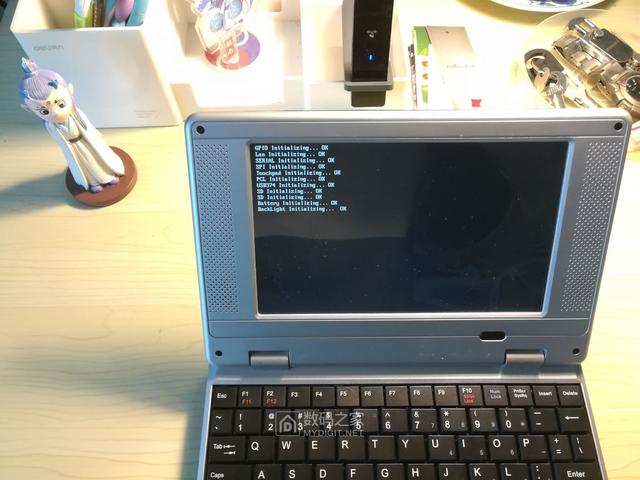
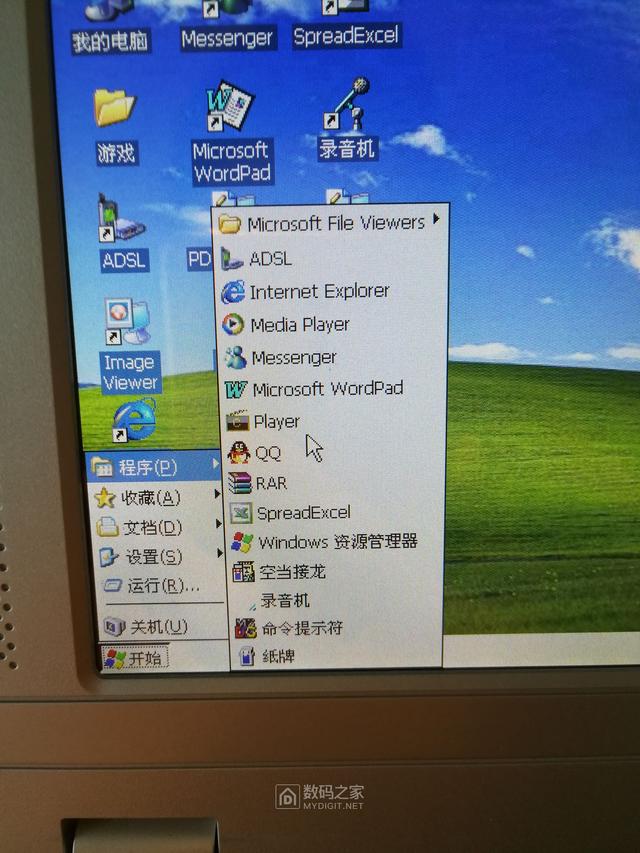
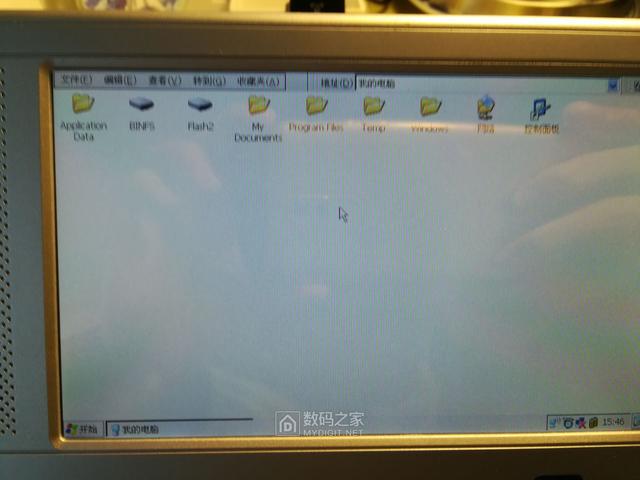
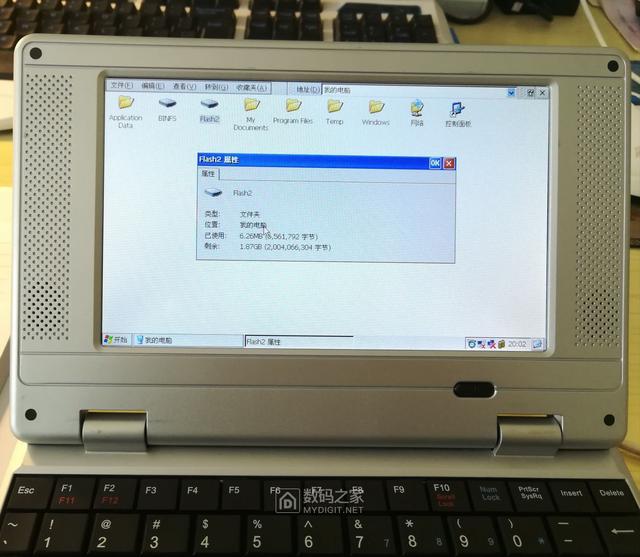
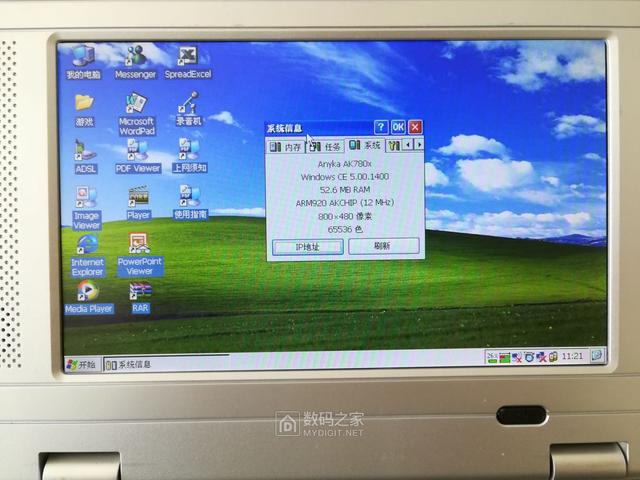
开机竟然是Windows CE系统
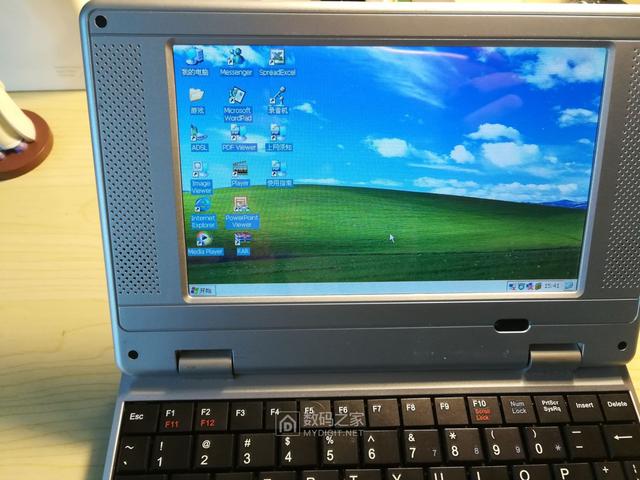
和Windows XP一样的桌面背景
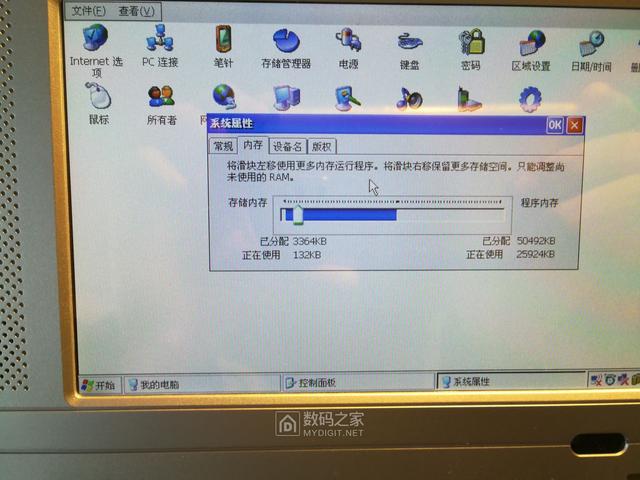
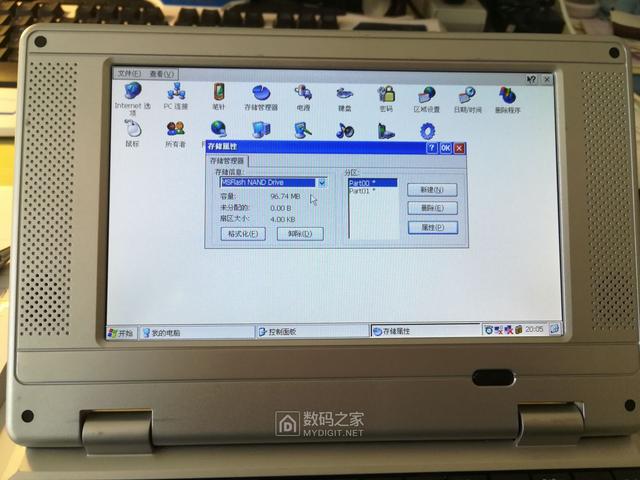
系统属性和处理器型号及内存大小

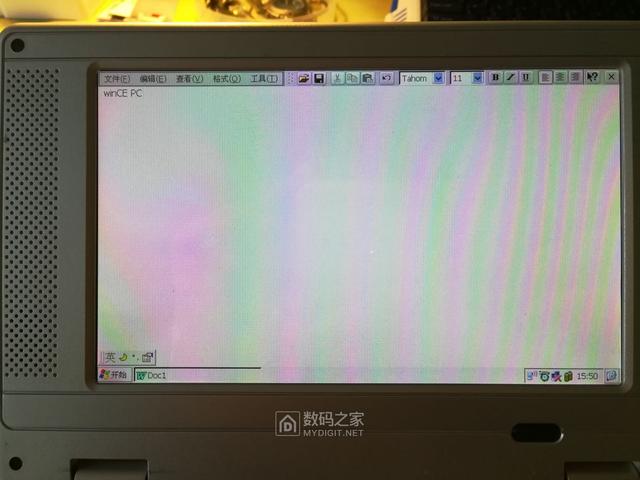
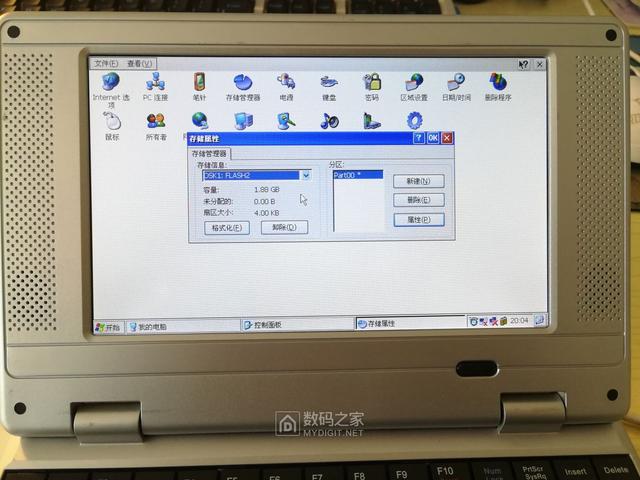
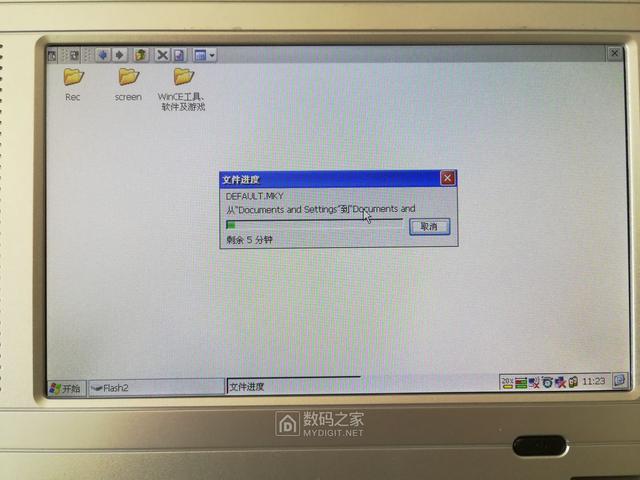
新建文档还是没问题的
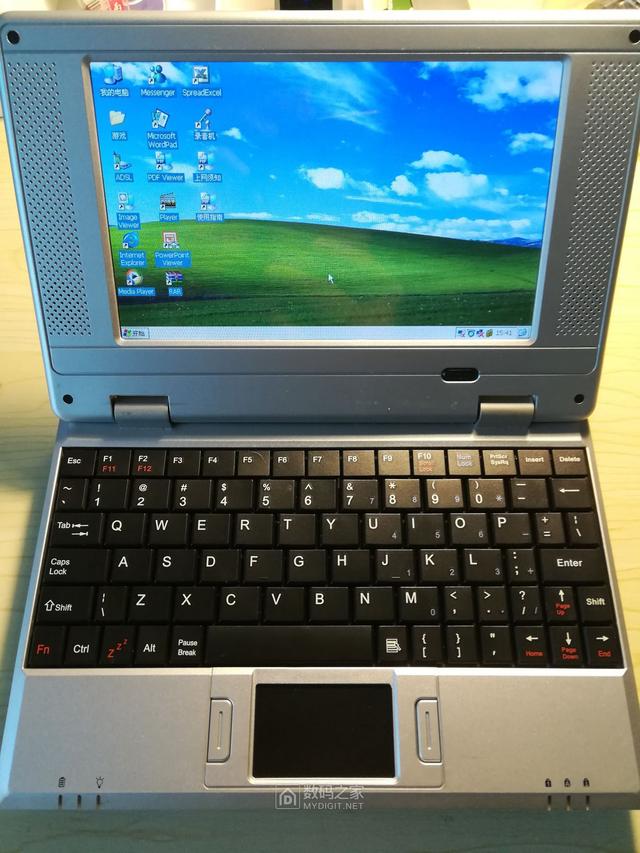
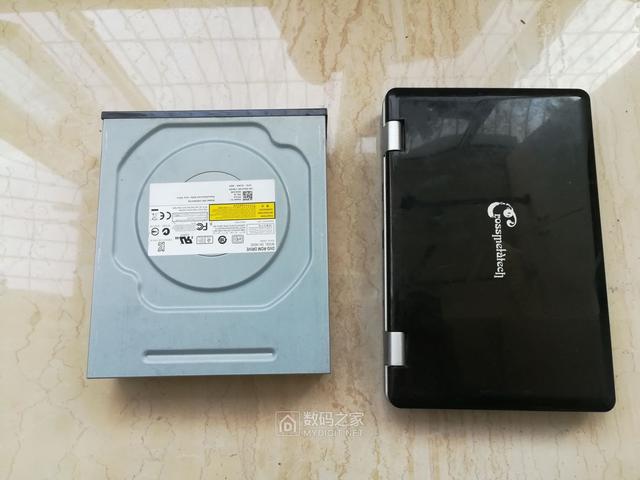
大小做个对比
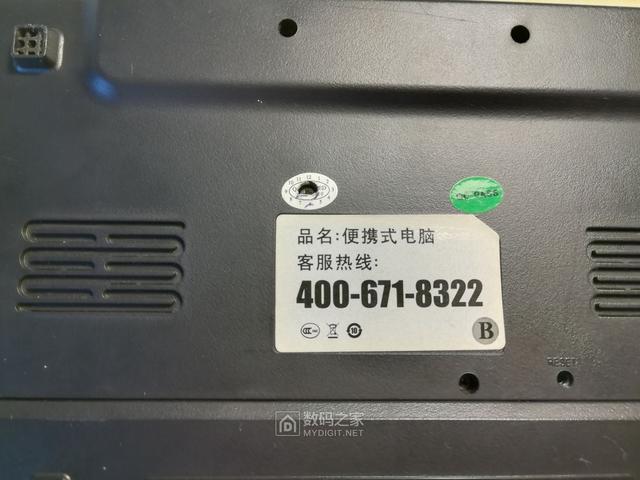
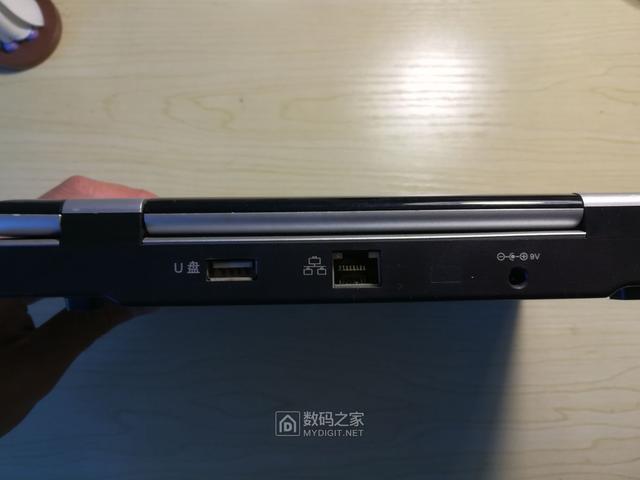
接口还有中文标识
机器目前可以运行,但RTC时钟异常,明天准备开拆,为大家揭露这台骗人笔记本的庐山真面目,并尝试提取机内ROM,大家可以一起研究。
PS:上述图片原创实拍,WindowsCE及机内软件版权归属原软件商,机器内的ROM已经提取,另外还有我之前做过的两版X86下WinCE固件和部分收集的软件(已经做成VHD格式,可使用虚拟机在电脑上启动,比模拟器快)
接下来上拆机图,先来张全家福
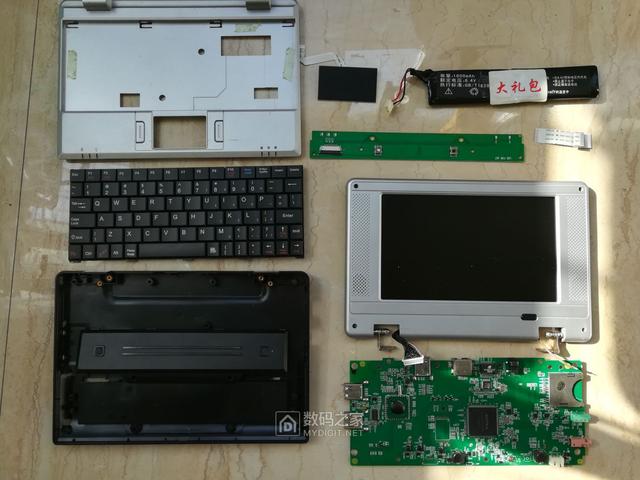
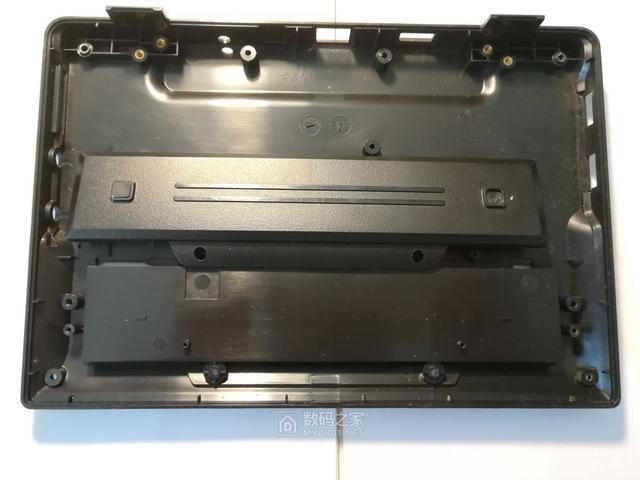
拆开D面所有螺丝,分离机壳

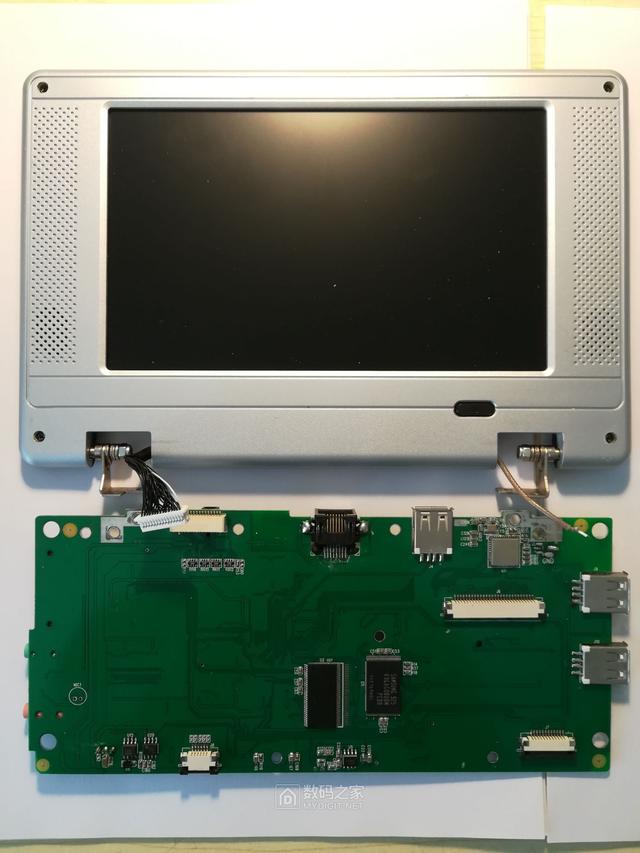
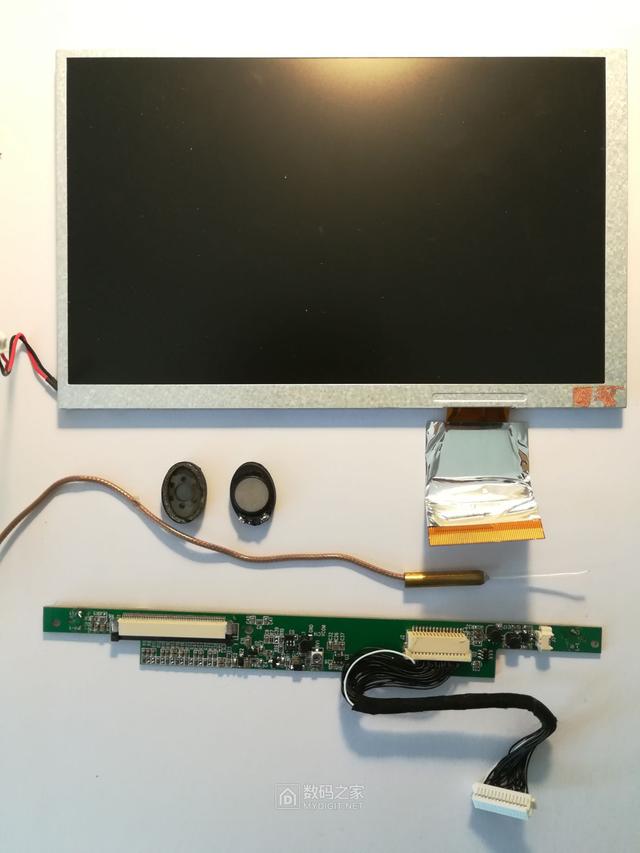
注意主板上有一个螺丝,拆掉他,并断开IO板到主板的FC排线和屏幕接口,拆卸屏轴处4个螺丝,用电烙铁解焊WiFi天线,主板及屏幕如下图
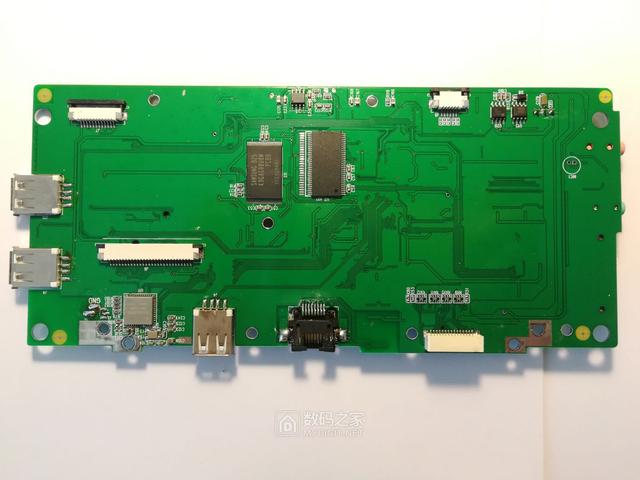
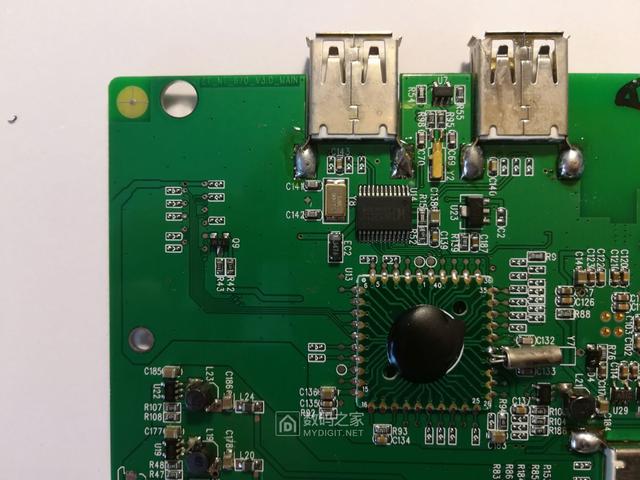
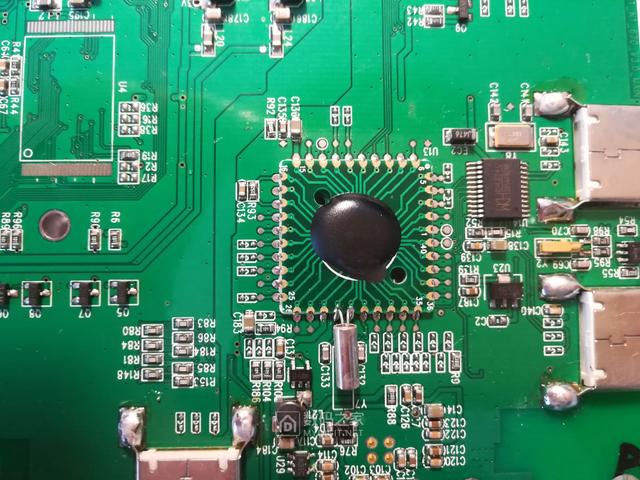
主板正反面如下图,看起来做工类似唱戏机、假冒MP4这类的产品,一点都没有电脑到样子
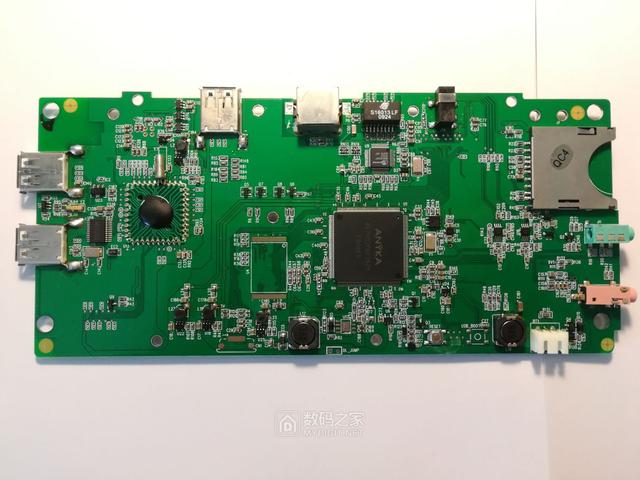
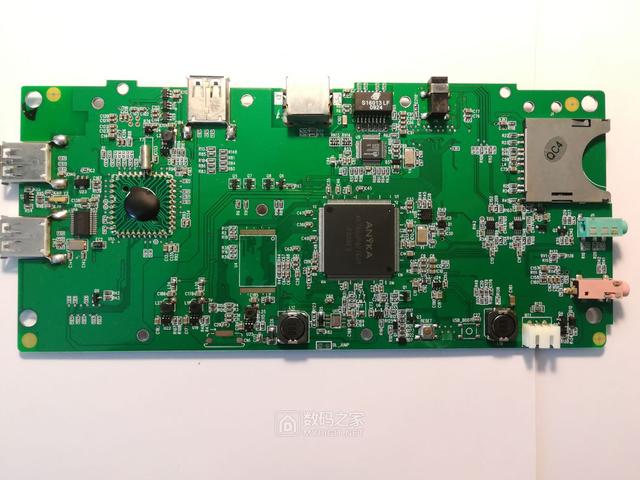
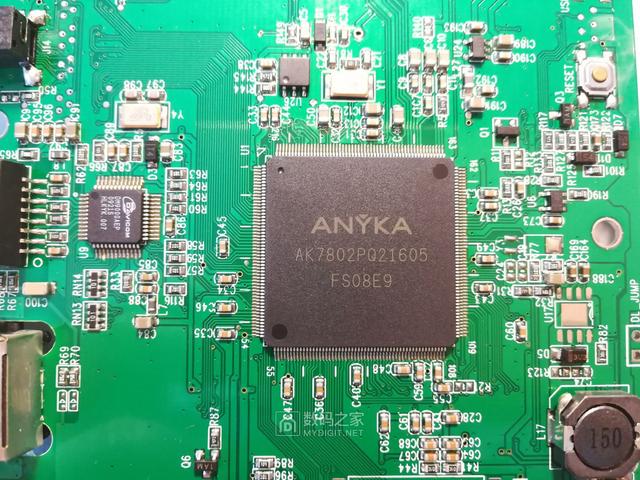
主板上的芯片如下图:ANYKA AK7802PQ21605,文后附电路图下载
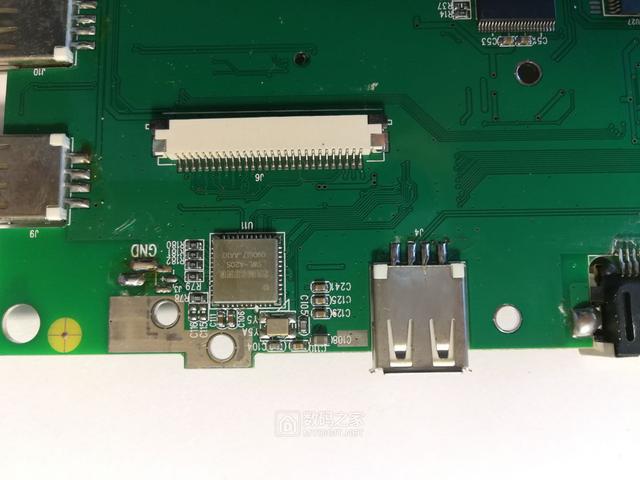

附属电路器件/模块


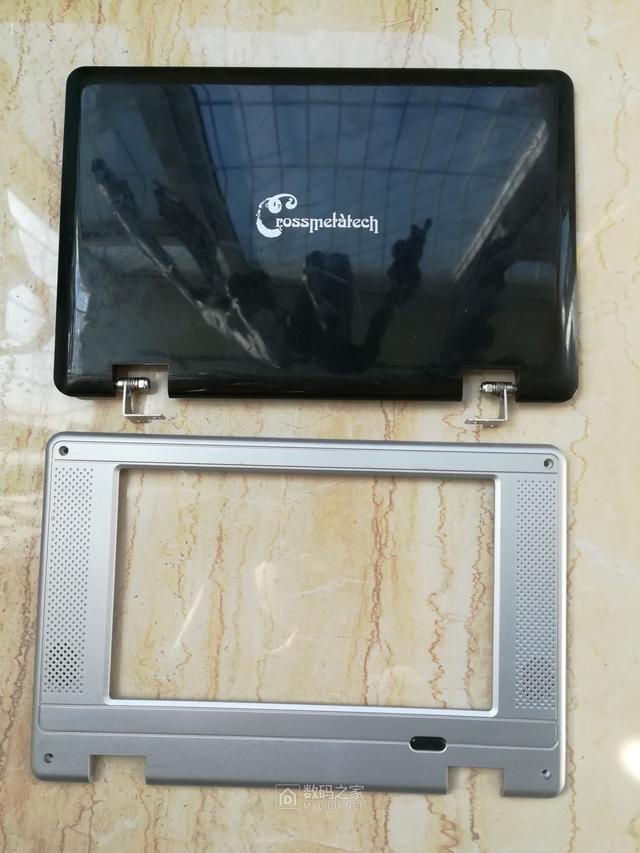
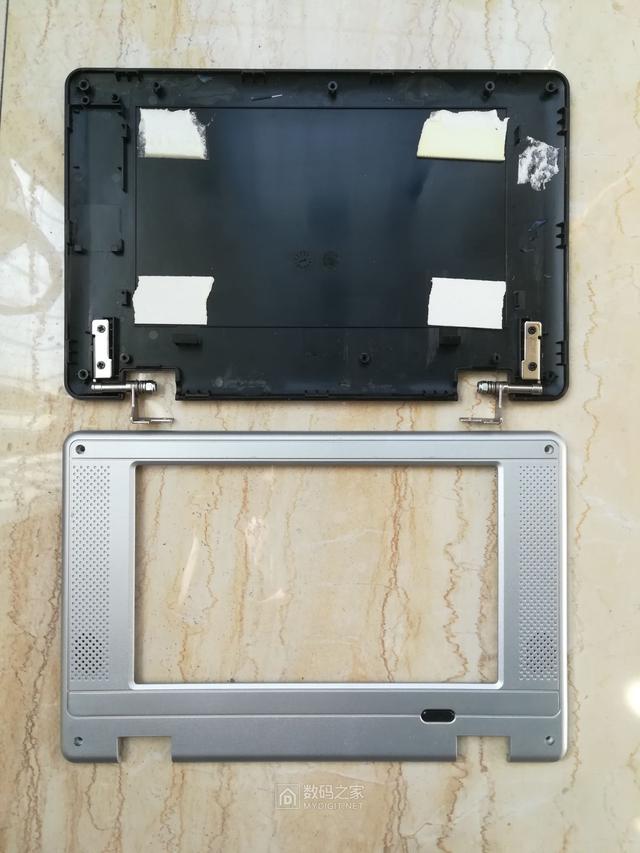
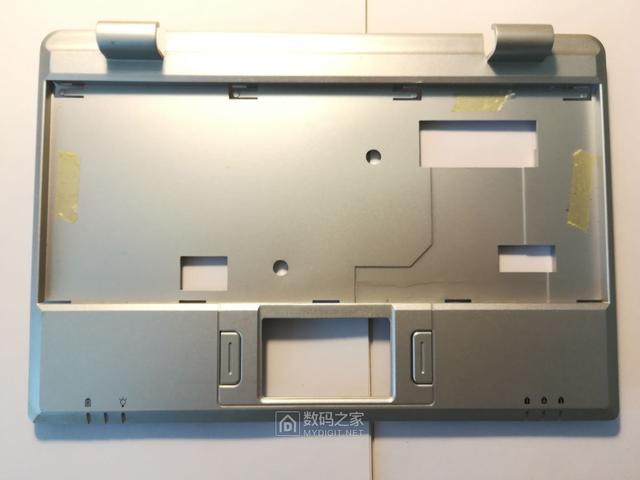
一些外壳和塑料件,塑料感满满,而且材料很差,已经脆了

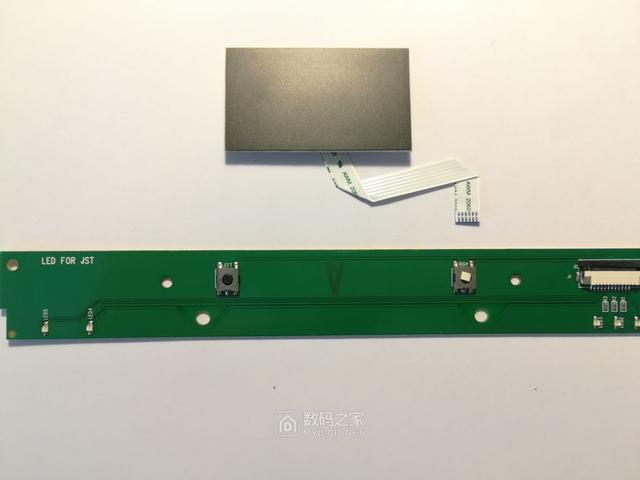
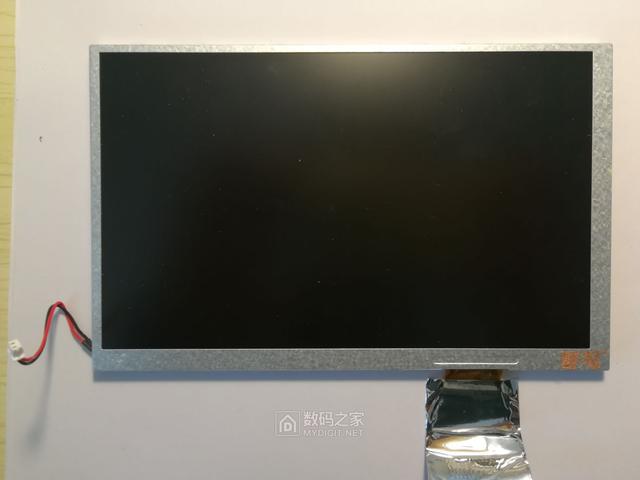
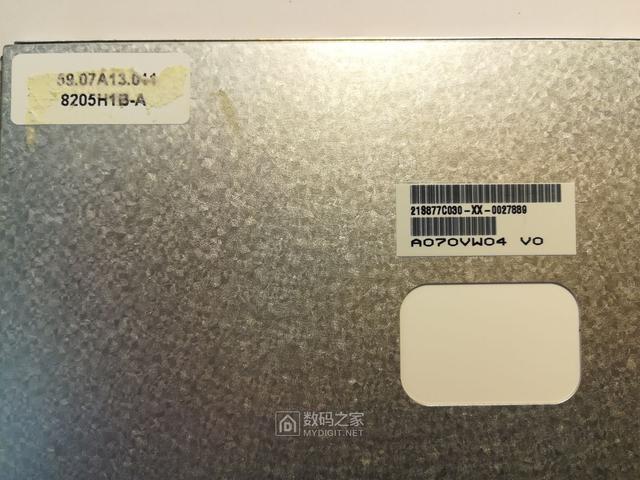
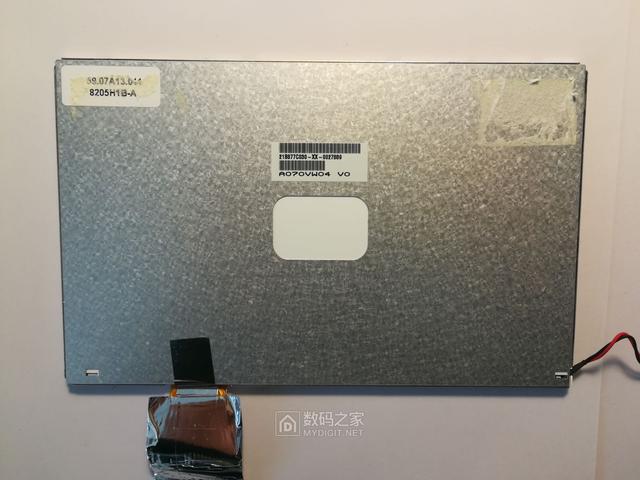
把屏幕拆开了,LCD是LED背光的,分辨率800*480,本身接口60线FC排线,有一个转接板,这个机子很奇葩,开机键安在屏幕转接卡上面,大家有知道如何改装这个屏幕的欢迎交流讨论!
接口固定及电极加焊,晶振加焊,准备和回去了,下面放一些软件界面的图

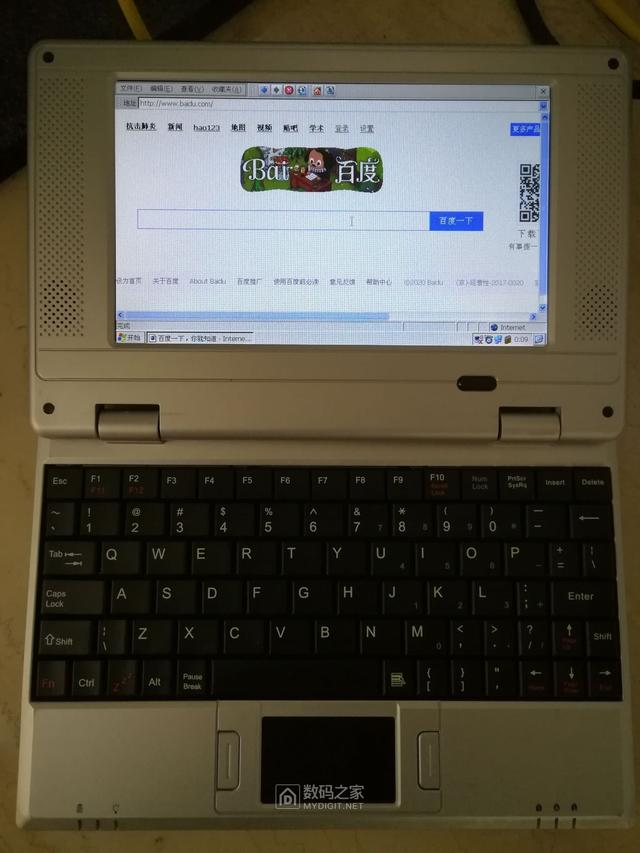
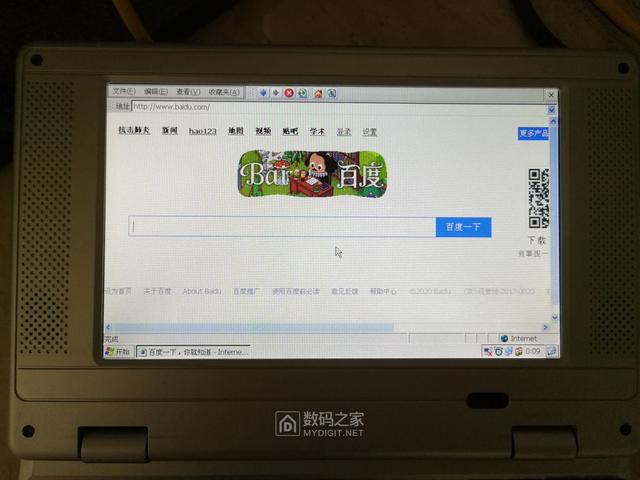
机器内存十分的小,wifi由于不支持新的协议,连不上热点,U盘速度很差,最大支持4GB的2.0U盘,总之就是超差的配置+基本上毫无价值的功能,就是一个能开机的玩具电脑,用LAN可以连上网,但打开网页一个还好,两个超卡,三个及以上直接就死机了。
U盘复制文件超级慢,120MB的东西拷贝了整整10分钟,期间卡卡的。
机器的CPU没有视频硬解,vcd或者MP4基本上没戏了,码率稍微一高直接卡死黑屏,简直连山寨的播放器都不如。此外USB口是基于CH374实现的,无法支持外置WiFi网卡或GPS单元,就是当个导航仪都不行,太坑人了。

由于机器性能基本为零,但基本上全新,故准备拆机内零部件移作他用,目前考虑出了以下玩法:
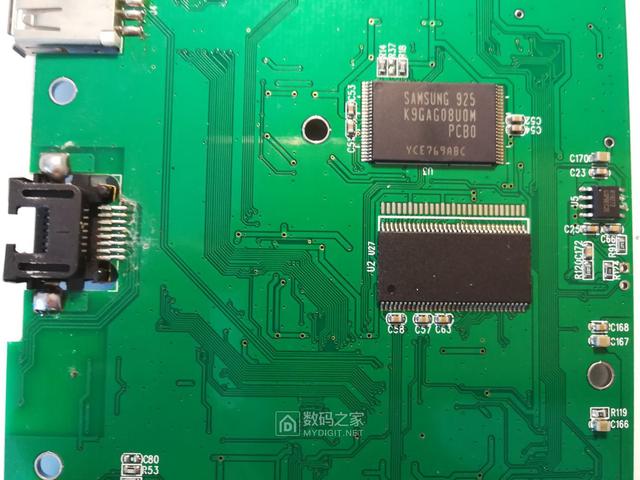
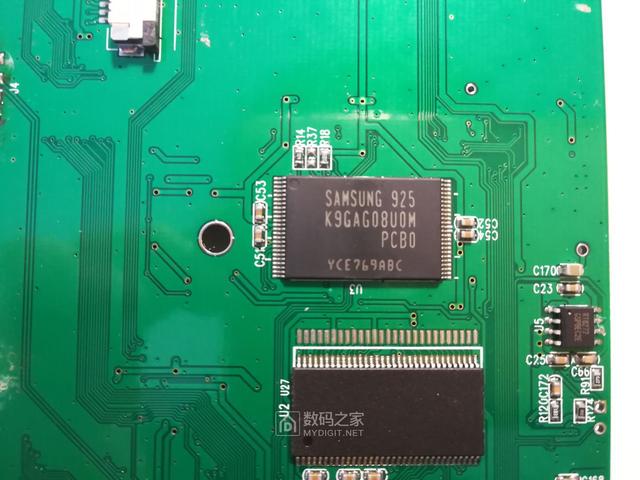
64MB内存颗粒用于升级路由器以支持openwrt;
2GB的NAND颗粒可以造个U盘,装些小文件还是可以的;
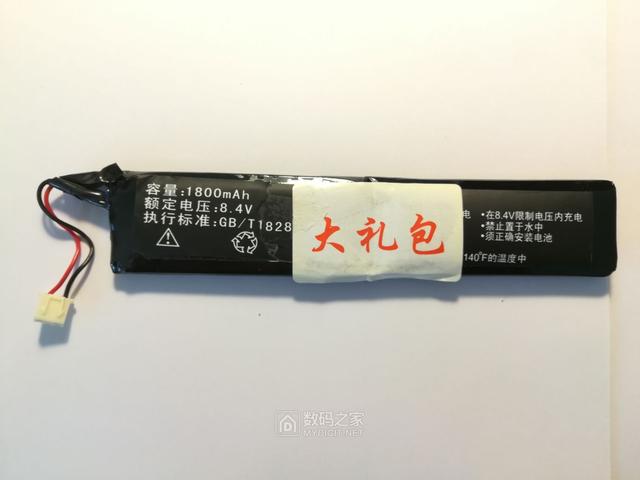
电池拆解开,有两枚电芯,可以用在DIY小玩意,或者改造垃圾铅酸电池的台灯/手电筒/电蚊拍等小电器;
USB口、USB芯片、网口、网变、SD口拆下来,用于科创项目上控制板配件;
触控板改装成标准PS2口,可以插在电脑上使;
屏幕如果可行的话改造一下给树莓派或者机器人主控板(我自己做的,支持VGA+HDMI输出)用;
其他小零件做料板,修东西用;
剩余部分当垃圾扔掉。有其他改造想法,欢迎大家交流,喵喵喵^^
谢谢观看!
关注数码之家网浏览更多精彩资讯、拆机图文DIY
技术交流请联系原作者
作者:beluga98


 12万+
12万+


 被折叠的 条评论
为什么被折叠?
被折叠的 条评论
为什么被折叠?
 到【灌水乐园】发言


