


option = {
backgroundColor: '#1092f5',
tooltip: {
formatter: '{a} <br/>{b} : {c}%'
},
series: [{
name: '业务指标',
type: 'gauge',
axisLabel: {
color: '#fff'
},
axisLine: {
show: true,
lineStyle: {
color: [
[1, new echarts.graphic.LinearGradient(0, 0, 1, 0, [{
offset: 0.1,
color: "#0bacff"
},
{
offset: 0.6,
color: "#2089cf"
},
{
offset: 1,
color: "#0169ec"
}
])]
]
}
},
splitLine: {
lineStyle: {
color: "#eee"
}
},
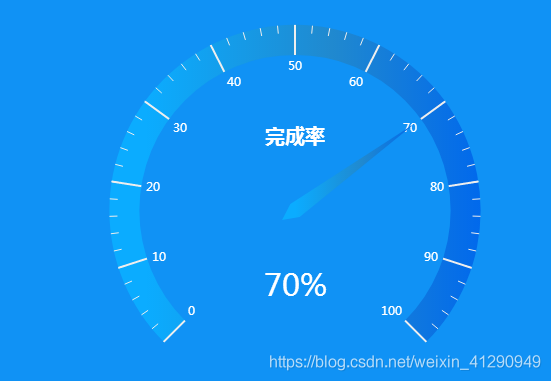
detail: {
color: '#fff',
formatter: '{value}%',
},
title: { //设置仪表盘中间显示文字样式
textStyle: { // 其余属性默认使用全局文本样式,详见TEXTSTYLE
fontWeight: 'bolder',
fontSize: 20,
color: "white"
}
},
data: [{
value: 70,
name: '完成率'
}]
}]
};
Done!


 377
377


 被折叠的 条评论
为什么被折叠?
被折叠的 条评论
为什么被折叠?
 到【灌水乐园】发言


