


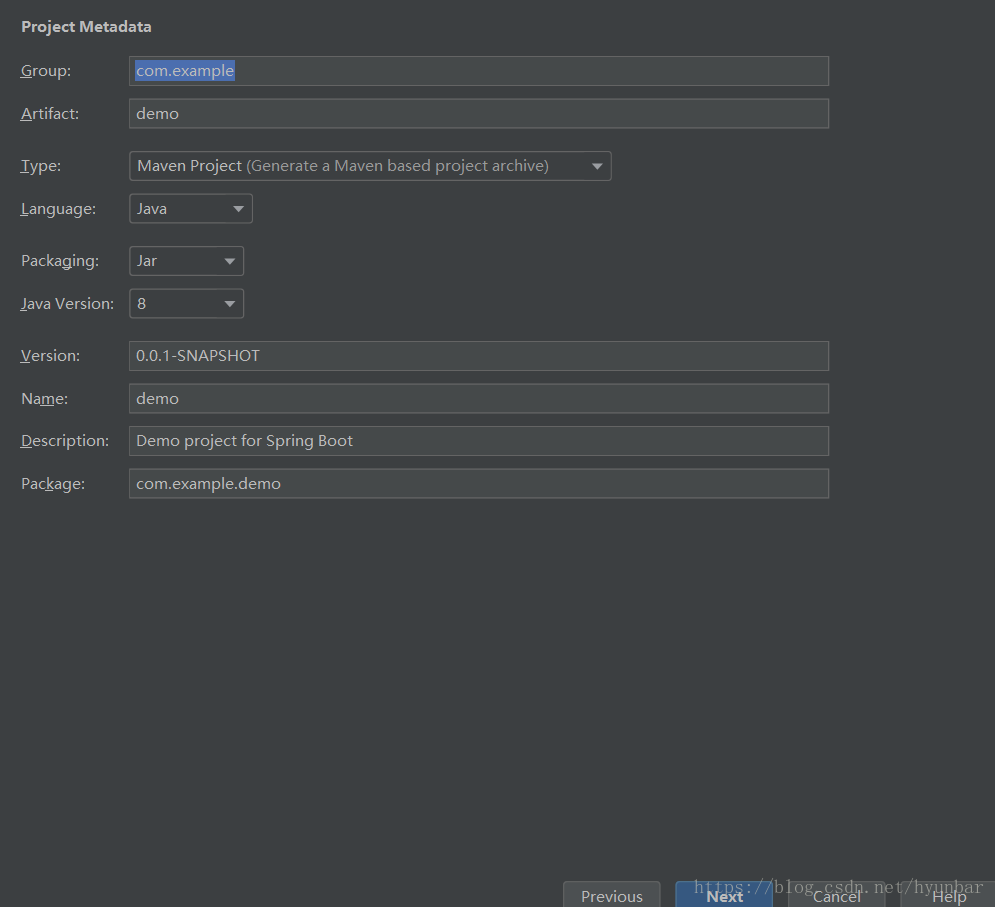
一、创建springboot项目
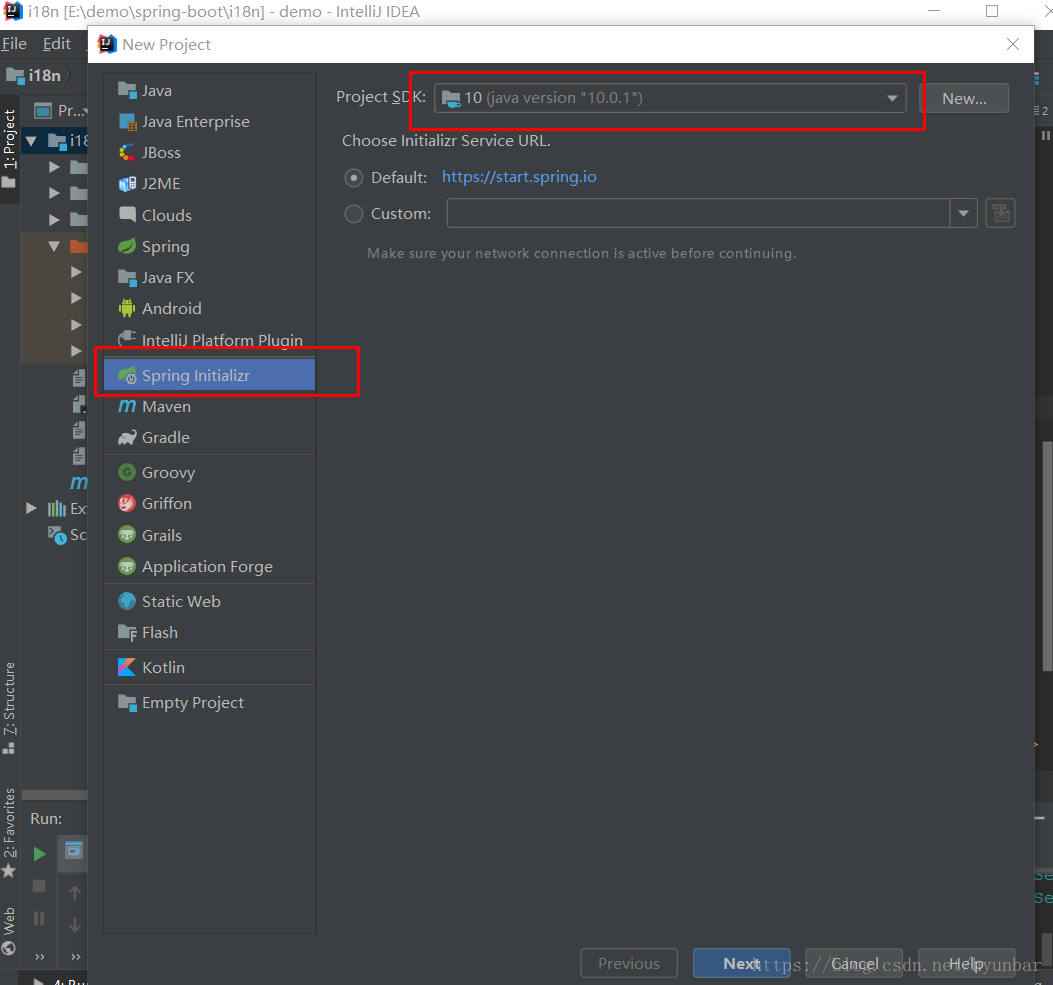
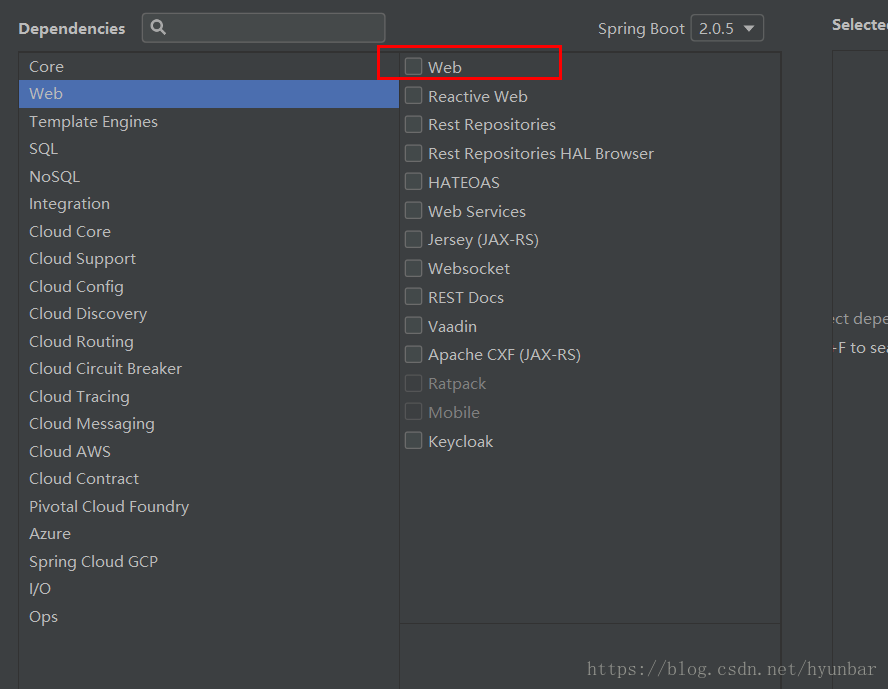
选择web模块
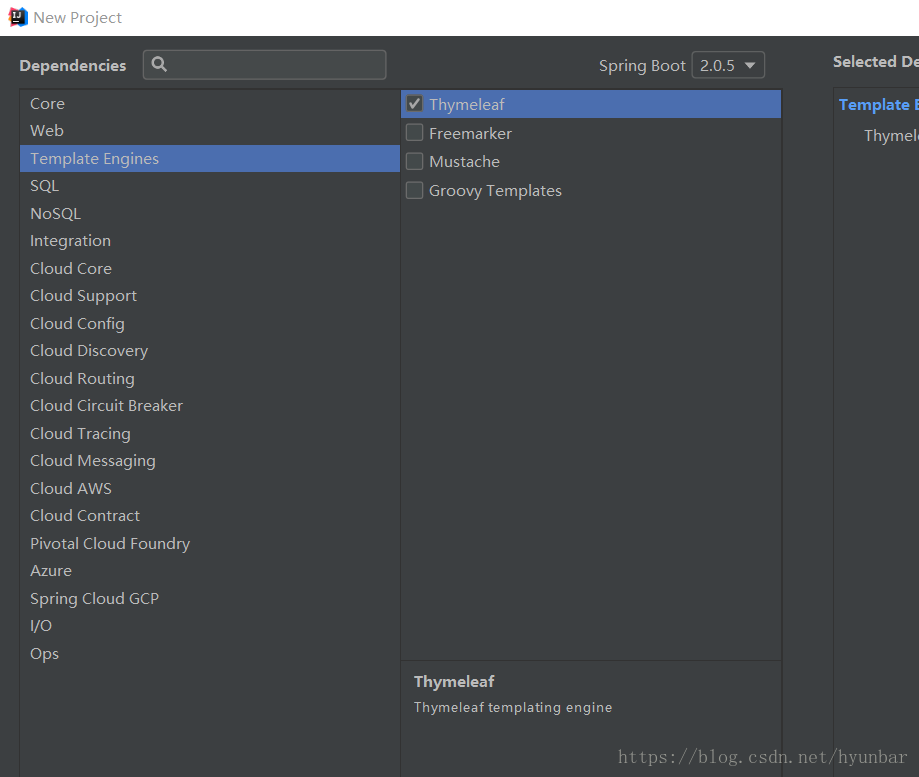
模板引擎选择 Thymeleaf,也可以自己在pom文件中自己引用
二、添加Jquery,和Bootstrap
百度搜索webjar,进入官网
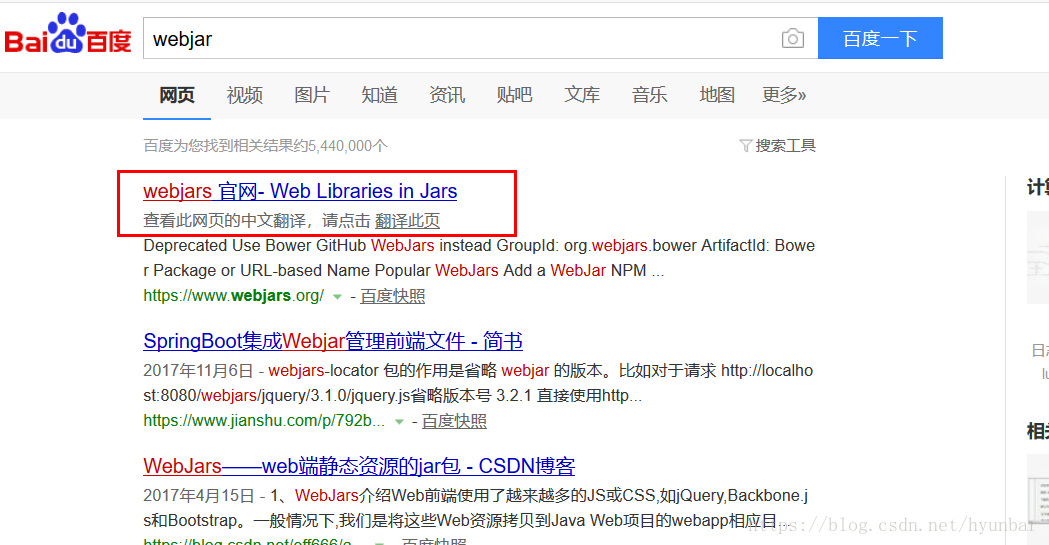
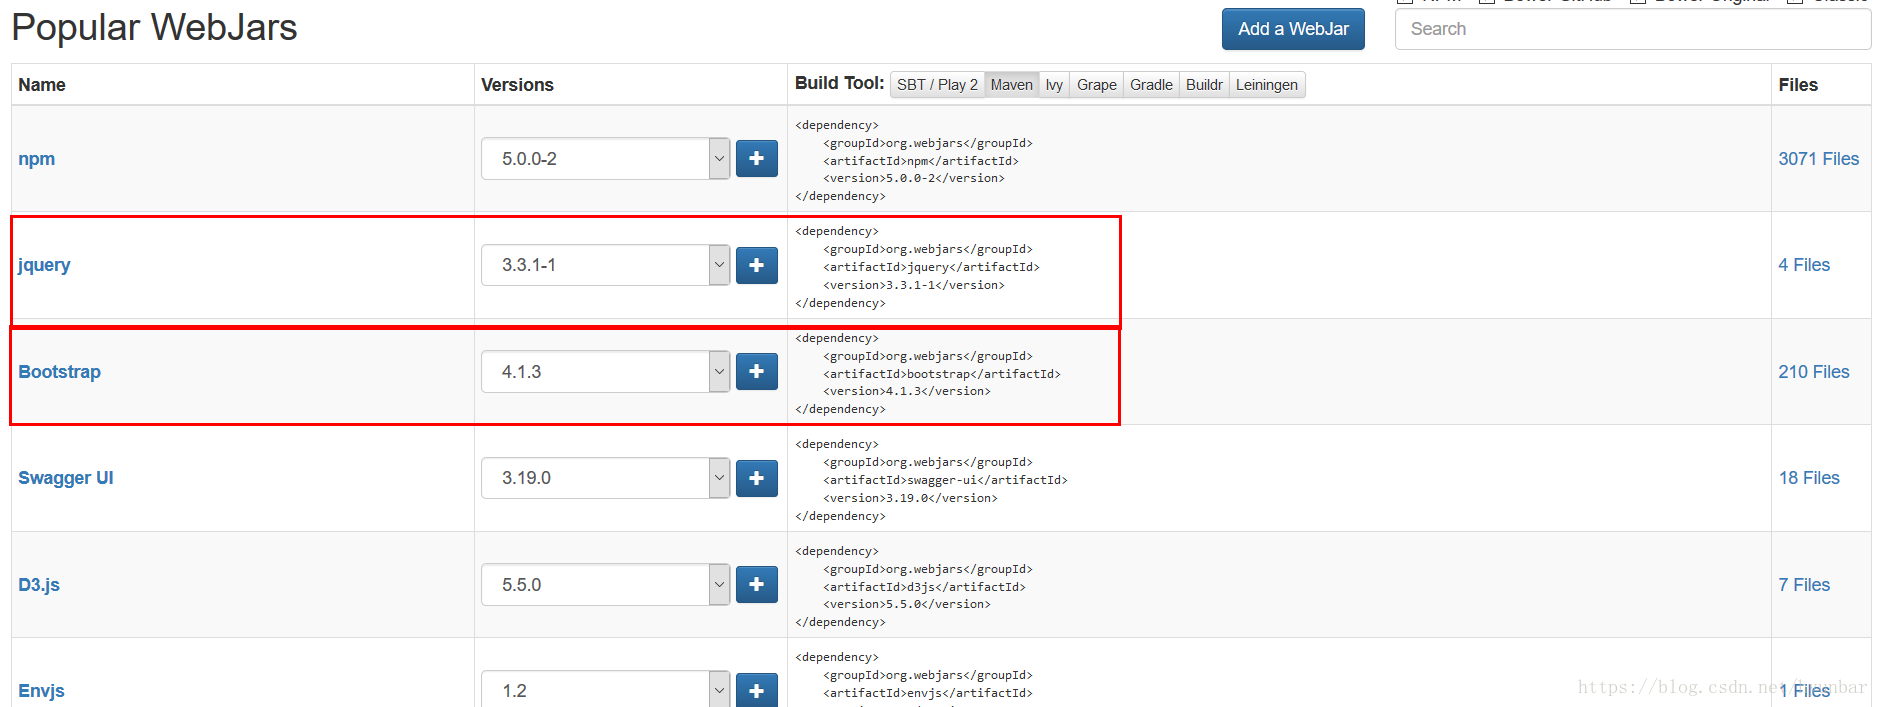
把依赖拷贝下来放在pom文件中,当然可以选择自己要的版本
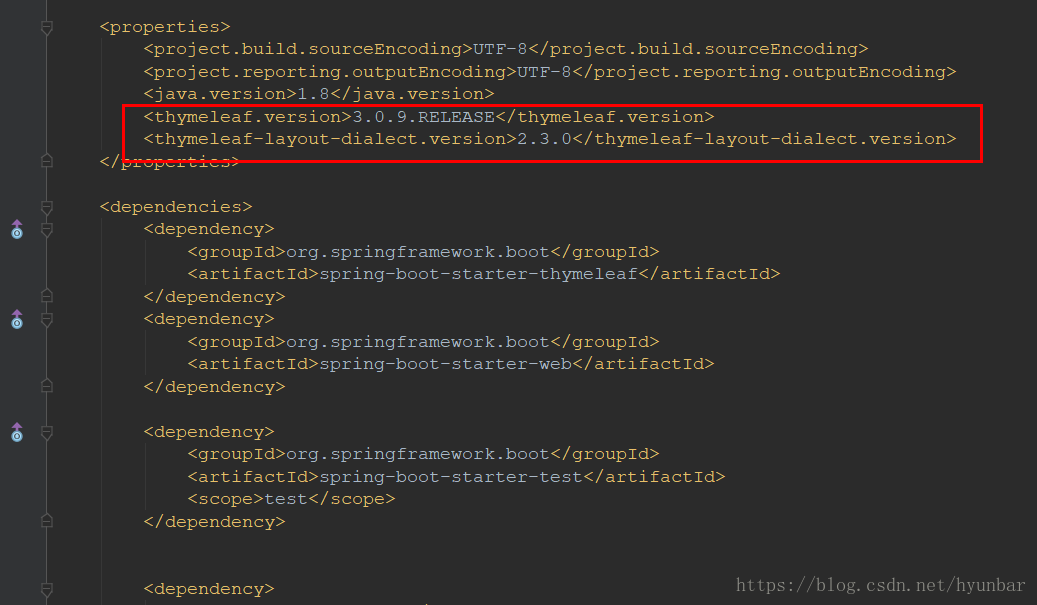
可以设置thymeleaf的版本
thymeleaf-layout是布局的功能
thymeleaf-layout只有2.0以上的版本才支持thymeleaf 3.0
三、Java类,及修改默认配置,注册组件
新建三个包
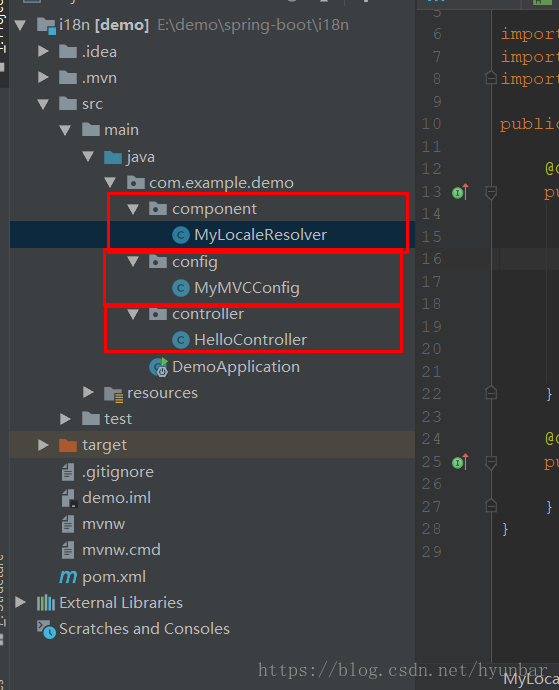
1. component包新建MyLocaleResolver类
用来重写默认国际化设置,可以通过点击中文,Englist来转换,而且不会受浏览器语言的限制
public class MyLocaleResolver implements LocaleResolver {@Override public Locale resolveLocale(HttpServletRequest httpServletRequest) { //获取我们自己传入的参数 String parameter = httpServletRequest.getParameter("l"); //如果没有传入,就返回默认的 Locale locale = Locale.getDefault(); if(!StringUtils.isEmpty(parameter)){ String[] split = parameter.split("_"); locale= new Locale(split[0],split[1]); } return locale; } @Override public void setLocale(HttpServletRequest httpServletRequest, HttpServletResponse httpServletResponse, Locale locale) { }
}
- 1
- 2
- 3
- 4
- 5
- 6
- 7
- 8
- 9
- 10
- 11
- 12
- 13
- 14
- 15
- 16
- 17
- 18
- 19
- 20
2. config包新建MyMVCConfig
来修改一下mvc的一些基本配置,修改登录页的位置
@Configuration public class MyMVCConfig extends WebMvcConfigurerAdapter { @Bean//将组件注册到容器中 public WebMvcConfigurerAdapter webMvcConfigurerAdapter(){ WebMvcConfigurerAdapter adapter = new WebMvcConfigurerAdapter(){@Override public void addViewControllers(ViewControllerRegistry registry){ //浏览器发送 /,/index.html最后都会到login registry.addViewController( "/").setViewName("login"); registry.addViewController( "/index.html").setViewName("login"); } }; return adapter; } //注册我们自己写的国际化设置 @Bean//必须的 public LocaleResolver localeResolver(){ return new MyLocaleResolver(); }
}
- 1
- 2
- 3
- 4
- 5
- 6
- 7
- 8
- 9
- 10
- 11
- 12
- 13
- 14
- 15
- 16
- 17
- 18
- 19
- 20
- 21
- 22
- 23
3. 在controller包中新建HelloController
写我们自己的控制器代码
注释的方法 可以忽略
//此处一定是Controller,如果是RestController,或者加上@ResponseBody,只能返回文本 @Controller public class HelloController { //也可以在这里写一个方法配置login页,不用写2中的webMvcConfigurerAdapter // @RequestMapping({"/","login.html"}) // public String login(){ // return "Login"; // }@ResponseBody @RequestMapping("/hello") public String hello(){ return "Hello World"; }
// @RequestMapping("/success")
// public String success(Model model){
// //classpath:/templates/success.html
// //map.put(“hello”,“快出来”);
// model.addAttribute(“hello”,“粗来”);
// return “success”;
// }
@RequestMapping("/success")
public String success(Map<String,Object> map){
map.put(“hello”,“原来是@RestController的问题”);
return “success”;
}
}
- 1
- 2
- 3
- 4
- 5
- 6
- 7
- 8
- 9
- 10
- 11
- 12
- 13
- 14
- 15
- 16
- 17
- 18
- 19
- 20
- 21
- 22
- 23
- 24
- 25
- 26
- 27
- 28
- 29
- 30
四、写resources
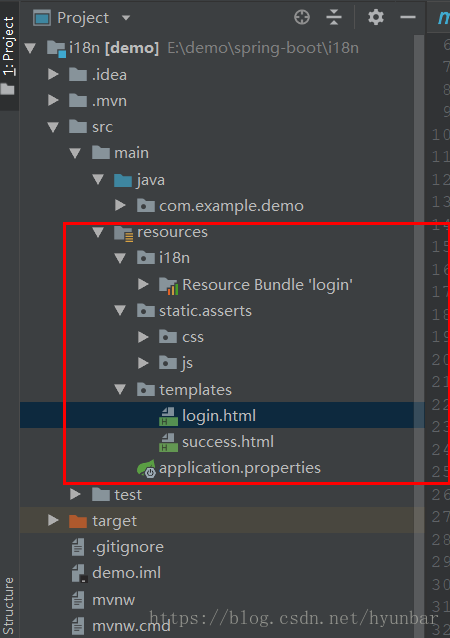
- 在static中新建asserts文件夹,把bootstrap的js和css放在里面
- 在i18n中新建->Resource Bundle->叫做login
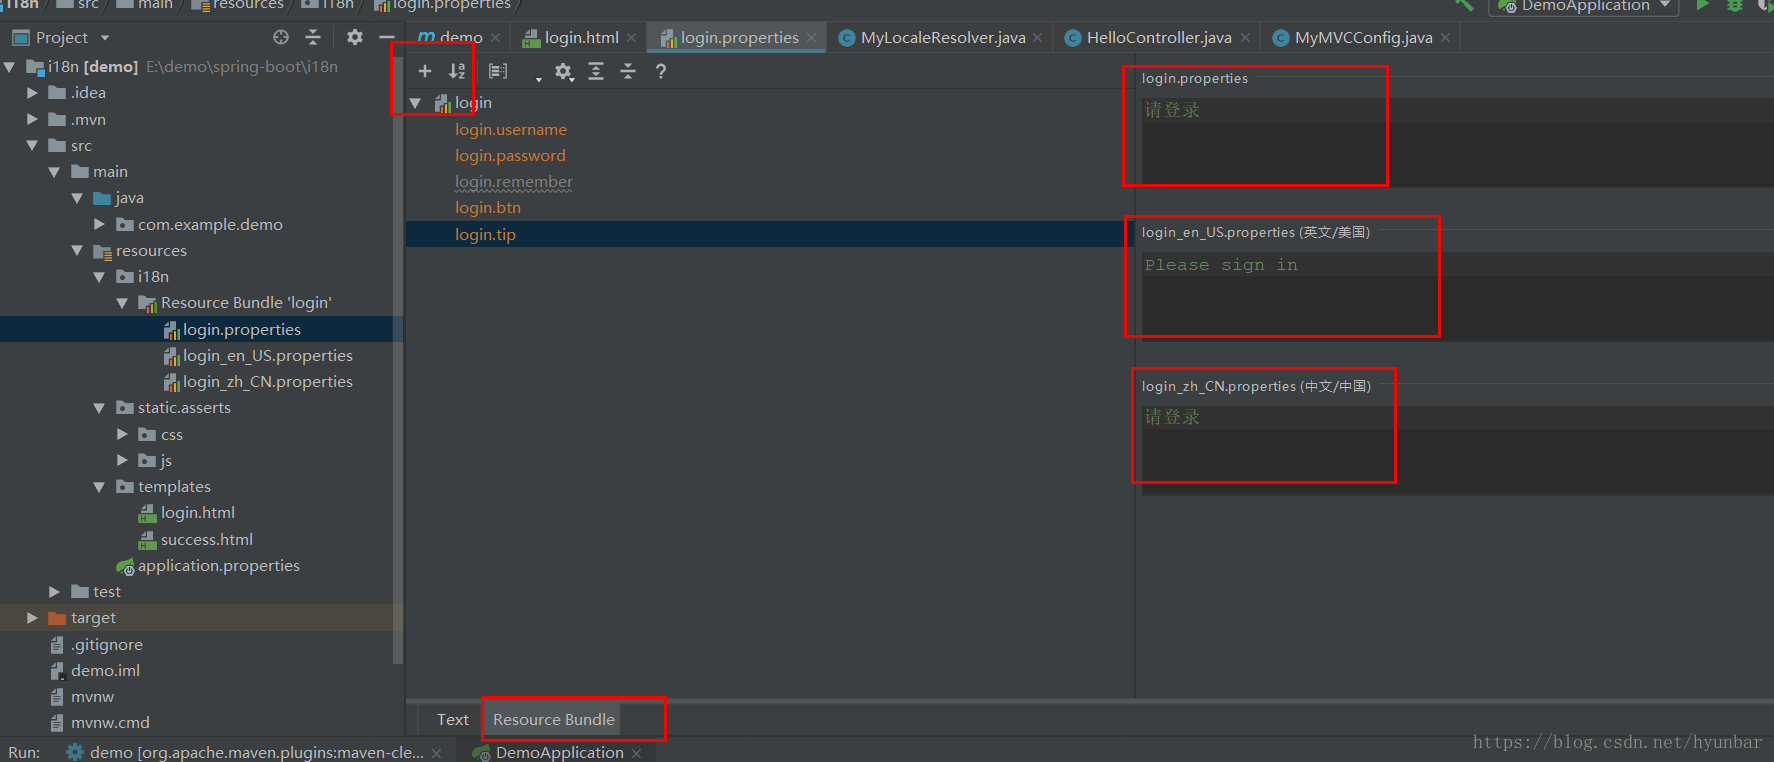
新建三个properties文件,第一个就是默认的
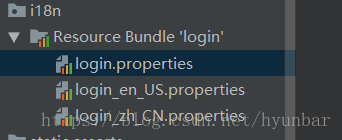
随便选一个进去,选择Resource Bundle,然后新建一个自己需要的,后面就会有默认,中文,英文的,自己添加OK
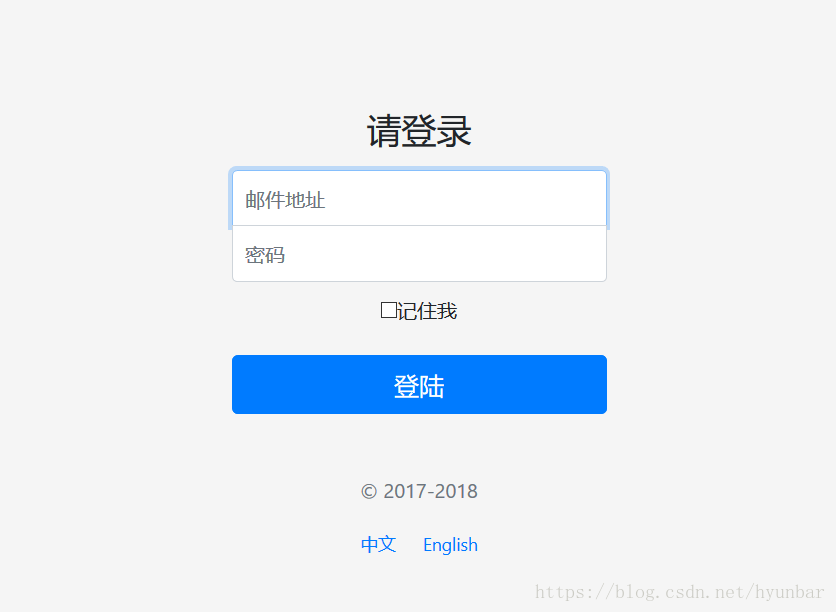
4. bootstrap中登陆页面考进来
全部代码如下:
里面该有的解释都有
thymeleaf都是th:+ 属性来设置
<!doctype html> //引入命名空间 可以 对thymeleaf 提示 <html lang="en" xmlns:th="http://www.thymeleaf.org"> <head> <meta charset="utf-8"> <meta name="viewport" content="width=device-width, initial-scale=1, shrink-to-fit=no"> <meta name="description" content=""> <meta name="author" content=""> //这个我没有弄 <link rel="icon" href="../../../../favicon.ico"><title>Signin Template for Bootstrap</title> <!-- Bootstrap core CSS --> //这个在我们 引用的bootstrap外部库里面,从webjar开始 <link href="asserts/css/bootstrap.min.css" th:href="@{/webjars/bootstrap/4.1.3/css/bootstrap.css}" rel="stylesheet"> <!-- Custom styles for this template --> //我们自己的登陆css <link href="asserts/css/signin.css" th:href="@{/asserts/css/signin.css}" rel="stylesheet">
</head>
<body class=“text-center”>
<form class=“form-signin”>
<img class=“mb-4” src=“https://getbootstrap.com/assets/brand/bootstrap-solid.svg” alt="" width=“72” height=“72”>
//国际化设置
<h1 class=“h3 mb-3 font-weight-normal” th:text="#{login.tip}">Please sign in</h1>
//国际化设置
<label for=“inputEmail” class=“sr-only” th:text="#{login.username}">Email address</label>
//国际化设置
<input type=“email” id=“inputEmail” class=“form-control” placeholder=“Email address” th:placeholder="#{login.username}" required autofocus>
//国际化设置
<label for=“inputPassword” class=“sr-only” th:text="#{login.password}">Password</label>
//国际化设置
<input type=“password” id=“inputPassword” class=“form-control” placeholder=“Password” th:placeholder="#{login.password}" required>
<div class=“checkbox mb-3”>
<label>
//国际化设置
<input type=“checkbox” value=“remember-me” />[[#{login.remember}]]
</label>
</div>
//国际化设置
<button class=“btn btn-lg btn-primary btn-block” type=“submit” th:text="#{login.btn}">Sign in</button>
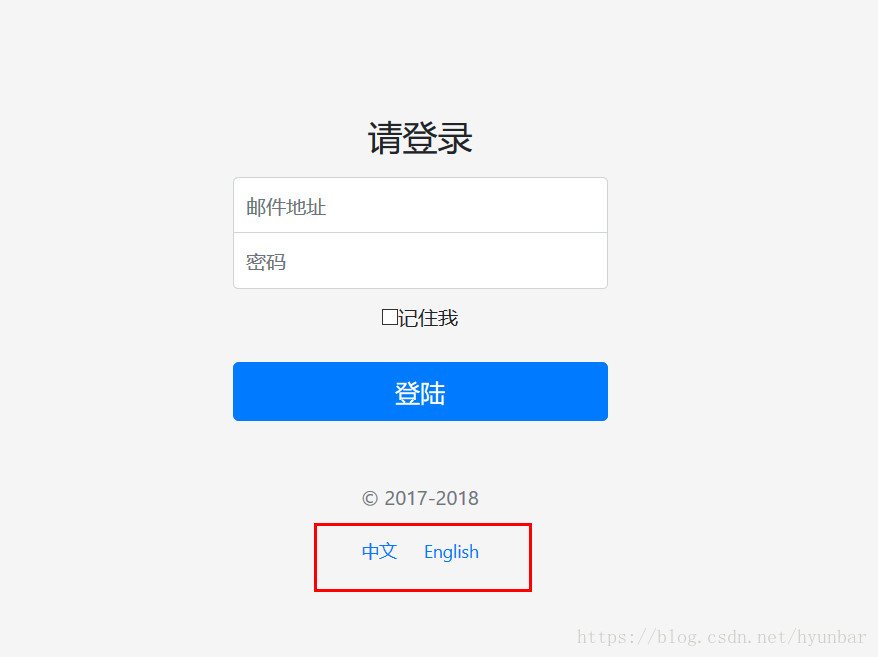
<p class=“mt-5 mb-3 text-muted”>© 2017-2018</p>
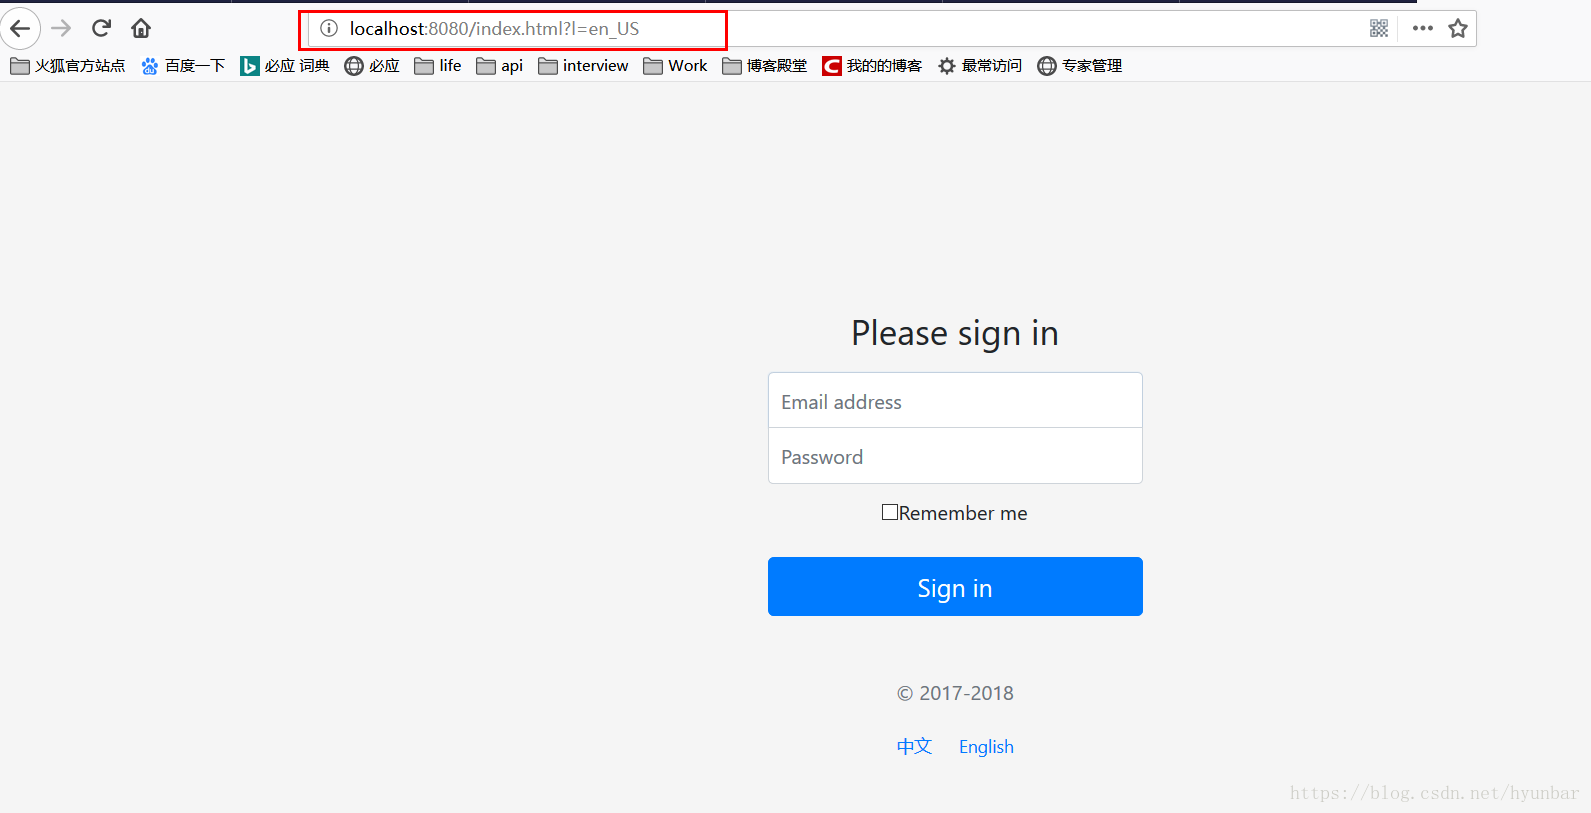
//当点击中文或者Englist的时,会在index.html中加上L的参数,前面在config中我们已经设置了/和/index.html都会到登陆页面去就是login
<a class=“btn btn-sm” th:href="@{/index.html(l=‘zh_CN’)}">中文</a>
<a class=“btn btn-sm” th:href="@{/index.html(l=‘en_US’)}">English</a>
</form>
</body>
</html>
- 1
- 2
- 3
- 4
- 5
- 6
- 7
- 8
- 9
- 10
- 11
- 12
- 13
- 14
- 15
- 16
- 17
- 18
- 19
- 20
- 21
- 22
- 23
- 24
- 25
- 26
- 27
- 28
- 29
- 30
- 31
- 32
- 33
- 34
- 35
- 36
- 37
- 38
- 39
- 40
- 41
- 42
- 43
- 44
- 45
- 46
- 47
- 48
- 49
- 50
- 51
五、在application.properties文件中加入我们写的i18n
spring.messages.basename=i18n.login
- 1
六、测试
默认是中文的,即使把浏览器设置为英文,还是显示中文,
如果要跟随浏览器语言,就把自己写的MyLocaleResolver去掉,就可以根据浏览器语言来切换国际化
点击英文
注意我们浏览器地址的变化,还有那是个L
七、乱码问题
单个项目设置,setting->后面都一样
全局设置,other setting-> File Encodings -> Properties Files ->选择UTF-8把后面转换的那个也勾上

</div>
<link href="https://csdnimg.cn/release/phoenix/mdeditor/markdown_views-b6c3c6d139.css" rel="stylesheet">
<div class="more-toolbox">
<div class="left-toolbox">
<ul class="toolbox-list">
<li class="tool-item tool-active is-like "><a href="javascript:;"><svg class="icon" aria-hidden="true">
<use xlink:href="#csdnc-thumbsup"></use>
</svg><span class="name">点赞</span>
<span class="count"></span>
</a></li>
<li class="tool-item tool-active is-collection "><a href="javascript:;" data-report-click="{"mod":"popu_824"}"><svg class="icon" aria-hidden="true">
<use xlink:href="#icon-csdnc-Collection-G"></use>
</svg><span class="name">收藏</span></a></li>
<li class="tool-item tool-active is-share"><a href="javascript:;"><svg class="icon" aria-hidden="true">
<use xlink:href="#icon-csdnc-fenxiang"></use>
</svg>分享</a></li>
<!--打赏开始-->
<!--打赏结束-->
<li class="tool-item tool-more">
<a>
<svg t="1575545411852" class="icon" viewBox="0 0 1024 1024" version="1.1" xmlns="http://www.w3.org/2000/svg" p-id="5717" xmlns:xlink="http://www.w3.org/1999/xlink" width="200" height="200"><defs><style type="text/css"></style></defs><path d="M179.176 499.222m-113.245 0a113.245 113.245 0 1 0 226.49 0 113.245 113.245 0 1 0-226.49 0Z" p-id="5718"></path><path d="M509.684 499.222m-113.245 0a113.245 113.245 0 1 0 226.49 0 113.245 113.245 0 1 0-226.49 0Z" p-id="5719"></path><path d="M846.175 499.222m-113.245 0a113.245 113.245 0 1 0 226.49 0 113.245 113.245 0 1 0-226.49 0Z" p-id="5720"></path></svg>
</a>
<ul class="more-box">
<li class="item"><a class="article-report">文章举报</a></li>
</ul>
</li>
</ul>
</div>
</div>
<div class="person-messagebox">
<div class="left-message"><a href="https://blog.csdn.net/hyunbar">
<img src="https://profile.csdnimg.cn/D/F/2/3_hyunbar" class="avatar_pic" username="hyunbar">
<img src="https://g.csdnimg.cn/static/user-reg-year/1x/4.png" class="user-years">
</a></div>
<div class="middle-message">
<div class="title"><span class="tit"><a href="https://blog.csdn.net/hyunbar" data-report-click="{"mod":"popu_379"}" target="_blank">hyunbar</a></span>
</div>
<div class="text"><span>发布了181 篇原创文章</span> · <span>获赞 97</span> · <span>访问量 28万+</span></div>
</div>
<div class="right-message">
<a href="https://im.csdn.net/im/main.html?userName=hyunbar" target="_blank" class="btn btn-sm btn-red-hollow bt-button personal-letter">私信
</a>
<a class="btn btn-sm bt-button personal-watch" data-report-click="{"mod":"popu_379"}">关注</a>
</div>
</div>
</div>


 415
415


 被折叠的 条评论
为什么被折叠?
被折叠的 条评论
为什么被折叠?
 到【灌水乐园】发言


