


SeasLog 是一个高效、快速、稳定的 PHP 日志扩展。
SeasLog 需要 PHP 5.2.0 或更高版本。
SeasLog github地址:https://github.com/SeasX/SeasLog
在安装完了php后,如何单独安装SeasLog扩展呢?
首先需要去到github地址,下载SeasLog的源码包,并且上传到Linux服务器上。
解压后,进入SeasLog目录。
第一步:
执行 sudo /usr/local/php/bin/phpize
执行成功后,会成功显示php当前api版本,以及zend module版本,和当前SeasLog Extension的版本。
三者不一定要完全一样,只要版本差异不太大,一般都能通过编译安装。
第二步:
执行 sudo ./configure –with-php-config=/usr/local/php/bin/php-config
sudo make
sudo make test
sudo make install
执行完后会看到输出extension的路径,保存好路径,在配置中需要用。
第三步:
编辑php.ini配置文件,在配置文件中加入github页面上的配置信息。
在extension的值前面加上第二步中输出的extension路径。
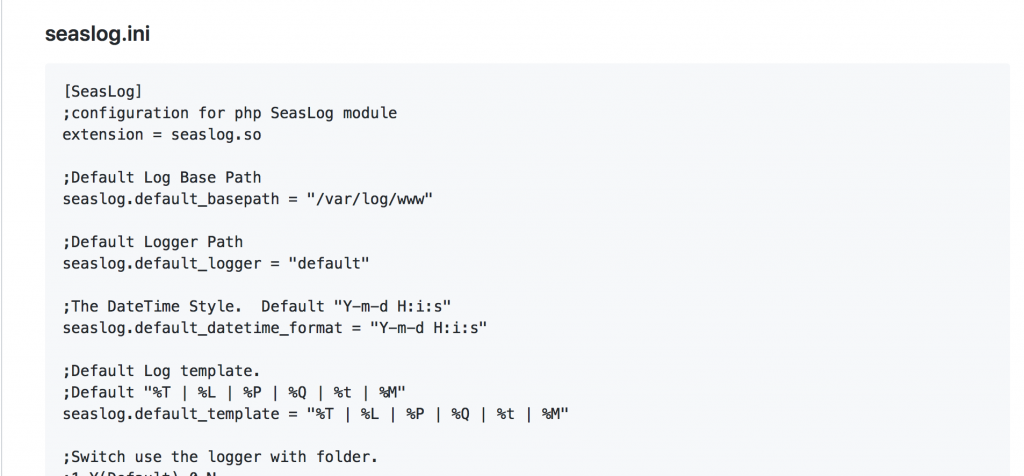 配置可以去到github页面拷贝
如果没有保存,不知道seaslog.so在什么位置,可以用 sudo find / -name ‘seaslog.so’ 全局搜索下。
第四步:
重启php-fpm或者apache,访问phpinfo就可以看到SeasLog模块开启成功了。
使用SeasLog打印日志是十分方便的。
参考官方例子:
SeasLog::log(SEASLOG_ERROR,'this is a error test by ::log');
SeasLog::debug('this is a {userName} debug',array('{userName}' => 'neeke'));
SeasLog::info('this is a info log');
SeasLog::notice('this is a notice log');
SeasLog::warning('your {website} was down,please {action} it ASAP!',array('{website}' => 'github.com','{action}' => 'rboot'));
SeasLog::error('a error log');
SeasLog::critical('some thing was critical');
SeasLog::alert('yes this is a {messageName}',array('{messageName}' => 'alertMSG'));
SeasLog::emergency('Just now, the house next door was completely burnt out! {note}',array('{note}' => 'it`s a joke'));


 104
104


 被折叠的 条评论
为什么被折叠?
被折叠的 条评论
为什么被折叠?
 到【灌水乐园】发言


