


Android连载10-动态添加页面、创建一个新闻app
一、动态规划界面的大小
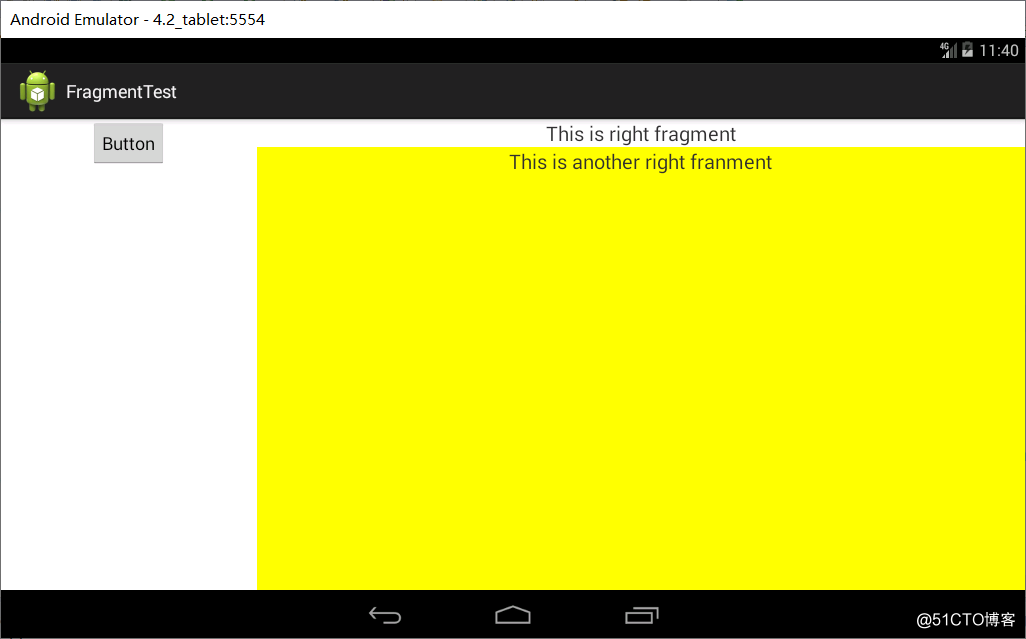
1.我们在res的文件夹里面创建一个新的文件夹large_fragment用来,然后写一个界面,activity_main.xml文件,用于存储平板电脑等一些分辨率高的界面。也就是说小屏幕使用正常activity_main文件、大屏幕就使用large_fragment文件夹里面的界面。
android:layout_width="match_parent"
android:layout_height="match_parent" >
android:id="@+id/left_fragment"
android:name="com.example.fragmenttest.LeftFragment"
android:layout_height="match_parent"
android:layout_width="match_parent" />
<?xml version="1.0" encoding="utf-8"?>
android:layout_width="match_parent"
android:layout_height="match_parent" >
android:name="com.example.fragmenttest.LeftFragment"
android:layout_width="0dp"
android:layout_height="match_parent"
android:layout_weight="1" />
android:name="com.example.fragmenttest.RightFragment"
android:layout_width="0dp"
android:layout_height="match_parent"
android:layout_weight="3" />
LinearLayout>
二、精准选择界面
1.我们在res下面建一个文件夹layout-sw600dp,这个就意味着如果屏幕的宽度小于600dp的时候,则会默认加载这个文件夹下面的activity_main界面。
<?xml version="1.0" encoding="utf-8"?>
android:layout_width="match_parent"
android:layout_height="match_parent" >
android:name="com.example.fragment.LeftFragment"
android:layout_width="0dp"
android:layout_height="match_parent"
android:layout_weight="1" />
android:name="com.example,fragmenttest.RightFragment"
android:layout_width="0dp"
android:layout_height="match_parent"
android:layout_weight="3" />
LinearLayout>
三、我们在编写app的时候总不能需要维护两套代码,但是我们接下来将会探究如果能够编写一个同时兼容电脑和手机的app。
我们建立一个新闻的app,下面先写一个新闻类,具体的细节我们下次在写。
package com.example.fragmentbestpractice;public class News {
private String title;
private String content; public String getTitle() { return title;
} public void setTitle(String title) { this.title = title;
} public String getContent() { return content;
} public void setContent(String content) { this.content = content;
}
}


 1140
1140


 被折叠的 条评论
为什么被折叠?
被折叠的 条评论
为什么被折叠?
 到【灌水乐园】发言


