


本文转自测试人社区,原文链接: https://ceshiren.com/t/topic/31775
一、pytest 插件
1.1 插件分类
- 外部插件:
pip install安装的插件 - 本地插件:
pytest自动模块发现机制(conftest.py存放的) - 内置插件:代码内部的
_pytest目录加载
1.2 常用插件
二、pytest 执行顺序控制
- 场景:
- 对于集成测试,经常会有上下文依赖关系的测试用例。
- 比如10个步骤,拆成10条case,这时能知道到底执行到哪步报错。
- 用例默认执行顺序:自上而下执行。
- 解决:
- 可以通过
setup,teardown和fixture来解决; - 也可以使用对应的插件。
- 安装:
pip install pytest-ordering
- 用法:
@pytest.mark.run(order=2)
- 注意:
- 多个插件装饰器(>2)时,可能会发生冲突。
三、pytest测试用例并行运行与分布式
3.1 pytest并行与分布式执行
- 场景1:
- 测试用例1000条,一条用例执行1分钟,一个测试人员执行需要1000分钟。
- 通常我们会用人力成本换取时间成本,加几个人一起执行,时间就会缩短。
- 如果10个人一起执行只需要100分钟,这就是一种分布式场景。
- 场景2:
- 假设有个报名系统,对报名总数统计,数据同时进行修改操作的时候,有可能会出现问题,需要模拟这个场景,就需要多用户并发请求数据。
- 解决:
- 使用分布式并发执行测试用例;
- 分布式插件:
pytest-xdist; - 安装运行:
pip install pytest-xdist
- 注意:
- 用例多的时候效果明显,多进程并发执行,同时支持allure。
3.2 分布式执行测试用例的原则
- 用例之间是独立的,不要有依赖关系;
- 用例执行没有顺序,随机顺序都能正常运行;
- 每个用例都能重复运行,运行结果不会影响其他用例。
四、pytest内置插件hook体系
4.1 pytest hook 介绍
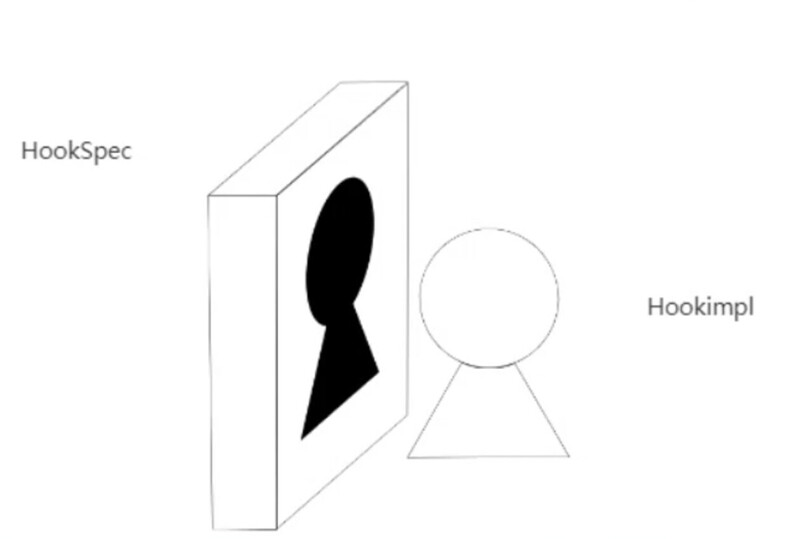
hook是个函数,在系统消息触发时被系统调用;- 自动触发机制;
hook函数的名称是确定的;pytest有非常多的hook函数;- 使用时直接编写函数体。
4.2 pytest hook执行顺序
4.3 简单示例
4.4 总结
hook函数名字固定;hook函数会被自动执行;- 执行是有先后顺序的;
pytest定义了很多hook函数,可以在不同阶段实现不同的功能。
五、pytest编写自己的插件
5.1 修改默认编码
pytest_collection_modifyiterms收集上来的测试用例,实现定制化功能。- 解决问题:
- 自定义用例的执行顺序;
- 解决编码问题(中文的测试用例名称);
- 自动添加标签。
- 含有中文的测试用例名称,改写编码格式:
5.2 添加命令行参数
5.3 打包发布
- 打包发布到pypi:
- 代码上传到:github
- 打包项目构成:
- 源码包;
- setup.py;
- 测试包。


 583
583

 被折叠的 条评论
为什么被折叠?
被折叠的 条评论
为什么被折叠?
 到【灌水乐园】发言


