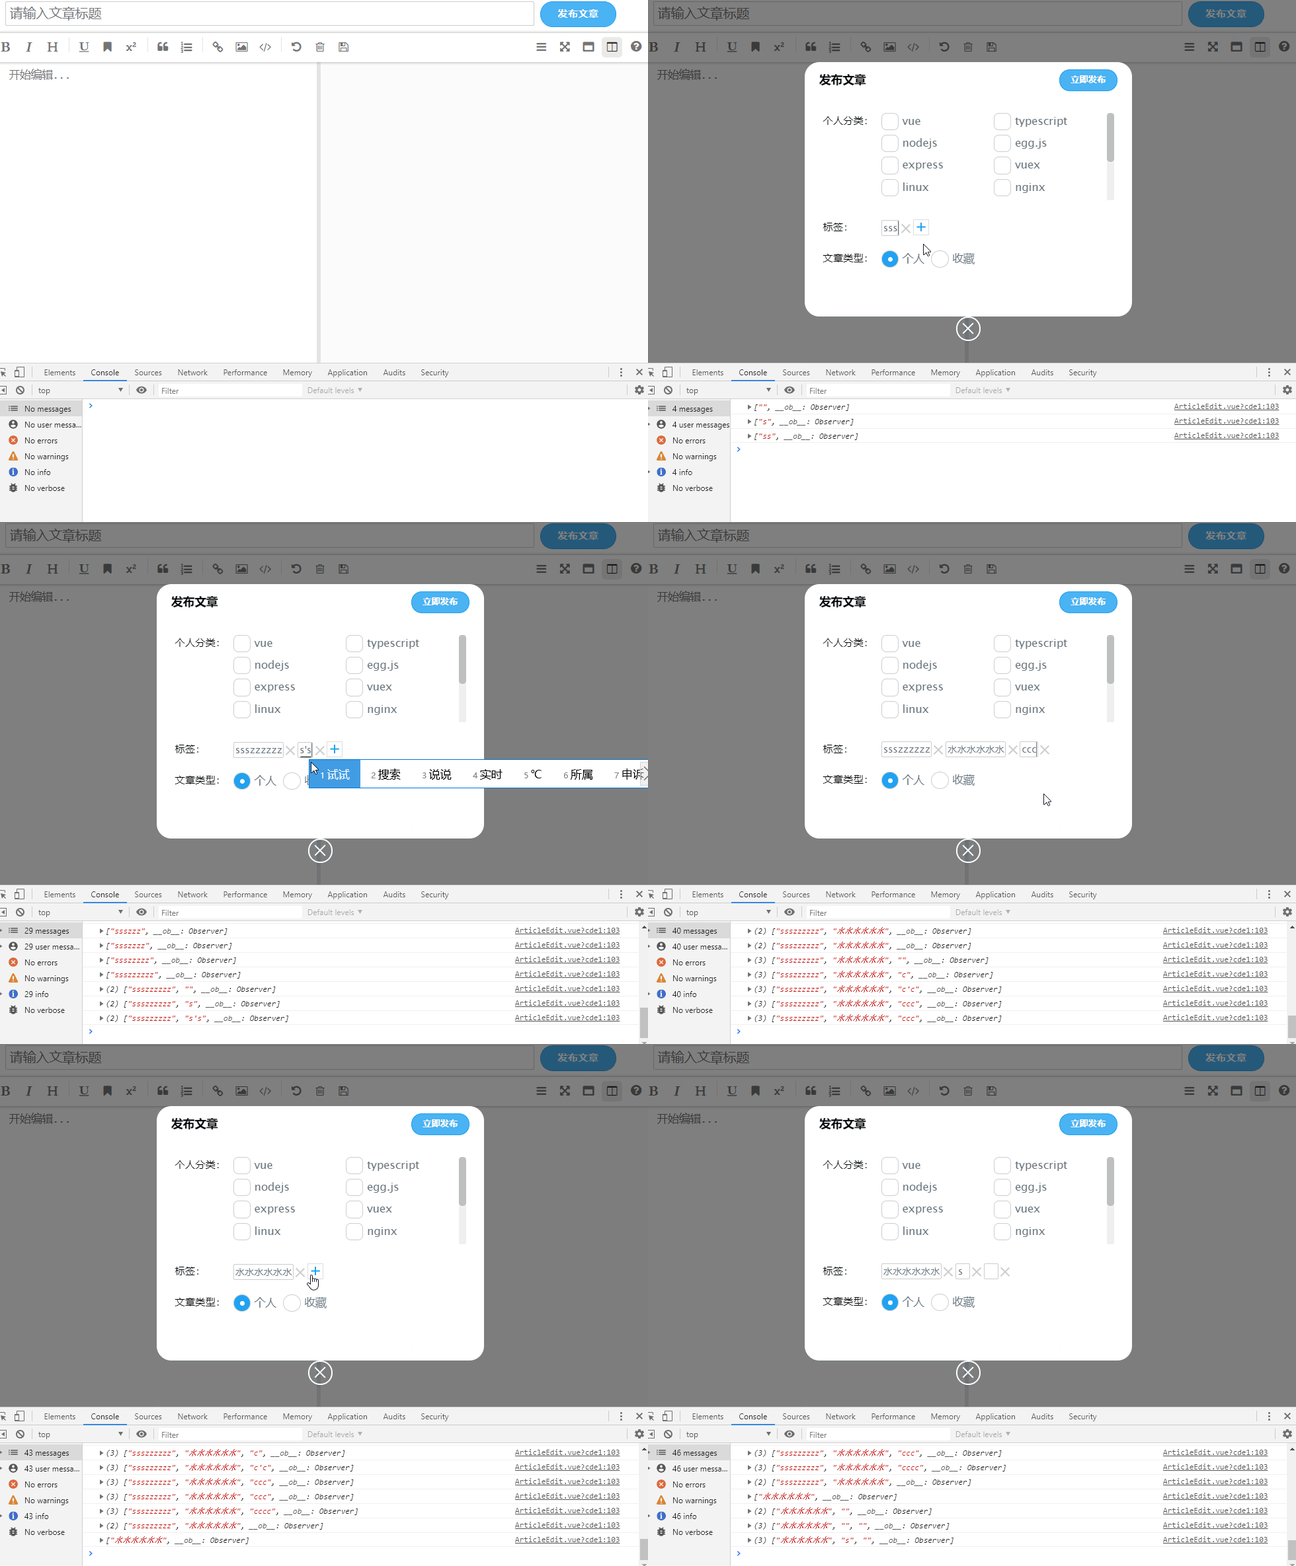
最近在写自己个人博客时,发布文章功能需要一个添加标签组件。点击加号,输入文本。就写了一个TagInputer组件,中间遇到了一些麻烦 跟大家分享一下
遇到的问题:
- input需要根据内容自适应宽度
- 绑定contenteditable元素的值
效果展示

TagInputer.vue
<template>
  <div class="tag-inputer-wrap">
    <div class="input-wrap" v-for="(item,index) in tags" v-bind:key="index">
      <div
        class="my-input"
        contenteditable="true"
        v-text="item"
        @input="handleOnInput($event,index)"
      ></div>
      <div class="cross" @click="removeTag(index)"></div>
    </div>
    <div class="plus" @click="pushTag" v-if="tags.length !== mmax">
      <div class="plus-icon"></div>
    </div>
  </div>
</template>
<script>
export default {
  data() {
    return {
      tags: [],
      mmax: 3
    };
  },
  props: ["max"],
  methods: {
    pushTag() {
      const temp = JSON.parse(JSON.stringify(this.tags));
      temp.push("");
      this.tags = temp;
      this.$emit("change", this.tags);
    },
    removeTag(index) {
      const temp = JSON.parse(JSON.stringify(this.tags));
      temp.splice(index, 1);
      this.tags = temp;
      this.$emit("change", this.tags);
    },
    handleOnInput(e, index) {
      this.tags[index] = e.target.innerText;
      this.$emit("change", this.tags);
    }
  },
  mounted() {
    if (this.max) {
      this.mmax = this.max;
    } else {
      this.mmax = 3;
    }
  }
};
</script>
<style scoped lang="scss">
.tag-inputer-wrap {
  .input-wrap {
    display: inline-block;
    .my-input {
      color: #66757f;
      display: inline-block;
      height: 22px;
      min-width: 20px;
      max-width: 100px;
      outline: none;
      overflow: hidden;
      vertical-align: bottom;
      border: 1px solid #cccccc;
      margin-right: 3px;
      text-indent: 3px;
      font-size: 13px;
      box-sizing: border-box;
      border-radius: 2px;
    }
    .cross {
      // 画叉
      width: 16px;
      height: 16px;
      position: relative;
      display: inline-block;
      vertical-align: middle;
      &:hover {
        cursor: pointer;
      }
    }
    .cross::before,
    .cross::after {
      content: "";
      position: absolute;
      height: 16px;
      width: 1.5px;
      right: 9px;
      background: #cccccc;
    }
    .cross::before {
      transform: rotate(45deg);
    }
    .cross::after {
      transform: rotate(-45deg);
    }
  }

  .plus {
    // 画加号
    &:hover {
      cursor: pointer;
    }
    &:active {
      opacity: 0.7;
    }
    box-sizing: border-box;
    display: inline-block;
    width: 22px;
    height: 22px;
    border: 1px solid #ddd;
    line-height: 22px;
    text-align: center;
    .plus-icon {
      display: inline-block;
      background: $twitter-blue;
      height: 12px;
      position: relative;
      width: 2px;
    }

    .plus-icon:after {
      background: $twitter-blue;
      content: "";
      height: 12px;
      left: 0;
      position: absolute;
      top: 0;
      width: 2px;
      transform: rotateZ(90deg);
    }
  }
}
</style>
博客地址:https://github.com/pppercyWang/twitter-blog-vue


 302
302


 被折叠的 条评论
为什么被折叠?


