


####CIFS文件系统(一个为windows系统,一个为linux系统时,文件共享)
首先下载这三个软件
yum install samba samba-client samba-common -y
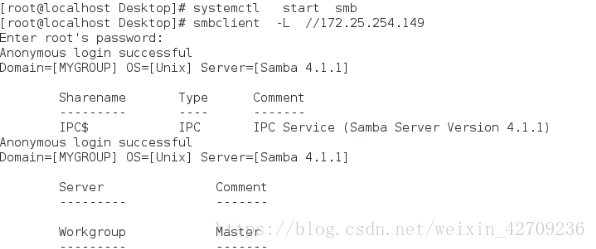
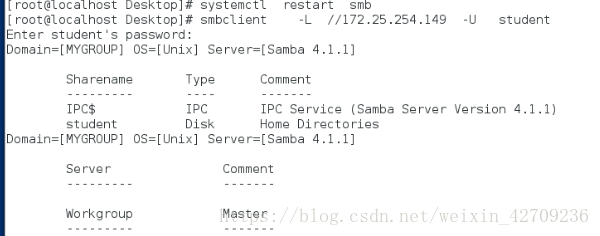
systemctl start smb ##开启软件
vim /etc/hosts(有时候做解析,有时侯不加)
smbclient -L //172.25.254.149
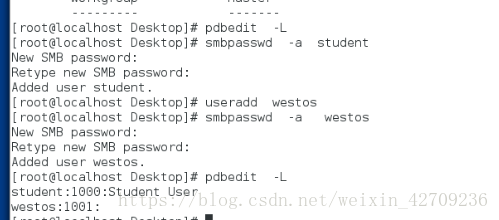
pdbedit -L
smbpasswd -a student###增加用户,此用户必须是已经存在的用户
useradd westos
smbpasswd -a westos
pdbedit -L ##查看用户
pdbedit -x westos ##删除用户
pdbedit -L
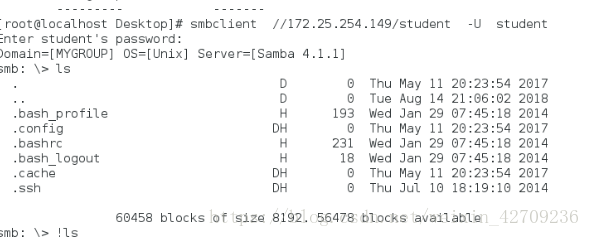
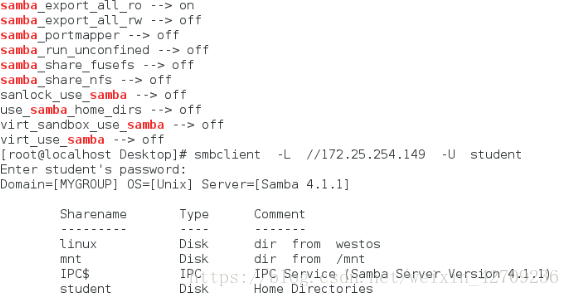
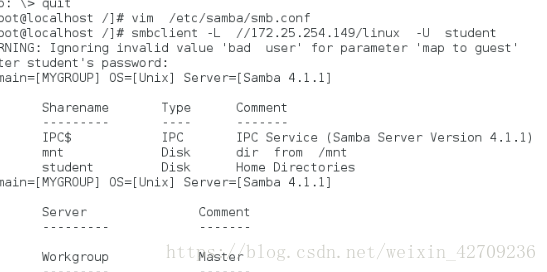
smbclient -L //172.25.254.149 -U student

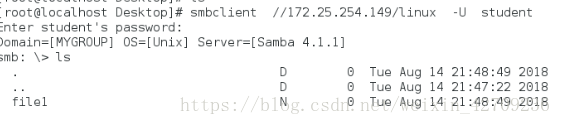
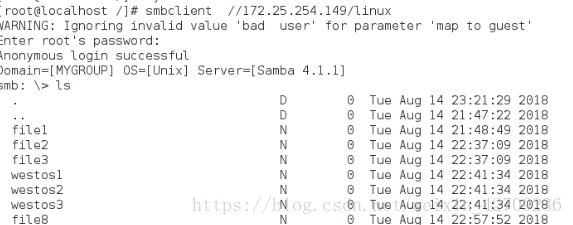
smbclient //172.25.254.149/student -U student

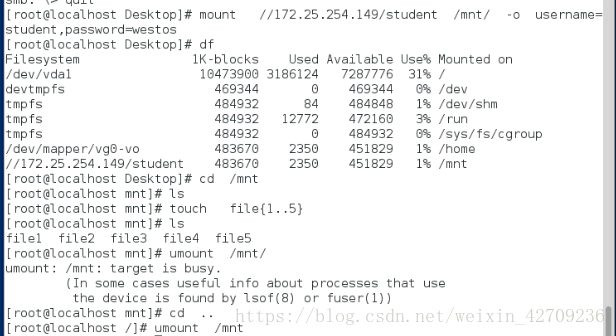
mount //172.25.254.149/student /mnt/ -o username=student,password=westos
df
cd /mnt/
ls
touch file{1..8}
ls
umount /mnt/
#####以上情况在selinux=disable的情况下做的,所以可以显现东西
2.设置setenforce enforcing
vim /etc/samba/smb.conf
在%v下加
hosts allow = 172.25.254.249
systemctl restart smb
smbclient -L //172.25.254.249 -U student##发现等上去

vim /etc/samba/smb.conf
注释允许。加拒绝
hosts deny = 172.25.254.249
systemctl restart smb
smbclient -L //172.25.254.249 -U student##发现登不上去了
53 getsebool -a | grep samba

54 setsebool -P samba_create_home_dirs on
55 setsebool -P samba_enable_home_dirs on
56 mkdir /westos
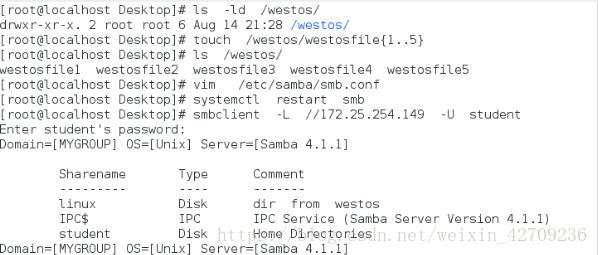
58 ls -ld /westos/
59 touch /westos/westosfile{1..3}
60 ls /westos/
61 vim /etc/samba/smb.conf
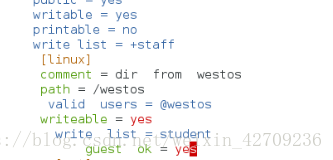
【linux】
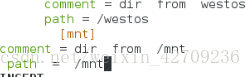
comment = dir from westos
path = /westos
62 systemctl restart smb
63 smbclient -L //172.25.254.249 -U student

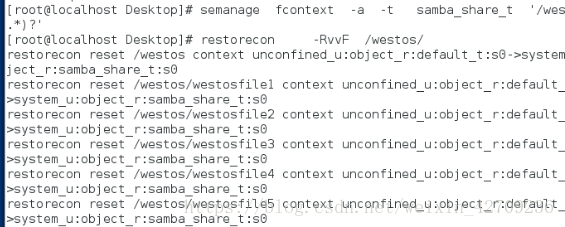
64 semanage fcontext -a -t samba_share_t '/westos(/.*)?'
65 restorecon -RvvF /westos/
66 vim /etc/samba/smb.conf
[mnt]
comment= dir from /mnt
path= /mnt
67 systemctl restart smb
68 ls -Zd /mnt/
69 getsebool -a | grep samba
70 setsebool -P samba_export_all_ro on
71 getsebool -a | grep samba
72 smbclient -L //172.25.254.249 -U student
73 smbclient //172.25.254.249/mnt -U student
74 rm -fr /westos/
75 mkdir /westos ##看最大权限的效果
76 ls -Zd /westos
77 touch /westos/file1
78 smbclient //172.25.254.249/mnt -U student
79 ls
80 smbclient //172.25.254.100/linux -U student
#####################################
在linux底下写
valid users = @westos###用户组属于westos的可以挂在
writable = yes ##所有人都可以写
write list = student ###清单里的人可以写
getsebool -a | grep samba
setsebool -P samba_export_all_rw on
chmod 777 /westos/
guest ok = yes 在162行加 map to guest = bad user##匿名用户可以登陆
browseable = no ##隐藏
admin users = westos ###建立的文件属于root 慎用
chmod 755 /westos/
##############多用户访问共享目录###
在客户端
systemctl stop firewalld #关闭两边的防火墙
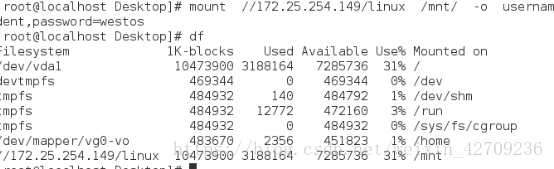
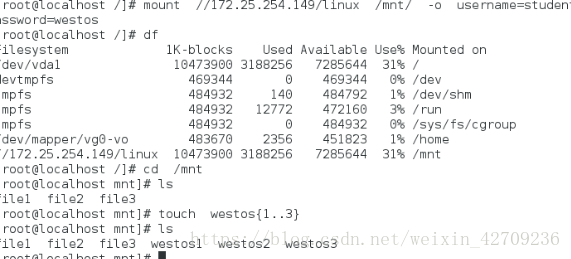
mount //172.25.254.149/linux /mnt -o username=student,password=westos
df
cd /mnt
ls
yum install cifs-utils -y
vim /root/smbauth
(username=student
password=westos)
mount //172.25.254.249/linux /mnt/ -o multiuser,credentials=/root/smbauth,sec=ntlmssp

multiuser ##开启多用户访问模式
credentials=/root/smbauth ###本次访问身分验证
sec=ntlmssp ##多用户身分验证方式
mount

cd /mnt
touch fileeee
ll ###可以看到新建文件的id为student(此时客户端中的student的uid,gid与服务端中的student的uid,gid相同。即用服务端中谁的身份验证建立的文件就属于谁)
useradd aaa
su - aaa
cd /mnt
ls ###查看被拒绝,需要多用户验证后才可访问
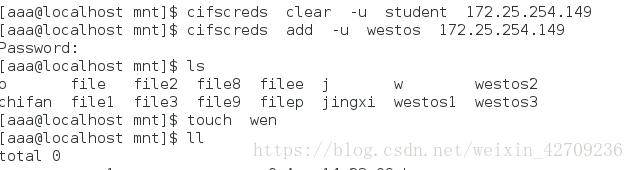
cifscreds add -u westos 172.25.254.249 ###密码输入错误后需要清理用户,再次进行验证
cifscreds clear -u westos 172.25.254.249
登陆成功后
touch file5
ll ###此时发现新建的文件uid,gid均为aaa(只因aaa的uid,gid均为1001,与服务端中的westos用户的uid,gid相同,实际file5文件为服务端westos用户所建立
返回服务端验证:
ll /westos/
发现方ile4文件的id为student,file5文件的id为westos

###########NFS文件系统(两系统为linux时,文件共享)
在服务端yum install nfs-utils
systemctl start nfs
vim /etc/exports
( 写入/westos *(sync))
exportfs -rv ##刷新,不能重启。重启可能使数据受损
在客户端
showmount -e 172.5.254.249
mount 172.25.254.249:/westos /mnt
umount /mnt

永久挂在在vim /etc/fstab底下
在客户端下载 自动挂在 yum install autofs
systemctl start autofs
cd /net
ls (什么都没有)
cd /net/172.25.254.249/westos
df(可以看见挂在了)
cd
df(等待时间后可以 看见不挂在了)

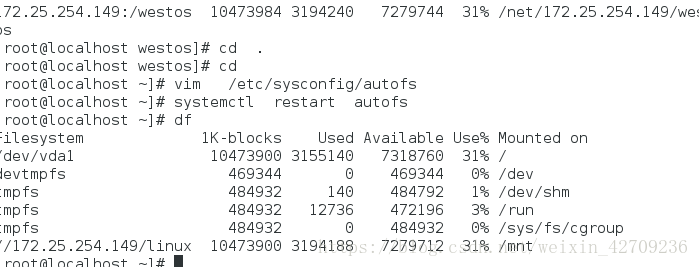
vim /etc/sysconfig/autofs
改时间
systemctl restart autofs
vim /etc/auto.master ##挂在的上级目录
/opt/nfs /etc/auto.nfs
vim /etc/auto.nfs
westos -ro,vers=3 172.25.254.249:/westos ##挂在的本地目录
systemctl restart autofs
cd /opt/nfs/westos
df ##挂在
cd ##退出
df ##不挂在
####可写可读
在服务端 getenforce setenforce 0
vim /etc/exports
/westos *(rw,sync)
exportfs -rv
chmod 777 /westos/
在客户端
vim /etc/auto.nfs ##将ro改为rw
cd /opt/nfs/westos/
touch file ##文件用户属于匿名
改指定用户
在服务端
vim /etc/exports
/westos *(rw,sync,anonuid=1000,anongid=1001)
exportfs -rv
在客户端
touch file ##显示文件的属性 #用户和用户组属于自己设定的
ll
在服务端
vim /etc/exports
/westos *(rw,sync,no_root_squash)
exportfs -rv
在客户端
touch file ##显示文件的属性
ll ##用户和用户组都属于root
在服务端
vim /etc/exports
/westos *(sync) 172.25.254.0/24(rw,no_root_squash,sync)
exportfs -rv ##属于172.25.254这个网段的可以读写,其他的只读
在客户端
touch file ##显示文件的属性
ll


 1418
1418


 被折叠的 条评论
为什么被折叠?
被折叠的 条评论
为什么被折叠?
 到【灌水乐园】发言


