


搭建和测试SpringMVC的开发环境
- 在web.xml中配置DispatcherServlet前端控制器
   <!--配置前端控制器-->
  <servlet>
     <servlet-name>dispatcherServlet</servlet-name>
      <servlet-class>org.springframework.web.servlet.DispatcherServlet</servlet-class>
      <!--加载springmvc.xml配置文件-->
      <init-param>
          <param-name>contextConfigLocation</param-name>
          <param-value>classpath:springmvc.xml</param-value>
      </init-param>
      <!--启动服务器,创建该servlet-->
      <load-on-startup>1</load-on-startup>
  </servlet>
    <servlet-mapping>
        <servlet-name>dispatcherServlet</servlet-name>
        <url-pattern>/</url-pattern>
    </servlet-mapping>
- 在web.xml中配置DispatcherServlet过滤器解决中文乱码
<!--解决中文乱码的过滤器-->
    <filter>
        <filter-name>characterEncodingFilter</filter-name>
        <filter-class>org.springframework.web.filter.CharacterEncodingFilter</filter-class>
        <init-param>
            <param-name>encoding</param-name>
            <param-value>UTF-8</param-value>
        </init-param>
    </filter>
    <filter-mapping>
        <filter-name>characterEncodingFilter</filter-name>
        <url-pattern>/*</url-pattern>
    </filter-mapping>
- web.xml中配置的整体效果
<!DOCTYPE web-app PUBLIC
 "-//Sun Microsystems, Inc.//DTD Web Application 2.3//EN"
 "http://java.sun.com/dtd/web-app_2_3.dtd" >

<web-app xmlns:xsi="http://www.w3.org/2001/XMLSchema-instance"
        xmlns="http://java.sun.com/xml/ns/javaee"
        xsi:schemaLocation="http://java.sun.com/xml/ns/javaee http://java.sun.com/xml/ns/javaee/web-app_3_0.xsd"
        version="3.0">
  <display-name>Archetype Created Web Application</display-name>

    <!--配置前端控制器-->
  <servlet>
     <servlet-name>dispatcherServlet</servlet-name>
      <servlet-class>org.springframework.web.servlet.DispatcherServlet</servlet-class>
      <!--加载springmvc.xml配置文件-->
      <init-param>
          <param-name>contextConfigLocation</param-name>
          <param-value>classpath:springmvc.xml</param-value>
      </init-param>
      <!--启动服务器,创建该servlet-->
      <load-on-startup>1</load-on-startup>
  </servlet>
    <servlet-mapping>
        <servlet-name>dispatcherServlet</servlet-name>
        <url-pattern>/</url-pattern>
    </servlet-mapping>

    <!--解决中文乱码的过滤器-->
    <filter>
        <filter-name>characterEncodingFilter</filter-name>
        <filter-class>org.springframework.web.filter.CharacterEncodingFilter</filter-class>
        <init-param>
            <param-name>encoding</param-name>
            <param-value>UTF-8</param-value>
        </init-param>
    </filter>
    <filter-mapping>
        <filter-name>characterEncodingFilter</filter-name>
        <url-pattern>/*</url-pattern>
    </filter-mapping>
</web-app>
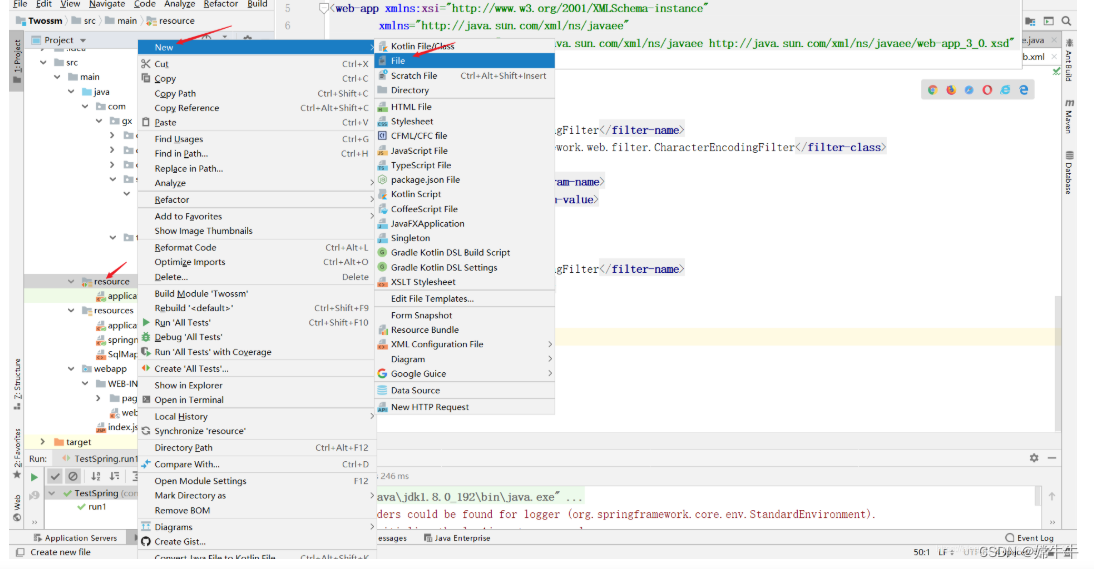
- 创建springmvc.xml的配置文件,编写配置文件
同样是在resources资源文件夹中创建springmvc.xml配置文件
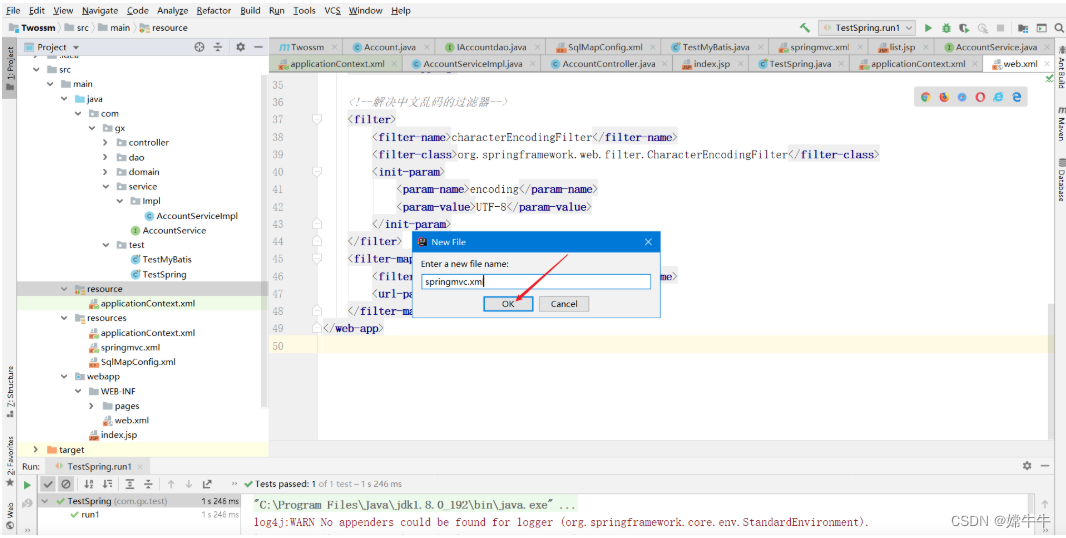
springmvc.xml的配置文件内容:
<?xml version="1.0" encoding="UTF-8"?>
<beans xmlns="http://www.springframework.org/schema/beans"
       xmlns:mvc="http://www.springframework.org/schema/mvc"
       xmlns:context="http://www.springframework.org/schema/context"
       xmlns:xsi="http://www.w3.org/2001/XMLSchema-instance"
       xsi:schemaLocation="
        http://www.springframework.org/schema/beans
        http://www.springframework.org/schema/beans/spring-beans.xsd
        http://www.springframework.org/schema/mvc
        http://www.springframework.org/schema/mvc/spring-mvc.xsd
        http://www.springframework.org/schema/context
        http://www.springframework.org/schema/context/spring-context.xsd">
    <!--开启注解扫描,只扫描Controller注解-->
    <context:component-scan base-package="com.gx">
        <context:include-filter type="annotation" expression="org.springframework.stereotype.Controller"/>
    </context:component-scan>

    <!--配置的视图解析器对象-->
    <bean id="internalResourceViewResolver" class="org.springframework.web.servlet.view.InternalResourceViewResolver">
        <property name="prefix" value="/WEB-INF/pages/"/>
        <property name="suffix" value=".jsp"/>
    </bean>
    <!--过滤静态资源-->
    <mvc:resources location="/css" mapping="/css/**"/>
    <mvc:resources location="/images/" mapping="/images/**"/>
    <mvc:resources location="/js/" mapping="/js/**"/>
    <!--开启SpringMVC注解的支持-->
    <mvc:annotation-driven/>
</beans>
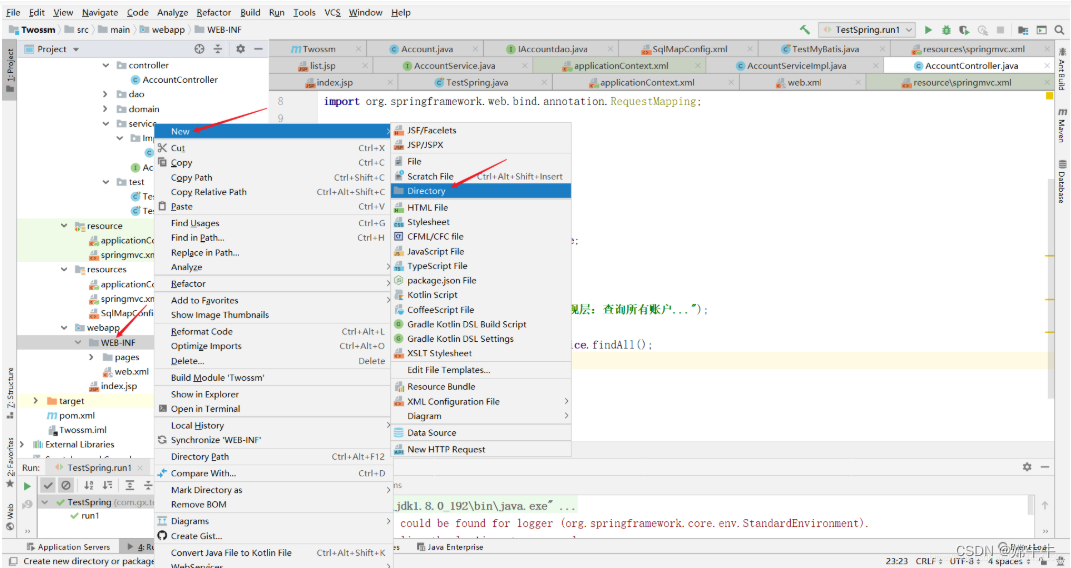
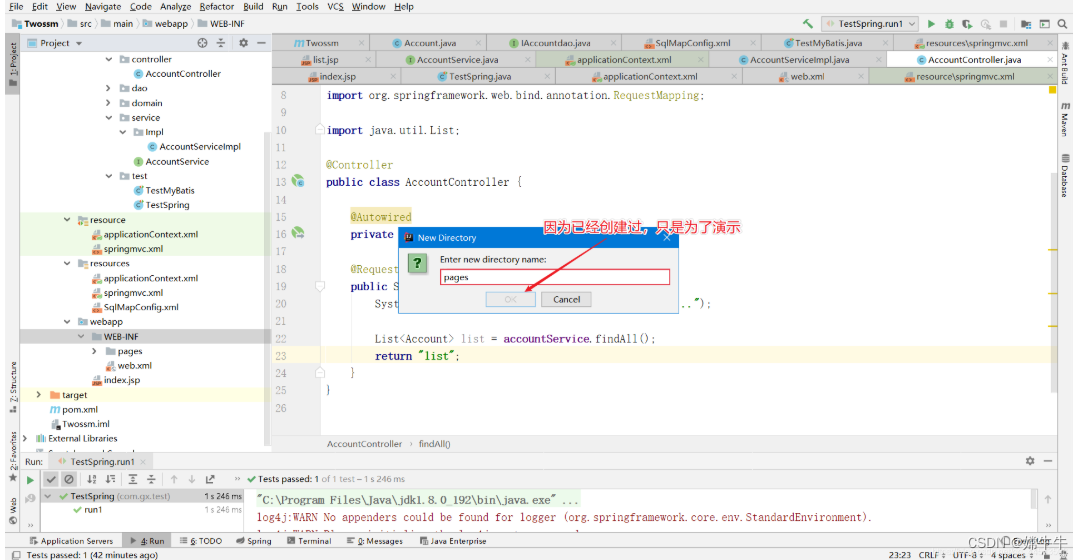
- 创建jsp页面,并编写controller代码
编写index.jsp页面
<%@ page contentType="text/html;charset=UTF-8" language="java" %>
<html>
<body>
<a href="account/findAll">测试SpringMVC查询</a>
</body>
</html>
在controller层中的AccountController的class类中编写代码
package com.gx.controller;

import com.gx.domain.Account;
import com.gx.service.AccountService;
import org.springframework.beans.factory.annotation.Autowired;
import org.springframework.stereotype.Controller;
import org.springframework.ui.Model;
import org.springframework.web.bind.annotation.RequestMapping;

import java.util.List;

@Controller
public class AccountController {

    @RequestMapping("/account/findAll")
    public String findAll(){
        System.out.println("Controller表现层:查询所有账户...");
        return "list";  //在视图解析器中配置了前缀后缀
    }
}
这时候就要创建controller跳转的list.jsp页面了:
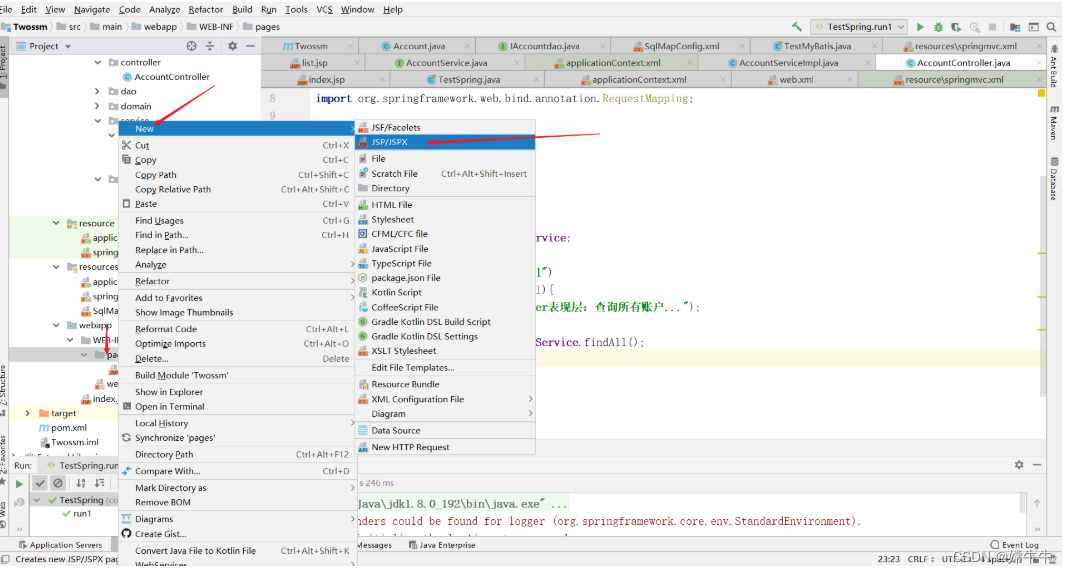
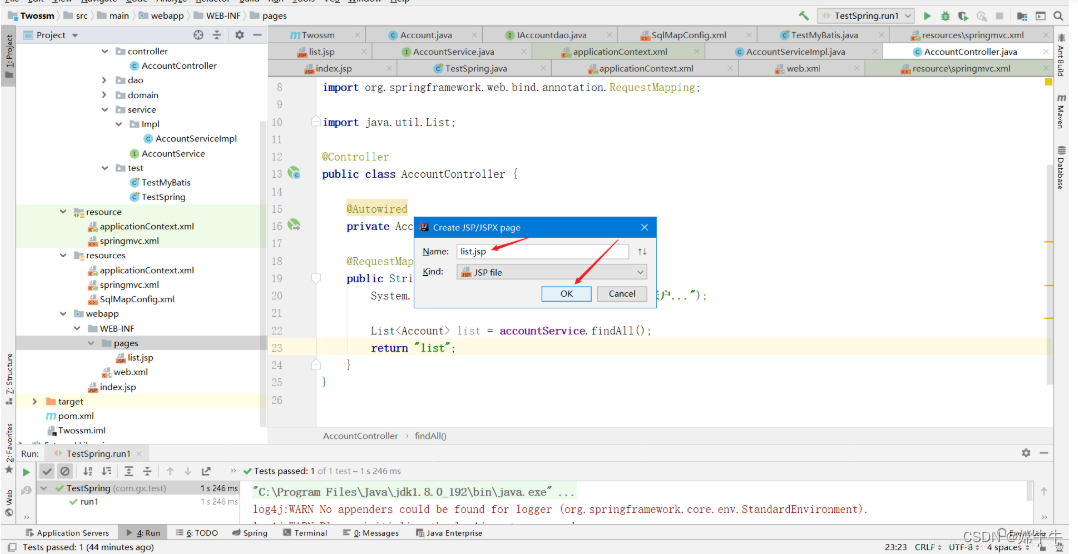
list.jsp页面创建好了,编写一下内容,只是看是否跳转成功,输出一句话即可:
<%@ taglib prefix="c" uri="http://java.sun.com/jsp/jstl/core" %>
<%--
Created by IntelliJ IDEA.
User: Bule
Date: 2019/9/2
Time: 7:32
To change this template use File | Settings | File Templates.
--%>
<%@ page contentType="text/html;charset=UTF-8" language="java" %>
<html>
<head>
<title>Title</title>
</head>
<body>
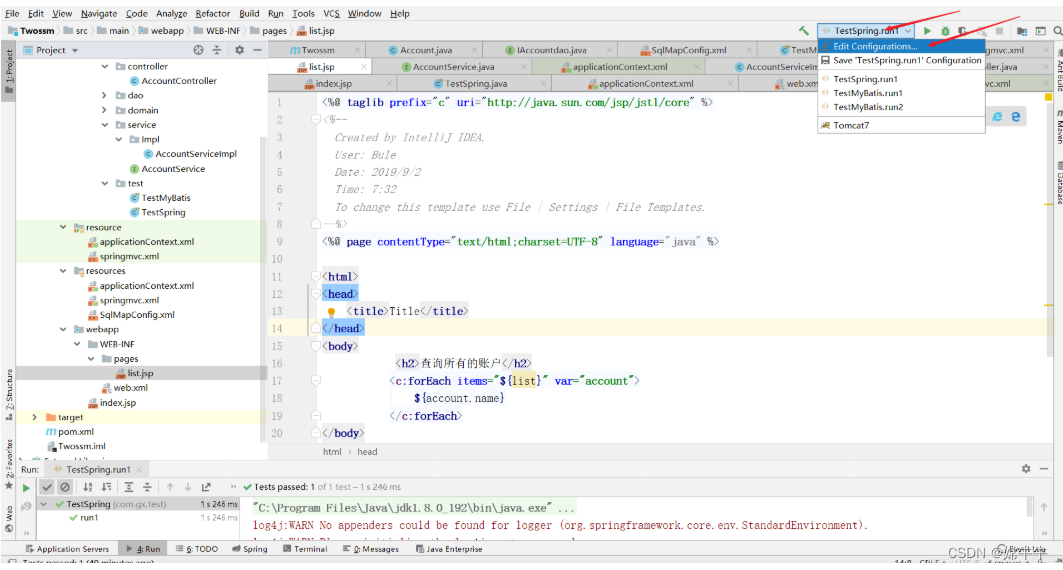
<h2>查询所有的账户</h2>
</body>
</html>
- 部署Tomcat进行测试
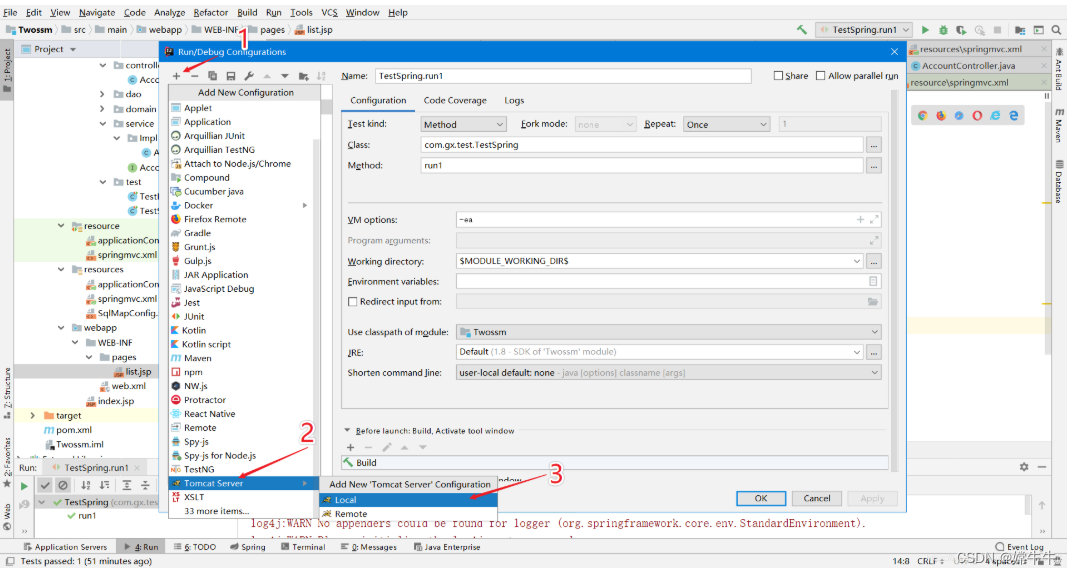
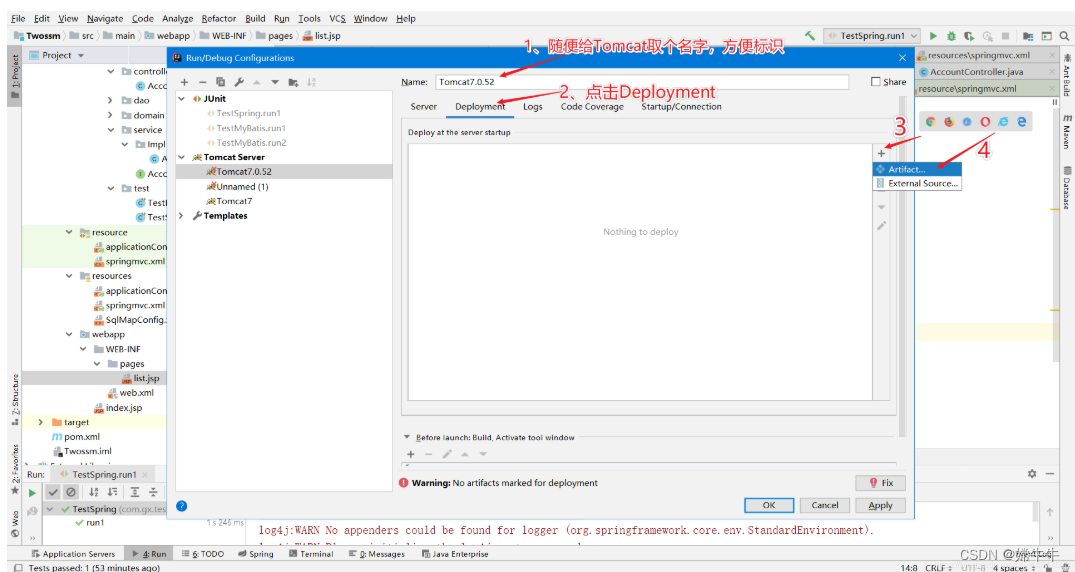
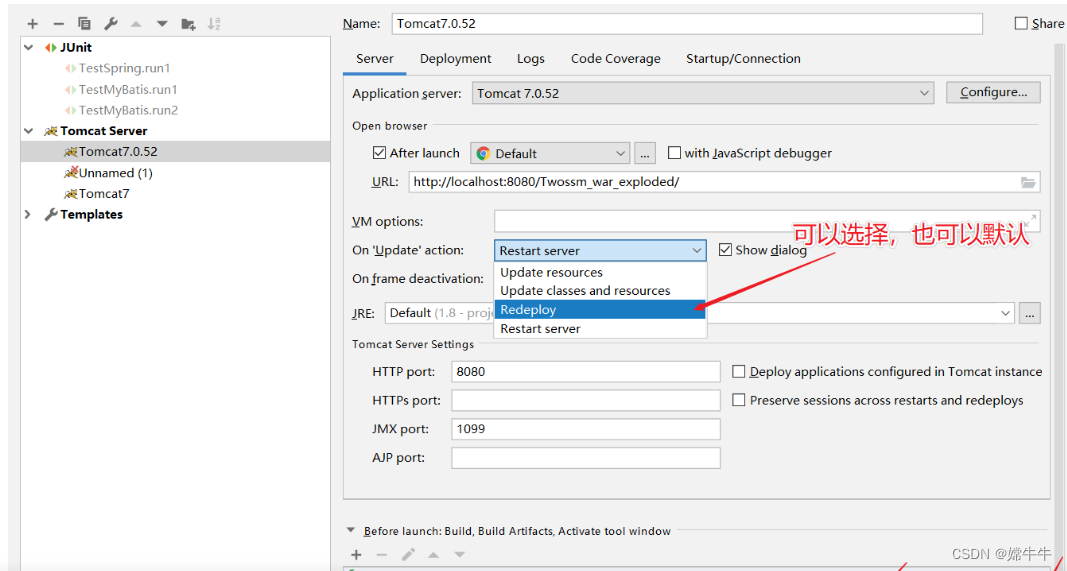
- 测试运行
图1:
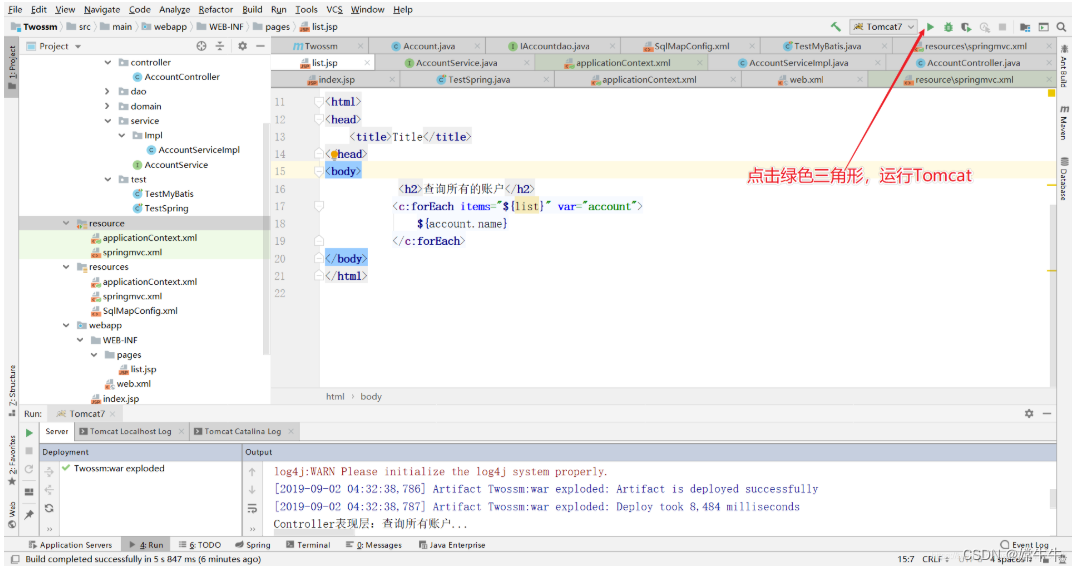
图2:
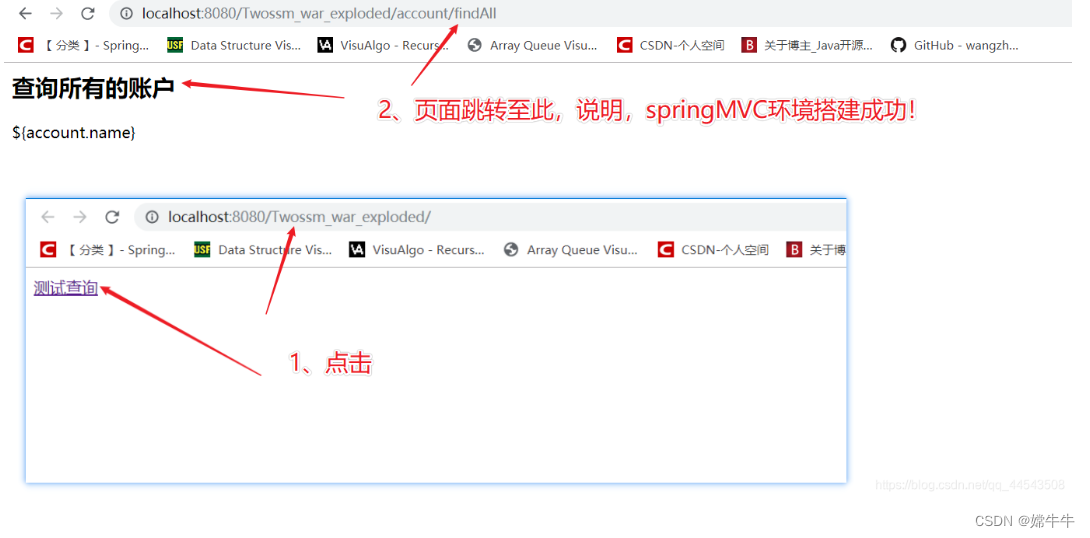
到这里,spring、springmvc的开发环境就都搭建好了,不容易啊,都坚持看到这里了,给你点个赞,接下来是整合spring和springmvc了!


 599
599


 被折叠的 条评论
为什么被折叠?
被折叠的 条评论
为什么被折叠?
 到【灌水乐园】发言


