


一、mysql的下载
官网:https://www.mysql.com/
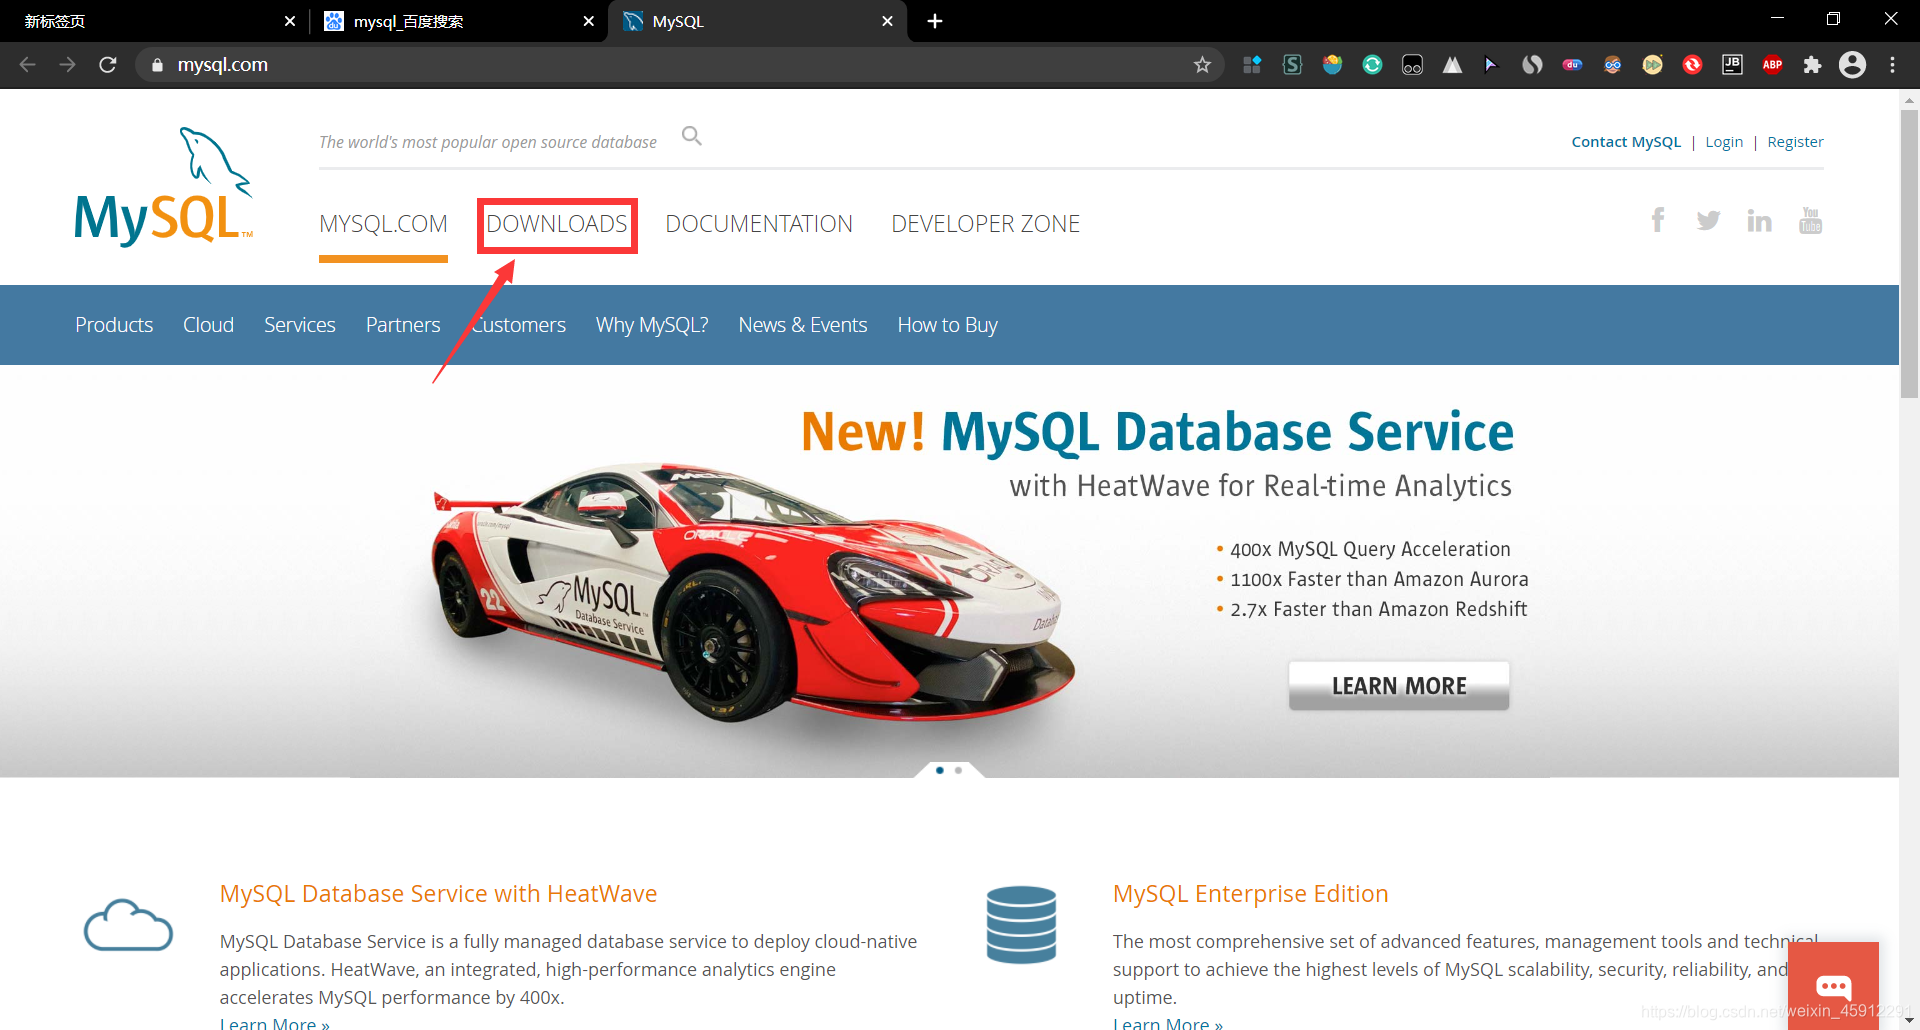
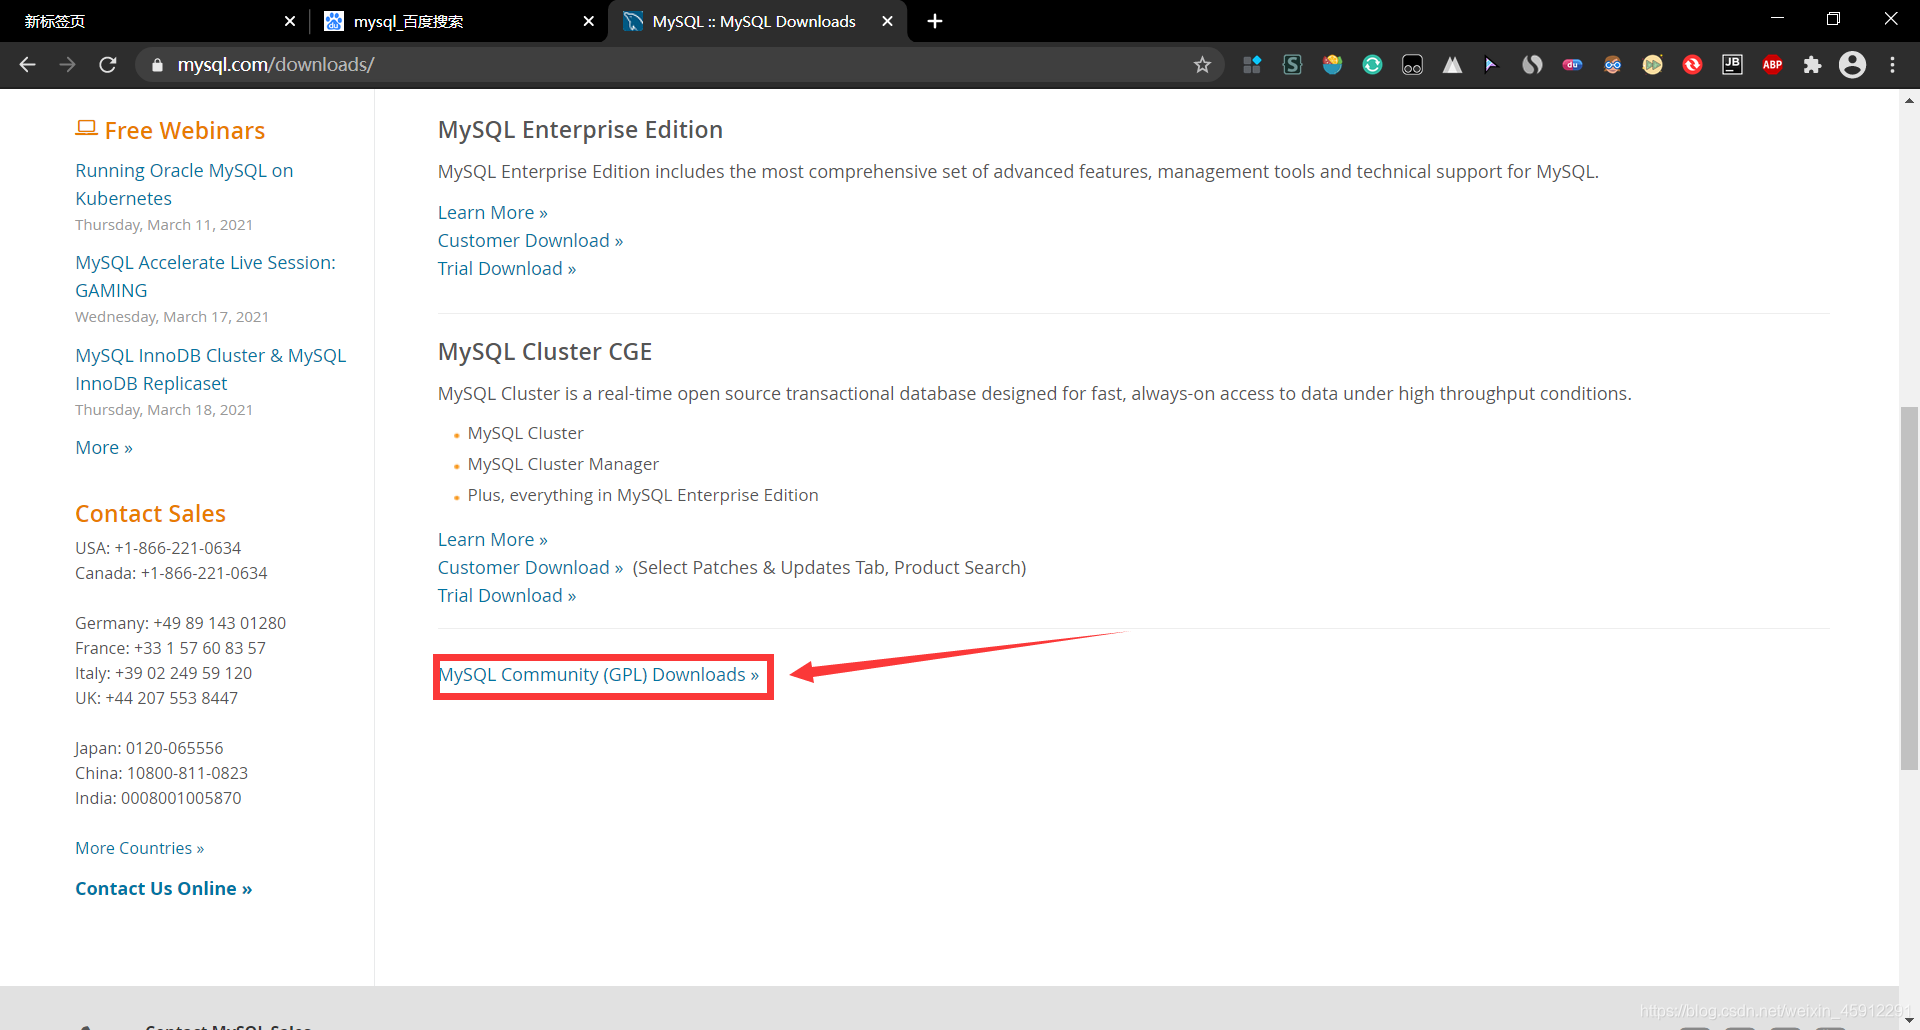
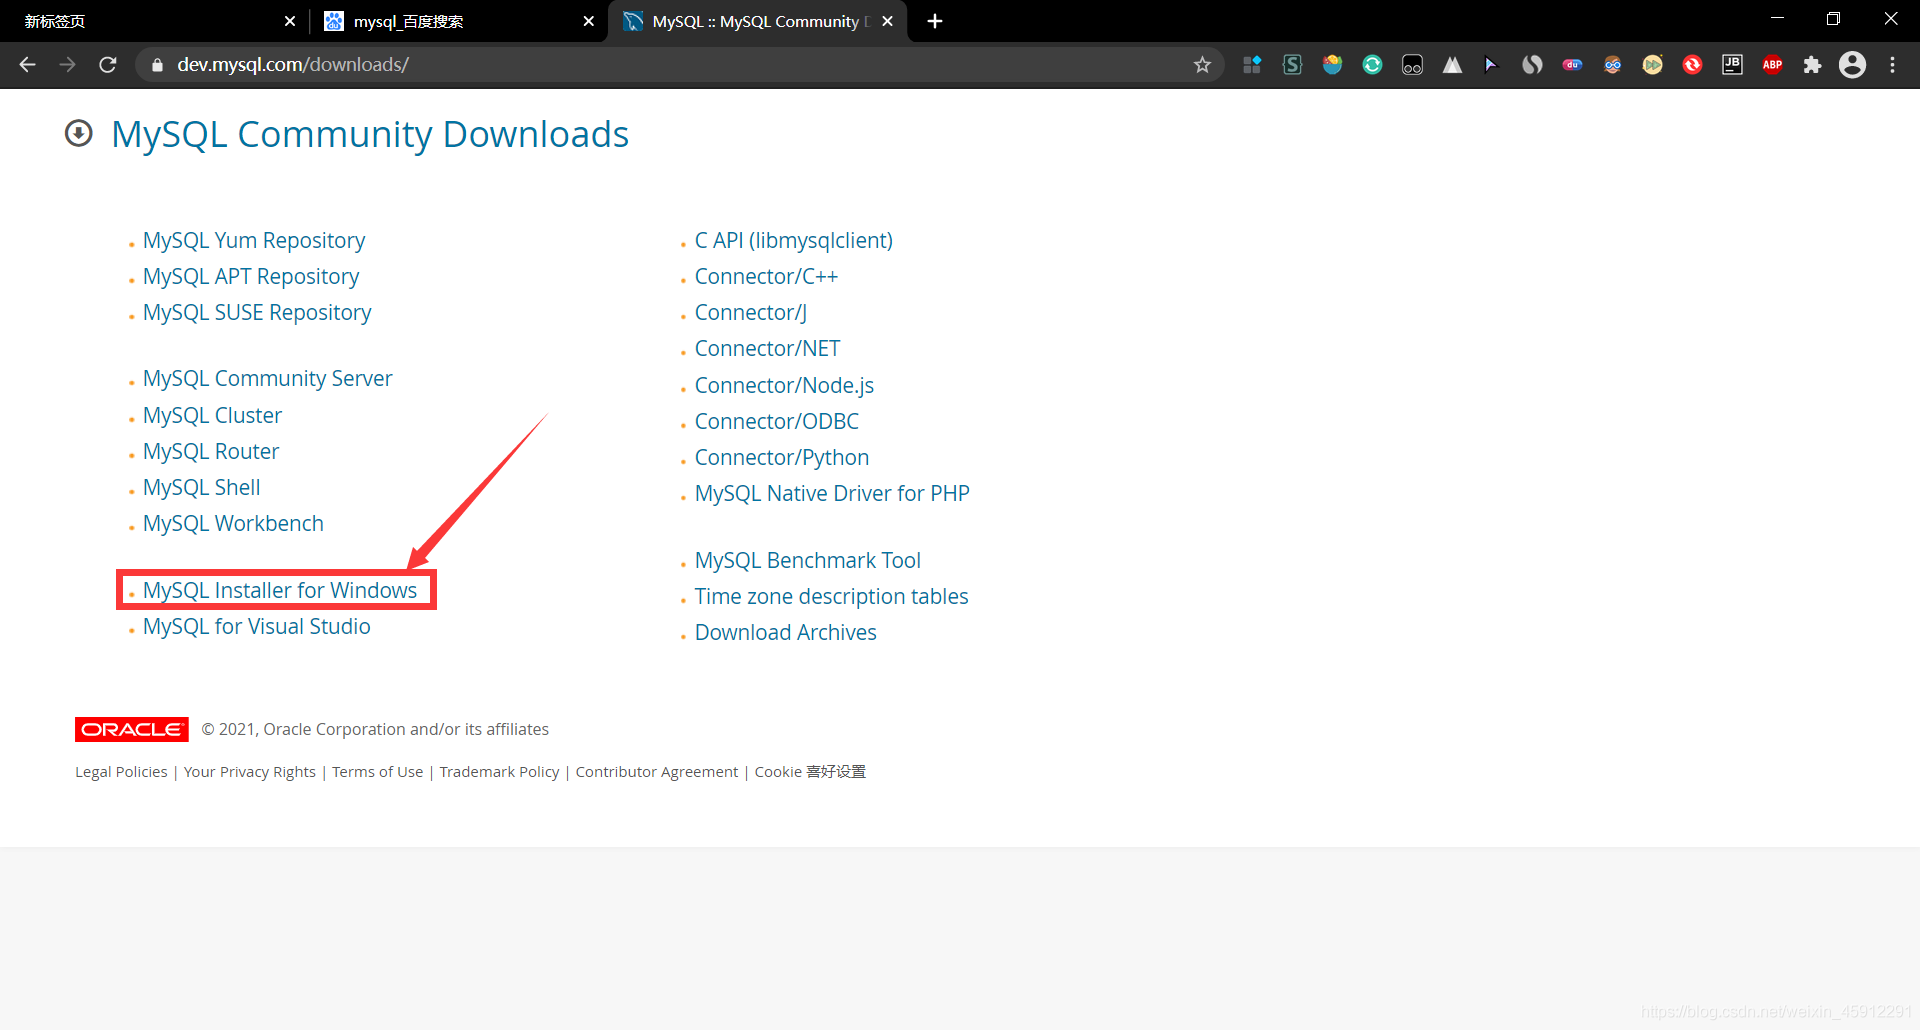
点击DOWNLOADS,之后下滑页面
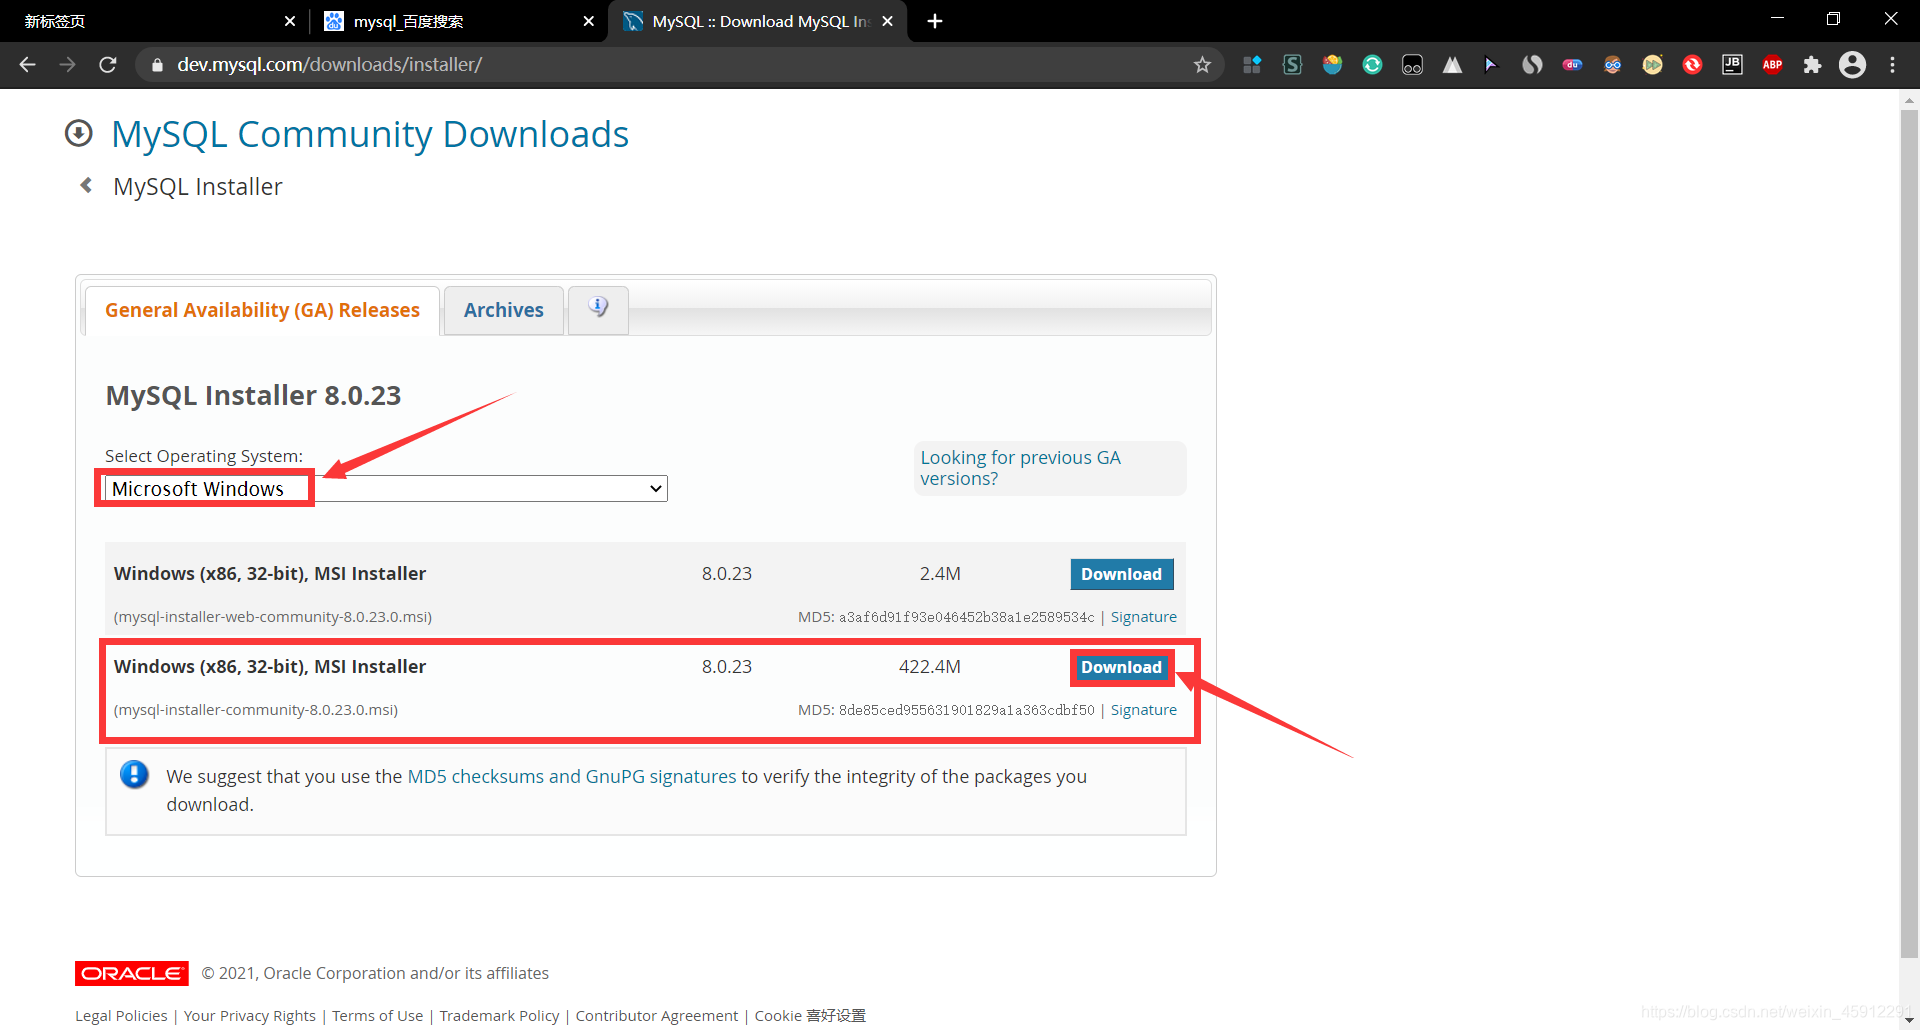
web版本,支持在线安装
安装版,支持离线安装
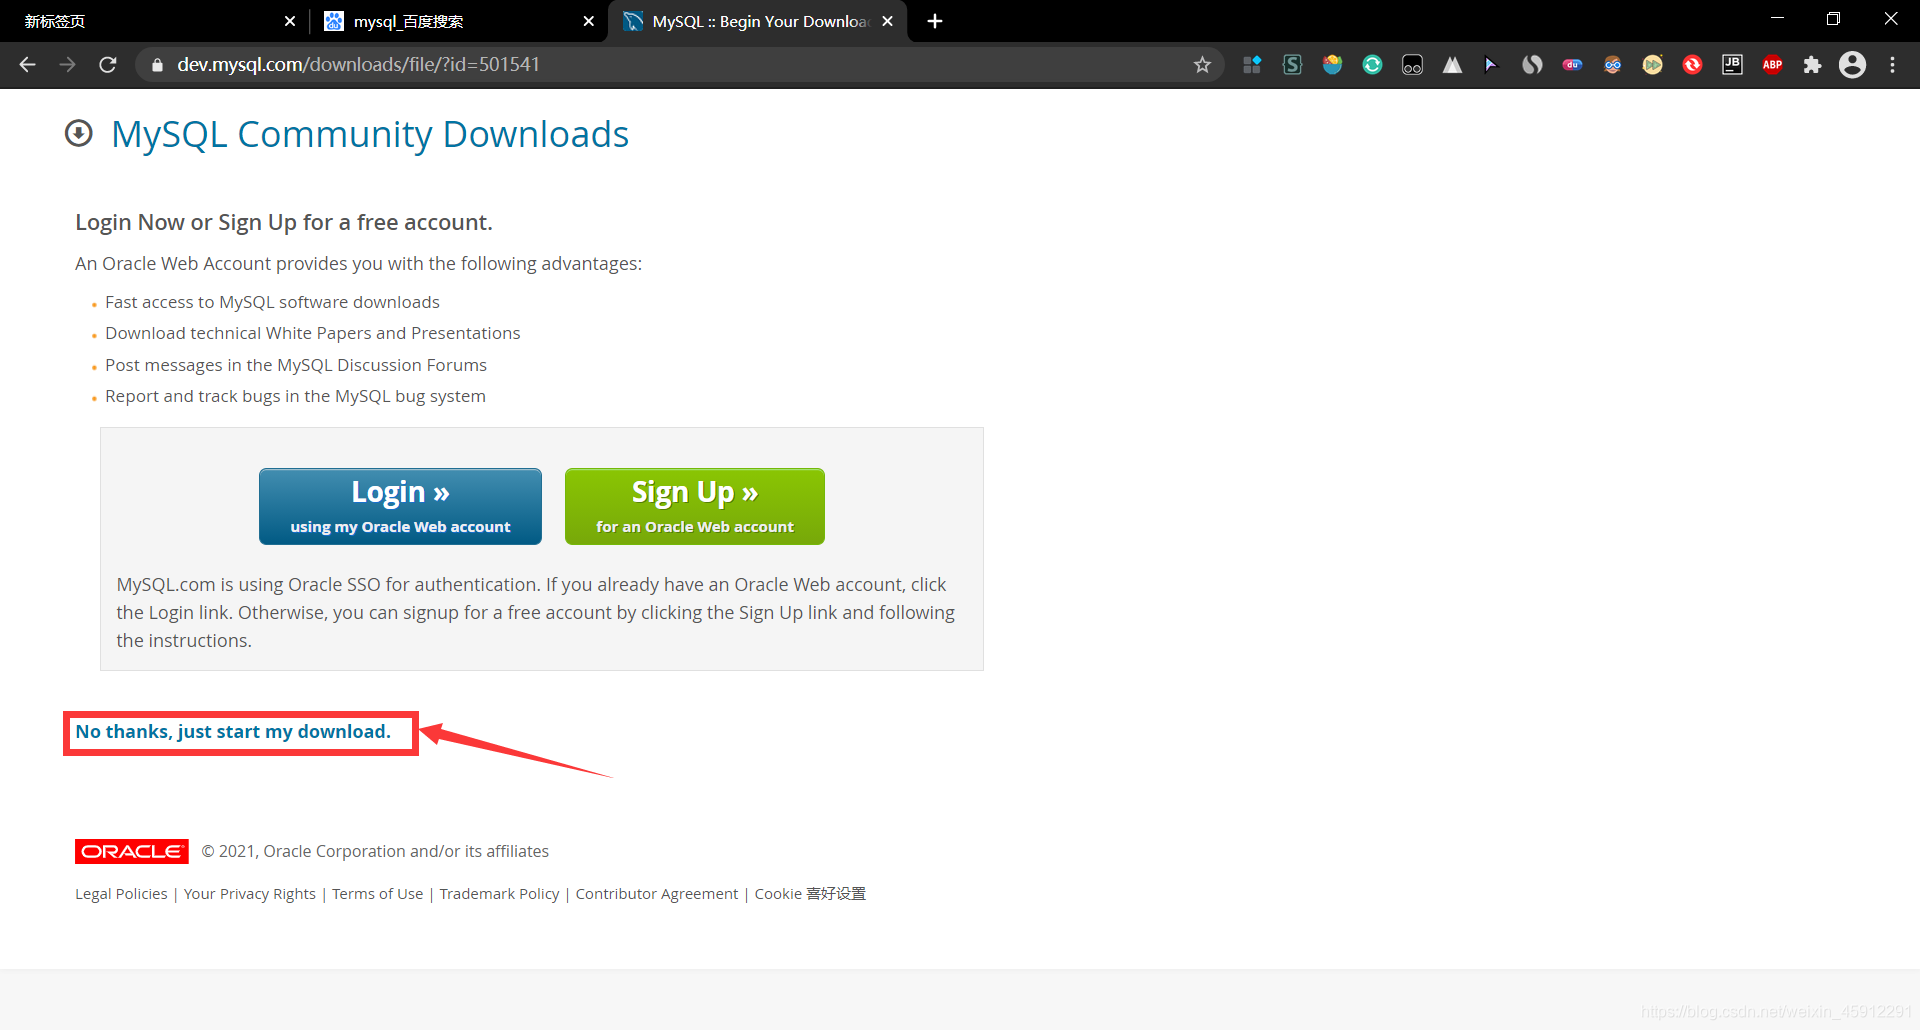
选择不登陆直接下载。
二、mysql的安装
注:文中的翻译由QQ截图翻译
1、双击下载的文件

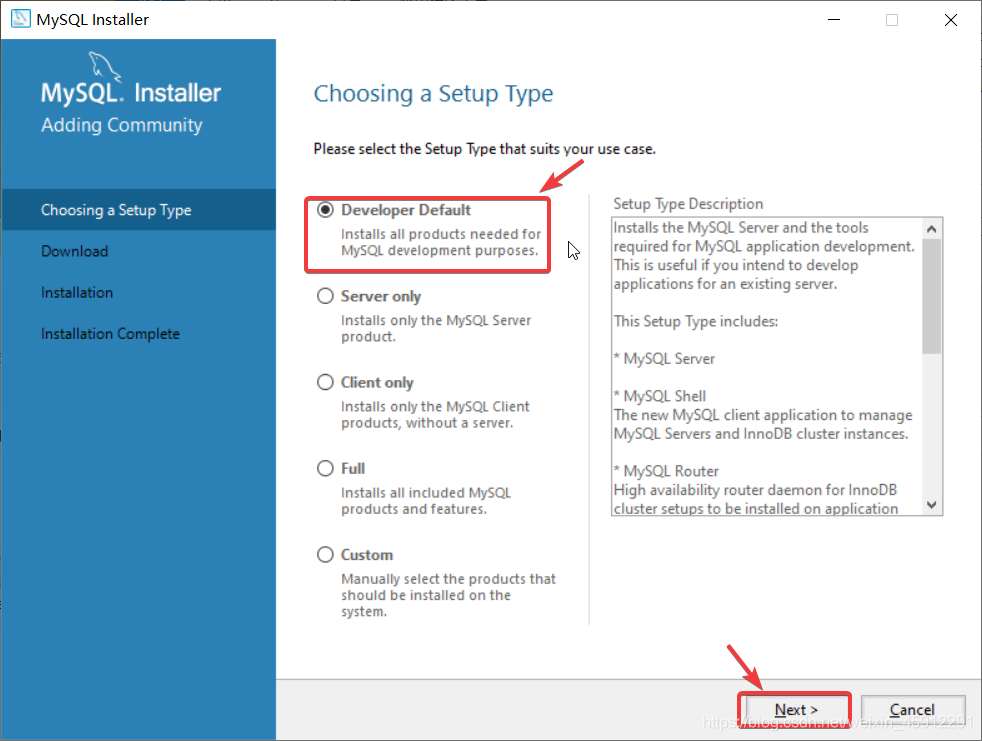
2、进入类型选择页面,可以直接选择默认状态下的developer default,如果只想安装mysql server的就选择custom模式
- developer default(开发者默认):安装mysql开发所需的所有产品 server
- only(服务器):只安装mysql服务器产品
- client only(客户端):只安装没有服务器的mysql客户端产品
- full(完全):安装所有包含的mysql产品和功能
- custom(手动):手动选择系统上应安装的产品
点击next
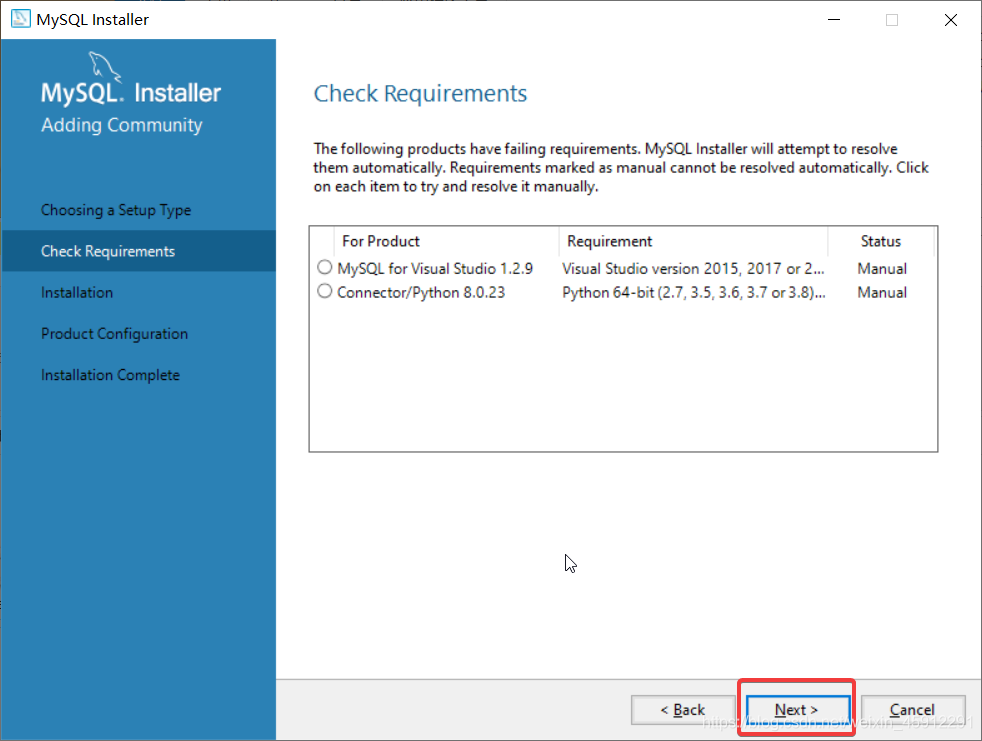
3、点击next
The following products have failing requirements. MySQL Installer will attempt to resolve them automatically.Requirements marked as manual cannot be resolved automatically.Click on each item to try and resolve it manually.
下列产品要求不合格。MySQL安装程序将尝试自动解决这些问题。标记为手动的需求无法自动解析。单击每个项目尝试手动解决。
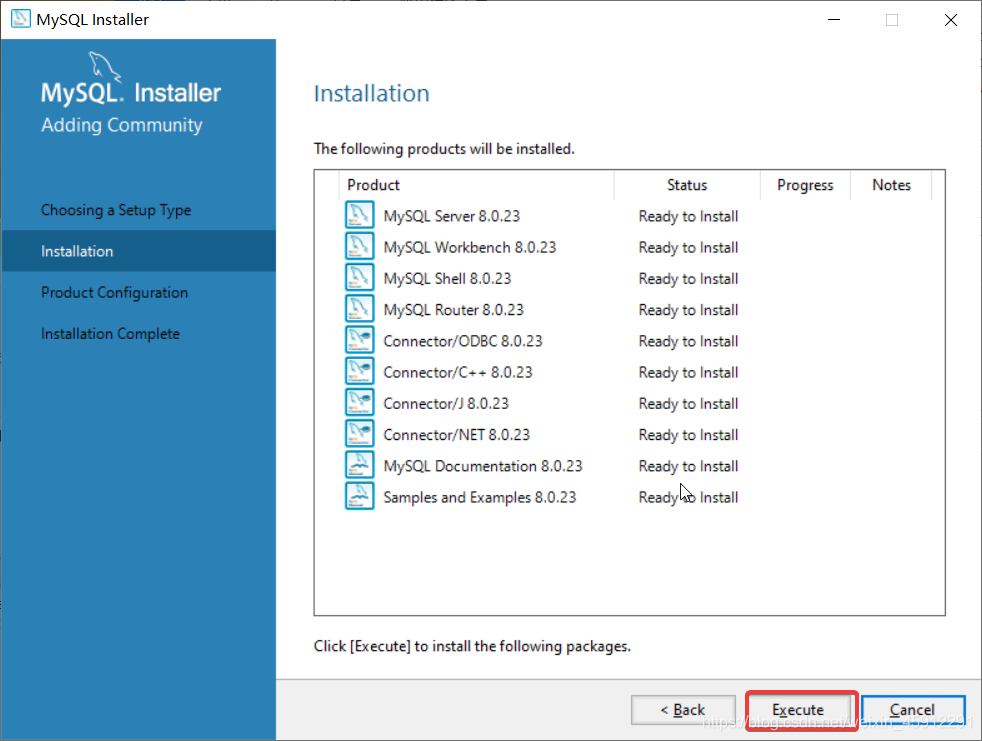
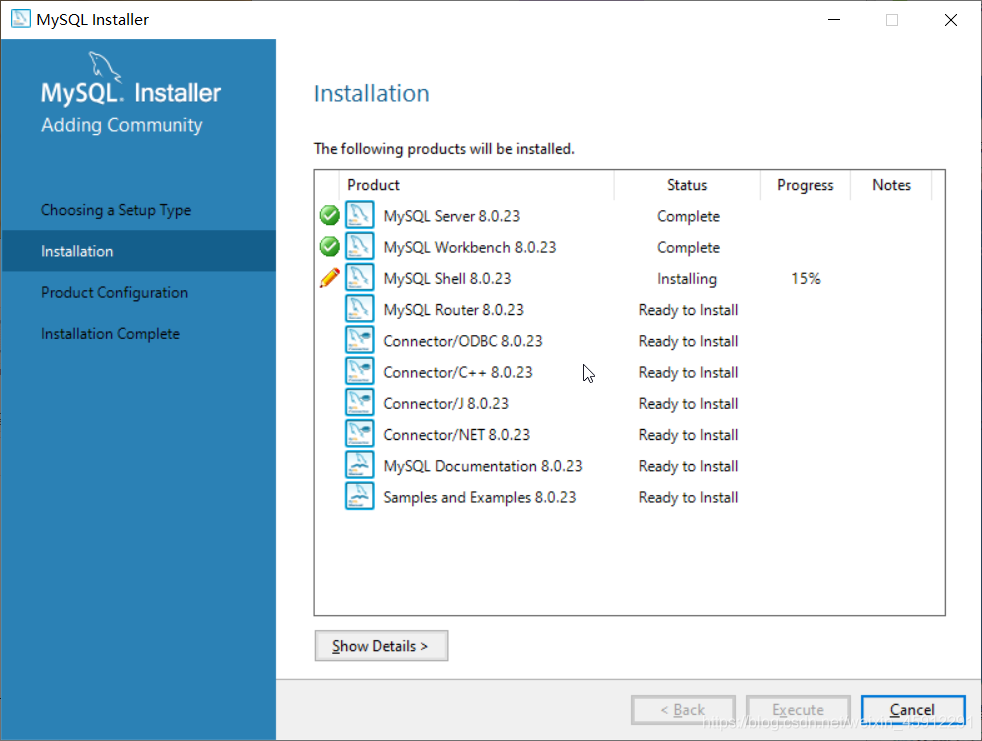
4、在安装所选界面能看到接下来所需要安装的程序,点击Execute
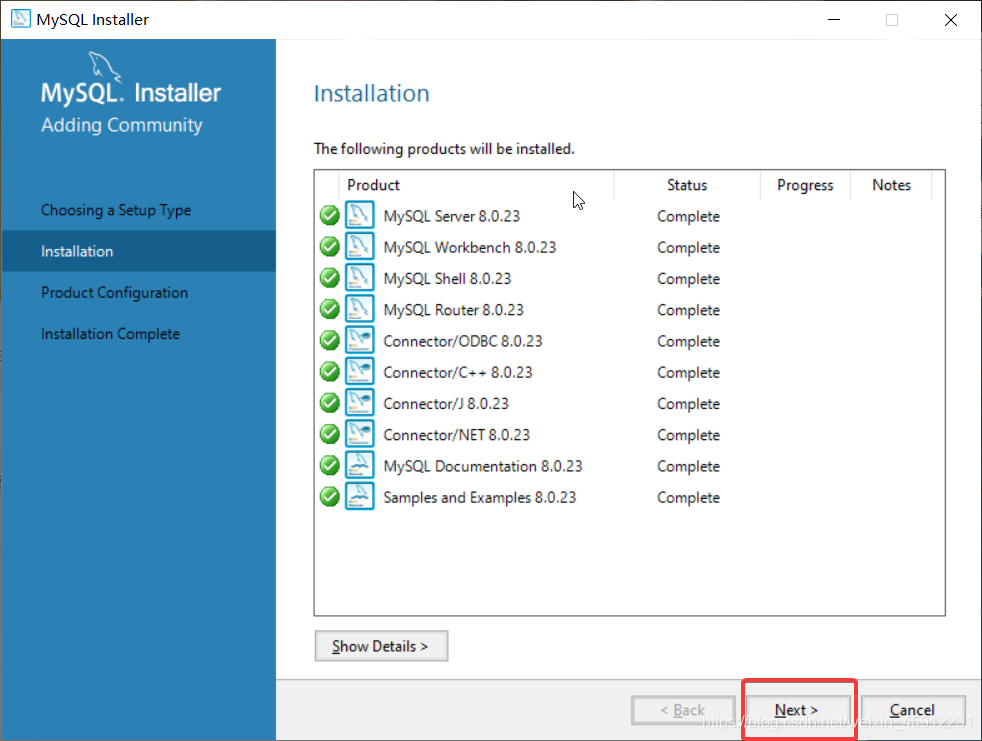
5、程序安装完成之后,点击next
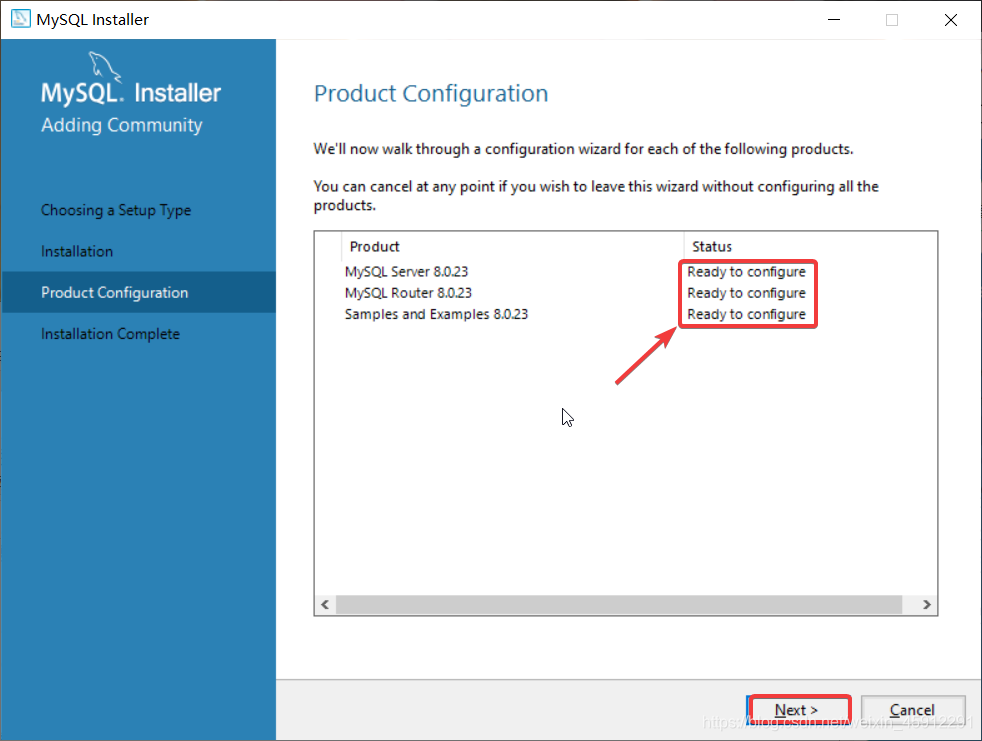
6、在product configutration(产品配置)页面能看到需要配置的程序,点击next
We’ll now walk through a configuration wizard for each of the following products.You can cancel at any point if you wish to leave this wizard without configuring all theproducts.
现在我们将遍历下面每一个产品的配置向导,如果您希望在不配置所有产品的情况下离开该向导,您可以在任何时候取消该向导。
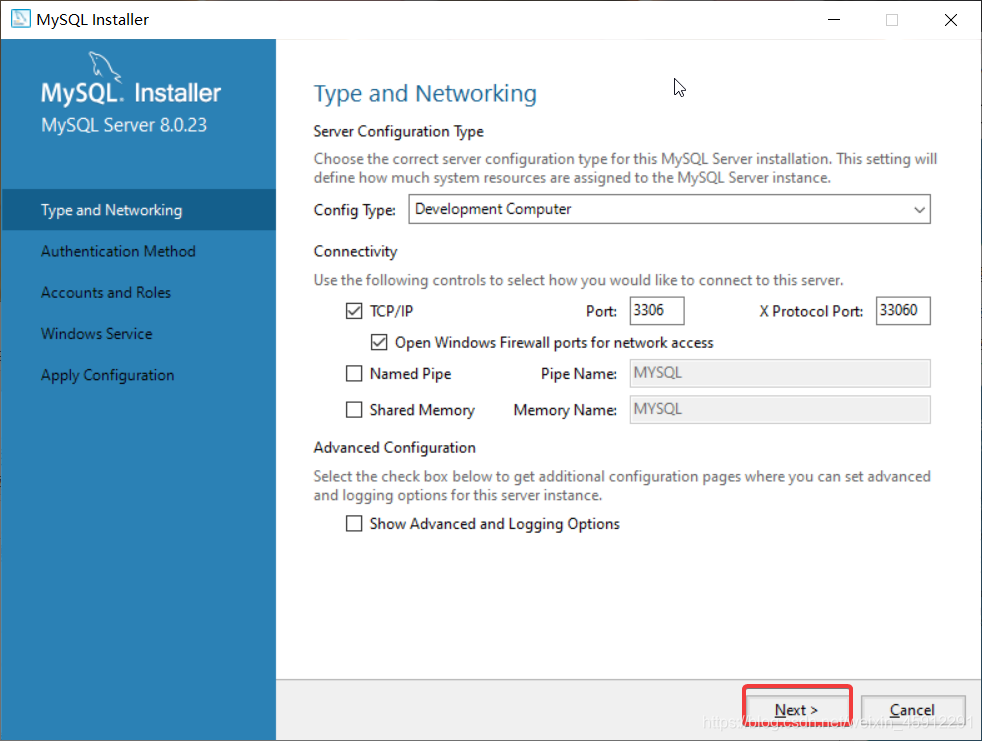
7、先配置mysql server的类型以及网络:type and networking(类型和网络)
Choose the correct server configuration type for this MySQL Server installation.This setting willdefine how much system resources are assigned to the MySQL Server instance.
为此MySQL Server安装选择正确的服务器配置类型,此设置将定义分配给MySQL Server实例的系统资源的数量。Use the following controls to select how you would like to connect to this server.
使用下列控件选择要连接到此服务器的方式。Select the check box below to get additional configuration pages where you can set advancedand logging options for this server instance.
选中下面的复选框,以获得其他配置页,可以在其中设置此服务器实例的高级和日志记录选项。
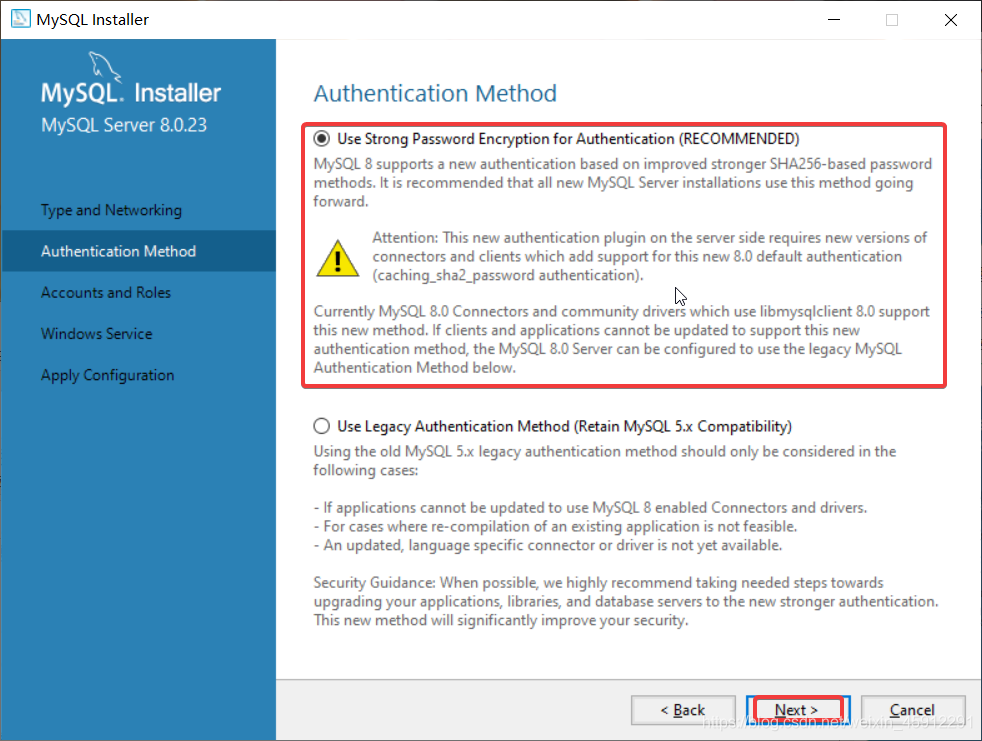
8、选择使用强密码加密进行身份验证(建议)
- Use Strong Password Encryption for Authentication(RECOMMENDED)
使用强密码加密进行身份验证(建议)- MySQL 8 supports a new authentication based on improved stronger SHA256-based passwordmethods. It is recommended that all new MySQL Server installations use this method goingforward.
MySQL 8支持基于改进的更强大的基于SHA 256的密码方法的新身份验证.建议所有新的MySQLServer安装都继续使用此方法。- Attention: This new authentication plugin on the server side requires new versions ofconnectors and clients which add support for this new 8.0 default authentication(caching_sha2_password authentication).
注意:服务器端的这个新身份验证插件需要新版本的连接器和客户端,这些连接器和客户端添加了对这种新的8.0默认身份验证(Cache_sha2_Password身份验证)的支持。- Currently MySQL 8.0 Connectors and community drivers which use libmysqlclient 8.0 supportthis new method. lf clients and applications cannot be updated to support this new authentication method, the MySQL 8.0 Server can be configured to use the legacy MySQLAuthentication Method below.
目前,使用libmysqlClient8.0的MySQL8.0连接器和社区驱动程序支持这种新方法。如果客户端和应用程序无法更新以支持这个新的身份验证方法时,可以将MySQL8.0服务器配置为使用下面遗留的MySQLAuthentication方法。- Use Legacy Authentication Method (Retain MySQL 5.x Compatibility)
使用遗留身份验证方法(保留MySQL5.x兼容性)- Using the old MySQL 5.x legacy authentication method should only be considered in thefollowing cases:
使用旧的MySQL5.x遗留身份验证方法只能在以下情况下考虑:- -lf applications cannot be updated to use MySQL 8 enabled Connectors and drivers.
-lf应用程序不能更新为使用启用MySQL 8的连接器和驱动程序。- -For cases where re-compilation of an existing application is not feasible.
-对于不可能重新编译现有应用程序的情况。- -An updated, language specific connector or driver is not yet available.
-目前还没有更新的特定语言连接器或驱动程序。- Security Guidance: When possible, we highly recommend taking needed steps towards upgrading your applications, libraries, and database servers to the new stronger authentication.This new method will significantly improve your security.
安全指南:如有可能,我们强烈建议采取必要步骤将应用程序、库和数据库服务器升级到新的更强的身份验证,这种新方法将大大提高安全性
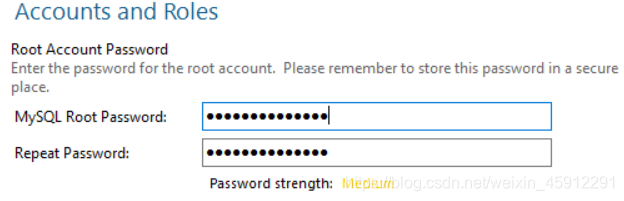
9、设置密码
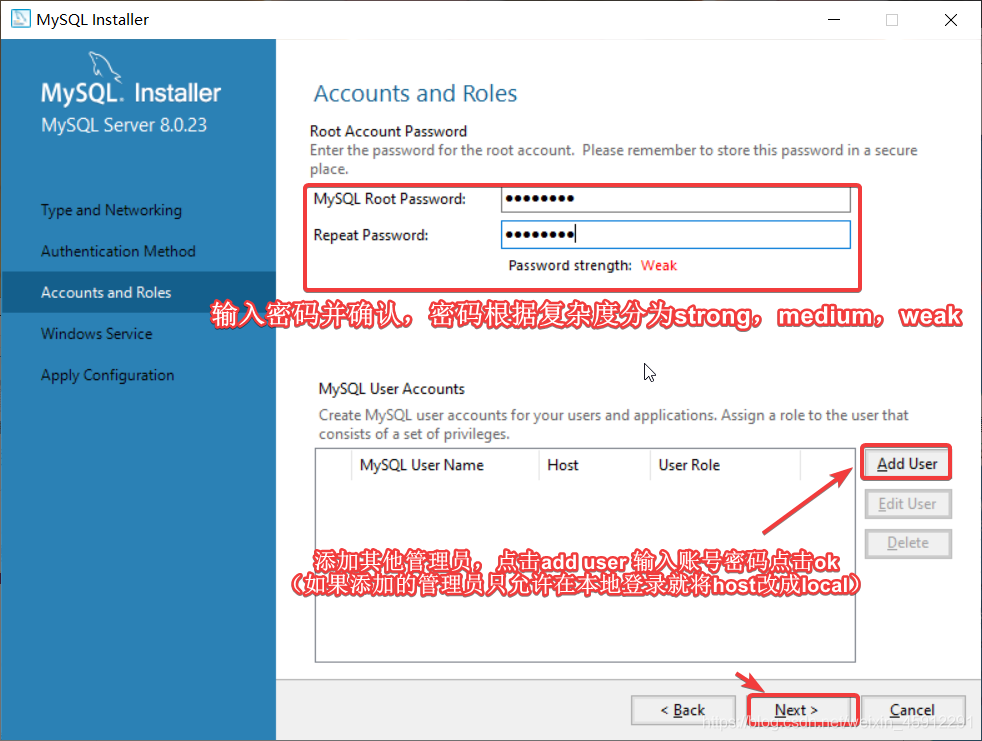
(例如下图为medium的情况显示)
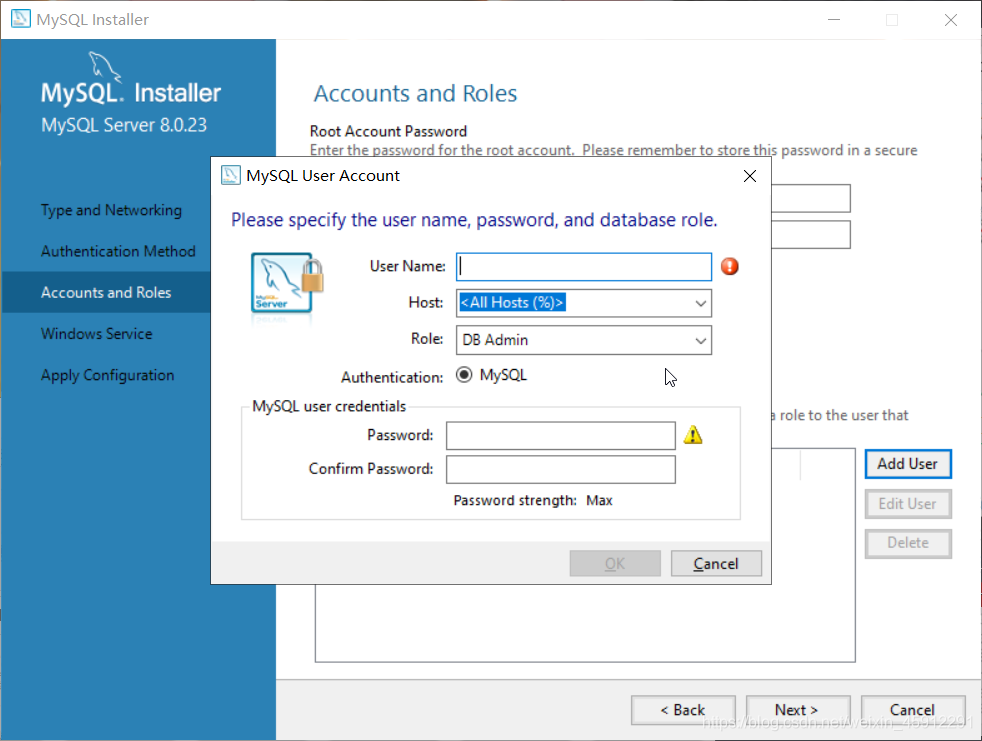
(如果只是本人使用,可以不添加其他管理员)
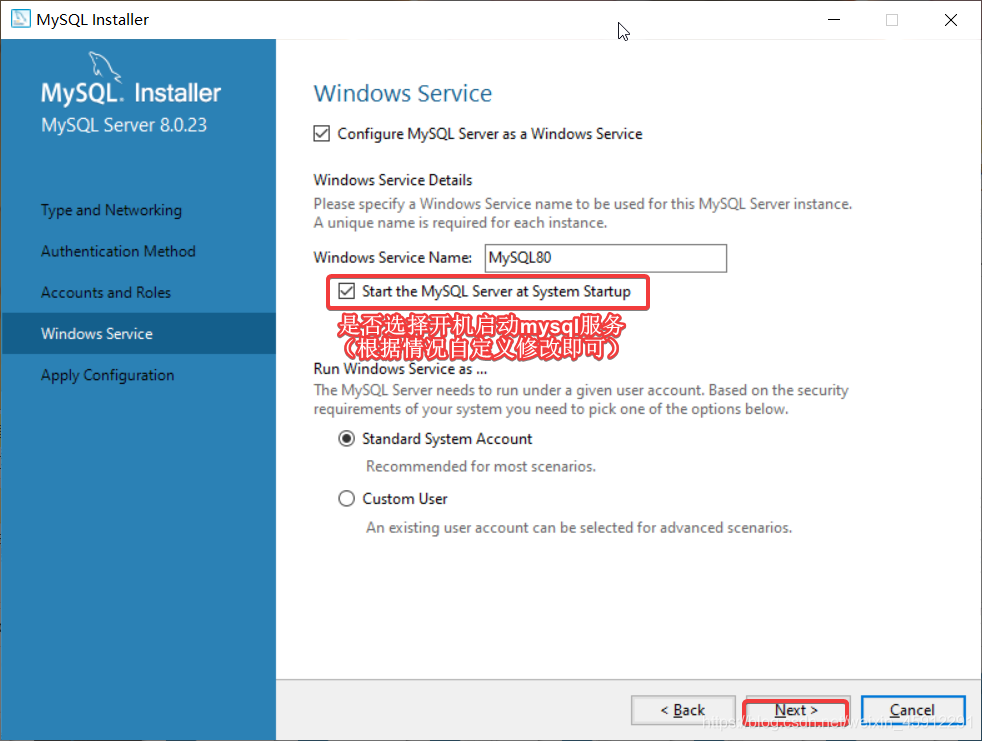
10、是否选择开机启动mysql服务等等
- Configure MySQl Server as a Windows Service || 将MySQL服务器配置为Windows服务
Windows Service Details || Windows服务详细信息- Please specify a Windows Service name to be used for this MySQL Server instance.A unique name is required for each instance.
请指定用于此MySQL服务器实例的Windows服务名称。每个实例都需要一个唯一的名称。- Windows Service Name:MySQL80 || Windows服务名称:MySQL 80
- Start the MySQL Server at System Startup是否选择开机启动mysqi服务根据情况首定叉修改即可力
在系统启动是否选择开机启动mysqi服务根据情况首定叉修改即可力运行- Run Windows Service as … || WindowsService时启动MySQLServer作为.
- The MySQL Server needs to run under a given user account.Based on the securityrequirements of your system you need to pick one of the options below.
MySQL服务器需要在给定的用户帐户下运行,根据系统的安全性要求,您需要选择以下选项之一。- Standard System Account || 标准系统帐户
Recommended for most scenarios.
推荐用于大多数场景。- Custom User ||自定义用户
An existing user account can be selected for advanced scenarios.
可以为高级方案选择现有的用户帐户。
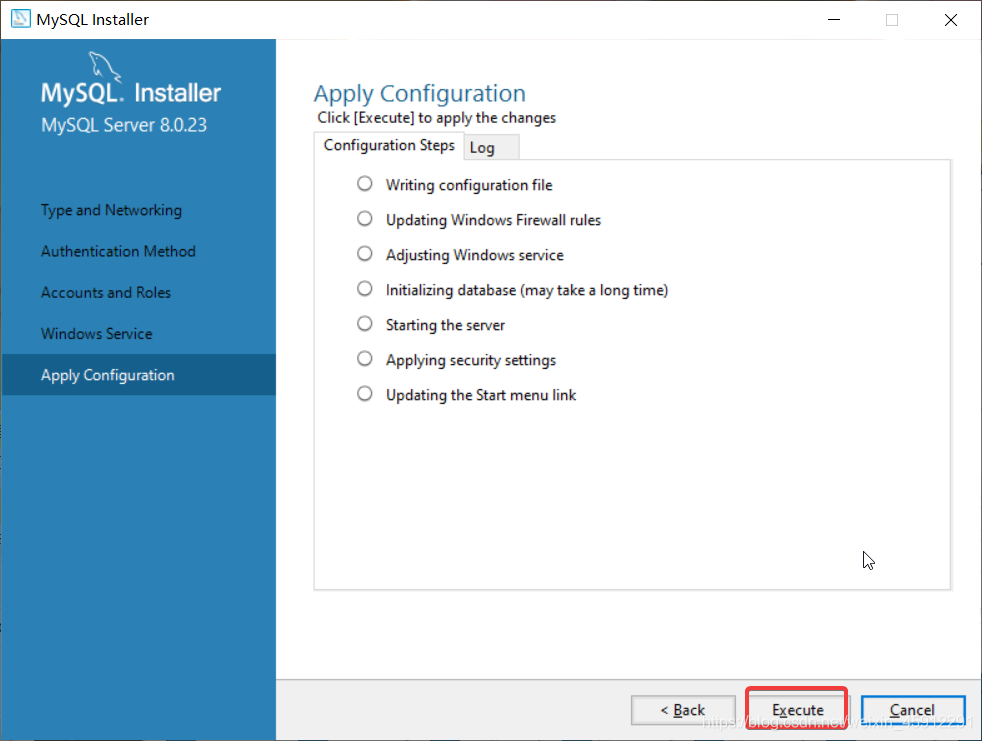
11、点击Execute
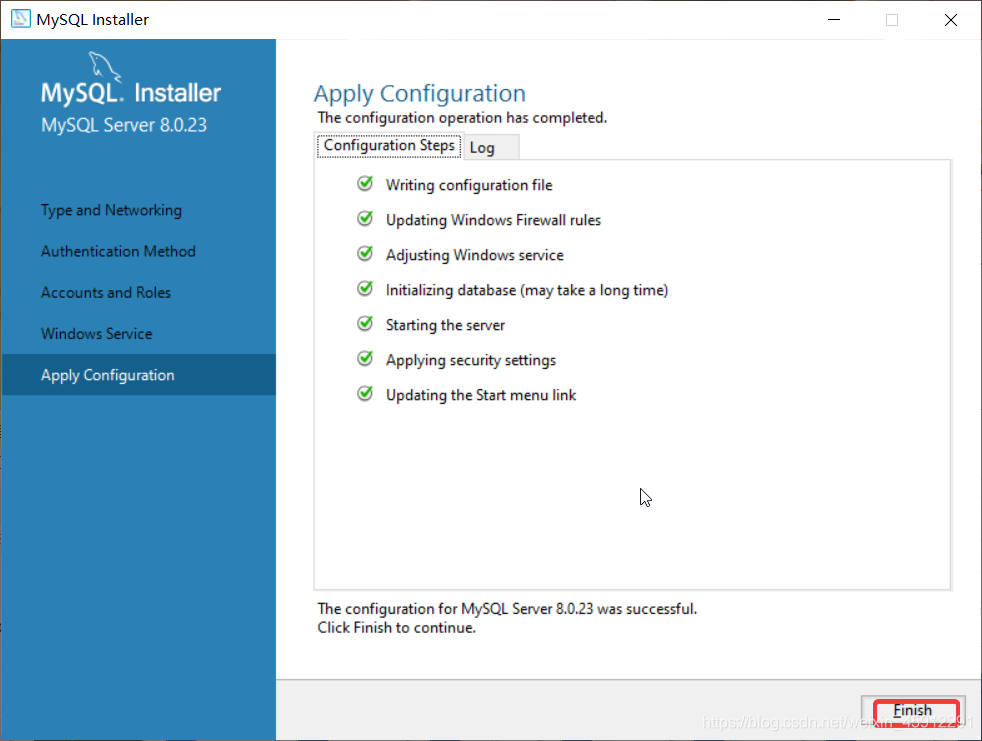
12、安装程序又回到了product configutration(产品配置)页面,此时我们看到mysql server安装成功的显示,继续下一步

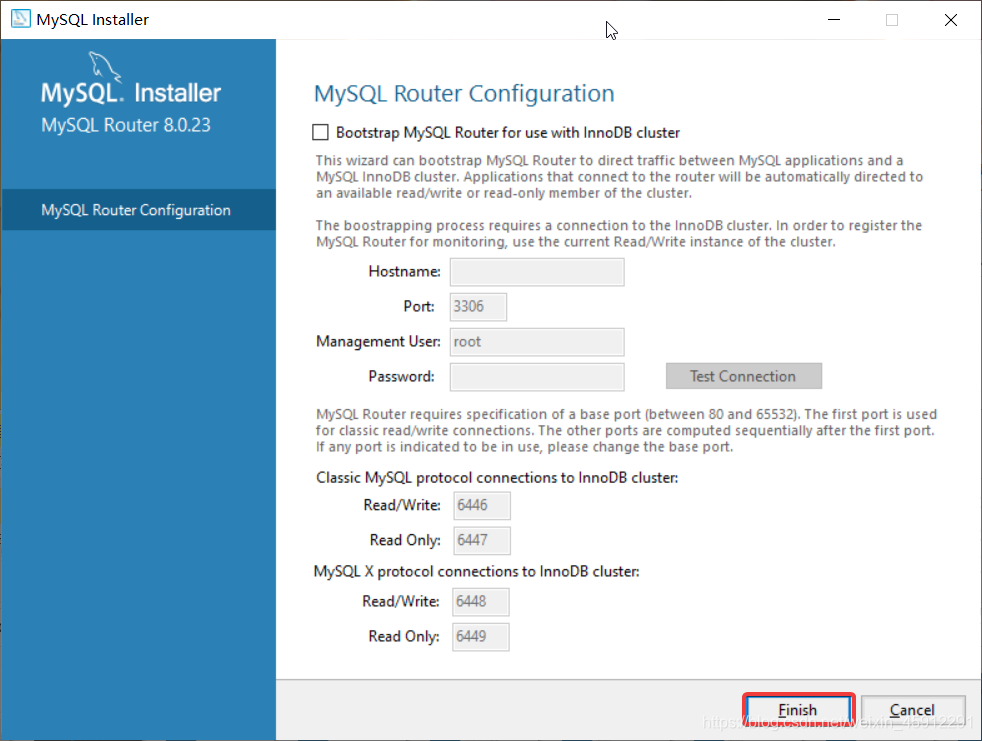
13、MySQL路由器配置(此处我选择默认选项安装,如果有需要详见mysql官方安装说明:https://dev.mysql.com/doc/refman/5.7/en/mysql-installer-workflow.html)
- MySQL Router Configuration || MySQL路由器配置
- Bootstrap MySQL Router for use with InnoDB cluster || 引导MySQL路由器用于InnoDB集群
- This wizard can bootstrap MySQL Router to direct traffic between MySQL applications and aMySQL InnoDB cluster.Applications that connect to the router will be automatically directed toan available read/write or read-only member of the cluster.
此向导可以引导MySQL路由器引导MySQL应用程序和aMySQLInnoDB集群之间的通信。连接到路由器的应用程序将自动被定向到集群中可用的读/写或只读成员。- The boostrapping process requires a connection to the lnnoDB cluster. In order to register theMySQL Router for monitoring, use the current Read/Write instance of the cluster.
引导过程需要连接到InnoDB集群。为了注册用于监视的MySQL路由器,请使用集群的当前读/写实例。- MySQL Router requires specification of a base port (between 80 and 65532).The first port is usedfor classic read/write connections.The other ports are computed sequentially after the first port.lf any port is indicated to be in use, please change the base port,
Mysql路由器需要指定一个基本端口(在80到65532之间)。第一个端口用于经典的读/写连接。其他端口是在第一个端口之后依次计算的。如果任何端口被指示正在使用,请更改基端口。- Classic MySQL protocol connections to InnoDB cluster: || 与InnoDB集群的经典MySQL协议连接:
- MySQL X protocol connections to lnnoDB cluster: || MySQLX协议连接到InnoDB集群:
Product Configuration || 产品配置
we’ll now walk through a configuration wizard for each of the following products.You can cancel at any point if you wish to leave this wizard without configuring all theproducts.
现在我们将遍历下面每一个产品的配置向导,如果您希望在不配置所有产品的情况下离开该向导,您可以在任何时候取消该向导。

14、点击next
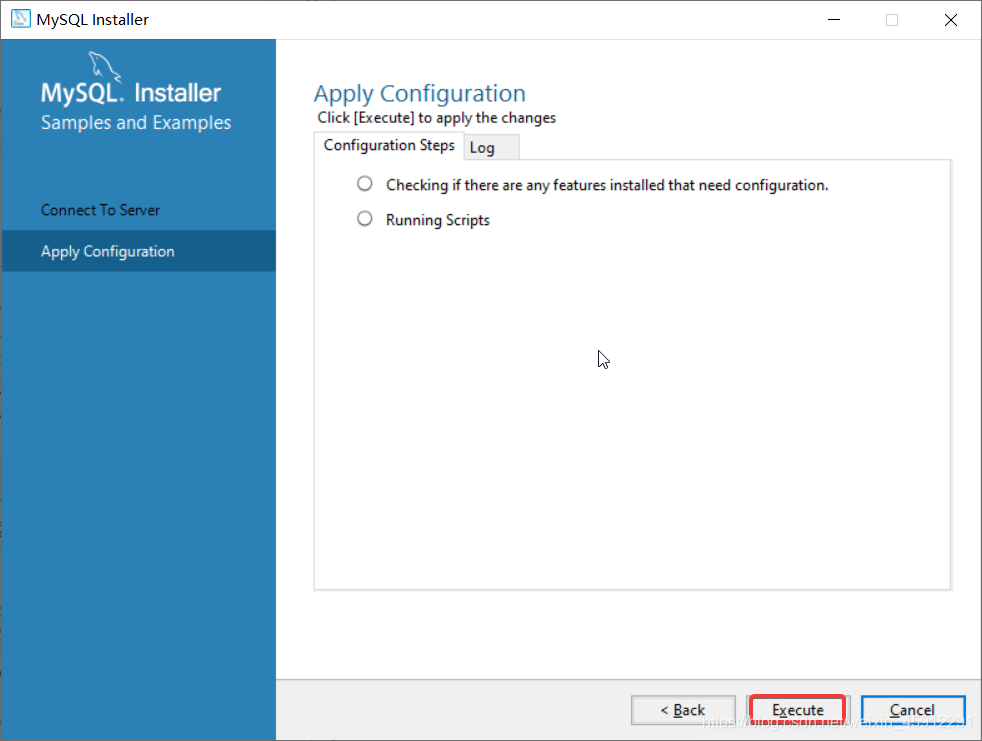
15、点击Execute
16、点击Finish
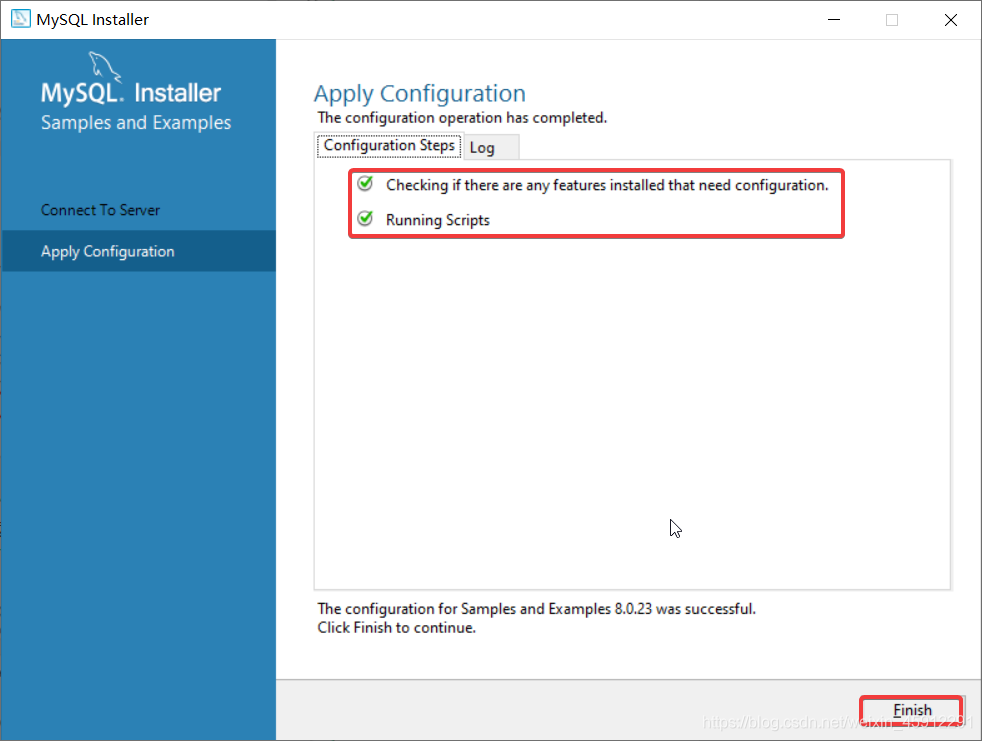
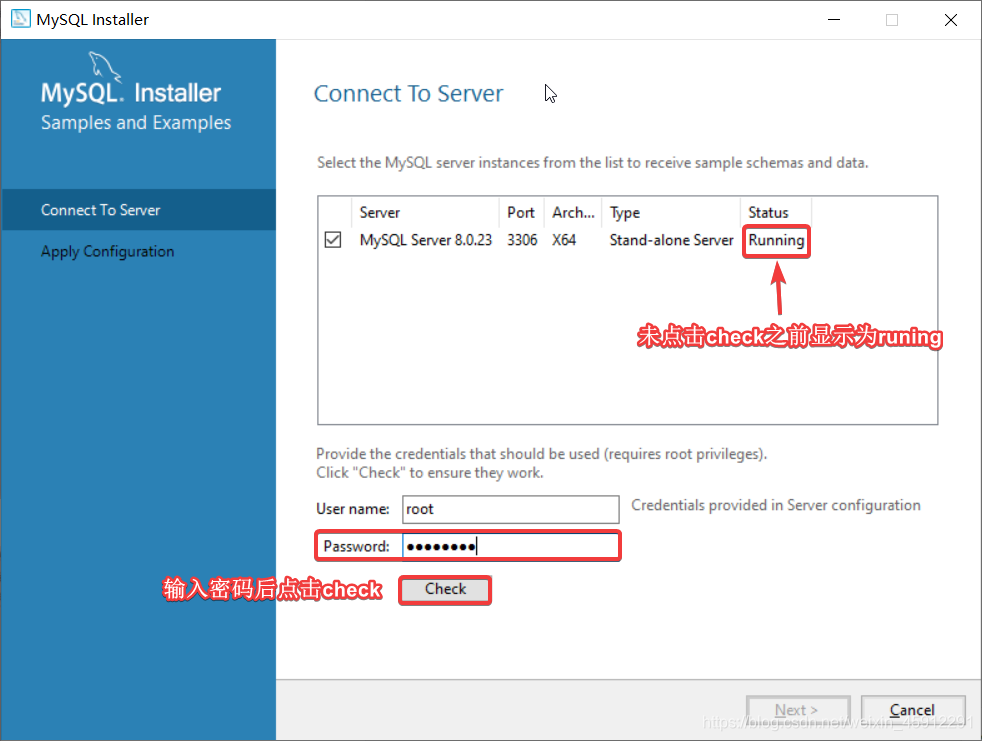
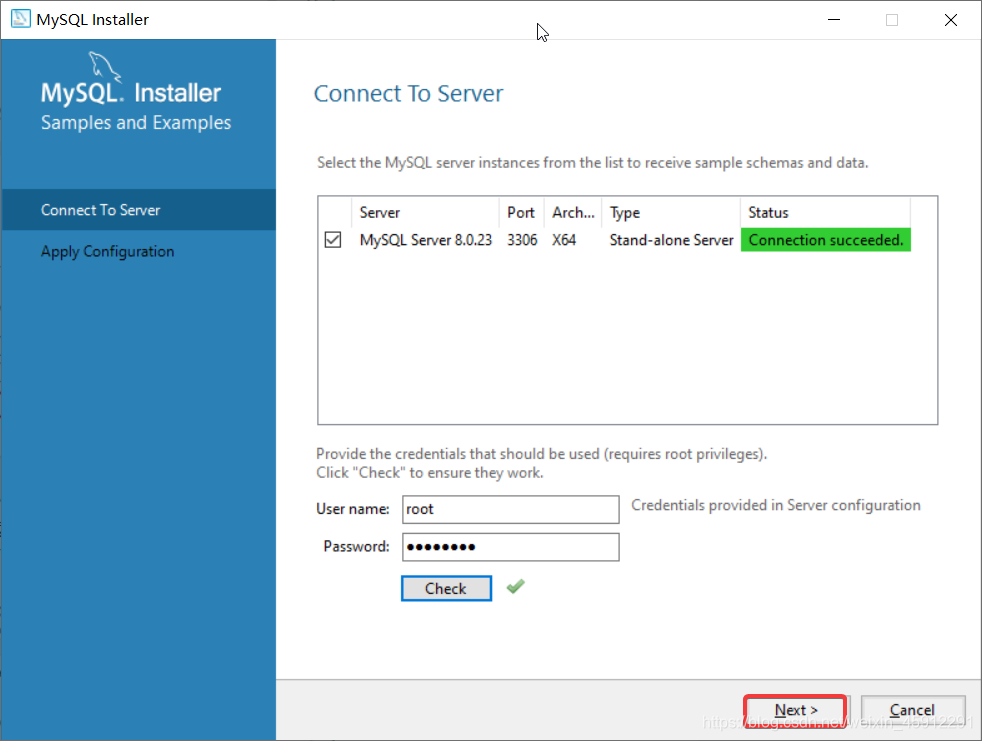
17、点击next

18、点击Finish
- lnstallation Complete || 安装完成
- The installation procedure has been completed. || 安装过程已经完成。
- Copy Log to Clipboard || 将日志复制到剪贴板
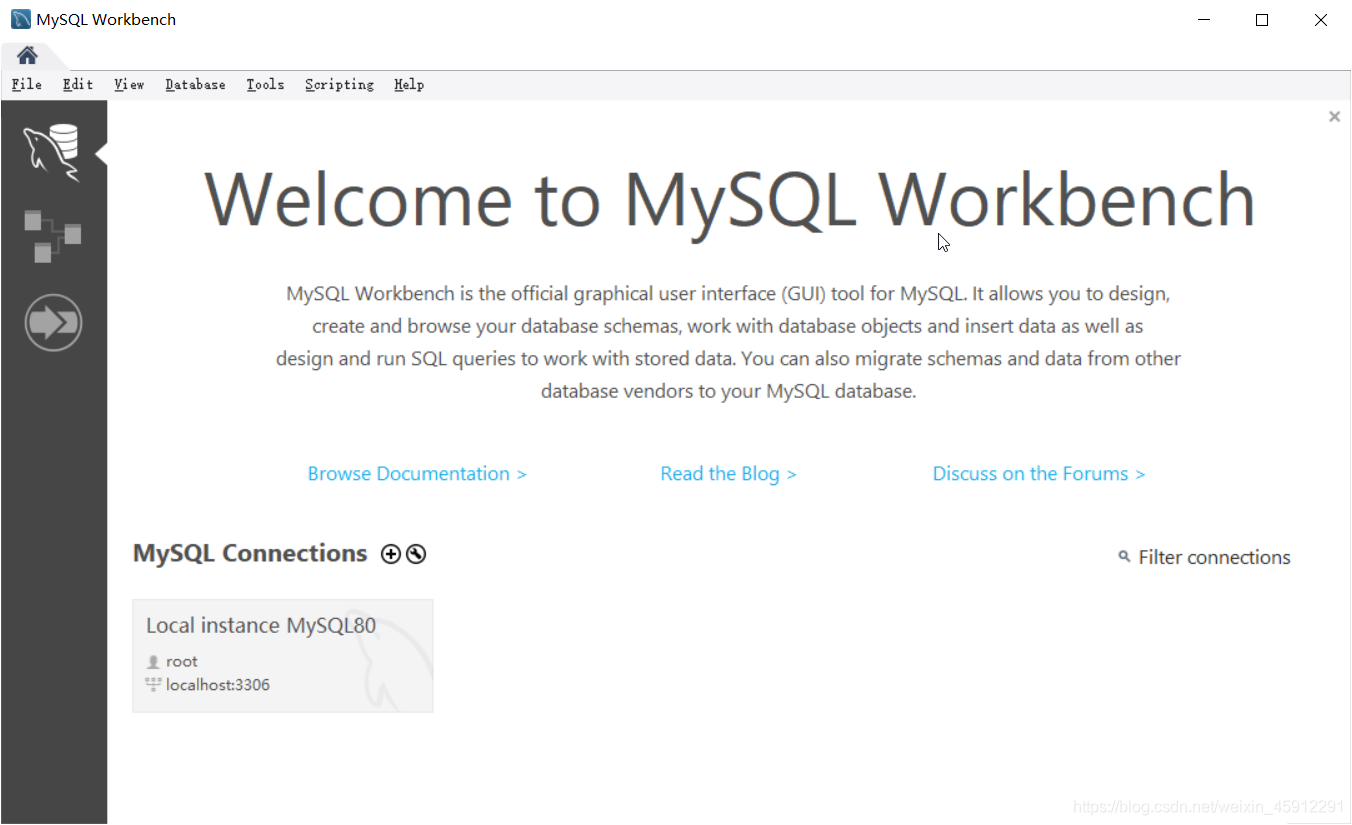
- Start MySQL Workbench after setup || 安装后启动MySQLWorkbench
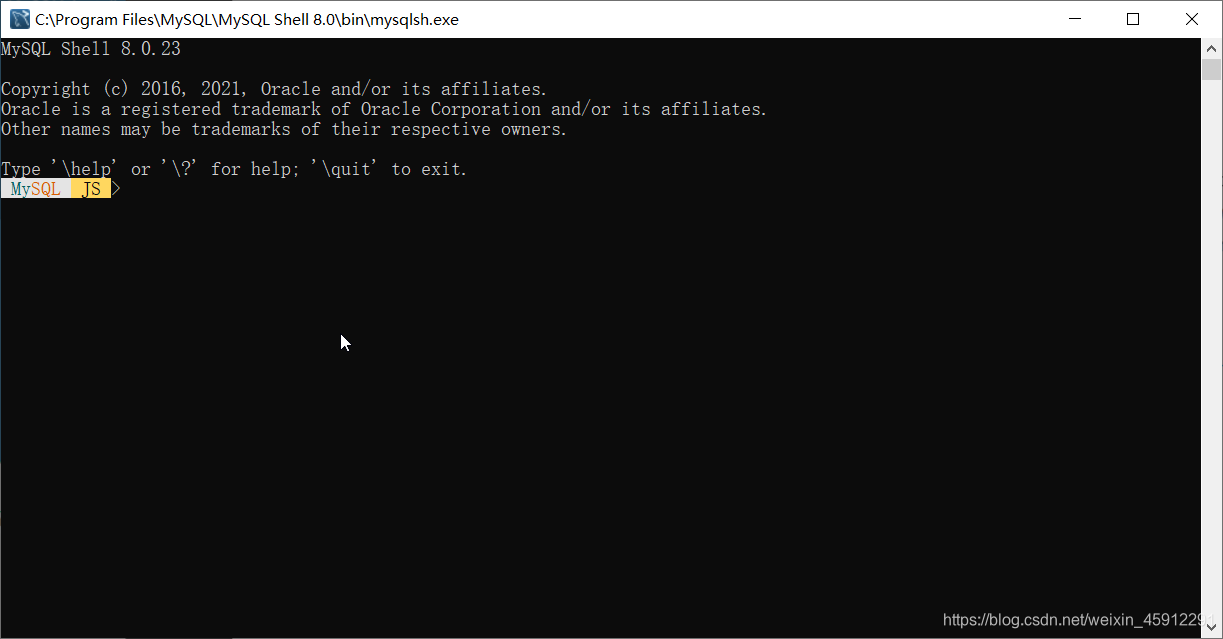
- Start MySQL Shell after setup || 安装后启动MySQL Shell
- The MySQL Shell is an advanced MySQL client application that can be used to work withsingle MySQL Server instances.Further, it can be used to create and manage an InnoDBcluster, an integrated solution for high availability and scalability of MySQL databases,without requiring advanced MySQL expertise.
MySQL Shell是一个高级MySQL客户端应用程序,可用于处理单个MySQL服务器实例,此外,它还可用于创建和管理InnoDB集群,这是MySQL数据库高可用性和可伸缩性的集成解决方案,而不需要先进的MySQL专业知识。
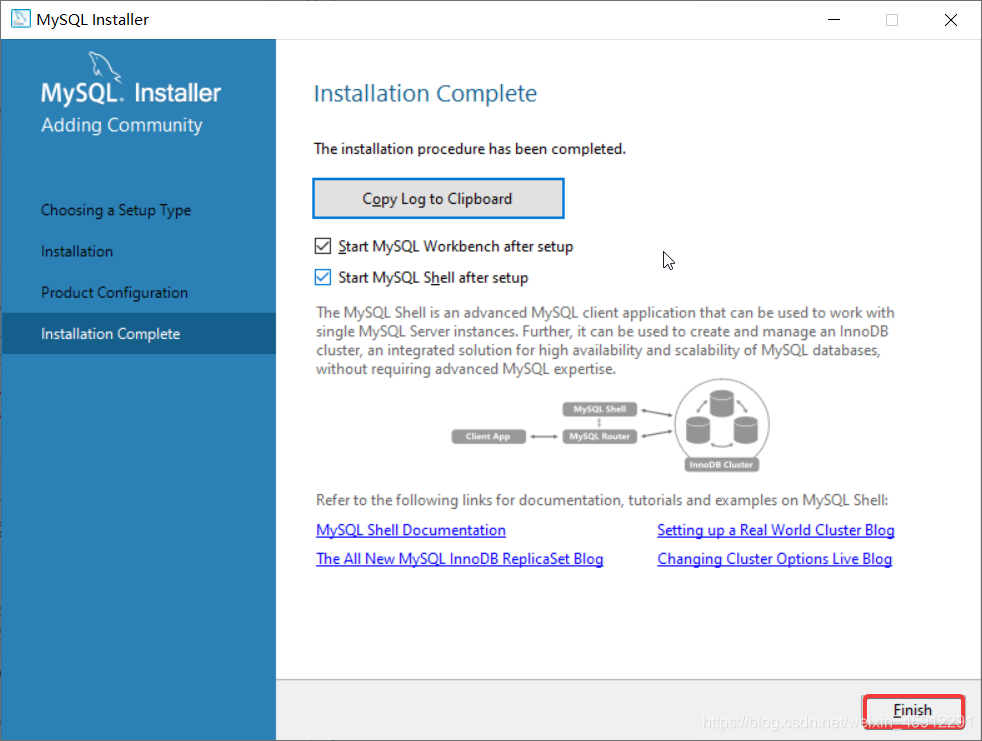
下述图片为点击Finish之后弹出的效果
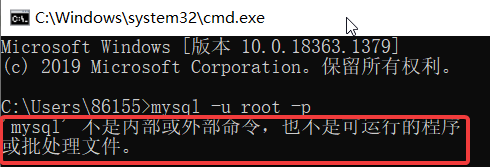
如果未配置环境变量,则会出现以下情况
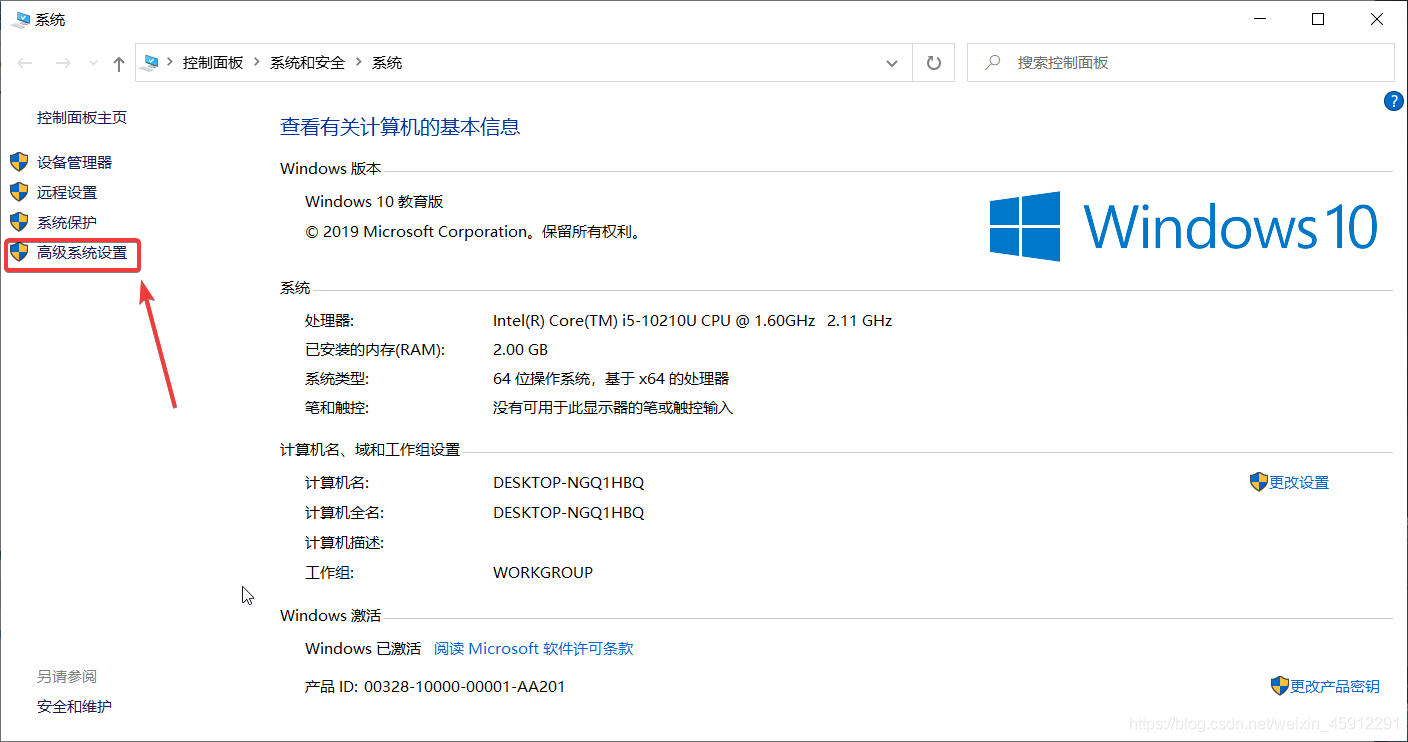
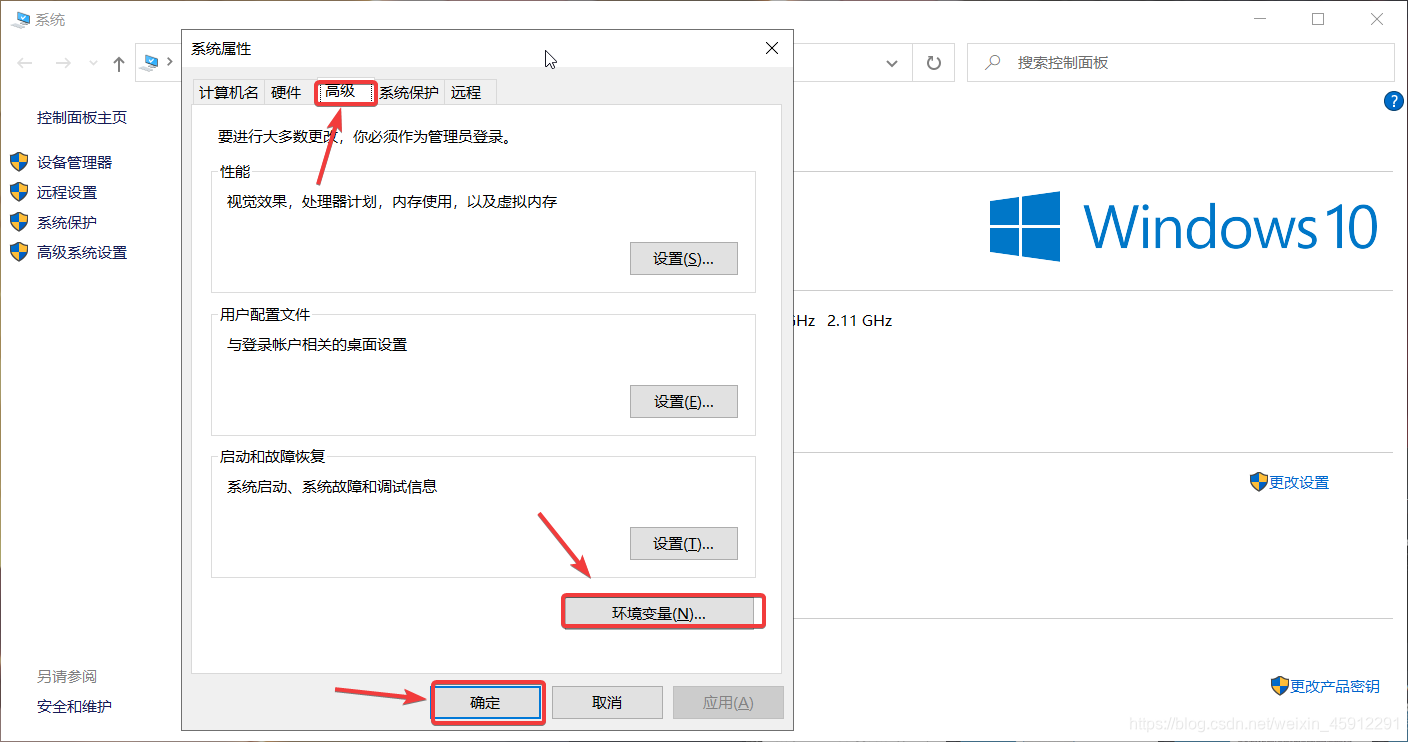
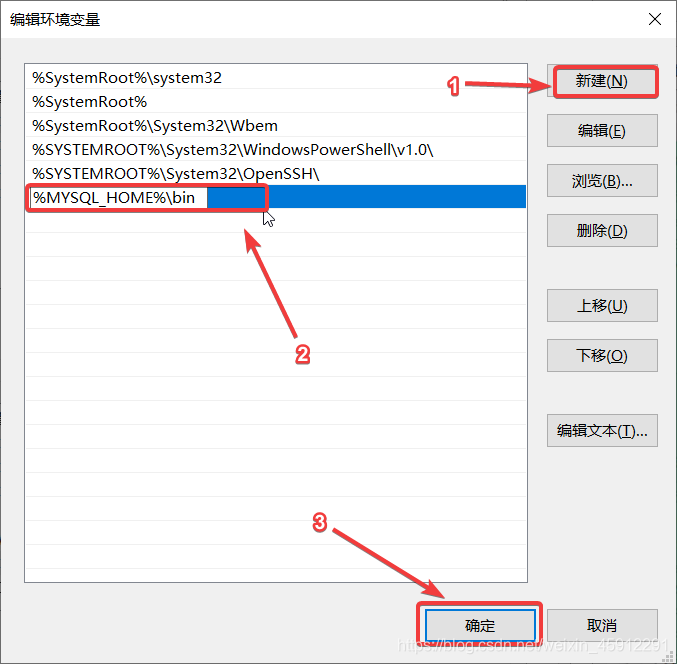
19、配置环境变量
右键点击"此电脑" —>属性——>高级系统设置
新建MYSQL_HOME,将安装目录输入
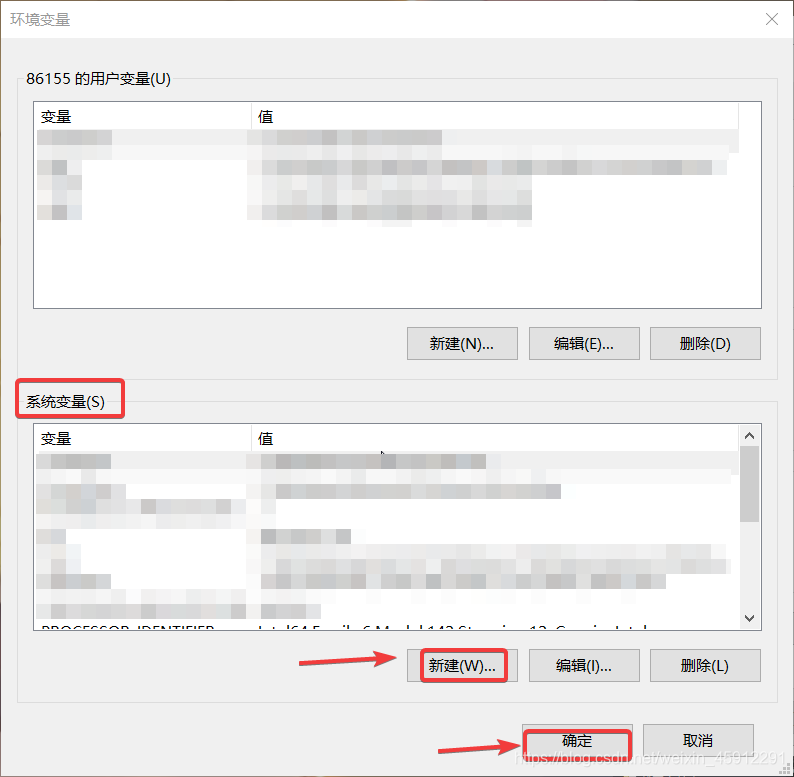
安装的时候mysql默认安装路径是:C:\Program Files\MySQL\MySQL Server 8.0

找到path编辑:输入%MYSQL_HOME%\bin

win+R,打开cmd输入mysql –u root –p
输入root的密码
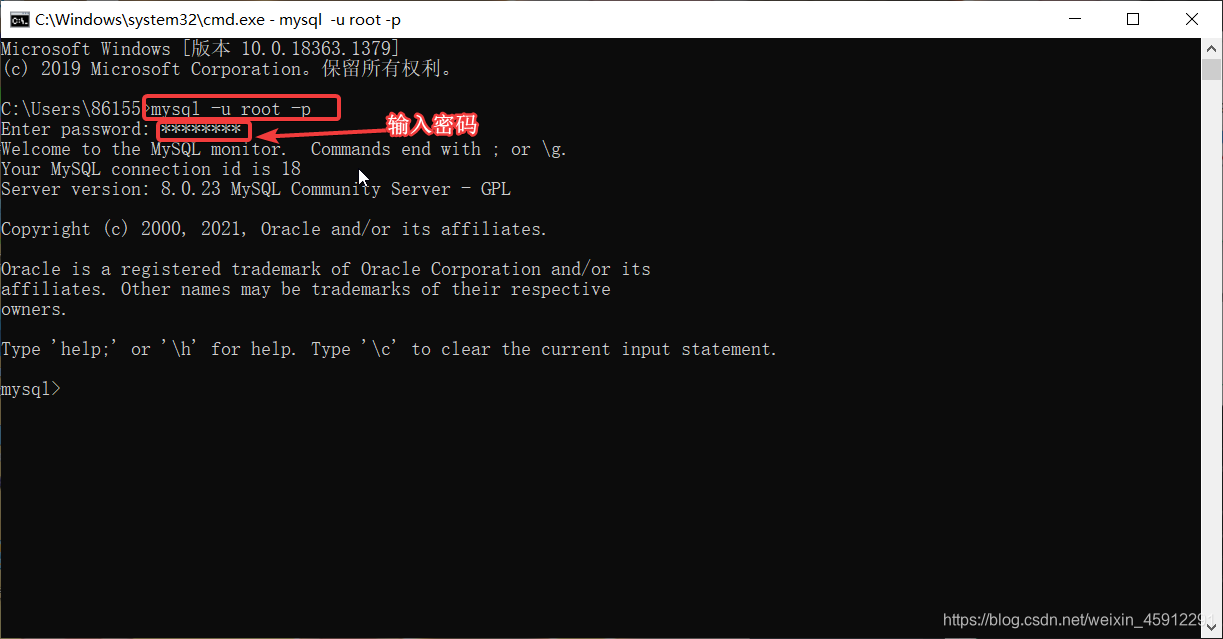
完成.


 1万+
1万+


 被折叠的 条评论
为什么被折叠?
被折叠的 条评论
为什么被折叠?
 到【灌水乐园】发言


