


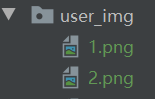
1. 建立文件夹存储
因为是测试用户,量不大,存本项目内即可。apitest的static下建立一个有__init__的文件夹 user_img
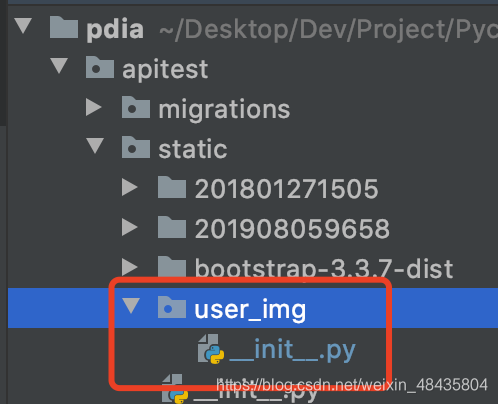
为什么在static,因为这是项目目前可以直接返回给前端的静态资源地址。项目还并没有去settings.py中进行设置自定义的静态资源文件夹。其他目录下的资源文件直接在页面中使用会报错。
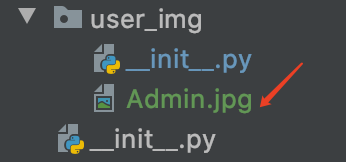
现在先随便去哪弄个小图片放进来,先实现展示效果~
2. 增加公共参数函数的公共值
views.py:

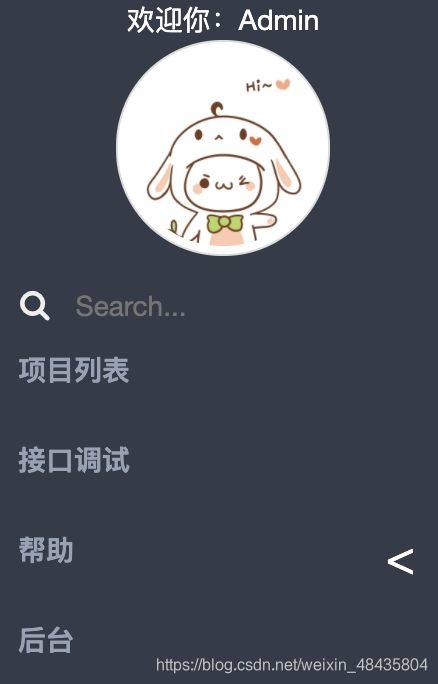
welcome.html中调用,写好这个换行和img 标签,然后图片路径是拼接的。这里只设置了宽度,并且调用了俩个bootstrap3的样式。

<!--    头像、用户名    -->
<div style="color: white; margin-top: 5px; margin-bottom: 5px; margin-left: 5px; text-align: center">
    欢迎你:<span>{{ username }}</span>
    <br>
    <img src="/static/user_img/{{ user_img }}" alt="" style="width: 50%" class="img-circle img-thumbnail">
</div>
看看效果:

继续回去完善公共参数函数:毕竟都是写死的,不能所有用户都返回这个1.png,每个用户都有自己的专属头像,这里用户的id 来区分谁是哪张图片。

看看效果:
如果用户id没有图,因此会如下图所示
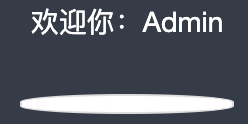
这里暂时不做这个优化了。虽然看着难看,但这属于产品的思维,就是让用户觉得难看,然后好上传头像~
2. 上传
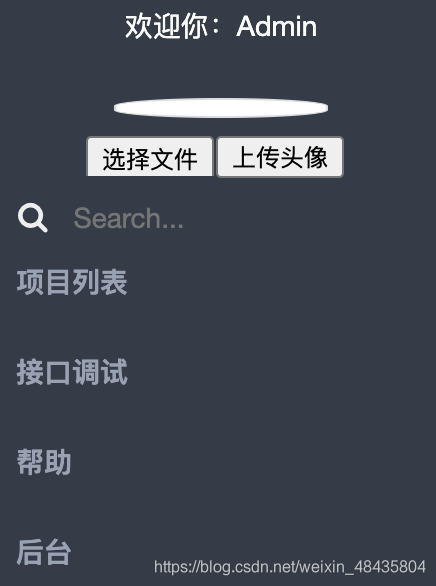
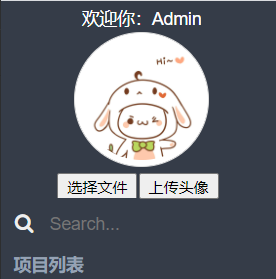
打开welcome.html,增加上传按钮

<!--    头像上传    -->
<form id="upload_file" action="/user_upload/" method="post" enctype="multipart/form-data">
    <input type="file" name="fileUpload" style="margin-left: 45px; width: 65px; height: 20px; font-size: xx-small; float: left" />
    <button onclick="upload_py()" style="color: black; width: 64px; height: 21px; font-size: xx-small">上传头像</button>
</form>
注意此处用的是表单上传方式,会自动刷新页面。所有表单内容 全部是通过input中的name 标记,后台靠name取。这里只有头像文件一个,就是fileUpload。
2. 添加映射
urls.py:
url(r'^user_upload/$', user_upload), # 上传头像views.py:

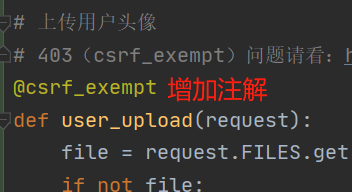
# 上传用户头像
def user_upload(request):
    file = request.FILES.get("fileUpload", None)  # 靠name获取上传的文件,如果没有,避免报错,设置成None
    if not file:
        return HttpResponseRedirect('/home/')  # 如果没有则返回到首页
    # 设置好这个新图片的名字,为了兼容公共字典写死的png
    destination = open("apitest/static/user_img/" + str(request.user.id) + '.png', 'wb+')  # 打开特定的文件进行二进制的写操作
    for chunk in file.chunks():  # 分块写入文件
        destination.write(chunk)
    destination.close()
    return HttpResponseRedirect('/home/')  # 返回到首页
重启服务,刷新页面,测试一下,点击上传头像
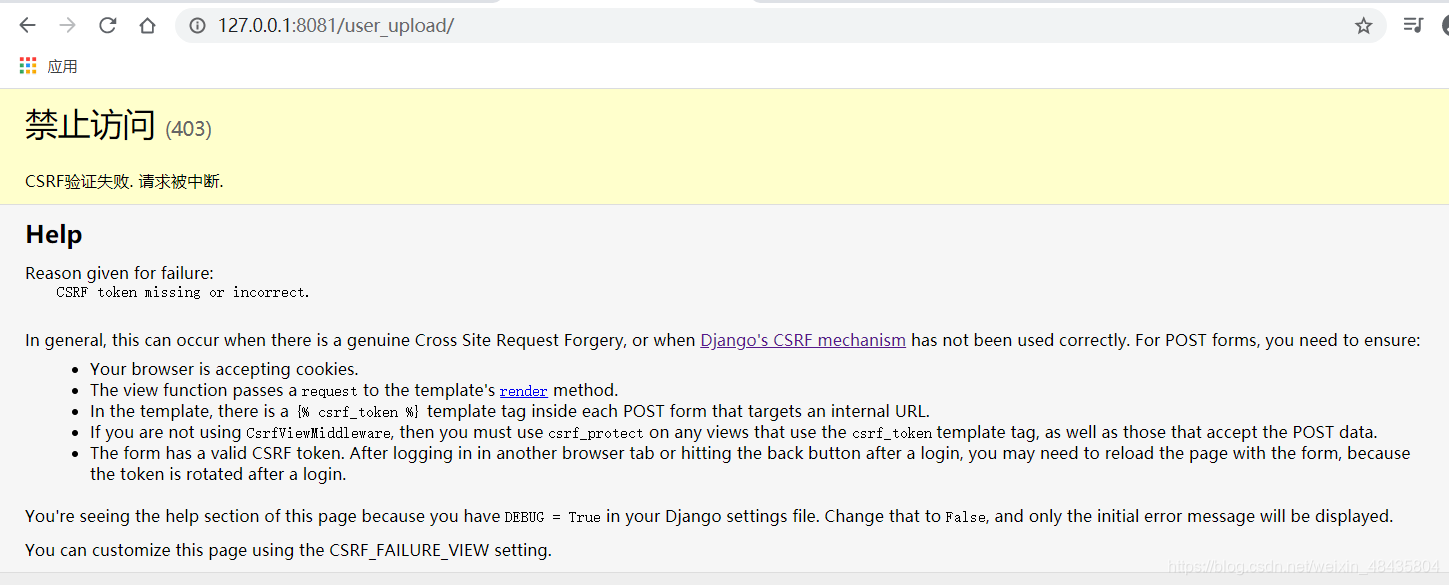
3. 问题解决
这是csrf_token问题,解决办法,2种。此处的版权:https://blog.csdn.net/weixin_41790552/article/details/100580399
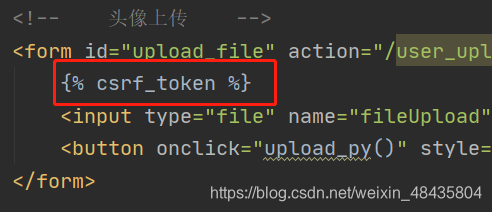
一:django使用
- welcome.html:的form增加{% csrf_token %}
- views.py:函数前增加注解@csrf_exempt和导入from django.views.decorators.csrf import csrf_exempt
![]()
测试一下,看看效果:

注意:
- return 使用 render() 而不要用 return render_to_response(‘xxx.html’),否则会报错:UserWarning: A {% csrf_token %} was used in a template, but the context did not provide the value. This is usually caused by not using RequestContext.
- 解决:from django.template import RequestContext return render_to_response('xxx.html', locals(),context_instance = RequestContext(request))
- render_to_response问题,没使用过,仅供参考,部分版本的Django render_to_response() 没有这个参数
二、ajax解决
ajax请求(post),需要在data中传入csrfmiddlewaretoken 的值,这个值可以从 cookie 中获取
var csrf_token = document.cookie.replace(/(?:(?:^|.*;\s*)csrftoken\s*\=\s*([^;]*).*$)|^.*$/, '$1');
$.ajax({
url: '/url/',
type: "post",
data: {
'username':'username',
'password': 'password',
'csrfmiddlewaretoken':csrf_token
},
success: function (data) {
}
});
或者给多个 ajax请求统一配置(这个用法不太确定,实际用了之后也没报错):
$(function () {
var csrf_token = document.cookie.replace(/(?:(?:^|.*;\s*)csrftoken\s*\=\s*([^;]*).*$)|^.*$/, '$1');
$.ajaxSetup({data: {"csrfmiddlewaretoken": csrf_token}});
});
由于ajax请求中,有的请求使用的是FormData,配合上面的 ajaxSetup,可以单独针对这类请求做以下处理:
var formData = new FormData();
formData.append("csrfmiddlewaretoken", csrf_token);

4. 优化按钮效果
打开welcome.html:把文件按钮组隐藏,并设置好小按钮:
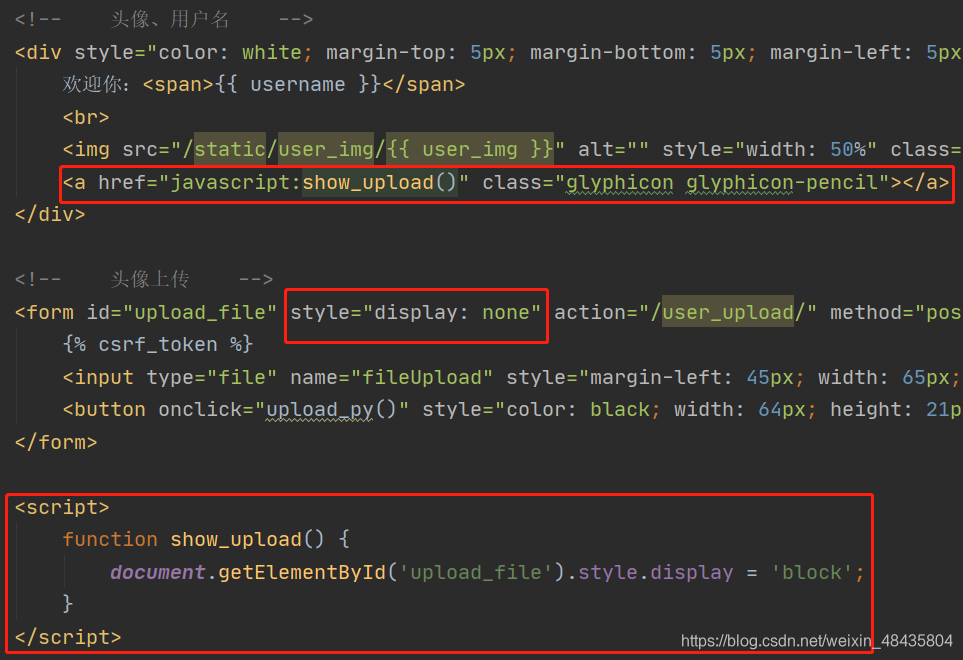
<!--    头像、用户名    -->
<div style="color: white; margin-top: 5px; margin-bottom: 5px; margin-left: 5px; text-align: center">
    欢迎你:<span>{{ username }}</span>
    <br>
    <img src="/static/user_img/{{ user_img }}" alt="" style="width: 50%" class="img-circle img-thumbnail">
    <a href="javascript:show_upload()" class="glyphicon glyphicon-pencil"></a>
</div>

<!--    头像上传    -->
<form id="upload_file" style="display: none" action="/user_upload/" method="post" enctype="multipart/form-data">
    {% csrf_token %}
    <input type="file" name="fileUpload" style="margin-left: 45px; width: 65px; height: 20px; font-size: xx-small; float: left" />
    <button onclick="upload_py()" style="color: black; width: 64px; height: 21px; font-size: xx-small">上传头像</button>
</form>

<script>
    function show_upload() {
        document.getElementById('upload_file').style.display = 'block';
    }
</script>
刷新页面看看效果:

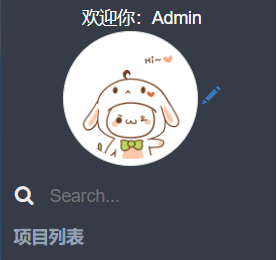
发现也可以成哦~ 而且文件夹内叫2.png的始终是一张哦~ 那个函数二进制是覆盖的呢,这样不会导致内存被浪费掉。


 被折叠的 条评论
为什么被折叠?
被折叠的 条评论
为什么被折叠?
 到【灌水乐园】发言


