


@TOC# Spring系列
记录在程序走的每一步___auth:huf
拨开云雾见天日 守得云开见月明
一、Spring创建Bean的生命周期
在Spring的入口开始
package com.example;
import com.example.service.StudentService;
import org.springframework.boot.SpringApplication;
import org.springframework.boot.autoconfigure.SpringBootApplication;
import org.springframework.context.ConfigurableApplicationContext;
import org.springframework.context.annotation.Import;

@SpringBootApplication
public class DemoApplication {
    public static void main(String[] args) {
        ConfigurableApplicationContext run = SpringApplication.run(DemoApplication.class, args);
        StudentService studentService = (StudentService) run.getBean("studentService");
        System.out.println(studentService);
    }
}
直接使用SpringBoot, 在ConfigurableApplicationContext 进行加载 StudentService 以下是StudentService的实体类 StudentService 获取直接从Spring容器中获取. 跟直接new 出来的类有天壤之别; 其中一大块就是属性注入问题; 属性注入就要提起 关于BeanDefinition 与 Bean之间的关系 在后面的文章中会详细介绍; 本期文章中不会有体现;
package com.example.service;
import com.example.entity.Student;
public interface StudentService {
...
}
package com.example.service.impl;
import com.example.service.StudentService;
@Service(value="studentService")
public class StudentServiceImpl implements StudentService {
..
}
以下是一个Bean的生命周期图<简化版>
1: 利用该类的构造方法来实例化一个对象(如果说有多个构造方法,那么Spring会自行选择,选择规则是 在没有@Autowired的时候 就会选择默认的,在没有默认的, 就会选择唯一一个 如果有多个就会报错,此时需要在构造方法内指定@Autowired);
2: 得到一个对象后 查看其属性是否被 @Autowired注解 ; 如果有那么Spring会从容器中寻找该对象进行注入;
3: 依赖注入之后,Spring会自行判断该对象是否实现了BeanNameAware,BeanClassLoaderAware,BeanFactoryAware接口 如果有.那么就会调取其实现方法setBeanName()、setBeanClassLoader()、 setBeanFactory();那Spring就会调用这些方法并传入相应的参数(Aware回调)
4:Aware回调后,那么就会判断该类是否存在PostConstruct注解 了,如果存在,Spring会调用当前对象的此方法(初始化前)
5:紧接着,Spring会判断该对象是否实现了InitializingBean接口,如果实现了,就 表示当前对象必须实现该接口中的afterPropertiesSet()方法,那Spring就会调用当前对象中的afterPropertiesSet()方法(初始化);
6:最后判断:Spring是否需要Aop,如果不需要.那么类就创建完毕(此时是普通对象);如果需要;那么就会 动态代理 由代理类来实现AOP;此时就是代理对象; 这个需要注意 普通对象与代理对象的区别! 代理对象 实际是就是为了实现AOP; 最后附上代码图 Debug进行解释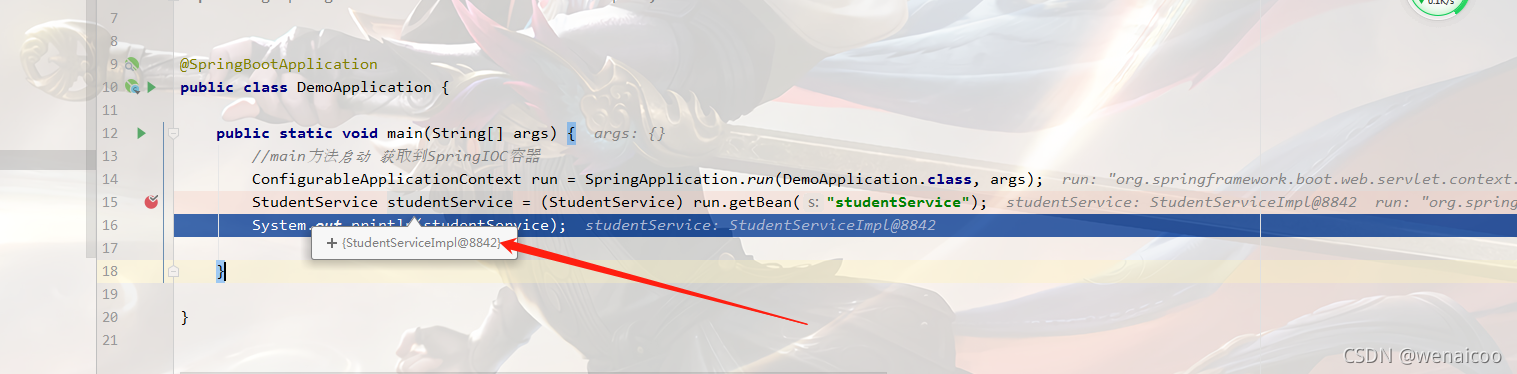
Spring中使用Cglib 进行动态代理的呢;此处以伪代码进行解释
package com.example.service.impl;
import com.example.entity.Student;
import com.example.service.StudentService;
/**
 * 此处为cglib自己生产的代理类 并且继承
 * auth:huf
 */
public class StudentServiceProxy extends StudentServiceImpl{
    StudentService target;// 使用的是是前面创建的Java普通对象;注意是普通对象
    public int insert(Student stu){
        /**
         * AOP的前置动作;Before
         */
        //这个地方insert并非使用super.insert方法;
        target.insert(stu);
        /**
         * AOP的后置动作;
         */
    }
}
AOP大致流程
AOP就是进行动态代理,在创建一个Bean的过程中,Spring在最后一步会去判断当前正在 创建的这个Bean是不是需要进行AOP,如果需要则会进行动态代理。如何判断当前Bean对象需不需要进行AOP:
1. 找出所有的切面Bean
2. 遍历切面中的每个方法,看是否写了@Before、@After等注解
3. 如果写了,则判断所对应的Pointcut是否和当前Bean对象的类是否匹配
4. 如果匹配则表示当前Bean对象有匹配的的Pointcut,表示需要进行AOP 利用cglib进行AOP的大致流程:
1). 生成代理类StudentServiceProxy,代理类继承StudentServiceImpl
2). 代理类中重写了父类的方法,比如StudentServiceImpl中的insert()方法
3). 代理类中还会有一个target属性,该属性的值为被代理对象(也就是通过 UserService类推断构造方法实例化出来的对象,进行了依赖注入、初始化等步骤的 对象)
4). 代理类中的test()方法被执行时的逻辑如下: a. 执行切面逻辑(@Before) b. 调用target.insert() 当我们从Spring容器得到StudentServiceImpl的Bean对象时,拿到的就是UserServiceProxy所生 成的对象,也就是代理对象。 StudentServiceImpl代理对象.insert()—>执行切面逻辑—>target.insert(),注意target对象不是代理 对象,而是被代理对象。
在复习过程中 修正之前跟一名同事 哲哲 说的 一个Spring原理:
注:Spring会根据入参的类型和入参的名字去Spring中找Bean对象,(以单例Bean为例, Spring会从单例池那个Map中去找):
1. 先根据入参类型找,如果只找到一个,那就直接用来作为入参
2. 如果根据类型找到多个,则再根据入参名字来确定唯一一个
3. 最终如果没有找到,则会报错,无法创建当前Bean对象
//在什么时候会有多个Bean同时存在在一个容器中: 代码举例
package com.example.config;
import com.example.entity.Student;
import org.springframework.context.annotation.Bean;
import org.springframework.context.annotation.Configuration;
/**
 * BeanTest
 */
@Configuration
public class BeanTestConfig {
    /**
     * 这种情况下 容器就会存在多个Bean并且 相互是独立的
     * 先通过类型进行查找. 这时候会找到三个Bean
     * 然后再通过名字 student1 最终定位到一个Bean;
     * @return
     */
    @Bean
    public Student student1(){
        return  new Student();
    }
    @Bean
    public Student student2(){
        return  new Student();
    }
}
总结
Spring中的 Bean的生命周期大致如上. Spring @Transactional 也是通过AOP实现的;其原理 就是把autocommit 由true改为false; 由代理类进行Commit; Spring原理 会持续更新 更新时间为每个星期 三篇左右;


 188
188


 被折叠的 条评论
为什么被折叠?
被折叠的 条评论
为什么被折叠?
 到【灌水乐园】发言


