


上一篇文章我们讲了Android Listview ArrayAdapter示例_左眼看成爱的博客-CSDN博客
这篇文章我们来讲一下 Android Listview基于SimpleAdapter的用法与示例效果:
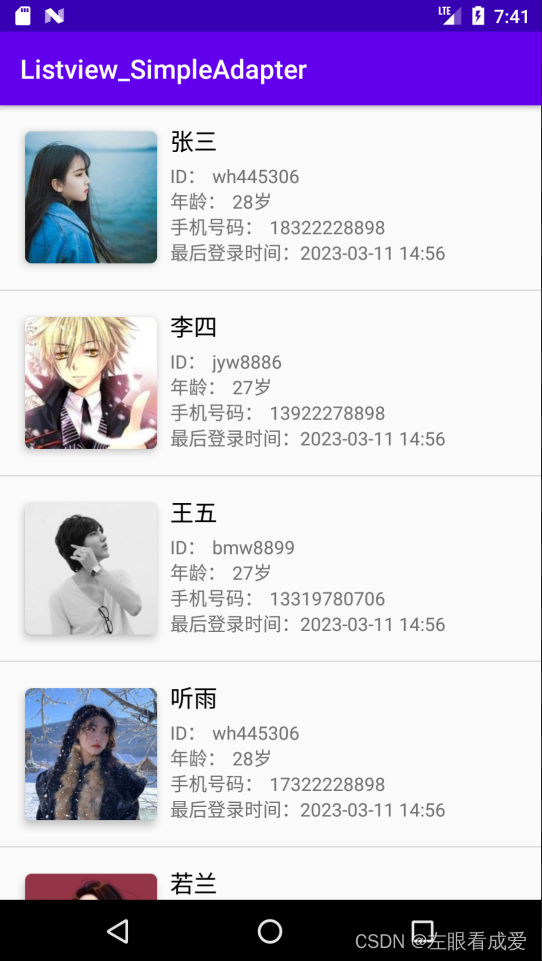
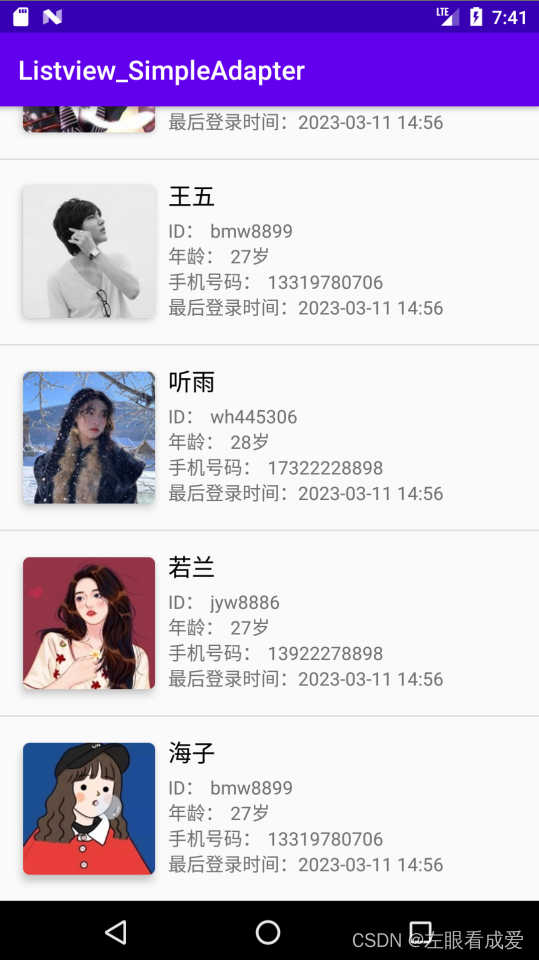
SimpleAdapter的扩展性最好,可以定义各种各样的布局出来,可以放上ImageView(图片),还可以放上Button(按钮),CheckBox(复选框)等等
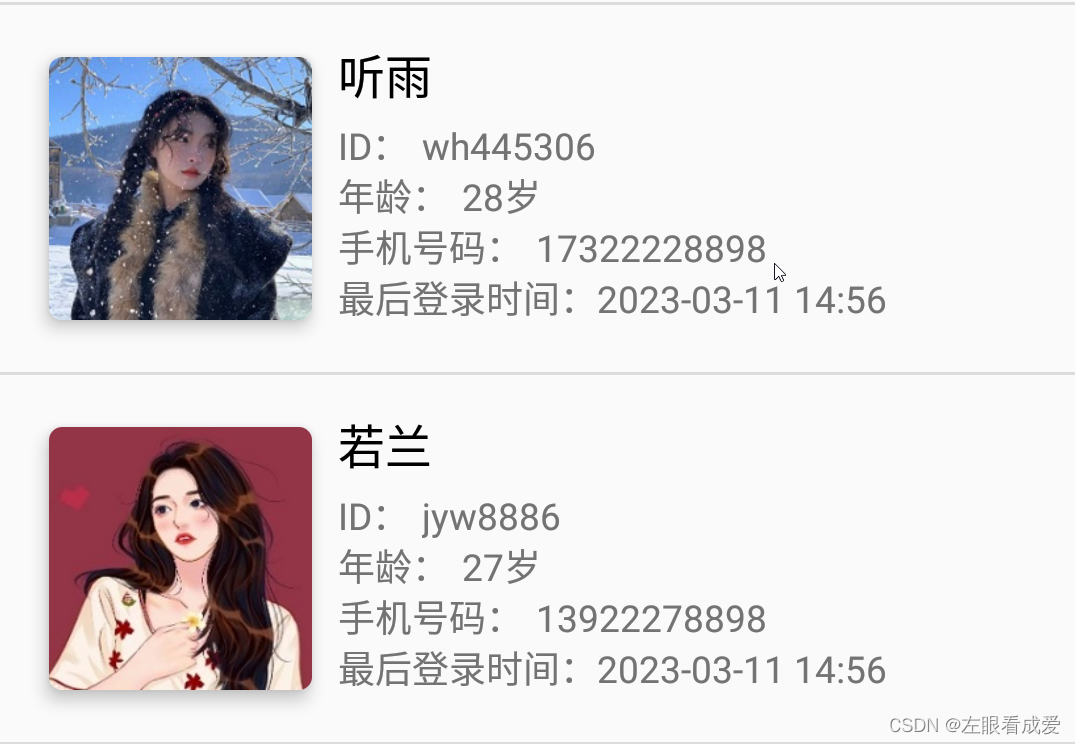
示例效果图:
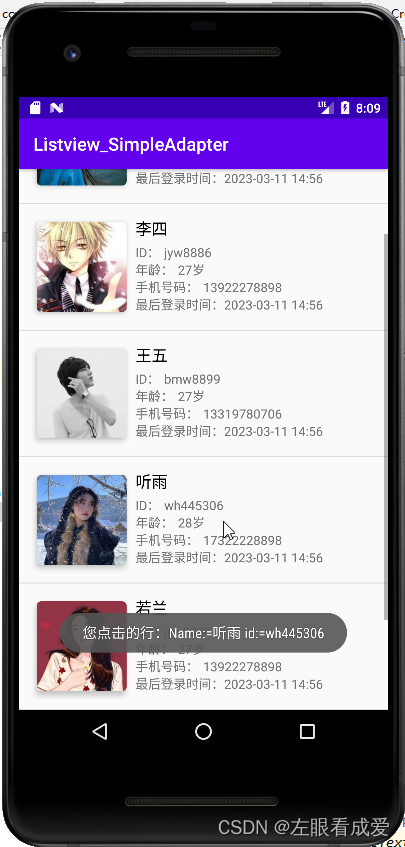
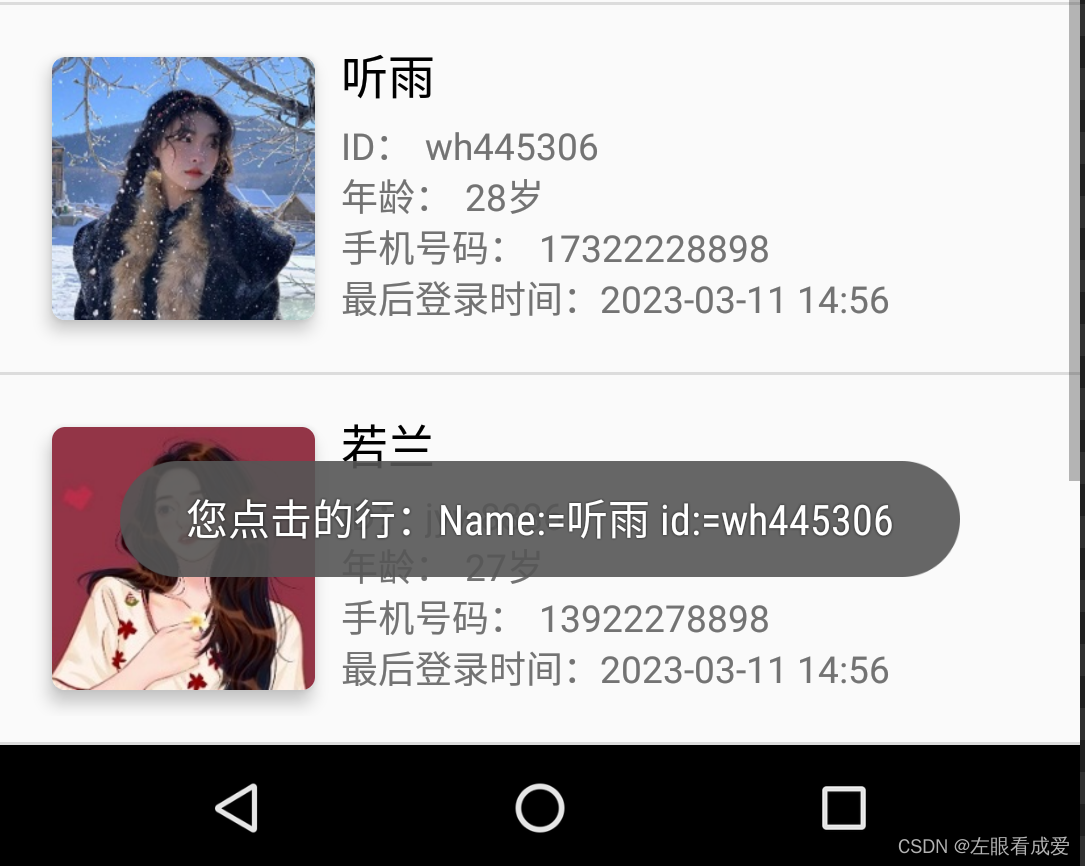
点击事件的实现和处理:
下面我们一起来看看实现这个示例效果的全部代码:
ListView 的使用大致上可以分为四个步骤:添加 ListView 组件、存储数据、设置列表项item的布局文件、加载数据/资源进行显示、添加监听。
主布局文件:
<?xml version="1.0" encoding="utf-8"?>
<LinearLayout
        xmlns:android="http://schemas.android.com/apk/res/android"
        xmlns:tools="http://schemas.android.com/tools"
        xmlns:app="http://schemas.android.com/apk/res-auto"
        android:layout_width="match_parent"
        android:layout_height="match_parent"
        android:orientation="vertical"
        tools:context=".MainActivity">


    <ListView
            android:id="@+id/lvTest"
            android:layout_width="match_parent"
            android:layout_height="match_parent"/>
</LinearLayout>
Item布局文件:
<?xml version="1.0" encoding="utf-8"?>
<LinearLayout xmlns:android="http://schemas.android.com/apk/res/android"
              xmlns:tools="http://schemas.android.com/tools"
              xmlns:app="http://schemas.android.com/apk/res-auto"
              android:layout_width="match_parent"
              android:layout_height="match_parent">

    <!--顶部头像信息栏布局-->
    <LinearLayout
            android:orientation="horizontal"
            android:layout_width="match_parent"
            android:layout_height="wrap_content"
            android:layout_margin="10dp">


        <androidx.cardview.widget.CardView
                android:id="@+id/imgCard"
                android:layout_width="wrap_content"
                android:layout_height="wrap_content"
                android:layout_gravity="center"
                app:cardCornerRadius="5dp"
                app:cardElevation="5dp"
                android:layout_margin="10dp">

            <ImageView
                    android:id="@+id/imgHead"
                    android:layout_width="100dp"
                    android:layout_height="100dp"
                    android:src="@drawable/userface1"/>

        </androidx.cardview.widget.CardView>


        <LinearLayout
                android:orientation="vertical"
                android:layout_width="match_parent"
                android:layout_height="wrap_content"
                android:layout_marginTop="5dp">
            <TextView
                    android:id="@+id/txtUserName"
                    android:text="IT情深"
                    android:layout_width="wrap_content"
                    android:layout_height="wrap_content"
                    android:textColor="#000000"
                    android:textSize="18sp"/>

            <LinearLayout
                    android:orientation="horizontal"
                    android:layout_width="wrap_content"
                    android:layout_height="wrap_content">

                <TextView
                        android:text="ID:"
                        android:layout_width="match_parent"
                        android:layout_height="wrap_content"
                        android:layout_marginTop="5dp"/>

                <TextView
                        android:id="@+id/txtUserID"
                        android:text="wh445306"
                        android:layout_width="wrap_content"
                        android:layout_height="wrap_content"
                        android:layout_marginLeft="5dp"
                        android:layout_marginTop="5dp"/>

            </LinearLayout>

            <LinearLayout
                    android:orientation="horizontal"
                    android:layout_width="match_parent"
                    android:layout_height="wrap_content">

                <TextView
                        android:text="年龄:"
                        android:layout_width="wrap_content"
                        android:layout_height="wrap_content" />


                <TextView
                        android:id="@+id/txtUserAge"
                        android:text="28岁"
                        android:layout_width="wrap_content"
                        android:layout_height="wrap_content"
                        android:layout_marginLeft="5dp"
                        />
            </LinearLayout>

            <LinearLayout
                    android:orientation="horizontal"
                    android:layout_width="wrap_content"
                    android:layout_height="wrap_content">

                <TextView
                        android:text="手机号码:"
                        android:layout_width="wrap_content"
                        android:layout_height="wrap_content"
                        />

                <TextView
                        android:id="@+id/txtUserTel"
                        android:text="13318780706"
                        android:layout_width="wrap_content"
                        android:layout_height="wrap_content"
                        android:layout_marginLeft="5dp"
                        />
            </LinearLayout>


            <LinearLayout
                    android:orientation="horizontal"
                    android:layout_width="wrap_content"
                    android:layout_height="wrap_content">


                <TextView
                        android:text="最后登录时间:"
                        android:layout_width="wrap_content"
                        android:layout_height="wrap_content"/>


                <TextView
                        android:id="@+id/txtLastIP"
                        android:text="2023-03-11 14:56"
                        android:layout_width="match_parent"
                        android:layout_height="wrap_content"/>


            </LinearLayout>
        </LinearLayout>
    </LinearLayout>


</LinearLayout>
MainActivity.JAVA代码:
package com.example.Listview_SimpleAdapter;

import android.util.Log;
import android.view.View;
import android.widget.AdapterView;
import android.widget.ListView;
import android.widget.SimpleAdapter;
import android.widget.Toast;
import androidx.appcompat.app.AppCompatActivity;
import android.os.Bundle;

import java.util.ArrayList;
import java.util.HashMap;
import java.util.List;
import java.util.Map;

public class MainActivity extends AppCompatActivity {

    List<HashMap<String,Object>> list = new ArrayList<>();

    public List<HashMap<String,Object>> putData(){
        HashMap<String,Object> map1 = new HashMap<>();
        map1.put("name", "张三");
        map1.put("id", "wh445306");
        map1.put("age", "28岁");
        map1.put("tel", "18322228898");
        map1.put("pic", R.drawable.userface1);
        HashMap<String,Object> map2 = new HashMap<>();
        map2.put("name", "李四");
        map2.put("id", "jyw8886");
        map2.put("age", "27岁");
        map2.put("tel", "13922278898");
        map2.put("pic", R.drawable.userface2);
        HashMap<String,Object> map3 = new HashMap<>();
        map3.put("name", "王五");
        map3.put("id", "bmw8899");
        map3.put("age", "27岁");
        map3.put("tel", "13319780706");
        map3.put("pic", R.drawable.userface3);
        HashMap<String,Object> map4 = new HashMap<>();
        map4.put("name", "听雨");
        map4.put("id", "wh445306");
        map4.put("age", "28岁");
        map4.put("tel", "17322228898");
        map4.put("pic", R.drawable.userface7);
        HashMap<String,Object> map5 = new HashMap<>();
        map5.put("name", "若兰");
        map5.put("id", "jyw8886");
        map5.put("age", "27岁");
        map5.put("tel", "13922278898");
        map5.put("pic", R.drawable.userface5);
        HashMap<String,Object> map6 = new HashMap<>();
        map6.put("name", "海子");
        map6.put("id", "bmw8899");
        map6.put("age", "27岁");
        map6.put("tel", "13319780706");
        map6.put("pic", R.drawable.userface6);
        list.add(map1);
        list.add(map2);
        list.add(map3);
        list.add(map4);
        list.add(map5);
        list.add(map6);
        return list;
    }


    @Override
    protected void onCreate(Bundle savedInstanceState) {
        // TODO Auto-generated method stub
        super.onCreate(savedInstanceState);
        setContentView(R.layout.activity_main);
        ListView  listview = findViewById(R.id.lvTest);
        // 利用 adapter 加载数据/资源进行显示
        putData();
        SimpleAdapter simpleAdapter = new SimpleAdapter(MainActivity.this,list,R.layout.list_item,
                                        new String[]{"name","id","age","pic","tel"},
                                        new int[]{R.id.txtUserName,R.id.txtUserID,R.id.txtUserAge,R.id.imgHead,R.id.txtUserTel});
        listview.setAdapter(simpleAdapter);

        //为 ListView 的列表项添加鼠标点击事件
        listview.setOnItemClickListener(new AdapterView.OnItemClickListener() {
            /**
             * @param adapterView 发生单击事件的列表项 ListView
             * @param view        view是当前listview中的item的view的布局,就是可用这个view获取里面控件id后操作控件
             * @param i           在列表项中的位置 position
             * @param l           被单击列表项的行ID
             */
            @Override
            public void onItemClick(AdapterView<?> adapterView, View view, int i, long l) {
                String Tag = "onItemClick======";
                Log.d(Tag, "position=" + i);
                Log.d(Tag, "行 ID" + l);
/*              HashMap<String,String> map=(HashMap<String,String>)adapterView.getItemAtPosition(i);
                String Text= map.get("name");
                String id= map.get("id");
*/
                String Text= list.get(i).get("name").toString();
                String id= list.get(i).get("id").toString();
                Toast.makeText(MainActivity.this, "您点击的行:Name:="+Text+" id:="+id, Toast.LENGTH_SHORT).show();

            }

        });
    }
}
最终实现的效果就是这样:
整理一下使用SimpleAdapter的基本步骤:
(1)根据需要定义ListView每行所实现的布局。
(2)定义一个HashMap构成的列表,将数据以键值对的方式存放在里面。
(3)构造SimpleAdapter对象。
(4)将LsitView绑定到SimpleAdapter上。
(5)绑定item点击事件并处理。


 1110
1110

 被折叠的 条评论
为什么被折叠?
被折叠的 条评论
为什么被折叠?
 到【灌水乐园】发言


