


开发环境
eclipse、jdk1.7.0_55、tomcat7.0.54、struts2.3.16
下载struts2全jar包
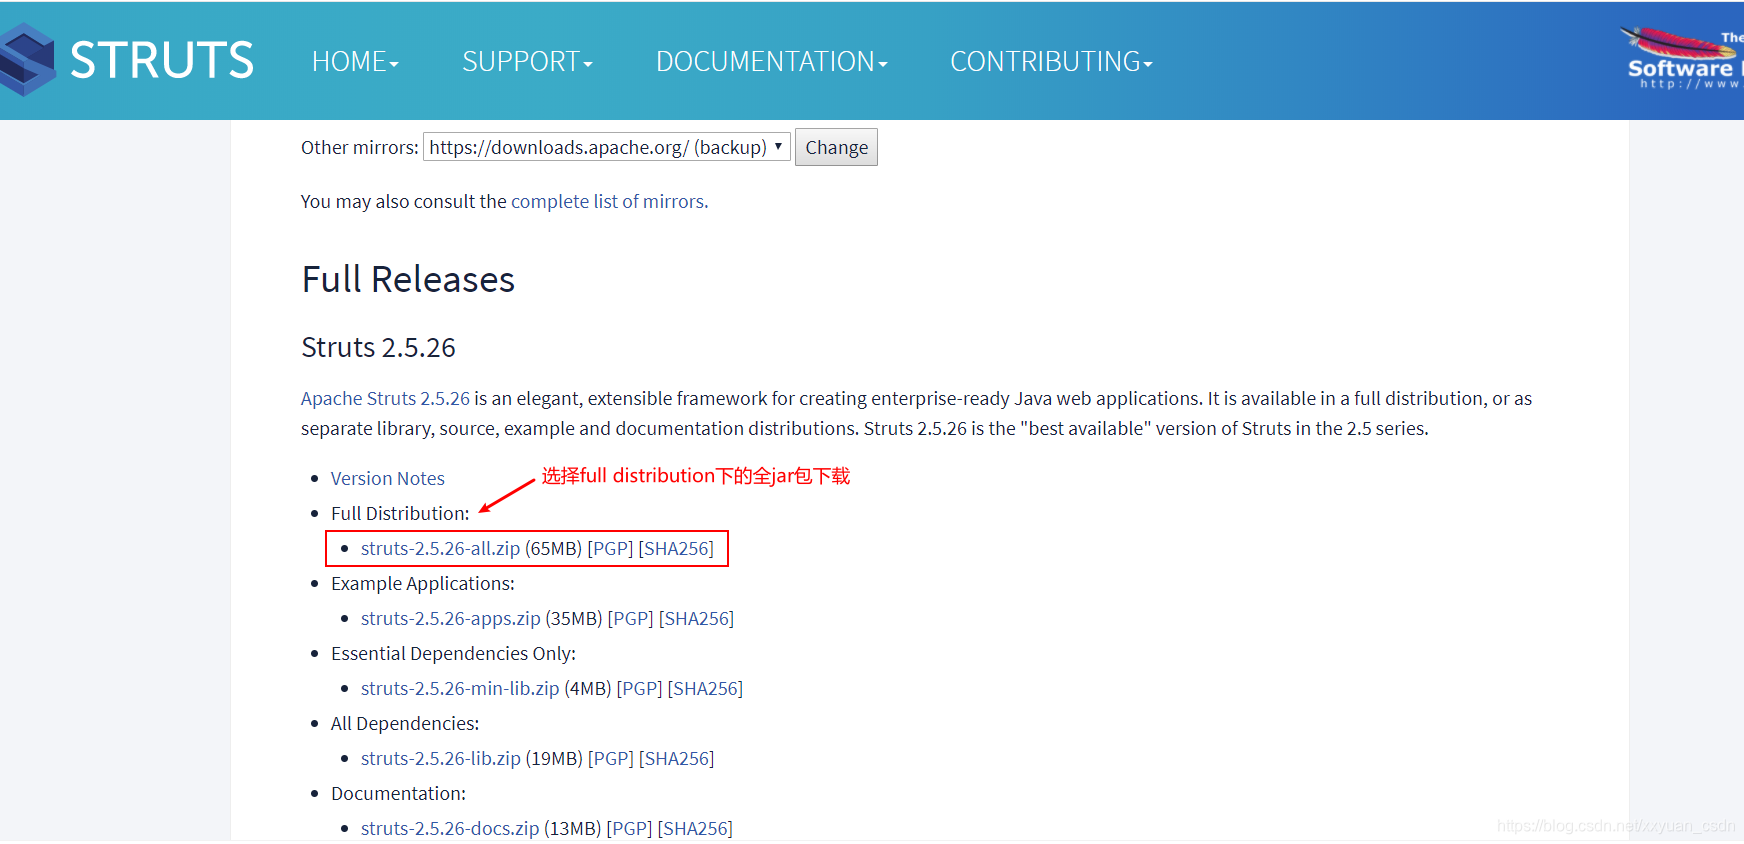
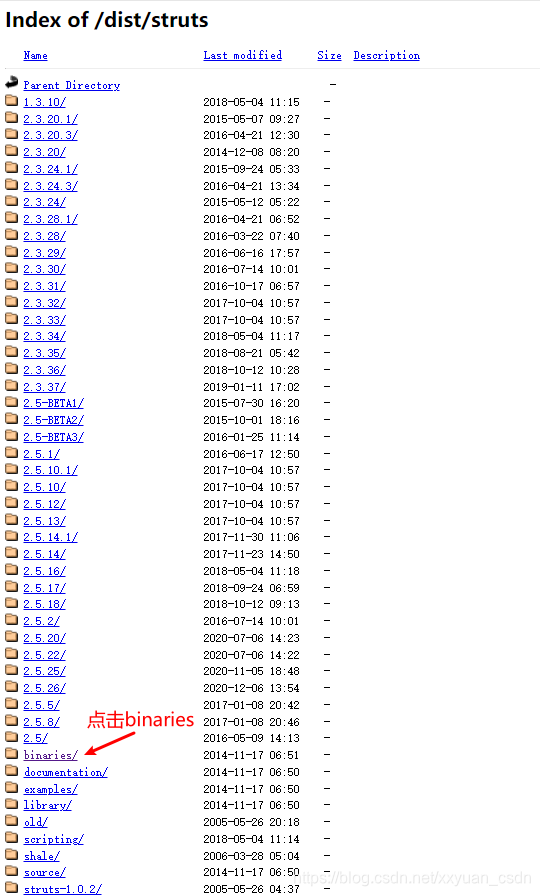
如果需要其他的版本则下拉页面到Prior releases


下载后解压得到

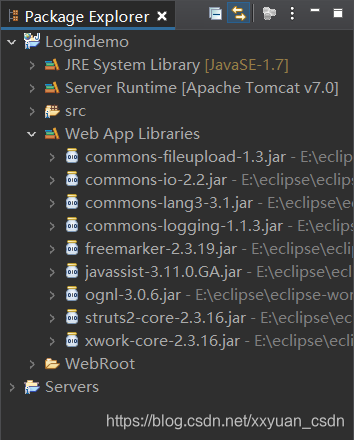
一般只需要下载下来的jar包中lib文件夹中的commons-fileuploed-1.3jar、freemarker-2.3.19、ognl-3.0.6.jar、struts2-core-2.3.16.jar、xwork-core-2.3.16等文件
功能流程图

流程说明:
1.通过浏览器,运行登录界面,单击“登录”按钮,向服务器提交用户输入的用户名和密码信息。
2.读取web.xml配置文件,加载Struts2的核心控制器StrutsPrepareAndExecuteFilter,对用户请求进行拦截。
3.根据用户提交表单中的Action,在struts.xml配置文件中查找匹配相应的Action配置,这里会查找name属性值为login的Action配置,并且把已经拦截的请求发给相对应的LoginAction业务类来处置。
4.在struts.xml配置文件中没有指定Action元素的method属性值,此时,系统会调用默认方法execute()来完成对客户端的登录请求处理。若登录成功,则返回success字符串,否则返回input字符串
5.根据返回结果,在struts.xml配置文件中查找相应的映射。在struts.xml文件中配置LoginAction时,指定了<result name="success">/success.jsp</result>,因此,当LoginAction类的execute()方法返回“success”字符串时,则 转向success.jsp页面,否则转向login.jsp页面。
功能实现
1.新建Web项目LoginDemo
2.添加Struts2jar包
把下载下来的jar包中commons-fileuploed-1.3jar、commons-logging-1.1.3.jar、commons-io-2.2.jar、commons-lang3-3.1.jar、freemarker-2.3.19、javassist-3.11.0.GA.jar、ognl-3.0.6.jar、struts2-core-2.3.16.jar、xwork-core-2.3.16等文件复制到Web应用程序中的WebRoot/WEB-INF/lib路径下即可,然后刷新项目
3.新建jsp页面
在WebRoot根目录下创建login.jsp登录页面和success.jsp成功页面
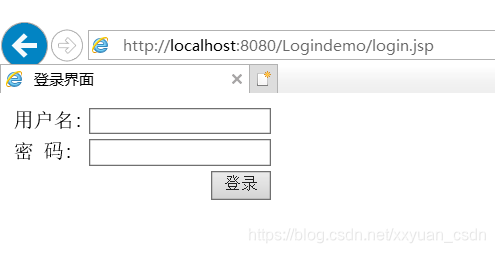
login.jsp(登录界面)
<%@ page language="java" import="java.util.*"  pageEncoding="GBK"%>
<%@taglib prefix="s" uri="/struts-tags" %><!-- 导入struts2标准库 -->
<!DOCTYPE html PUBLIC "-//W3C//DTD HTML 4.01 Transitional//EN">
<html>
<head>
<title>登录界面</title>
</head>
<body>
	<!-- 提交请求 -->
	<s:form name="form1" action="login"  method="post">
		<s:textfield name="username" label="用户名"></s:textfield>
		<s:textfield name="password" label="密 码"/>
		<s:submit value="登录"/>
	</s:form>
</body>
</html>
success.jsp(成功界面)
<%@ page language="java" import="java.util.*" pageEncoding="GBK"%>
<%@taglib prefix="s" uri="/struts-tags" %><!-- 导入struts2标准库 -->
<!DOCTYPE html PUBLIC "-//W3C//DTD HTML 4.01 Transitional//EN">
<html>
<head>
<title>登录成功界面</title>
</head>
<body>
<div>
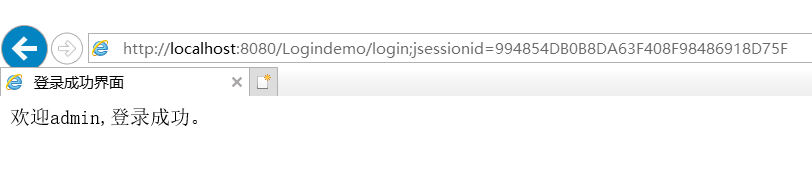
欢迎<s:property value="username"/>,登录成功。
</div>
</body>
</html>4.配置web.xml
<?xml version="1.0" encoding="UTF-8"?>
<web-app xmlns:xsi="http://www.w3.org/2001/XMLSchema-instance" xmlns="http://JAVA.sun.com/xml/ns/javaee" xsi:schemaLocation="http://java.sun.com/xml/ns/javaee http://java.sun.com/xml/ns/javaee/web-app_3_0.xsd" id="WebApp_ID" version="3.0">
  <display-name>Logindemo</display-name>
  <welcome-file-list>
    <welcome-file>index.html</welcome-file>
    <welcome-file>index.htm</welcome-file>
    <welcome-file>index.jsp</welcome-file>
    <welcome-file>default.html</welcome-file>
    <welcome-file>default.htm</welcome-file>
    <welcome-file>default.jsp</welcome-file>
  </welcome-file-list>
  <!-- 配置Struts2核心控制器 -->
  <filter>
  	<filter-name>struts2</filter-name>
  	<filter-class>org.apache.struts2.dispatcher.ng.filter.StrutsPrepareAndExecuteFilter</filter-class>
  </filter>
  <filter-mapping>
  	<!-- 过滤器拦截 -->
  	<filter-name>struts2</filter-name>
  	<!-- 配置Strust2的核心过滤器拦截所有的用户请求 -->
  	<url-pattern>/*</url-pattern>
  </filter-mapping>
</web-app>
5.在src文件下新建LoginAction类(Action业务类)
package com.yzpc.action;
import com.opensymphony.xwork2.ActionSupport;
public class LoginAction extends ActionSupport {

	private static final long serialVersionUID = 1L;
	private String username;
	private String password;

	public String getUsername() {
		return username;
	}

	public void setUsername(String username) {
		this.username = username;
	}

	public String getPassword() {
		return password;
	}

	public void setPassword(String password) {
		this.password = password;
	}

	@Override
	public String execute() throws Exception{
//账号为:admin密码:为123,正确则返回字符串success,错误则返回input
		if ("admin".equals(username)&&"123".equals(password)) {
			return SUCCESS;
		}else {
			return INPUT;
		}
	}
}
6、编写struts.xml配置文件
在项目的src文件夹下创建struts.xml文件
<?xml version="1.0" encoding="UTF-8"?>
<!DOCTYPE struts PUBLIC
	"-//Apache Software Foundation//DTD Struts Configuration 2.3//EN"
	"http://struts.apache.org/dtds/struts-2.3.dtd">
<struts>
	<package name="default" namespace="/" extends="struts-default">

		<action name="login" class="com.yzpc.action.LoginAction">
			<result name="success">/success.jsp</result>
			<result name="input">/login.jsp</result>
		</action>

	</package>
</struts>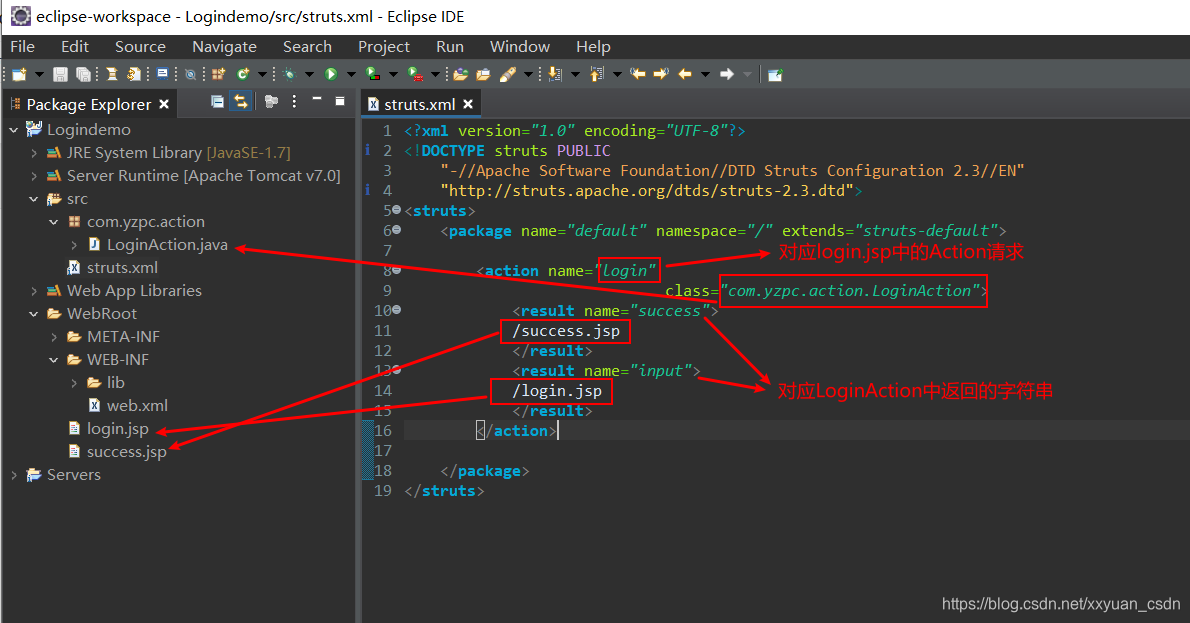
效果图展示
登录界面
成功界面
总结
经过项目的实施,对struts2的mvc思想的具体实现和基本流程和相关组件有了更详细的了解


 218
218


 被折叠的 条评论
为什么被折叠?
被折叠的 条评论
为什么被折叠?
 到【灌水乐园】发言


