http://blog.csdn.net/21aspnet/article/details/47708763
下载
# wget http:
解压安装
# tar zxvf php-7.0.2.tar.gz
# cd php-7.0.2
首先查看安装帮助
# ./configure   --help
# ./configure --prefix=/usr/local/php \
 --with-curl \
 --with-freetype-dir \
 --with-gd \
 --with-gettext \
 --with-iconv-dir \
 --with-kerberos \
 --with-libdir=lib64 \
 --with-libxml-dir \
 --with-mysqli \
 --with-openssl \
 --with-pcre-regex \
 --with-pdo-mysql \
 --with-pdo-sqlite \
 --with-pear \
 --with-png-dir \
 --with-xmlrpc \
 --with-xsl \
 --with-zlib \
 --enable-fpm \
 --enable-bcmath \
 --enable-libxml \
 --enable-inline-optimization \
 --enable-gd-native-ttf \
 --enable-mbregex \
 --enable-mbstring \
 --enable-opcache \
 --enable-pcntl \
 --enable-shmop \
 --enable-soap \
 --enable-sockets \
 --enable-sysvsem \
 --enable-xml \
 --enable-zip
- 1
- 2
- 3
- 4
- 5
- 6
- 7
- 8
- 9
- 10
- 11
- 12
- 13
- 14
- 15
- 16
- 17
- 18
- 19
- 20
- 21
- 22
- 23
- 24
- 25
- 26
- 27
- 28
- 29
- 30
- 31
- 32
- 33
- 34
- 35
如果配置错误,需要安装需要的模块,直接yum一并安装依赖库
# yum -y install libjpeg libjpeg-devel libpng libpng-devel freetype freetype-devel libxml2 libxml2-devel MySQL pcre-devel
注意:安装php7beta3的时候有几处配置不过去,需要yum一下,现在php-7.0.2已经不用这样了。
# yum -y install curl-devel
# yum -y install libxslt-devel
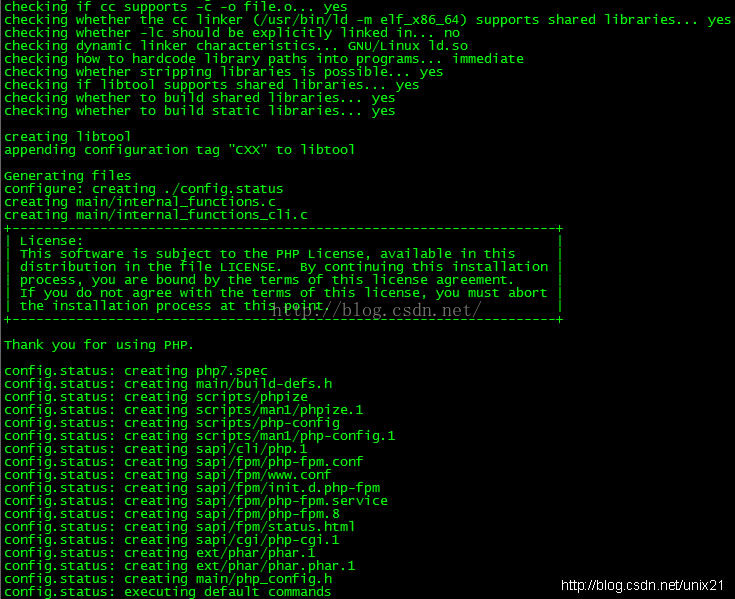
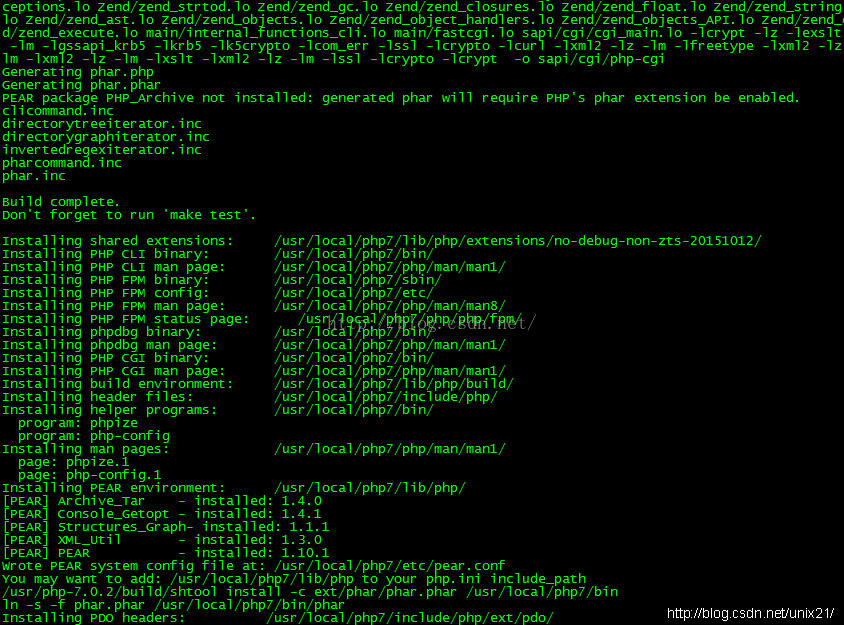
编译安装
# make && make install
配置文件
# cp php.ini-development /usr/local/php/lib/php.ini
# cp /usr/local/php/etc/php-fpm.conf.default /usr/local/php/etc/php-fpm.conf
# cp /usr/local/php/etc/php-fpm.d/www.conf.default /usr/local/php/etc/php-fpm.d/www.conf
# cp -R ./sapi/fpm/php-fpm /etc/init.d/php-fpm
需要注意的是php7中www.conf这个配置文件配置phpfpm的端口号等信息,如果你修改默认的9000端口号需在这里改,再改nginx的配置
启动
# /etc/init.d/php-fpm
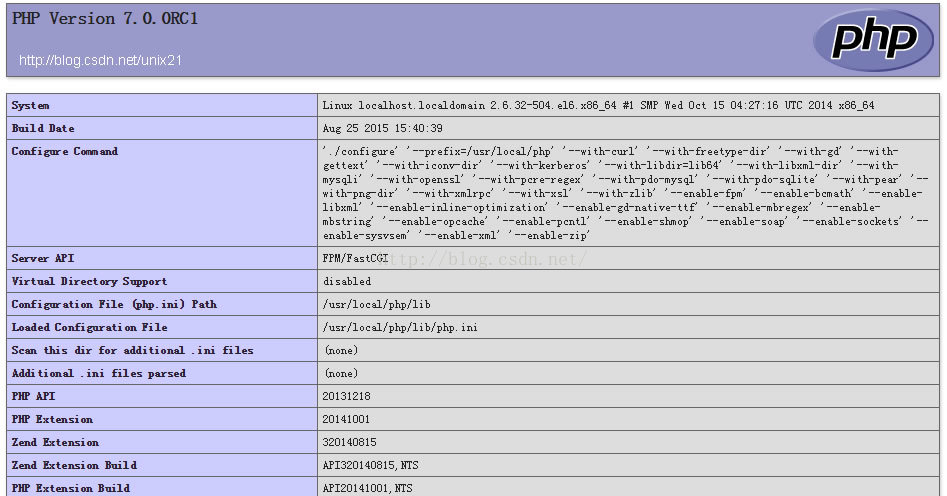
查看phpinfo()

php7和php5性能分析比较
<?php
$a = array();
for($i=0;$i<600000;$i++){
$a[$i] = $i;
}
foreach($a as $i)
{
array_key_exists($i, $a);
}
?>
生成一个 60 万元素的数组,通过查找key 的方式,来确定key是否存在。
PHP 5.4.44 版
[root@localhost www5.4.44]
real 0m0.351s
user 0m0.300s
sys 0m0.050s
PHP 5.5.28 版
[root@localhost www]
real 0m0.361s
user 0m0.304s
sys 0m0.057s
PHP 7.0.0 版
[root@localhost www7]
real 0m0.114s
user 0m0.097s
sys 0m0.017s
- 1
- 2
- 3
- 4
- 5
- 6
- 7
- 8
- 9
- 10
- 11
- 12
- 13
- 14
- 15
- 16
- 17
很明显php7的性能是php5的3倍!
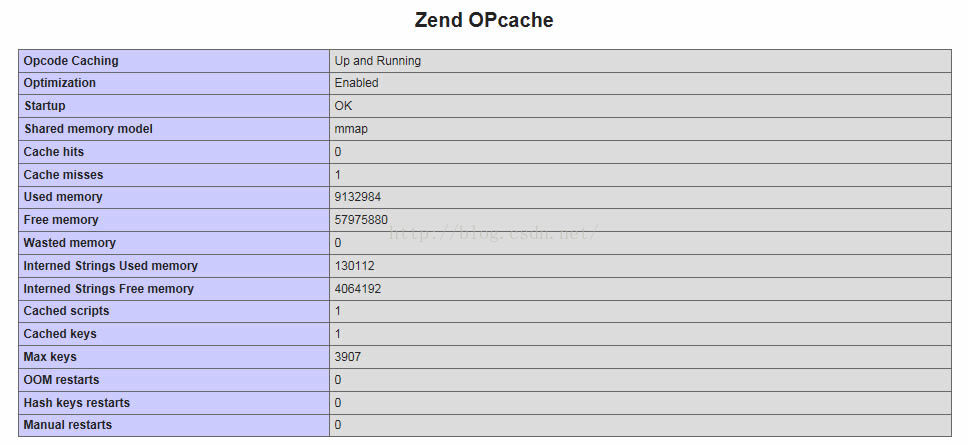
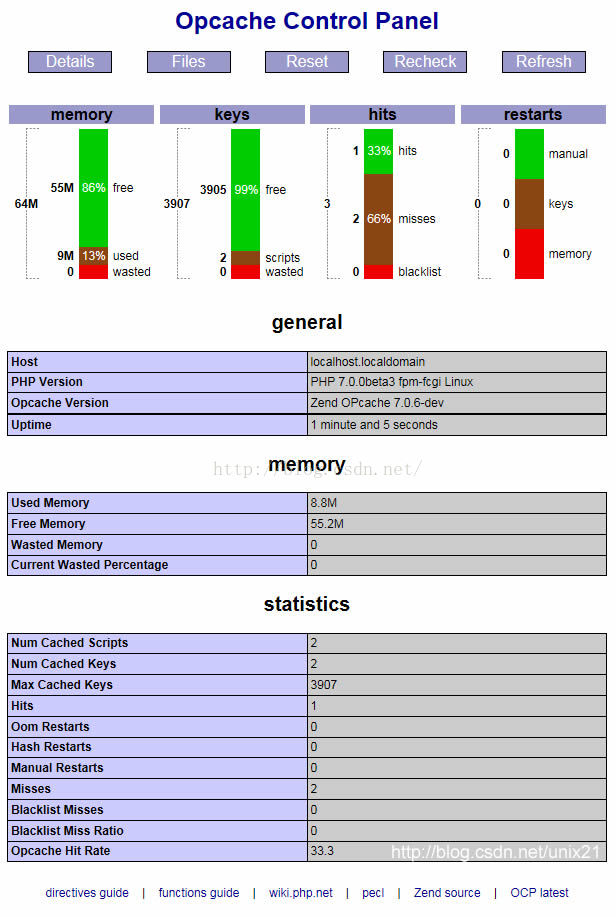
配置opcache
官网地址:http://php.net/opcache
使用下列推荐设置来获得较好的性能:
opcache.memory_consumption=128
opcache.interned_strings_buffer=8
opcache.max_accelerated_files=4000
opcache.revalidate_freq=60
opcache.fast_shutdown=1
opcache.enable_cli=1
你也可以禁用 opcache.save_comments 并且启用 opcache.enable_file_override。 需要提醒的是,在生产环境中使用上述配置之前,必须经过严格测试。 因为上述配置存在一个已知问题,它会引发一些框架和应用的异常, 尤其是在存在文档使用了备注注解的时候。
vim /usr/local/php7/etc/php.ini
zend_extension=/usr/local/php7/lib/php/extensions/no-debug-non-zts-20141001/opcache.so
重启
# killall php-fpm
#  /etc/init.d/php-fpm


 298
298


 被折叠的 条评论
为什么被折叠?
被折叠的 条评论
为什么被折叠?
 到【灌水乐园】发言


