


前面博文尝试使用了Srping CloudBus, 里面引入了spring-cloud-starter-bus-kafka和spring-cloud-starter-bus-amqp,实时上它们分别依赖了spring-cloud-starter-stream-kafka和spring-cloud-starter-stream –rabbit,真正实现与这些消息代理进行交互操作的是Spring Cloud Stream。一定程度上我们将Spring Cloud Bus理解为使用了Spring Cloud Stream构建的上层应用。
各种各样的消息队列的产生和更新,使MQ组件学习成本越来越高,String Cloud Stream为一些供应商的消息中间件产品提供了个性化的自动化配置,引入发布订阅、消费组、以及分区这3个概念,有效的简化了上层研发人员对MQ使用的复杂度,让开发人员更多的精力投入到核心业务的处理。
(有点OR-Mapping概念的意思,通过添加一层来消化掉具体实现的差异性与上层客户端松耦合)
Spring Cloud Stream里定义了了3种通道:
Sink :只有一个输入的通道;public interface Sink { String INPUT = "input"; @Input(Sink.INPUT) SubscribableChannel input(); }Source :只有一个输出的通道;public interface Source { String OUTPUT = "output"; @Output(Source.OUTPUT) MessageChannel output(); }Processor :一个双向的通道。public interface Processor extends Source, Sink { }
示例代码一:
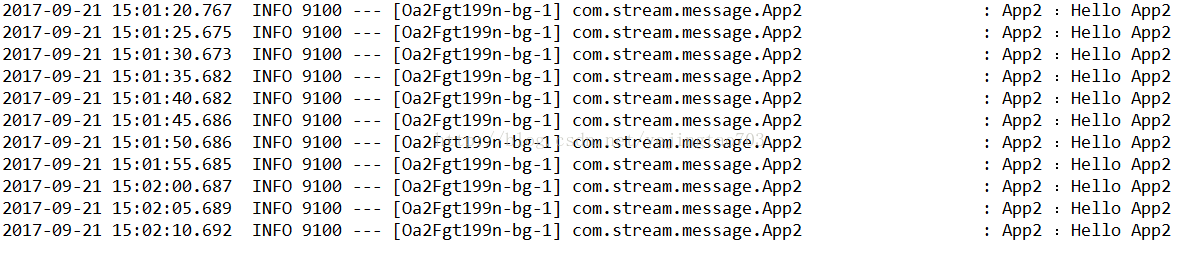
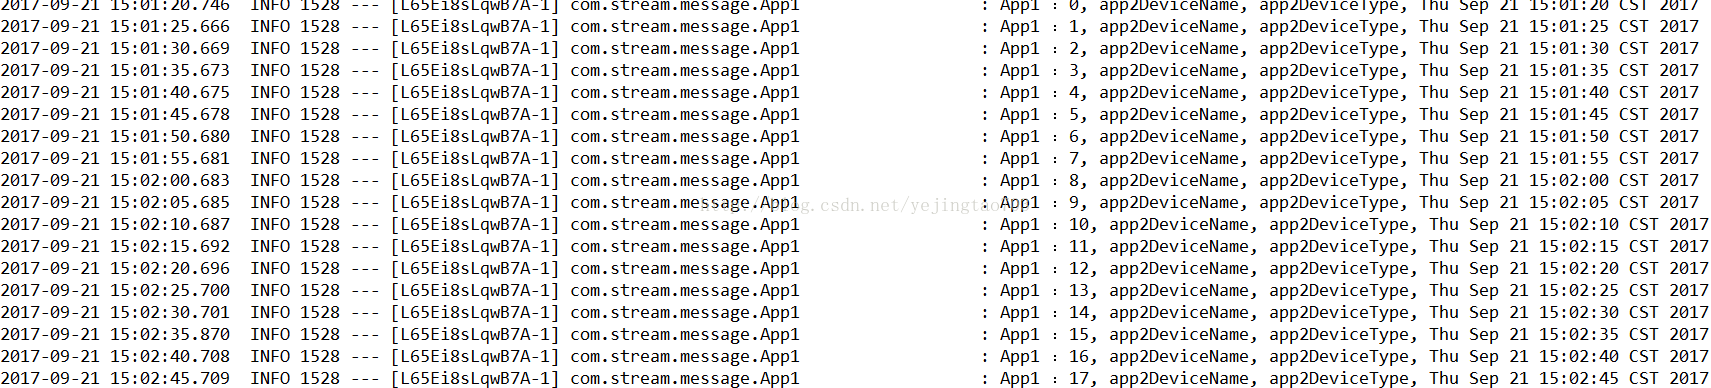
场景:现在有2个结点,APP1向APP2发送消息,APP2收到消息后将确认消息反馈给APP1.
APP1 项目(https://github.com/yejingtao/forblog/tree/master/demo-spring-stream-app1)APP2项目(https://github.com/yejingtao/forblog/tree/master/demo-spring-stream-app2)APP1配置很简单:spring: application: name: stream-app1 rabbitmq: host: 192.168.226.133 port: 5672 username: guest password: guest server: port: 8001核心 代码:@EnableBinding(Processor.class) public class App1 { private static Logger logger = LoggerFactory.getLogger(App1.class); @StreamListener(Processor.INPUT) @SendTo(Processor.OUTPUT) public String receiveMethod(Device device) { logger.info("App1 : " + device); return "Hello App2"; } }核心的三个注解:
@EnableBinding(Processor.class):该注解用来指定一个或多个定义了@Input或@Output注解的接口,这里构建一个Processor通道。
@StreamListener(Processor.INPUT):定义在方法中,被修饰的方法注册为消息中间件上数据流的事件监听器,注解中属性值对应了监听的消息通道名,这里在input中提取消息
@SendTo(Processor.OUTPUT)在output中返回消息。
receiveMethod是核心方法,入参直接是Device类型,因为StreamListener注解自带协议转换的能力,程序不需要添加任何配置。因为我们要返回内容给output通道,所以该方法要有返回值。
APP2配置:spring.application.name=stream-app2 spring.cloud.stream.bindings.input.destination=output spring.cloud.stream.bindings.output.destination=input spring.cloud.stream.bindings.output.content-type=application/json spring.rabbitmq.host=192.168.226.133 spring.rabbitmq.port=5672 spring.rabbitmq.username=guest spring.rabbitmq.password=guest server.port=8002
APP2 核心代码:
@EnableBinding(Processor.class)
public class App2 {

	private static Logger logger = LoggerFactory.getLogger(App2.class);

	private int id;


	@Bean
	@InboundChannelAdapter(value=Processor.OUTPUT, poller=@Poller(fixedDelay="5000"))
	public MessageSource<Device> sendTimeMessage(){
		return ()-> new GenericMessage<>(new Device(id++,"app2DeviceName","app2DeviceType"));
	}


	@StreamListener(Processor.INPUT)
	public void receiveMethod(Object message) {
		logger.info("App2 : " + message);
	}
}
spring.cloud.stream.bindings.input.destination=output
spring.cloud.stream.bindings.output.destination=input
这两个是APP1中没有的,这里是要做一次通道名称的转化。
因为真正的消费者是APP1,APP1是从input里获取消息内容,而APP2的消息是吐给了output这个通道(配合app2代码理解),所以要要配置第二行APP的output的目的通道是input。
同理APP1中消息是通过output返回给APP2的,而APP2的代码中(配合app2代码理解)StreamListener是在监听input通道的,所以要配置第一行APP的input的目的通道是output。
为了方便理解,记住真实的MQ中是怎么对应的,APP2就要怎么配置。
spring.cloud.stream.bindings.output.content-type=application/json
因为APP1监听input收到的是Device类型,所以APP2的output也要送Device类型这里定义的output中device的传输协议。
研究到这里可以发现,什么Sink、Source、Processor只不过就是Spring Cloud Stream内置了3种已经准备好的消息通道而已,通道的关键还是在于跟MQ投递和消费消息的通道名称。为此我们自己定义一种只有监听的通道(也就是Sink)来试试。
示例代码二:
代码地址(https://github.com/yejingtao/forblog/tree/master/demo-spring-stream-diy)
自定义 Sink:public interface MySelfSink { String INPUT = "myinput"; @Input(MySelfSink.INPUT) SubscribableChannel input(); }注意我们的通道名是myinput
通道监听:@EnableBinding(MySelfSink.class) public class MySelfSinkReceiver { private static Logger logger = LoggerFactory.getLogger(MySelfSinkReceiver.class); @StreamListener(MySelfSink.INPUT) public void receiveMethod(String message) { logger.info("receiveMethod : " + message); } }为了配合测试我们添加一个消息投递的生产方式:@RestController public class SenderController { @Autowired @Qualifier("myinput") private MessageChannel myinput; @RequestMapping("/mySend") public String sendMessage() { myinput.send(MessageBuilder.withPayload("my self channel").build()); return "OK"; } }只要通过GET请求/mySend,controller就会给myinput通道投递信息,StreamLinstener就可以监听到并消费这个信息。
真正生产中我们尽量使用Spring自带的Sink、Source、Processor,一般不会自己再去开发通道类,但是又要支持很多channel怎么办,采用的方式就是配置指定目的通道名的办法。
例如APP1、APP2那个项目可以这样对程序进行改造,使可读性更强:
APP1中添加配置:
spring.cloud.stream.bindings.input.destination=my-channel-A
spring.cloud.stream.bindings.output.destination=my-channel-B
APP2中添加配置:
spring.cloud.stream.bindings.input.destination=my-channel-B
spring.cloud.stream.bindings.output.destination=my-channel-A
这样开发代码只需要关心自己通道的类型选用Sink、Source、Processor里的一种,至于具体如何跟MQ映射的,交给上面这个配置。


 7436
7436


 被折叠的 条评论
为什么被折叠?
被折叠的 条评论
为什么被折叠?
 到【灌水乐园】发言


